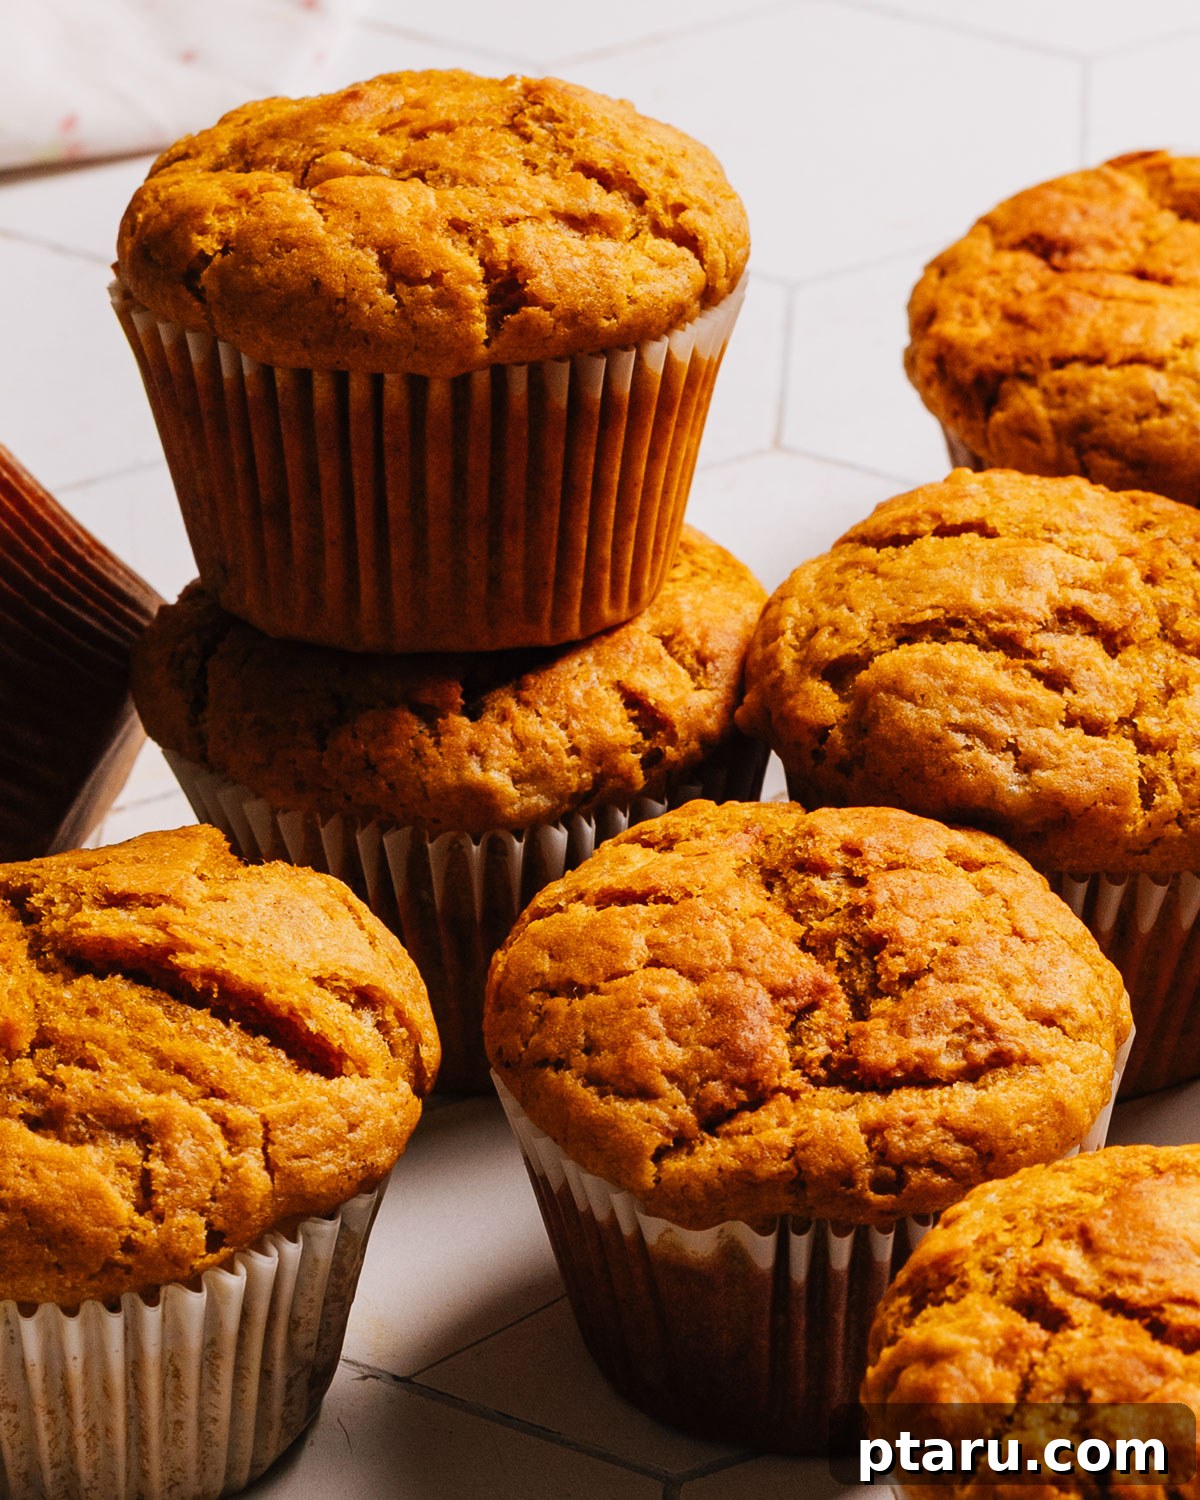
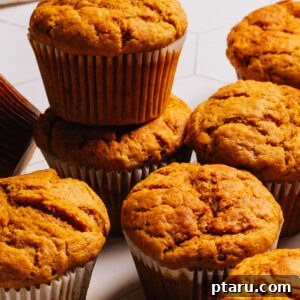
Welcome the cozy flavors of autumn into your kitchen with these incredibly soft, fluffy, and perfectly spiced Pumpkin Banana Muffins. Boasting a tender crumb and a delightful balance of pumpkin and gentle banana flavor, these muffins are destined to become your new fall favorite. What’s more, they remain wonderfully moist for days, making them perfect for meal prepping or enjoying throughout the week!
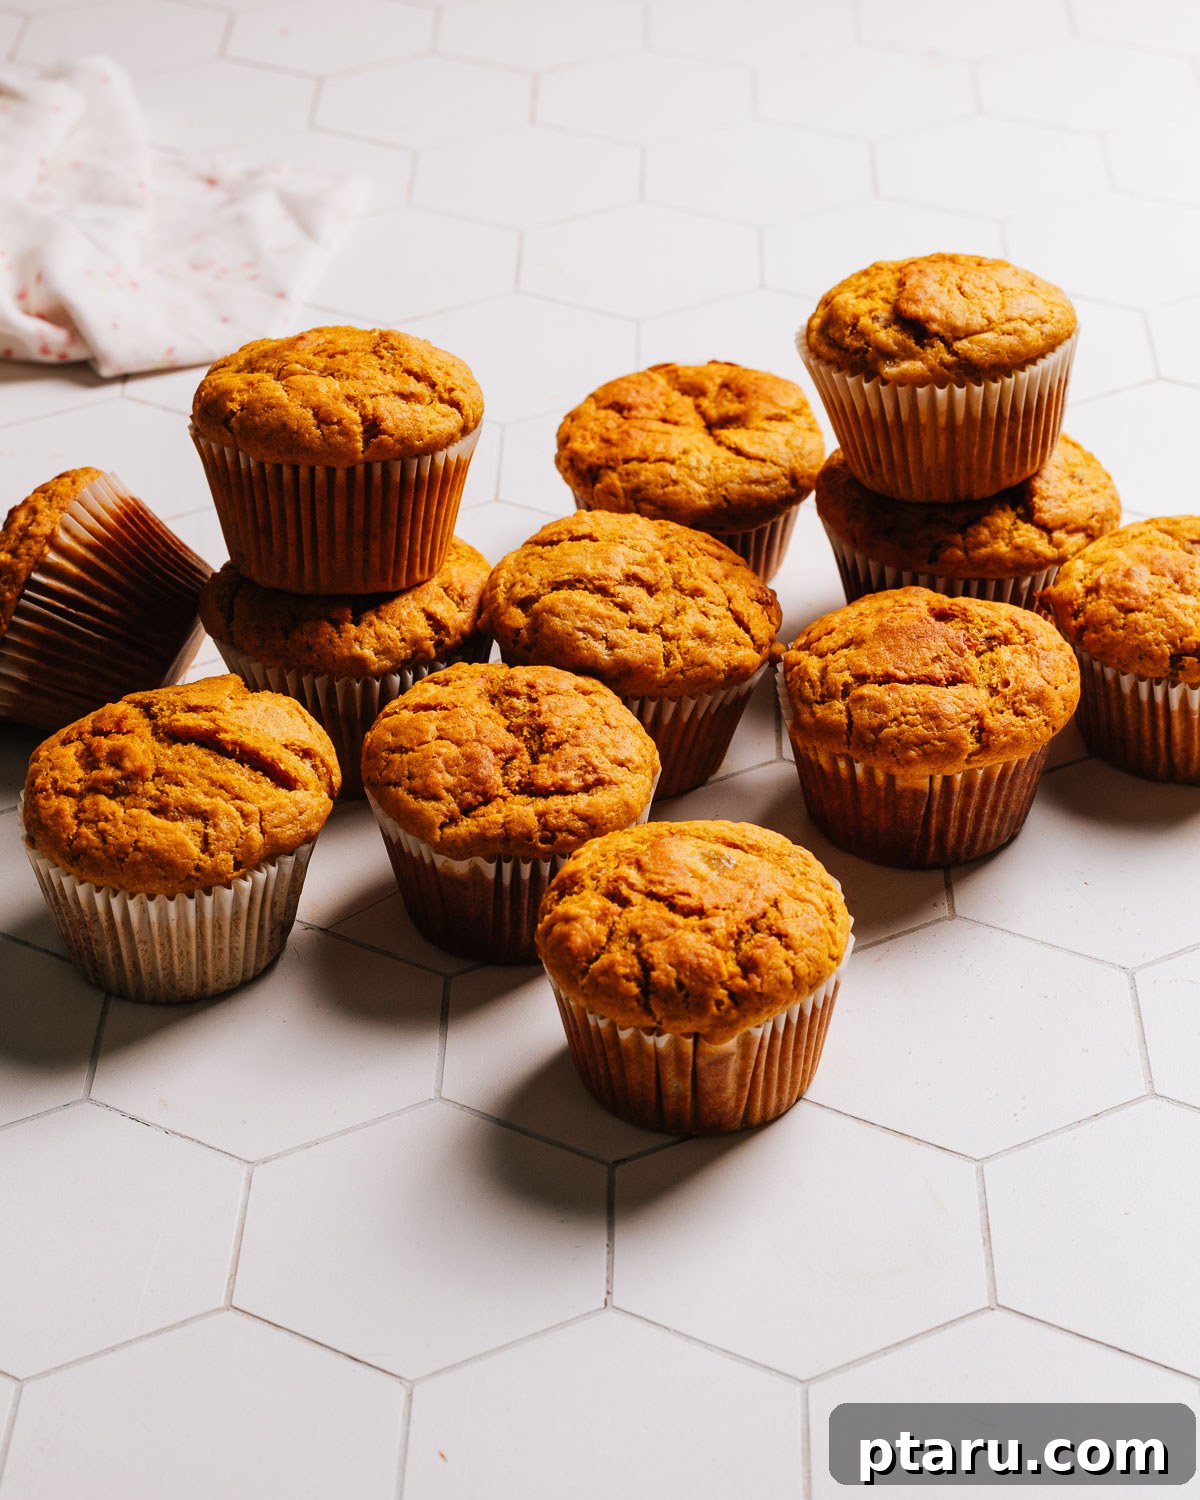
Combining the best elements of a classic pumpkin muffin with the beloved moistness of banana bread, this recipe creates an ultra-tender treat. Each bite delivers a harmonious blend of sweet pumpkin, ripe banana, and a warm, inviting spice blend that captures the essence of the season. Whether it’s a quick breakfast on a chilly morning, an afternoon snack, or a delightful dessert, these muffins hit all the right notes.
I’ve meticulously crafted this recipe by drawing inspiration from my highly-rated pumpkin muffin recipe and my famously moist banana bread recipe. The result is an exquisite blend that offers the ideal texture and flavor profile, making it the perfect pumpkin banana muffins recipe for fall and beyond.
Essential Ingredients for Perfect Pumpkin Banana Muffins
Crafting these delectable muffins requires a selection of readily available ingredients, each playing a crucial role in achieving their signature taste and texture. Here’s a detailed look at what you’ll need:
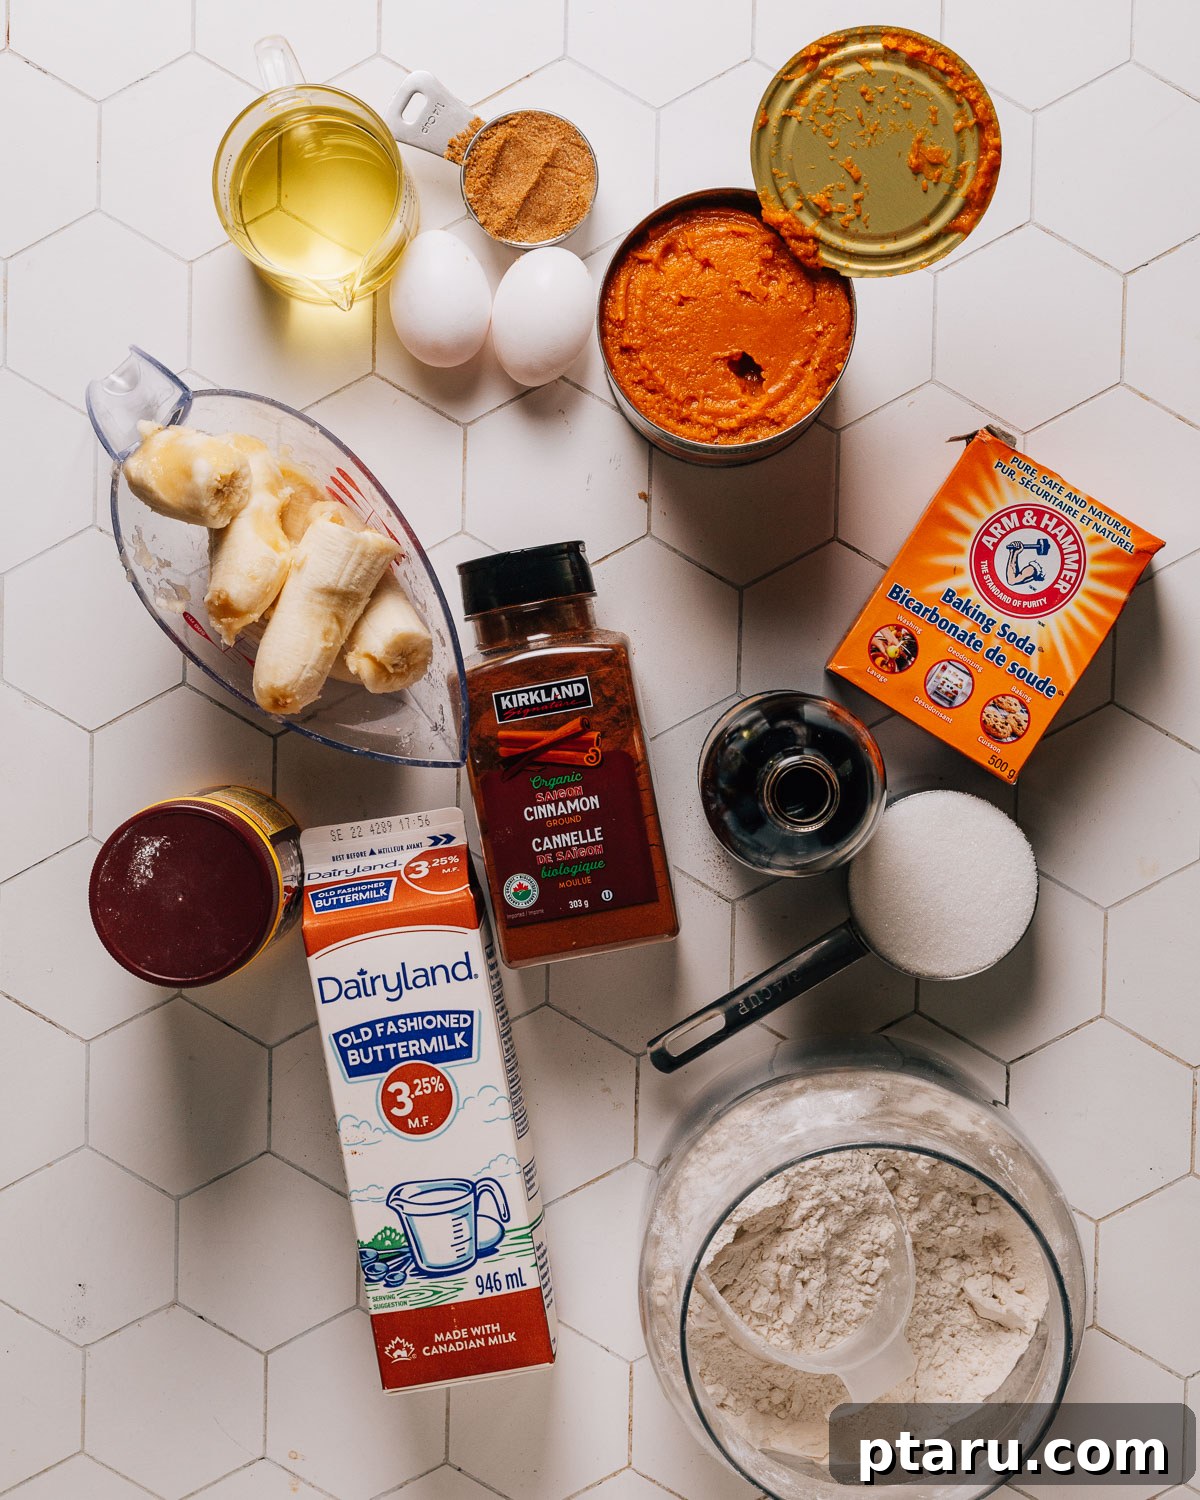
- Pumpkin puree: Crucial for flavor and moisture. Ensure you’re using 100% pure pumpkin puree, not pumpkin pie filling, which contains added sugars and spices. This recipe is designed to use a full 15-oz can, minimizing waste. If you happen to use a larger can, remember you can always freeze canned pumpkin puree for future baking endeavors.
- Over-ripe bananas: The secret to intense banana flavor and incredible moisture. Don’t be shy – the blacker and spottier your bananas are, the sweeter and more fragrant your muffins will be. This ripeness contributes significantly to the natural sweetness of the muffins.
- Buttermilk: This acidic ingredient reacts with baking soda to create a beautifully light and airy texture, contributing to the “floof” of the muffins. If you don’t have buttermilk on hand, a simple buttermilk substitute can be made by adding a tablespoon of lemon juice or white vinegar to regular milk and letting it sit for 5 minutes.
- Vegetable oil: Unlike butter, oil helps keep muffins exceptionally moist for longer periods, preventing them from drying out quickly. It also contributes to a tender, fine crumb.
- Granulated sugar + Brown sugar: The combination of both sugars provides a balanced sweetness and depth of flavor. Granulated sugar offers a crisp sweetness, while brown sugar adds a subtle molasses note and extra moisture, enhancing the overall richness of the muffins.
- Eggs: Act as a binder, providing structure and richness to the muffins, ensuring they hold their shape and have a cohesive texture.
- Vanilla extract: A touch of vanilla complements and enhances both the pumpkin and banana flavors, adding a layer of aromatic warmth.
- All-purpose flour: The base of our muffins, providing the necessary structure. Proper measurement is key here – spoon and level your flour or, even better, weigh it for accuracy.
- Cinnamon: The primary spice, delivering that classic warm and inviting fall flavor. Its sweet and woody notes pair perfectly with pumpkin and banana.
- Baking powder & Baking soda: These leavening agents are vital for achieving the muffins’ soft and fluffy texture. Baking soda, specifically, reacts with the buttermilk for an extra lift and tenderness, ensuring each muffin rises beautifully.
- Salt: A pinch of salt balances the sweetness and brings out the full spectrum of flavors in the muffins.
Full recipe quantities and detailed instructions are listed in the comprehensive recipe card located at the bottom of this article.
If your passion for pumpkin recipes runs deep (just like mine!), you’ll also adore my delightful pumpkin zucchini muffins, which are incredibly moist and flavorful, and my absolute favorite pumpkin bread (moist for days), a truly unbeatable treat for any autumn day.
Flavorful Variations and Smart Substitutions for Your Muffins
One of the joys of baking is the ability to customize! Small tweaks can dramatically change the vibe of your pumpkin banana muffins without altering the core baking method. Feel free to experiment and make these muffins uniquely yours:
- Chocolate chip delight: For those who adore the classic combination of pumpkin and chocolate, reminiscent of Pumpkin Chocolate Chip Cookies and Pumpkin Chocolate Chip Muffins, simply fold in 1 cup of your favorite chocolate chips (milk, dark, or semi-sweet) into the batter just before portioning.
- Nutty texture: Enhance the texture and add a delightful crunch by folding in 1 cup of toasted pecans or walnuts. Toasting the nuts beforehand deepens their flavor.
- Pumpkin spice infusion: For an intensified autumn aroma, swap the cinnamon for an equal amount of pumpkin pie spice blend. This often includes nutmeg, ginger, and cloves, adding more complex layers of warmth.
- Whole wheat flour option: If you’re looking to add a touch more fiber, you can swap 1 cup of the all-purpose flour for whole wheat pastry flour. This substitution provides a slightly heartier muffin while maintaining a tender crumb. Avoid using regular whole wheat flour, as it can make the muffins too dense.
- Cupcake transformation: Elevate these muffins to a dessert-worthy treat by giving them a pumpkin cupcake recipe vibe. Once cooled, crown them with a swirl of rich cream cheese frosting for an irresistible indulgence.
- Bake as a loaf: If muffins aren’t quite what you’re craving, this recipe is incredibly versatile! You can easily adapt it to bake as a delicious pumpkin banana bread. Note that baking times will need to be adjusted accordingly.
Essential Tools for Easy Pumpkin Banana Muffins
You don’t need a gourmet kitchen to make these simple yet satisfying pumpkin banana muffins. A few basic tools will ensure your baking process is smooth and successful:
- Two 12-cup muffin pans: While you can bake in batches with one pan, having two allows for all muffins to bake simultaneously, ensuring consistent results.
- Paper liners: These make for easy cleanup and ensure your muffins don’t stick to the pan. Lightly spraying the pan even with liners can help prevent any overflow from sticking.
- Large mixing bowls: You’ll need one sizable bowl for your wet ingredients and another equally large one for the dry ingredients to ensure proper mixing and combination without spills.
- Whisk and spatula: A whisk is essential for thoroughly combining dry ingredients and initially blending wet ingredients. A sturdy spatula is perfect for gently folding the wet into the dry, preventing overmixing.
- Portion scoop: (Optional, but highly recommended!) A cookie or ice cream scoop helps to evenly fill each muffin cup, resulting in uniformly sized muffins that bake consistently and achieve those desirable bakery-style domed tops.
- Instant-read thermometer: The most reliable way to confirm doneness. Muffins are perfectly baked when an instant-read thermometer inserted into the center reads 190°F (88°C). This eliminates guesswork and prevents overbaking.
Crafting Perfect Pumpkin Banana Muffins: A Step-by-Step Guide
Follow these straightforward steps to create a batch of the most delicious pumpkin banana muffins. Each stage is designed for ease and ensures a perfect bake every time.
1. Preheat Your Oven and Prepare the Pan
Begin by preheating your oven to 375°F (190°C). This ensures the oven is at the correct temperature when your batter is ready, allowing the muffins to rise properly from the start. Line 18 muffin cups in two 12-cup muffin pans with paper liners. For extra assurance that your muffin tops release cleanly and any overflow doesn’t stick, lightly spray the exposed metal surface of the muffin pan with cooking spray, even with liners in place.
2. Mix the Wet Ingredients for a Smooth Base
In a large mixing bowl, combine the pumpkin puree, mashed over-ripe banana, buttermilk, vegetable oil, packed brown sugar, eggs, and vanilla extract. Whisk these ingredients together until the mixture is smooth and well-combined. Taking the time to fully incorporate the wet ingredients now prevents you from overworking the batter later, which is key to tender muffins.
3. Combine the Dry Ingredients for Even Distribution
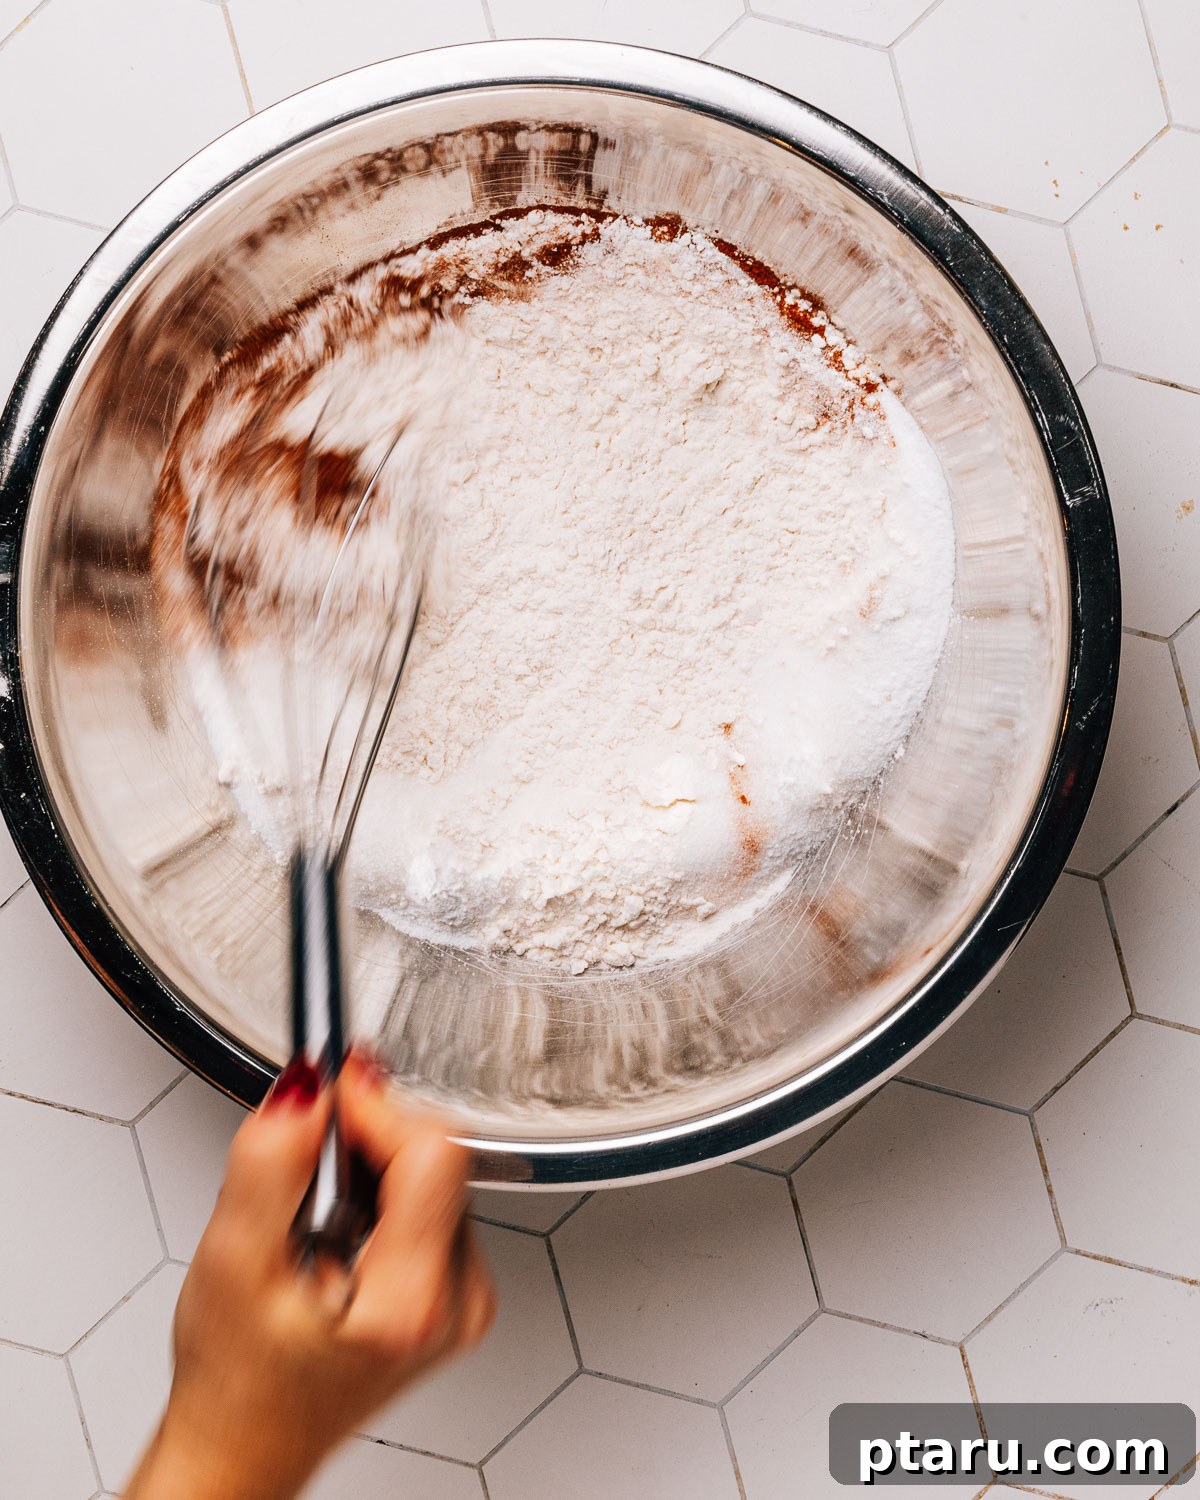
In a separate large bowl, whisk together the all-purpose flour, granulated sugar, cinnamon, baking powder, baking soda, and kosher salt. It’s crucial to whisk these dry ingredients thoroughly to ensure that the leavening agents and spices are evenly dispersed throughout the flour. This even dispersion is vital for a consistent rise and flavor in every muffin.
4. Gently Bring the Batter Together
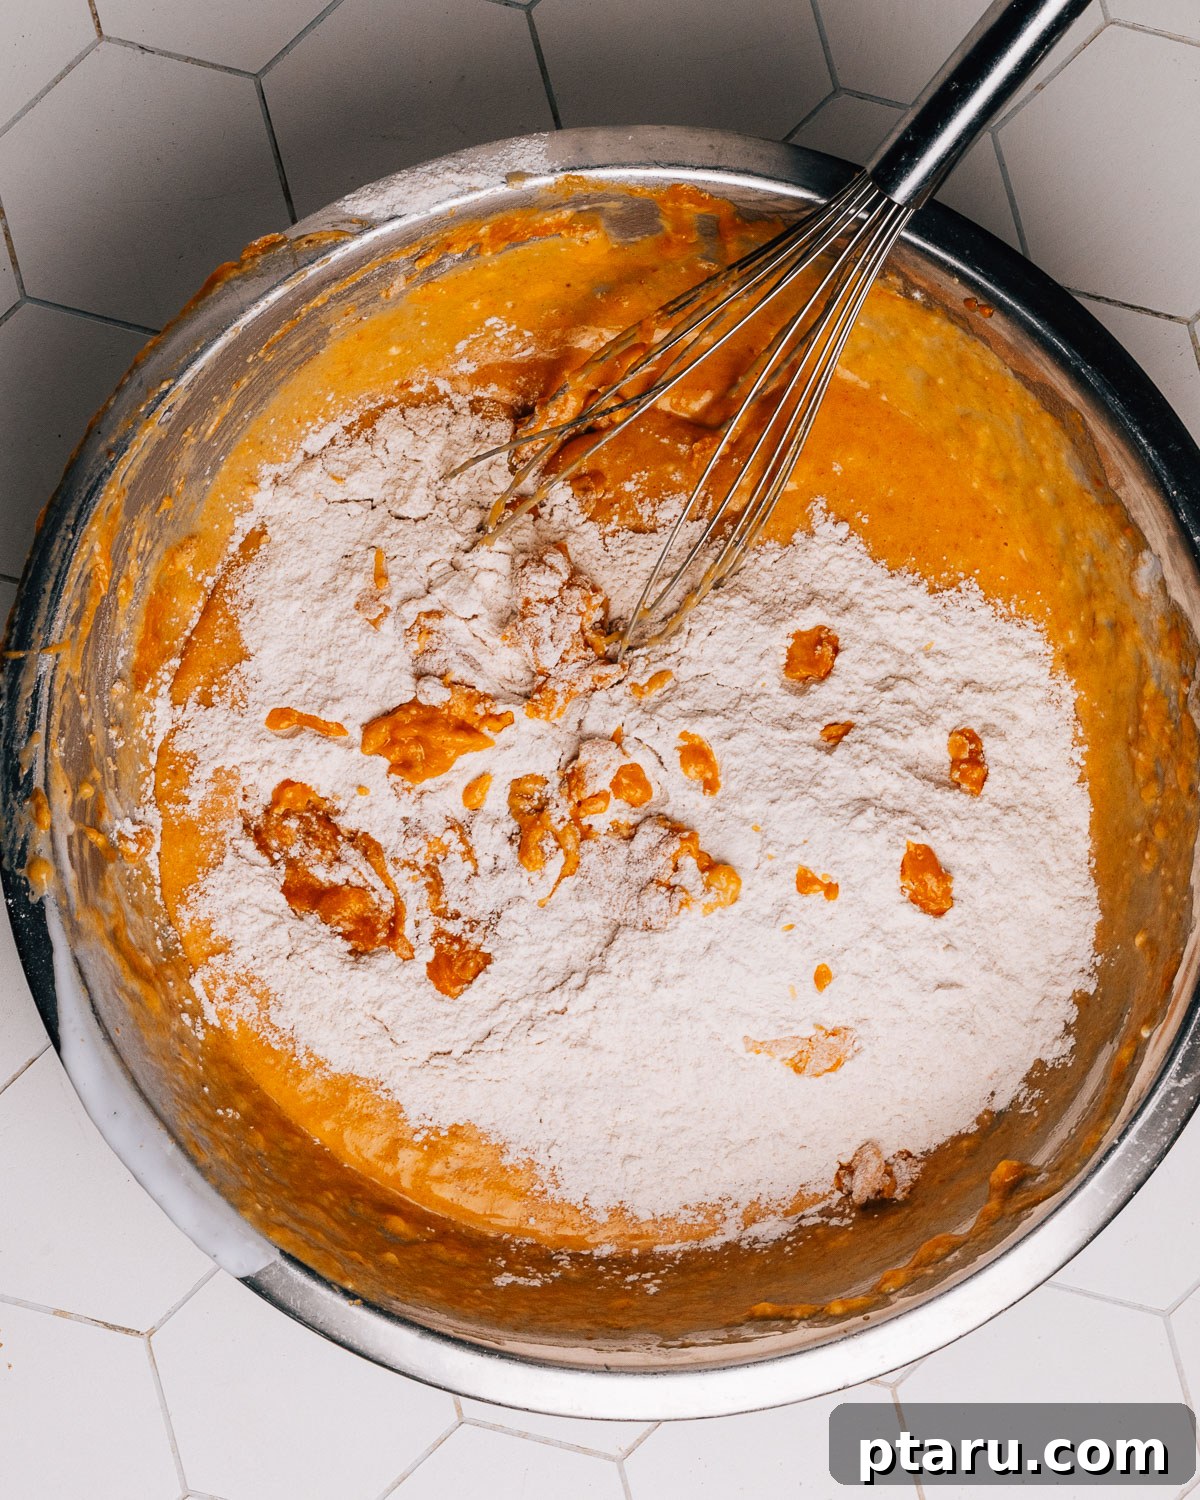
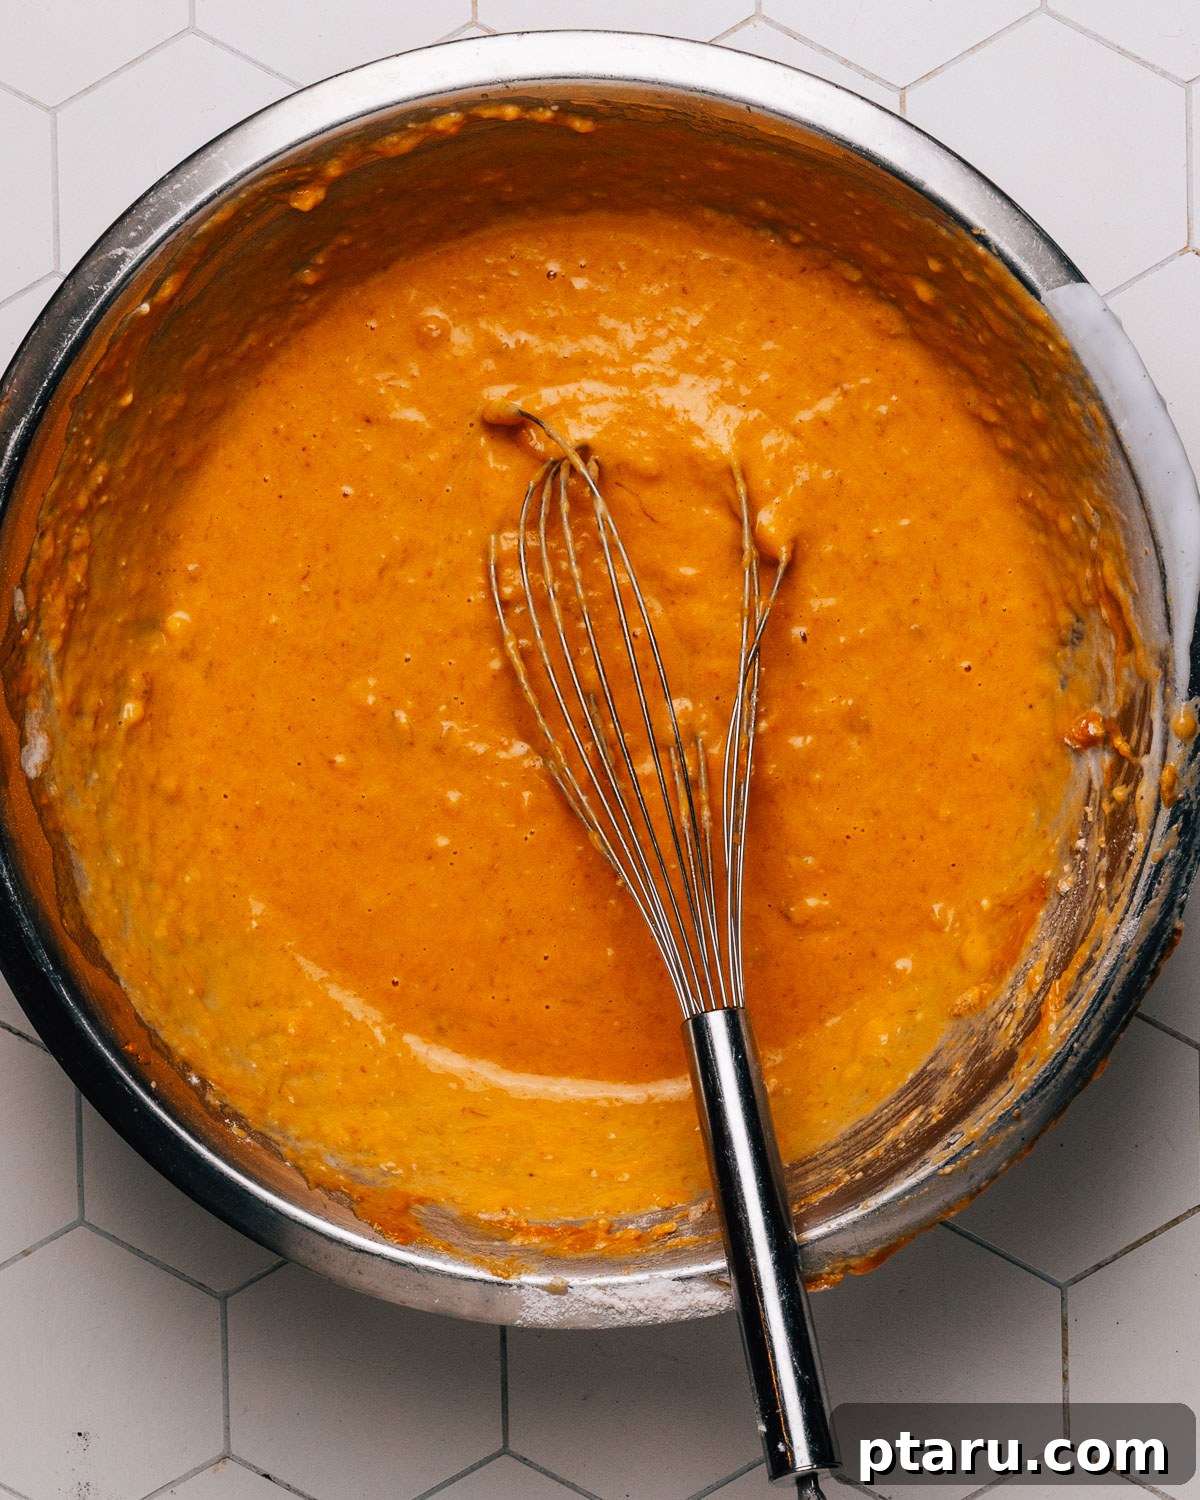
Create a well in the center of your dry ingredients mixture. Pour the entire wet mixture into this well. Using a spatula, stir slowly and gently until the ingredients are just combined. It’s perfectly normal, and actually desirable, to see a few faint streaks of flour remaining in the batter. Overmixing develops gluten, leading to tough, chewy muffins. The remaining streaks will disappear during the portioning and baking process.
5. Portion and Bake to Golden Perfection
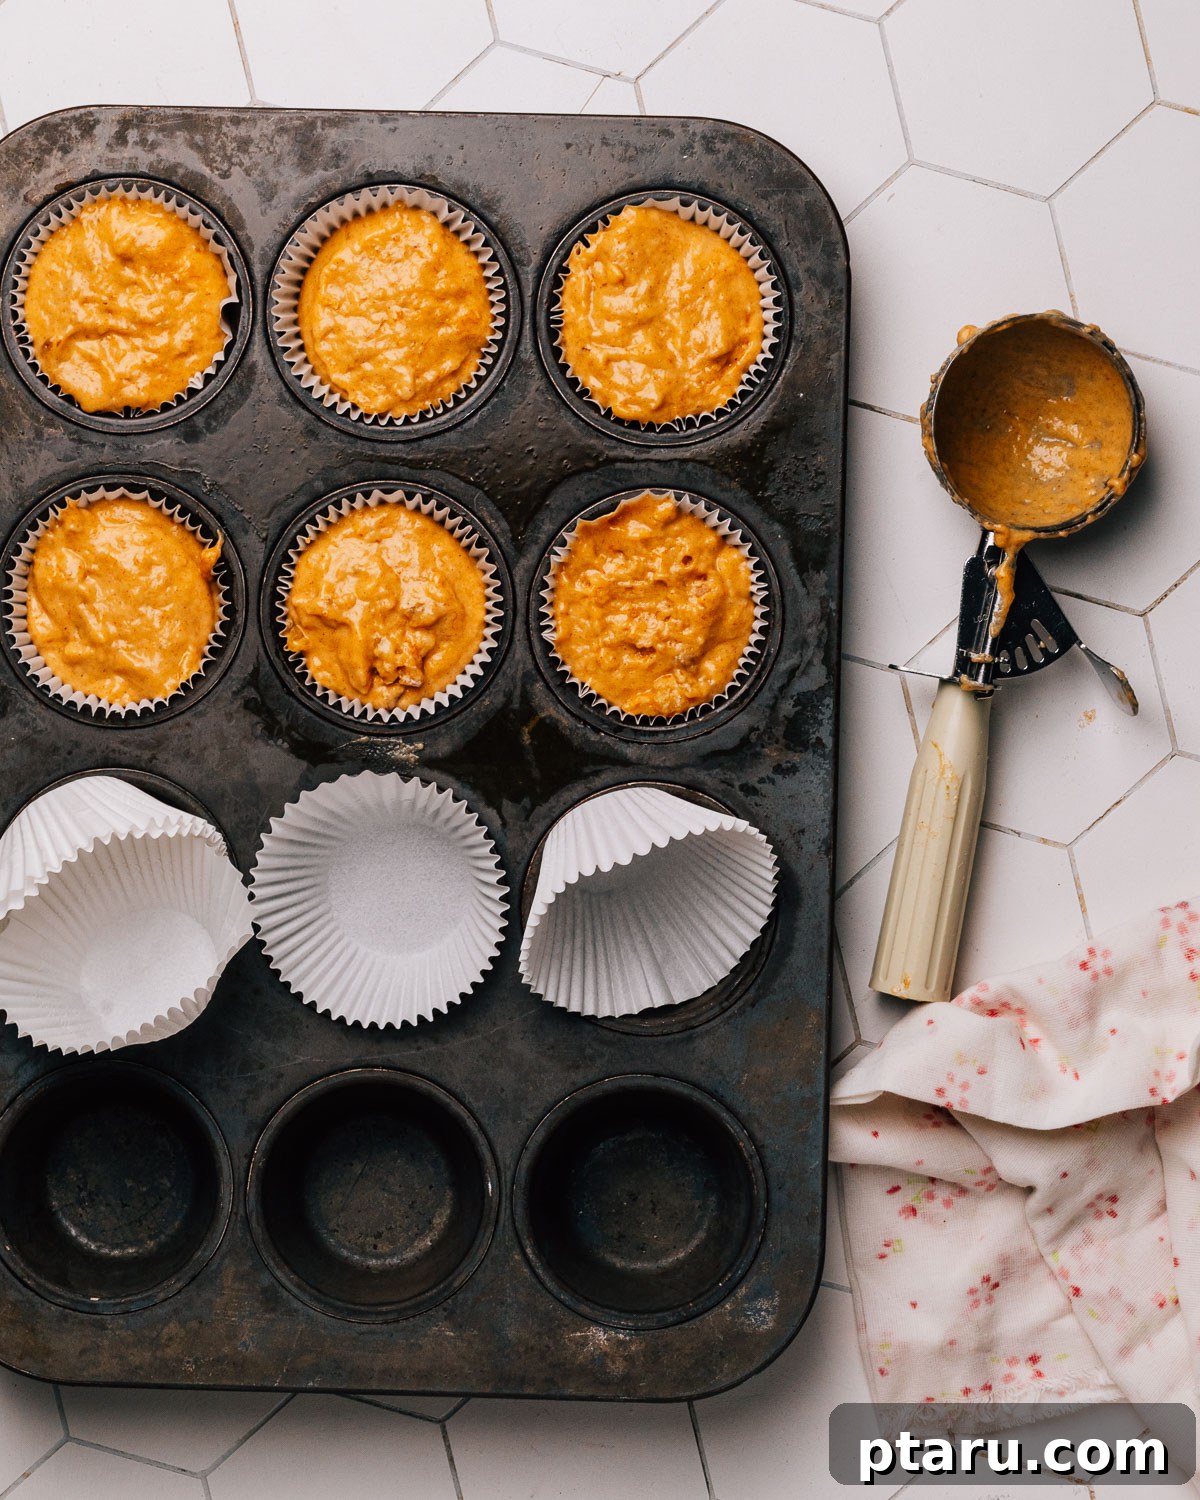
Using a portion scoop for even sizing, fill each of the 18 prepared muffin cups nearly full, leaving about ¼ inch of headspace. This generous filling promotes those beautiful, domed bakery-style tops. Transfer the muffin pans to the preheated oven and bake for 20 to 25 minutes. The muffins are done when an instant-read thermometer inserted into the center of a muffin reads 190°F (88°C). If you don’t have a thermometer, look for golden-brown tops that spring back gently when lightly pressed.
6. Cool and Savor Your Delicious Creation
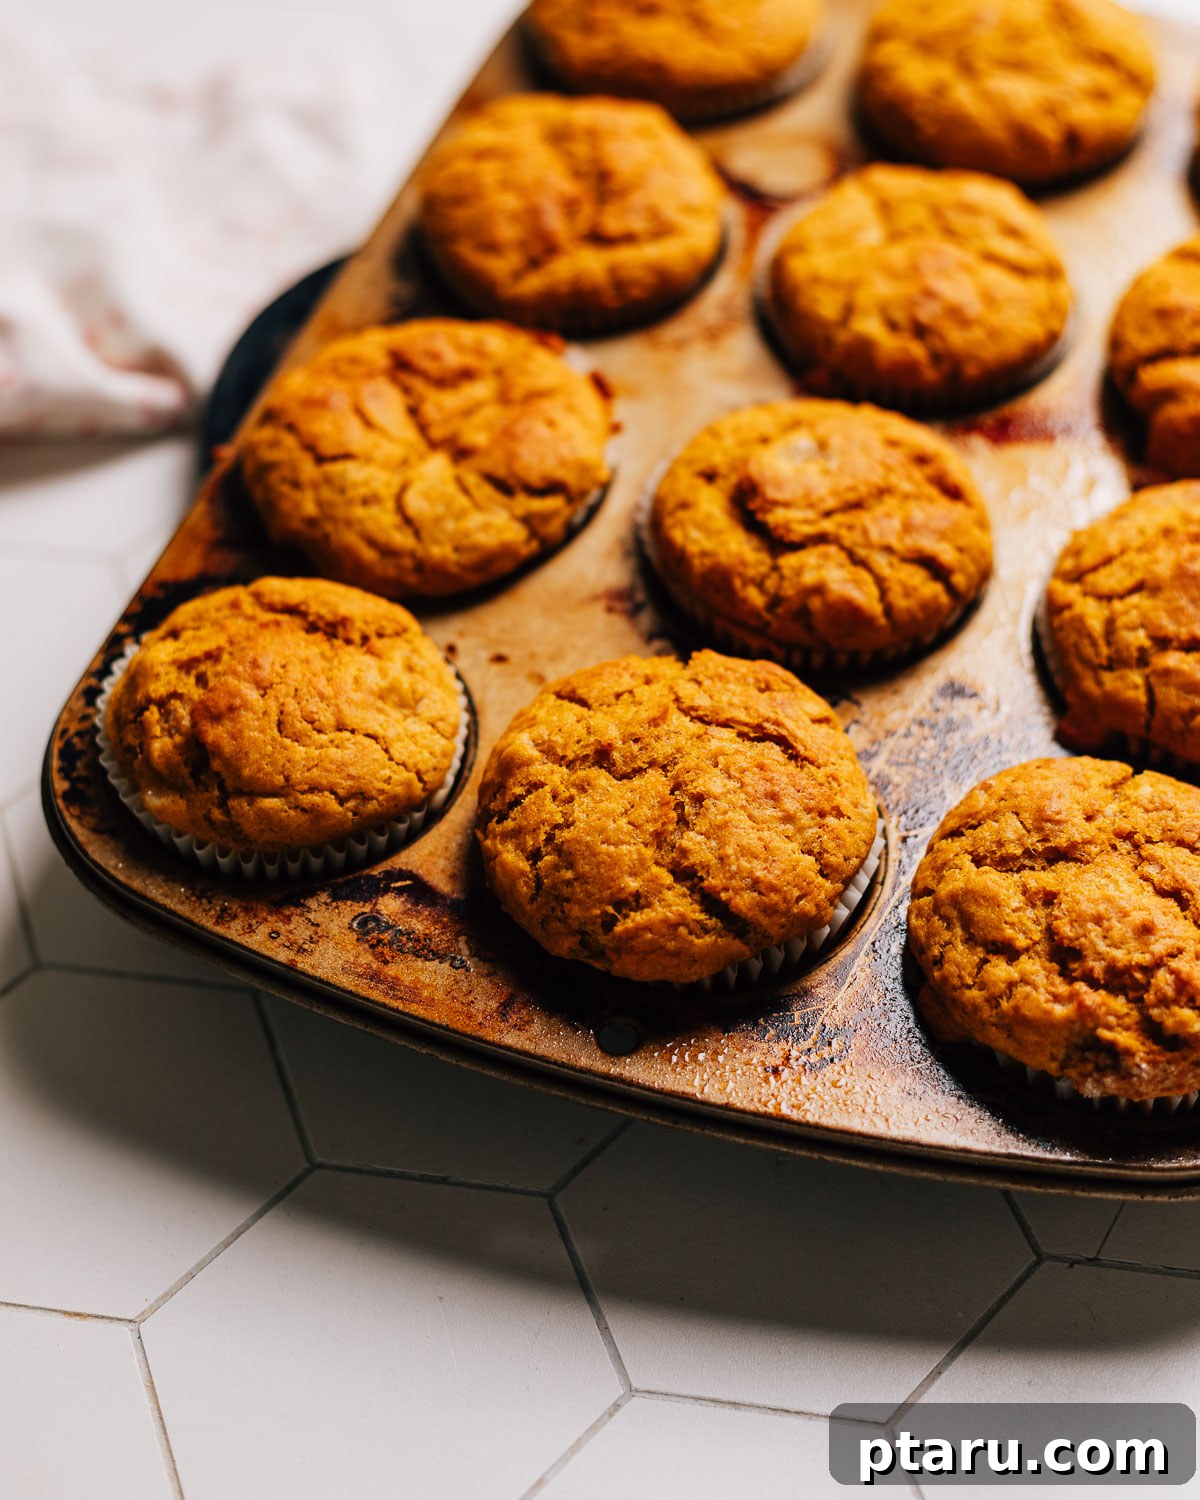
Once baked, remove the muffin pans from the oven and allow the muffins to rest in the pan for about 5 minutes. This crucial resting period allows the internal structure of the muffins to set, preventing them from crumbling. After 5 minutes, carefully transfer the muffins to a wire cooling rack to cool completely. While tempting to dig in immediately, cooling fully results in the best possible texture and allows the flavors to meld beautifully.
5 Common Mistakes to Avoid for Flawless Pumpkin Banana Muffins
Even seasoned bakers can sometimes stumble, but understanding common pitfalls can help you achieve consistently perfect muffins. Here are the most frequent mix-ups to steer clear of, along with tips on how to avoid them:
- Overmixing the batter: This is perhaps the most common mistake in muffin making. When you overmix, you overdevelop the gluten in the flour, which leads to a tough, rubbery crumb and often results in “tunnels” (large air pockets) within the muffin. To avoid this, mix until just combined, stopping as soon as a few streaks of flour remain. They will disappear during baking.
- Packing the flour into the measuring cup: Scooping flour directly from the bag with your measuring cup compacts it, meaning you’re adding much more flour than the recipe intends. This excess flour leads to dry, dense, and crumbly muffins. The best method is to spoon the flour into your measuring cup and then level it off with the back of a knife. Even better, invest in a kitchen scale and measure by weight (tap the ‘Metric’ button on the recipe card for weight measurements) for ultimate accuracy and consistency.
- Using bananas that aren’t sufficiently ripe: The ripeness of your bananas significantly impacts the flavor, sweetness, and moisture content of your muffins. Under-ripe bananas are starchier and less sweet, resulting in muffins that lack that deep banana flavor and desired moistness. Aim for bananas with abundant brown spots or even entirely black peels for the best results.
- Uneven batter distribution in muffin cups: Filling some cups too much and others too little causes uneven bake times across your batch. Overfilled cups might overflow or remain raw in the center, while underfilled ones can dry out. Using a portion scoop (like an ice cream scoop) helps ensure each muffin cup is filled consistently, promoting uniform baking and beautiful, even domes.
- Overbaking the muffins: Baking for too long is a surefire way to end up with dry, bland muffins. Every oven can vary, so relying solely on time can be misleading. The most foolproof indicator of doneness is an instant-read thermometer. Aim for an internal temperature of 190°F (88°C). Alternatively, gently press the centers of the muffins; they should feel springy and bounce back immediately.
Make Ahead and Storage Tips for Lasting Freshness
Enjoying your homemade muffins throughout the week is easy with proper storage. Bake a large batch once and savor them for days. A few simple habits will keep your pumpkin banana muffins soft and fresh. A crucial tip: never refrigerate muffins, as this accelerates the staling process and can dry them out.
Storing Leftover Muffins
- Room temperature first: Always ensure your muffins are completely cooled before storing them. Storing warm muffins will create condensation inside the container, leading to sogginess and potential mold growth.
- Airtight container for maximum freshness: Place the fully cooled muffins in an airtight container. To maintain their signature softness and moisture for even longer, I like to add a chunk of a fresh apple or a pre-soaked brown sugar keeper inside the container. The added humidity helps to keep the muffins incredibly soft and delicious.
- Timing: These muffins are best enjoyed within 3 days when stored at room temperature using the methods above. Beyond that, consider freezing them for longer preservation.
Freezing for Future Enjoyment
Freezing is an excellent option for extending the life of your pumpkin banana muffins, allowing you to enjoy a homemade treat whenever a craving strikes.
- Wrap them well: Once completely cooled, wrap each muffin individually in plastic wrap, then place them in a single layer in a freezer-safe bag or container. Press out as much air as possible from the bag to prevent freezer burn.
- Date it: Always label your freezer bags or containers with the date. Muffins can be stored in the freezer for up to 3 months without compromising quality.
- Thaw smart: To thaw, simply remove the desired number of muffins from the freezer and let them defrost at room temperature while still in their bag or wrap. This helps to trap moisture and keeps them from drying out as they come to temperature.
Reheating Pumpkin Banana Muffins
Want that “just-baked” warmth and softness? Reheating your muffins is quick and easy.
- Microwave quick refresh: For a rapid reheat, place a muffin in the microwave for 10 to 15 seconds. This will return that wonderful, just-baked softness without drying it out.
- Oven refresh for ultimate warmth: If you prefer a slightly crisper exterior, preheat your oven to 300°F (150°C). Place the muffins directly on a rack and warm for 5 to 7 minutes, or until heated through. This method warms them without making them rubbery.
Unlock the Secrets: Final Notes for the Best Pumpkin Banana Muffins
Beyond the recipe steps, a few expert tips can elevate your pumpkin banana muffins from good to truly exceptional. These are insights often shared by food scientists and experienced bakers:
- Weigh or fluff your flour for precision: Accurate flour measurement is paramount for a tender crumb. If you don’t have a kitchen scale, use the “spoon and level” method: spoon flour into your measuring cup until it’s overflowing, then level it off with a straight edge. Never scoop flour directly with the measuring cup.
- Always use very ripe bananas: This cannot be stressed enough! Bananas with dark spots or even mostly black peels are packed with natural sugars and moisture, which translates directly into sweeter, moister, and more flavorful muffins. Green or yellow bananas simply won’t yield the same results.
- Mix gently, just until combined: Overmixing is the enemy of tender muffins. Stir the wet and dry ingredients together just until you no longer see large pockets of dry flour. It’s perfectly fine, and even preferred, if a few small streaks of flour remain; they will vanish during the portioning and baking process, ensuring a soft texture.
- A hot oven encourages tall domes: Starting your muffins in a preheated oven at 375°F (190°C) is strategic. The initial burst of heat causes the leavening agents to activate rapidly, creating a powerful “oven spring” that helps the muffins rise quickly and develop those attractive, high domed tops before the crumb sets.
- Confirm doneness with a thermometer at 190°F: While visual cues like golden tops and a springy bounce are helpful, an instant-read thermometer provides a totally foolproof indicator of doneness. Inserting it into the center of a muffin and reading 190°F (88°C) guarantees your muffins are perfectly cooked through without being overbaked and dry.
- Rest in the pan briefly to set structure: After baking, allowing the muffins to rest in the hot pan for five minutes is a small but important step. This brief period helps the delicate internal structure of the muffins to firm up and set, preventing them from collapsing or crumbling when you transfer them to the cooling rack. It also prevents steaming, which can lead to soggy bottoms.
Explore More Favorite Muffin Recipes
If you’ve fallen in love with these Pumpkin Banana Muffins, don’t stop there! Expand your baking repertoire with some of my other tried-and-true muffin recipes:
- My irresistibly moist blueberry bran muffin recipe, perfect for a wholesome start to your day.
- Delightful rhubarb muffins healthy with Greek yogurt, offering a tangy sweetness.
- The bright and fruity goodness of apricot muffins.
- Zesty lemon blueberry muffins with sour cream for an extra tender crumb.
- And for the chocolate lovers, tender double chocolate muffins, a rich and decadent treat.
Pin
Pumpkin Banana Muffins (Soft + Fluffy!)
Jennifer Pallian BSc, RD
10 minutes
20 minutes
18
Ingredients
Wet Ingredients
- 1 ¾ cups pumpkin puree (a 15-oz can)
- 2 cups mashed over-ripe banana (about 4-5 large)
- 1 cup buttermilk (or substitute)
- ¾ cup vegetable oil
- ⅓ cup packed brown sugar
- 2 large eggs
- 2 tsp vanilla extract
Dry Ingredients
- 3 ½ cups all-purpose flour
- ¾ cup granulated sugar
- 2 tsp cinnamon
- 1 tbsp baking powder
- 1 tsp baking soda
- 1 tsp kosher salt
Instructions
- Heat oven to 375°F (190°C). Line 18 muffin cups in two 12-cup muffin pans with paper liners. Lightly spray the pan surface, even with liners, to ensure muffin tops release cleanly.
- In a large bowl, whisk together the pumpkin puree, mashed banana, buttermilk, vegetable oil, brown sugar, eggs, and vanilla extract until smooth and well combined.
- In a separate large bowl, whisk together the all-purpose flour, granulated sugar, cinnamon, baking powder, baking soda, and kosher salt until thoroughly blended.
- Create a well in the center of the dry ingredients. Pour the wet mixture into the well. Stir gently with a spatula until just combined, with a few faint streaks of flour remaining. Be careful not to overmix.
- Using a portion scoop, fill the 18 muffin cups nearly full (leaving about ¼ inch headspace for large, domed tops). Bake for 20 to 25 minutes, or until an instant-read thermometer inserted into the center of a muffin reads 190°F (88°C). The tops should also be golden and spring back when gently pressed.
- Remove the pans from the oven and let the muffins cool in the pans for 5 minutes. This allows their structure to set. Then, transfer them to a wire rack to cool completely for the best texture.
Notes
Spray or grease the muffin tin even if you’re lining with paper liners. This ensures that any batter overflow doesn’t stick and helps the muffins release effortlessly.
For big, beautiful bakery-style muffins, I fill the cups nearly to the brim (leaving about 1/4 inch headspace). This yields 18 generous muffins. If you prefer to make smaller muffins, you can fill all 24 muffin cups 3/4 full. They’ll likely be done in a slightly shorter timeframe, typically 18-22 minutes.
Nutrition Information (Approximate per muffin)
Carbohydrates: 39g |
Protein: 4g |
Fat: 11g |
Saturated Fat: 2g |
Polyunsaturated Fat: 6g |
Monounsaturated Fat: 3g |
Trans Fat: 0.1g |
Cholesterol: 20mg |
Sodium: 288mg |
Potassium: 172mg |
Fiber: 4g |
Sugar: 18g |
Vitamin A: 3825 IU |
Vitamin C: 3mg |
Calcium: 84mg |
Iron: 1mg
Nutrition information is automatically calculated, so should only be used as an approximation and is not guaranteed for accuracy.
Tried this recipe? Leave a comment below and share your experience!