

Mastering Homemade Kettle Corn: Your Ultimate Guide to Salty-Sweet Perfection
There’s a universally loved snack that perfectly bridges the gap between sweet and savory, a treat so utterly delightful it often feels like magic: kettle corn. Its signature salty-sweet crunch has captivated taste buds for generations, making it a beloved staple at fairs, festivals, and movie nights alike. What if we told you that this seemingly gourmet snack is incredibly simple to create in your very own kitchen? Forget the store-bought bags; homemade kettle corn is not only fresh and incredibly delicious, but it also offers a surprisingly easy and rewarding culinary experience. Get ready to impress your friends, delight your family, and elevate your snack game with this comprehensive guide to crafting the perfect batch of kettle corn from scratch.
What Makes Kettle Corn So Irresistible?
Kettle corn stands out from regular popcorn thanks to its unique flavor profile. While traditional popcorn is often savory, seasoned with butter and salt, kettle corn introduces a delightful layer of sweetness. This balance is achieved by cooking popcorn kernels with oil, sugar, and salt simultaneously in a large kettle or pot. As the kernels pop, the sugar caramelizes, forming a thin, crispy coating on each piece of popcorn, while the salt provides a crucial counterpoint, enhancing both the sweet and savory notes. The result is a snack that’s profoundly satisfying, offering a complex taste sensation that keeps you coming back for more.
A Glimpse into Kettle Corn’s History
While modern kettle corn gained significant popularity in the late 20th century at farmers’ markets and craft fairs, its roots stretch back much further. Popcorn itself has been enjoyed for thousands of years, and the concept of adding sweeteners to it is not new. Early American settlers and Native Americans would sometimes add molasses or sugar to their popped corn. The “kettle” in kettle corn refers to the large cast-iron kettles traditionally used to cook it over an open fire, a method that imbued the popcorn with its characteristic smoky, caramelized flavor. Today, you don’t need an open fire or a giant kettle to replicate this delicious treat; a heavy-bottomed pot on your stove works wonders.
Why DIY Kettle Corn? The Benefits of Homemade Goodness
Making kettle corn at home isn’t just about saving a few dollars; it’s about control, freshness, and the sheer joy of creation. Here’s why you should ditch the pre-packaged versions and embrace the homemade:
- Unbeatable Freshness: There’s nothing quite like warm, freshly popped kettle corn, still slightly sticky and perfectly crisp. Store-bought versions simply can’t compare to the immediate satisfaction of a homemade batch.
- Control Over Ingredients: When you make it yourself, you dictate the quality of oil, the amount of sugar, and the type of salt. This allows you to customize the flavor to your exact preference and avoid unwanted additives.
- Cost-Effective Snacking: Popcorn kernels are incredibly inexpensive, making homemade kettle corn a budget-friendly snack option, especially for feeding a crowd.
- Fun and Engaging: The process itself is surprisingly therapeutic and enjoyable, especially the “shake, shake, shake” part. It’s a great activity to do with family, turning snack time into a fun event.
- Impress Your Guests: People are genuinely impressed by homemade kettle corn. It feels special and unique, often prompting questions about how you made such a delicious treat so easily.
The Essentials for Perfect Homemade Kettle Corn
Before you embark on your kettle corn journey, ensure you have the right tools and ingredients. Success lies in preparation!
Key Equipment:
- A Large, Heavy-Bottomed Pot with a Lid: This is non-negotiable. A heavy bottom ensures even heat distribution, preventing the sugar from burning too quickly while the kernels pop. A tight-fitting lid is crucial to keep the popcorn from escaping and to contain the heat.
- Two Oven Mitts: Safety first! You’ll be shaking a hot pot with boiling sugar inside, so reliable oven mitts are essential for protecting your hands.
- Large Mixing Spoon: For stirring after popping and carefully distributing the salt.
- Large Bowl: For serving your delicious creation.
Essential Ingredients:
- 1/4 cup Canola Oil (or other high smoke point oil): Canola oil is a great neutral choice. Vegetable oil or coconut oil also work well. Avoid olive oil, as its smoke point is too low for this application.
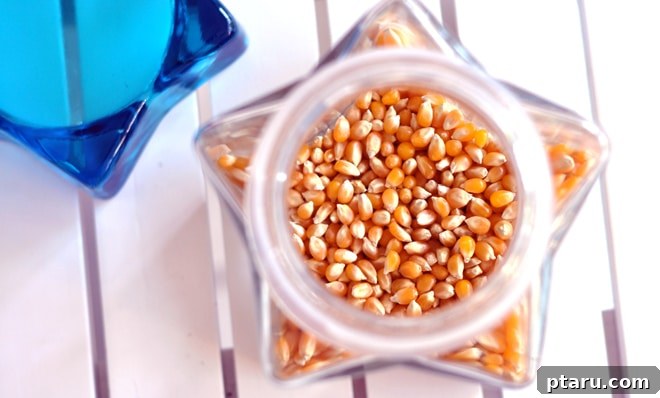
- 1/2 cup Popping Corn Kernels: Standard yellow or white popcorn kernels are perfect. Ensure they are fresh for optimal popping.
- 1/4 cup Granulated Sugar: Plain white granulated sugar is best for caramelizing evenly. You can adjust this amount based on your desired sweetness.
- Salt, to taste: Fine-grained salt (like table salt) adheres best to the sugary coating. Kosher salt or sea salt can also be used, but you might need to adjust the quantity.
Step-by-Step Guide to Irresistible Kettle Corn
Follow these precise steps to achieve kettle corn perfection every time. Remember, the secret is in the shake!
1. Prepare Your Popping Station
Gather all your ingredients and equipment. Place your large, heavy-bottomed pot on a burner over medium-high heat. Ensure your oven mitts are easily accessible.
2. The Test Kernels – A Temperature Check
Pour the 1/4 cup of canola oil into the pot. Drop in just three popcorn kernels. Cover the pot with the lid and wait. When all three test kernels have popped, your oil is at the perfect temperature to add the rest of the corn. This prevents adding kernels to oil that’s too cold (resulting in unpopped kernels) or too hot (causing immediate burning).
3. Add Remaining Kernels and Sugar
Once the test kernels have popped, quickly remove the pot from the heat for a few seconds. Immediately add the remaining 1/2 cup of popping corn kernels and sprinkle the 1/4 cup of granulated sugar directly over them. This brief removal from heat prevents the sugar from burning before the rest of the kernels are introduced and gives you a moment to add everything quickly.
4. The Great Shake Begins!
Replace the lid firmly. Now, wearing your oven mitts, return the pot to the medium-high heat. Begin to shake the pot vigorously and continuously. The original article playfully says, “Shake it shake shake shake it shake it like a Polaroid picture.” This constant motion is crucial! It ensures the sugar coats the kernels evenly and prevents it from burning and sticking to the bottom of the pot.
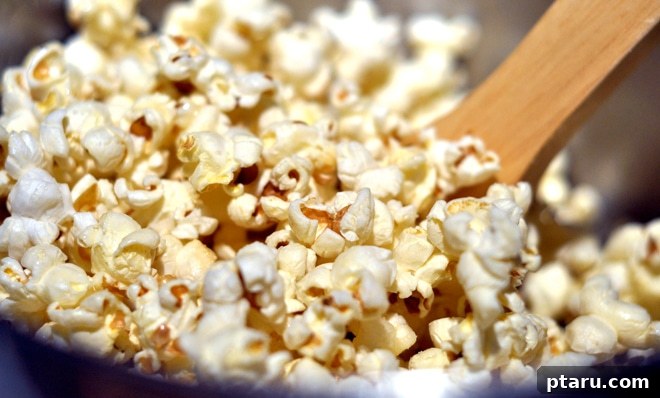
Cook, shaking the pot regularly (ideally every 5-10 seconds), until you hear the popping slow down significantly. There should be more than a few seconds between pops. This usually takes about 3-5 minutes from when you start shaking. Don’t wait until popping stops completely on the stove, as the residual heat will continue to cook it, risking burnt sugar.
5. Remove from Heat and Finish Popping
Once the popping has slowed, immediately remove the pot from the heat but leave the lid on. The kernels will continue to pop for another minute or two due to the trapped heat. Keep the lid on until the popping stops completely to ensure all kernels have a chance to pop and to contain any late-bloomers.
6. Salt and Serve with Caution
Once popping ceases, remove the lid. Immediately sprinkle the kettle corn with salt to taste. The sugar coating will still be warm and slightly sticky, which helps the salt adhere beautifully. Using a large spoon, gently stir the kettle corn to distribute the salt evenly. Be extremely careful during this step, as the caramelized sugar is intensely hot and very sticky. “Danger,” as the original text wisely warns.
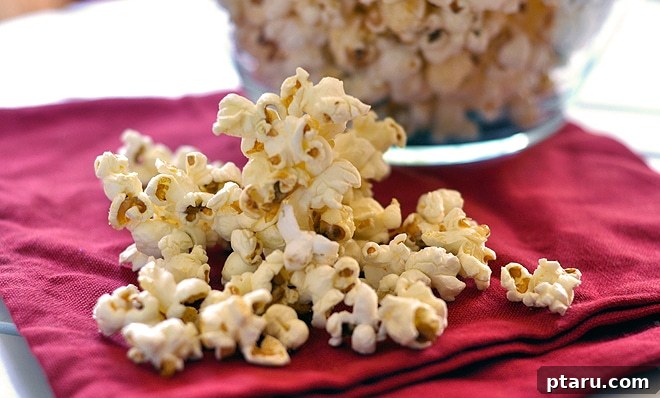
Allow the kettle corn to cool for 5-10 minutes before serving. As it cools, the sugar layer will harden and become wonderfully crisp, giving you that satisfying crunch that makes kettle corn so beloved. The popcorn gets better and better as it cools and the sugar forms a very thin crispy layer. If you like a thicker crispy sugar layer, you can add slightly more sugar in step 3.
Important Safety Precautions
While making kettle corn is fun, working with hot, caramelized sugar requires caution. Always remember:
- Use Oven Mitts: Never touch the hot pot directly, especially when shaking.
- Beware of Hot Sugar: Caramelized sugar can cause severe burns. Avoid direct contact with skin.
- Steam Release: Be careful when removing the lid, as hot steam will escape.
- Supervision: Keep children away from the stove during the cooking process.
Tips for Kettle Corn Perfection
To consistently achieve that ideal salty-sweet balance and crispy texture, consider these additional tips:
- Don’t Overcrowd the Pot: Using too many kernels for your pot size will result in unpopped kernels and uneven coating. Stick to the recommended ratios or adjust for a larger pot, but ensure there’s enough room for the kernels to move and pop freely.
- Fresh Kernels Matter: Old popcorn kernels don’t pop as well and can result in tough, chewy popcorn. Use fresh kernels for the best results.
- Experiment with Sugar and Salt: The 1/4 cup sugar to 1/2 cup kernels is a classic ratio, but feel free to adjust. Love it sweeter? Add a tablespoon or two more sugar. Prefer it saltier? Be generous with your final sprinkle.
- Even Heat is Key: A heavy-bottomed pot is crucial for even heat distribution. If your stove has hot spots, try to rotate the pot occasionally during shaking to compensate.
- Listen Carefully: Your ears are your best tool for knowing when the kettle corn is done. The slowing of pops is your cue to remove it from the heat. Overcooking leads to burnt sugar, which is unpleasant and ruins the whole batch.
- Store Properly: While best enjoyed fresh, leftover kettle corn can be stored in an airtight container at room temperature for a day or two. It might lose some of its crispiness over time.
Creative Variations and Serving Suggestions
Once you’ve mastered the basic recipe, don’t hesitate to get creative!
- Spiced Kettle Corn: After popping and salting, sprinkle with a pinch of cinnamon, pumpkin pie spice, or even a touch of chili powder for a sweet-heat kick.
- Chocolate Drizzle: Once the kettle corn has cooled completely, melt some chocolate chips and drizzle them over the popcorn for a decadent treat.
- Nutty Kettle Corn: Add a handful of chopped nuts (pecans, almonds) along with the kernels and sugar for a delightful textural addition.
- Gourmet Salt Varieties: Experiment with different types of salt, such as smoked sea salt or flaky sea salt, for nuanced flavor profiles.
Kettle corn is the ultimate versatile snack. Serve it for:
- Movie Nights: A classic pairing!
- Parties and Gatherings: Always a crowd-pleaser.
- Afternoon Snacking: A perfect pick-me-up.
- Homemade Gifts: Package it in decorative bags for a thoughtful and delicious present.
The Simple Joy of Homemade Comfort Food
Making kettle corn is more than just following a recipe; it’s an experience. The delightful aroma that fills your kitchen, the rhythmic sound of the kernels popping, and finally, the glorious crunch of that first bite—it all culminates in a profound sense of comfort and satisfaction. This is comfort food at its finest: simple, honest, and utterly delicious. It’s a snack that evokes nostalgia and creates new memories, perfect for sharing or savoring all by yourself.
Your friends will love you for making it. You might even make new friends, drawn in by the irresistible scent and the promise of salty-sweet goodness. So, don’t hesitate. The brief explanation in this guide is all you need to get started. The kettle corn truly speaks for itself, promising pure, unadulterated joy in every handful.
The Kettle Corn Recipe
Here’s a condensed version of the recipe for your convenience:
Ingredients:
- 1/4 cup canola oil (or other high smoke point oil)
- 1/2 cup popping corn kernels
- 1/4 cup granulated sugar
- Salt, to taste
Instructions:
- Drop 3 kernels of popping corn into the oil in a large, heavy-bottomed, lidded pot over medium-high heat. Close the lid and wait until you hear all three kernels pop.
- Quickly remove the pot from heat for a few seconds. Add the remaining popping corn kernels and sprinkle with granulated sugar. Close the lid once again.
- Wearing oven mitts, return the pot to the heat and give it a good, continuous shake. Cook, shaking the pot regularly to prevent the sugar from burning, until there are more than a few seconds between pops.
- Remove the pot from the heat and leave the lid on until popping stops completely (about 1-2 minutes).
- Carefully remove the lid. Immediately sprinkle with salt to taste and stir with a large spoon to distribute evenly. Be very careful, as the caramelized sugar is extremely hot and sticky.
- Allow to cool for 5-10 minutes before serving to achieve maximum crispiness.
Just make it, okay? You won’t regret it.