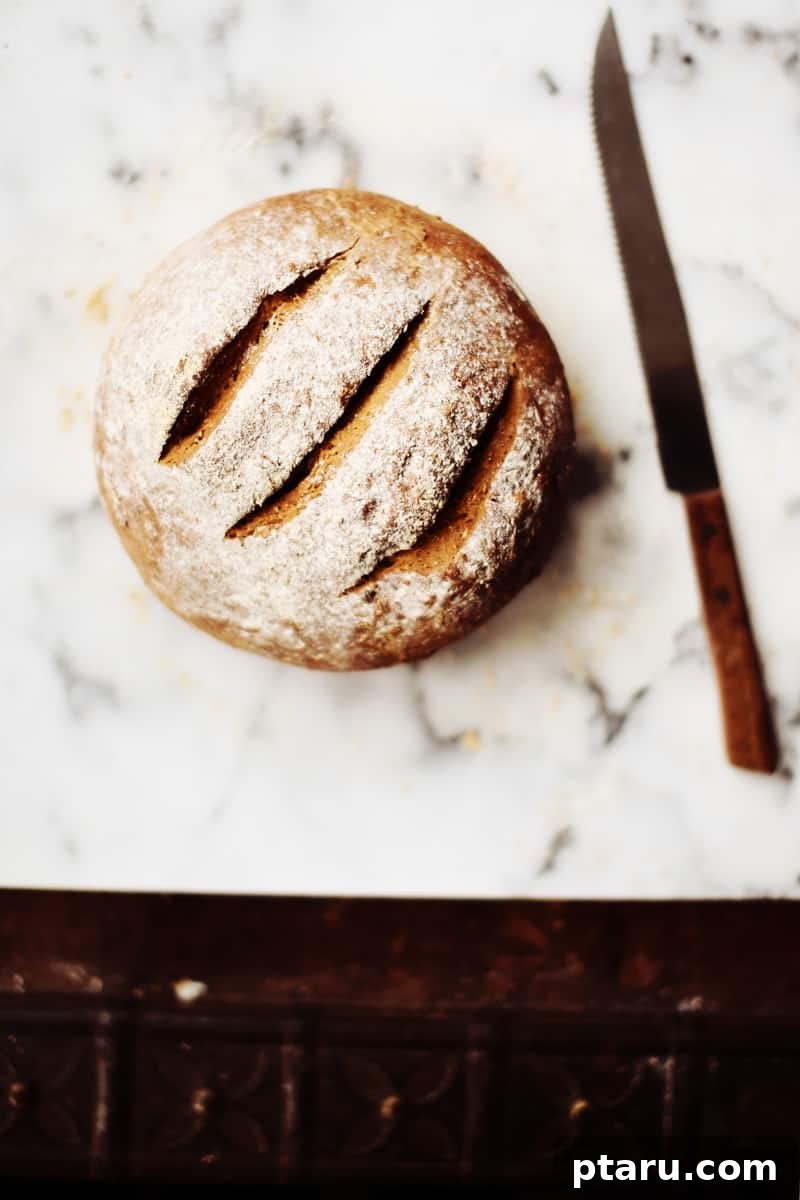
Homemade Oatmeal Brown Bread: A Heartfelt Recipe for Comfort and Joy
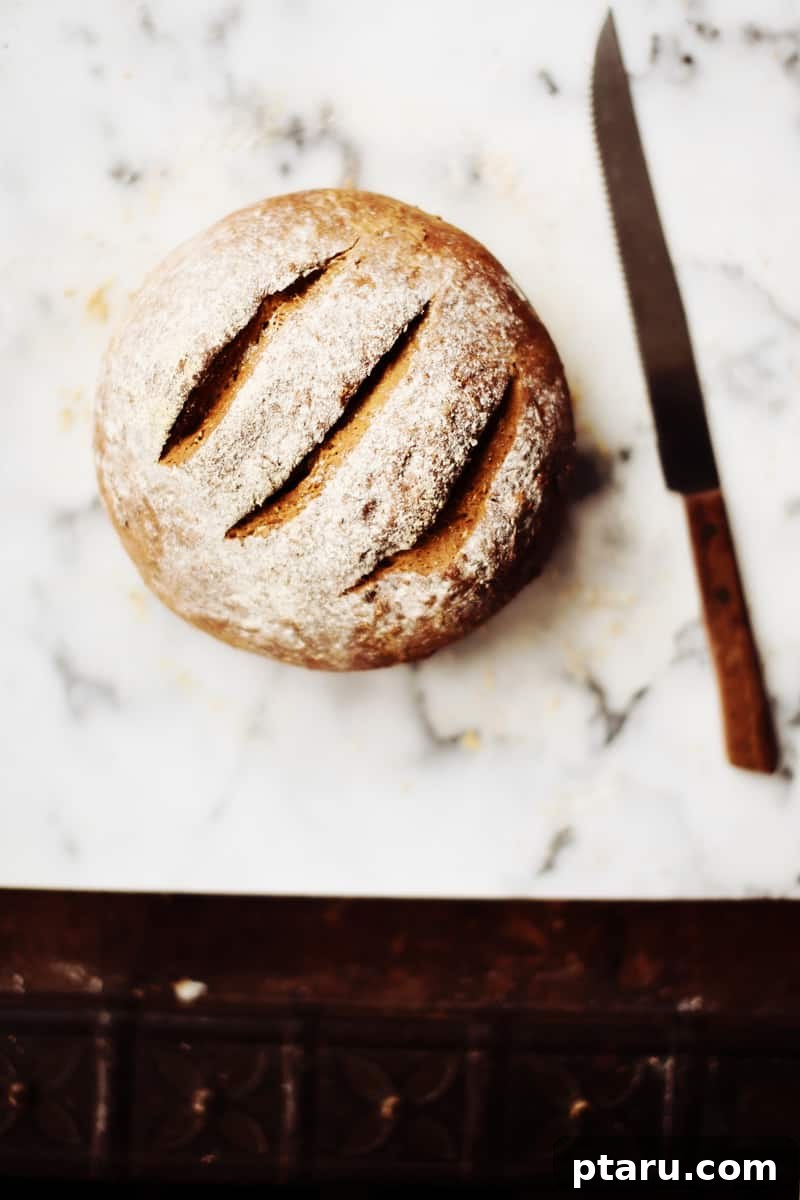
There’s an undeniable magic in homemade bread, a sensory experience that awakens the senses and wraps you in comfort. From the earthy scent of yeast proofing to the satisfying resistance of dough under your hands, baking bread is a journey of creation and a timeless act of love. This particular recipe for Oatmeal Brown Bread is more than just ingredients and steps; it’s a cherished legacy, a recipe passed down from a truly special person, imbued with generations of warmth and wisdom.
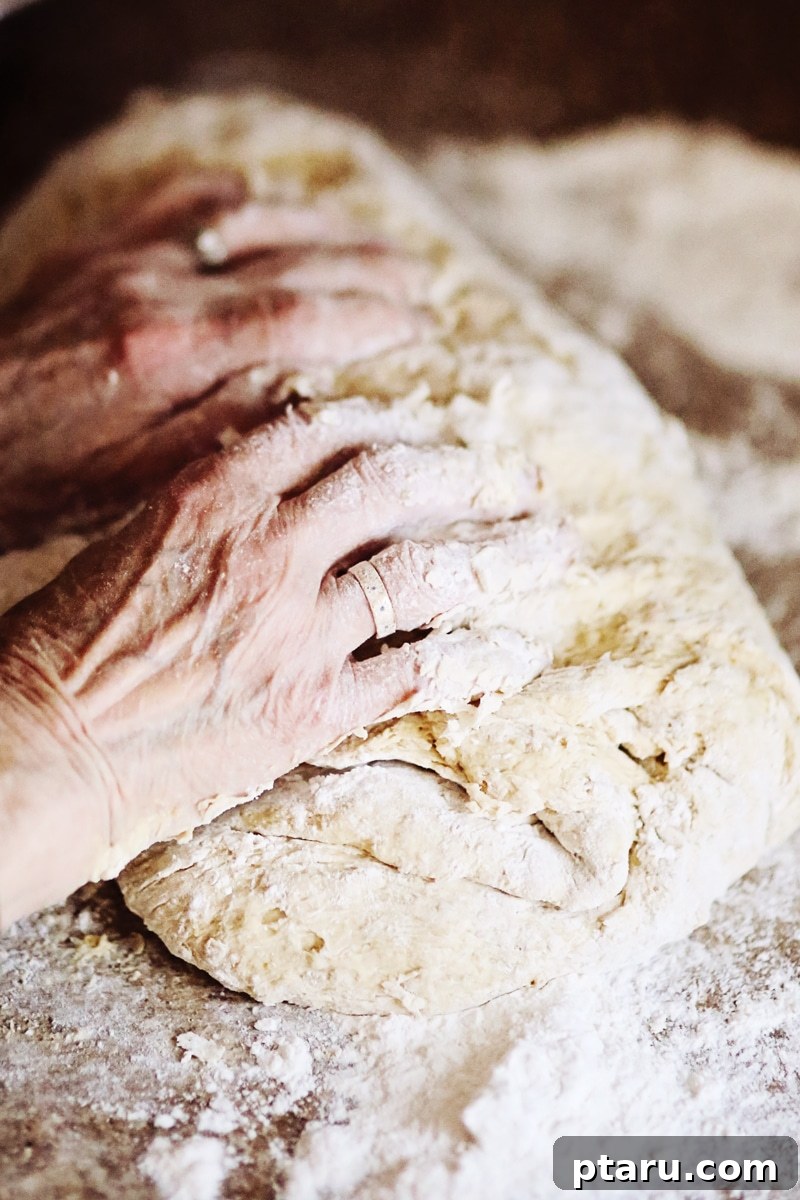
The true essence of this exceptional bread, we believe, lies in the deliberate act of hand-kneading. It’s a process where effort meets affection, where each fold and push infuses the dough with a unique tenderness and structure. There’s no substitute for the connection you forge with the dough when you work it by hand, feeling its transformation from a sticky mass to a smooth, elastic masterpiece. This tactile engagement isn’t just about developing gluten; it’s about pouring a little bit of your heart into every loaf, ensuring a product that’s as comforting to the soul as it is to the palate.
While we affectionately call it “Oatmeal Brown Bread,” the delightful “brown” hue and distinctive depth of flavor come not from whole wheat flour, but from the rich, dark sweetness of molasses. This secret ingredient, combined with humble white flour and hearty rolled oats, creates a unique profile that’s both robust and subtly sweet, with a wonderfully soft crumb. The simplicity of its ingredients belies the complexity of its taste, making it a beloved staple for any occasion.
From modest beginnings, our dough grows into what can only be described as a magnificent, generously sized ball. This isn’t just any dough; this is a testament to the power of yeast and patience. This magnificent baby, vibrant and alive, is destined to gracefully double its size, promising four wholesome, substantial loaves that will fill your home with an irresistible aroma. The initial bulk of the dough is a reassuring sight, hinting at the abundant goodness yet to come, a true bounty from your kitchen.
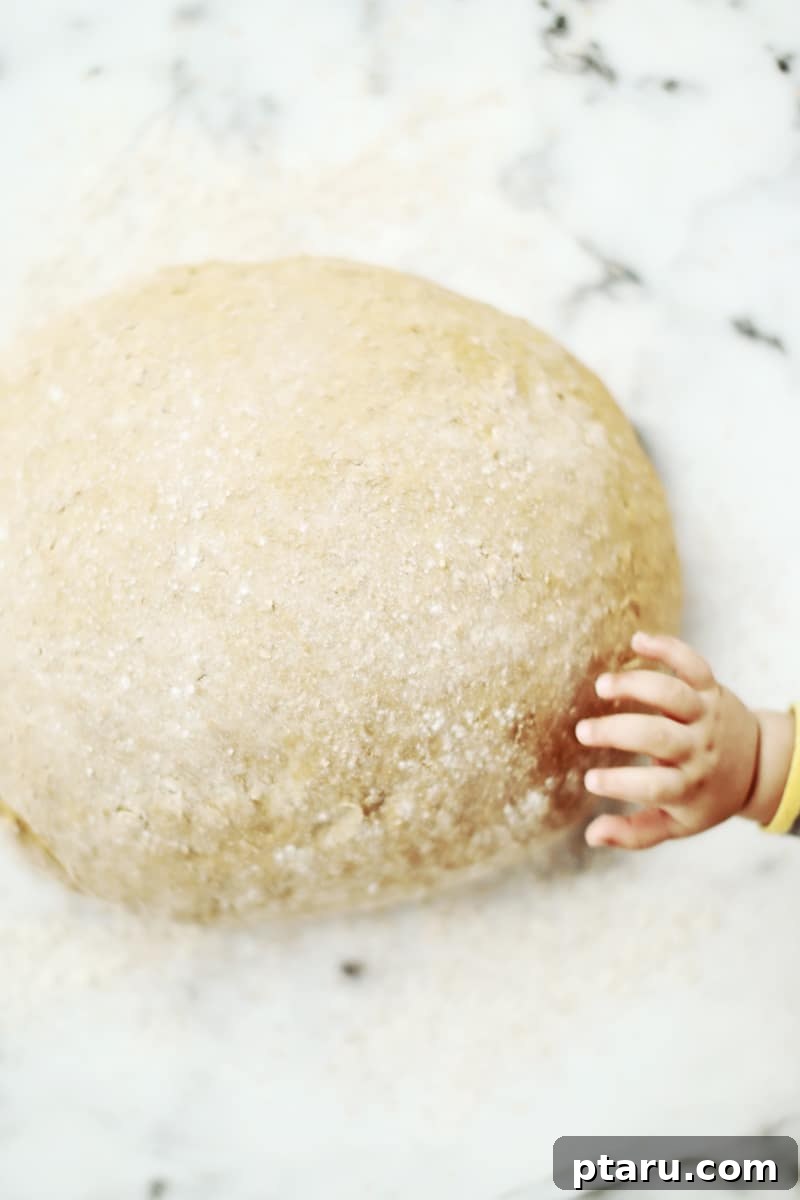
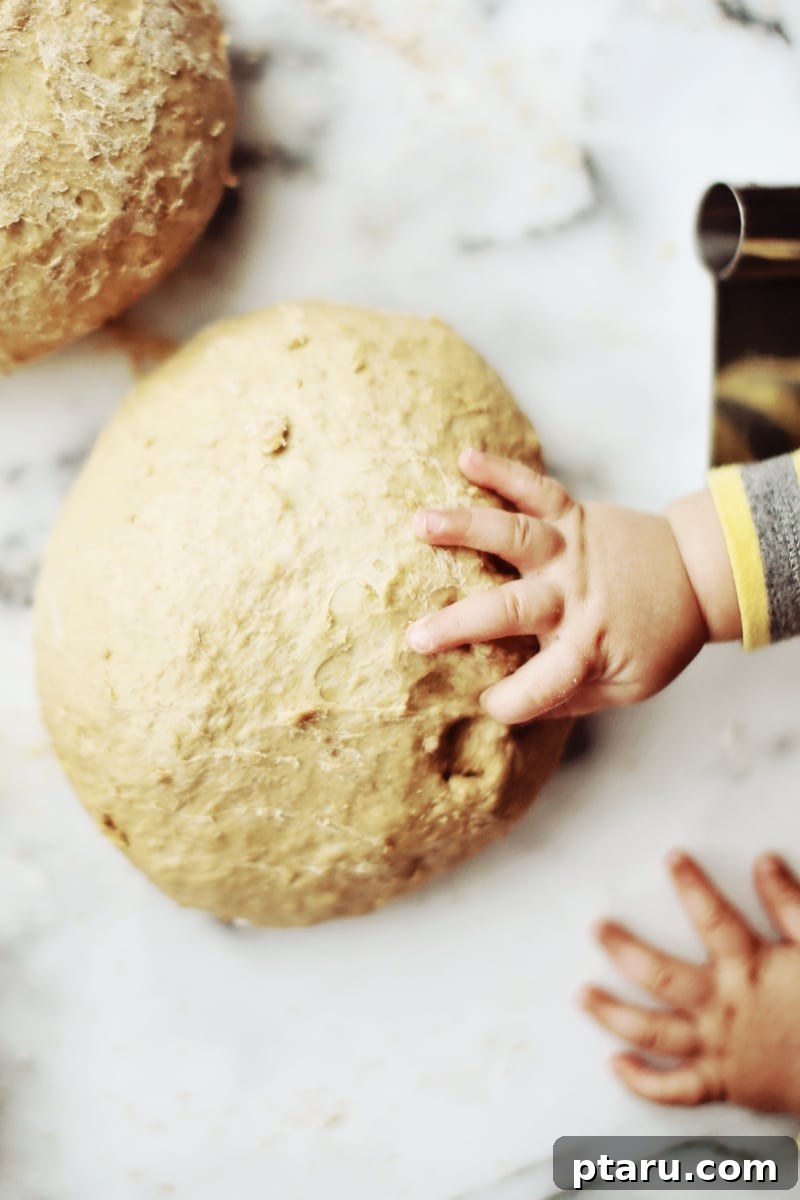
Speaking of babies, we’re referring to the dough baby, of course! Observing its miraculous expansion often sparks the same wonder as watching a child grow. Our little helper, Theo, with his irresistibly chubby fingers, couldn’t resist performing his own impromptu quality control test, attempting to liberate a tiny morsel of the soft, yielding dough for a taste. It’s moments like these that remind us of the simple joys and universal appeal of baking – a true multi-generational endeavor. And while Theo’s initial taste test might not be the precise windowpane test bakers employ to check for gluten development, his enthusiasm perfectly captures the anticipation that builds with each stage of the bread-making process.
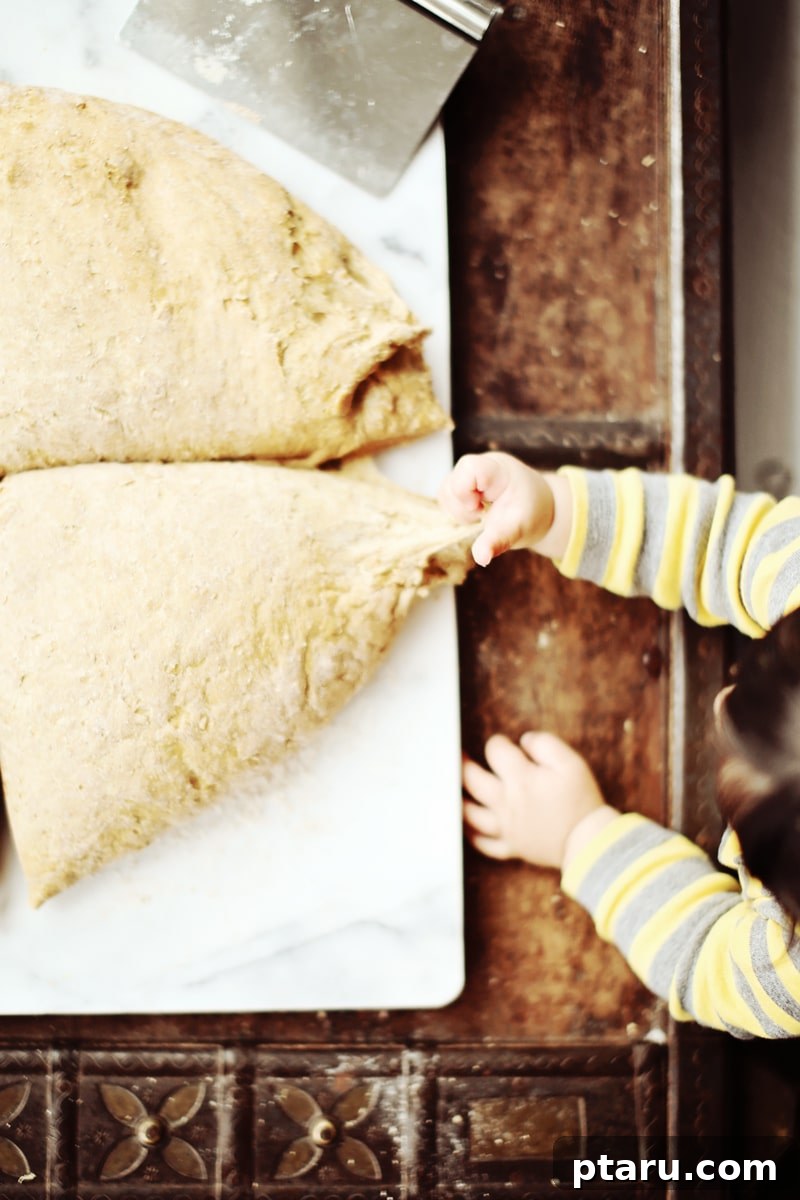
Once this incredible dough has completed its majestic first rise, expanding to twice its original volume, it takes on a truly inviting appearance. It’s so soft and pillowy, you might be tempted to snuggle your head into it for a quick, aromatic nap! But alas, duty calls, and it’s time for the next crucial step. Gently, yet firmly, punch down the dough to release the accumulated gases, then transform this expansive dough pillow into four perfectly equal pieces. A sturdy bench scraper or a sharp chef’s knife will be your best friend here, ensuring even portions that will bake into beautifully uniform loaves. This division is vital for consistent baking and ensures each future slice is a delight.
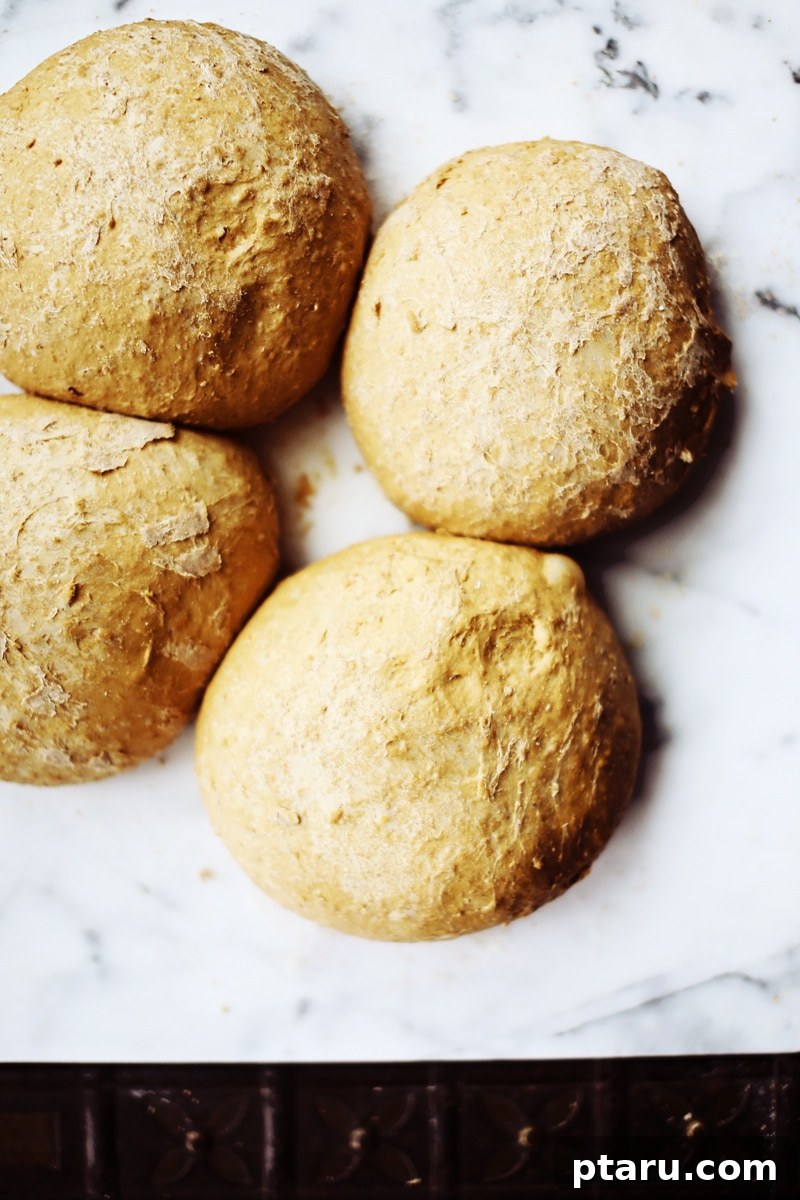
With the dough expertly divided, the next gratifying step is to meticulously roll each piece into wonderfully shaped loaves. This is where you impart your personal touch, coaxing the dough into elegant forms that will adorn your baking sheet. After their initial shaping, these nascent loaves require another period of rest and rising. Place them in a warm, draft-free spot and allow them the time they need to almost double in size once more. This second rise is paramount for achieving that coveted light, airy texture and an exquisite crumb that defines truly exceptional homemade bread.
Determining the perfect moment for your dough to enter the oven is a critical skill for any baker. Theo, our budding bread connoisseur, masterfully demonstrates a key technique – the “gentle indent test.” When you lightly press a fingertip into the side of a risen loaf, it should leave a slight indentation that slowly springs back, but not completely. If it springs back immediately, it needs more time to rise. If the indent remains and doesn’t spring back at all, the dough might be slightly over-proofed. Theo, in his youthful exuberance, perhaps forgot the “gentle” part, but his intent was spot-on! This simple test ensures your loaves achieve optimal aeration and a magnificent oven spring, leading to that ideal soft interior and robust crust.
The reward for your patience and effort is a quartet of stunning, aromatic loaves, glistening with a deep golden-brown crust. The entire kitchen fills with a sweet, yeasty aroma that is simply intoxicating. However, the ultimate test of a baker’s discipline often comes after the loaves emerge from the oven. For those pristine, neat, and truly thin slices that hold their shape impeccably, exercising “god-like patience” is absolutely essential. Resist the urge to cut into the warm, fragrant bread immediately. Allowing it to cool completely, ideally for at least an hour or two, allows the internal structure to set fully and the flavors to deepen. While a warm, buttered slice is a heavenly indulgence, a fully cooled loaf yields the best texture for sandwiches and ensures that each slice is a masterpiece.
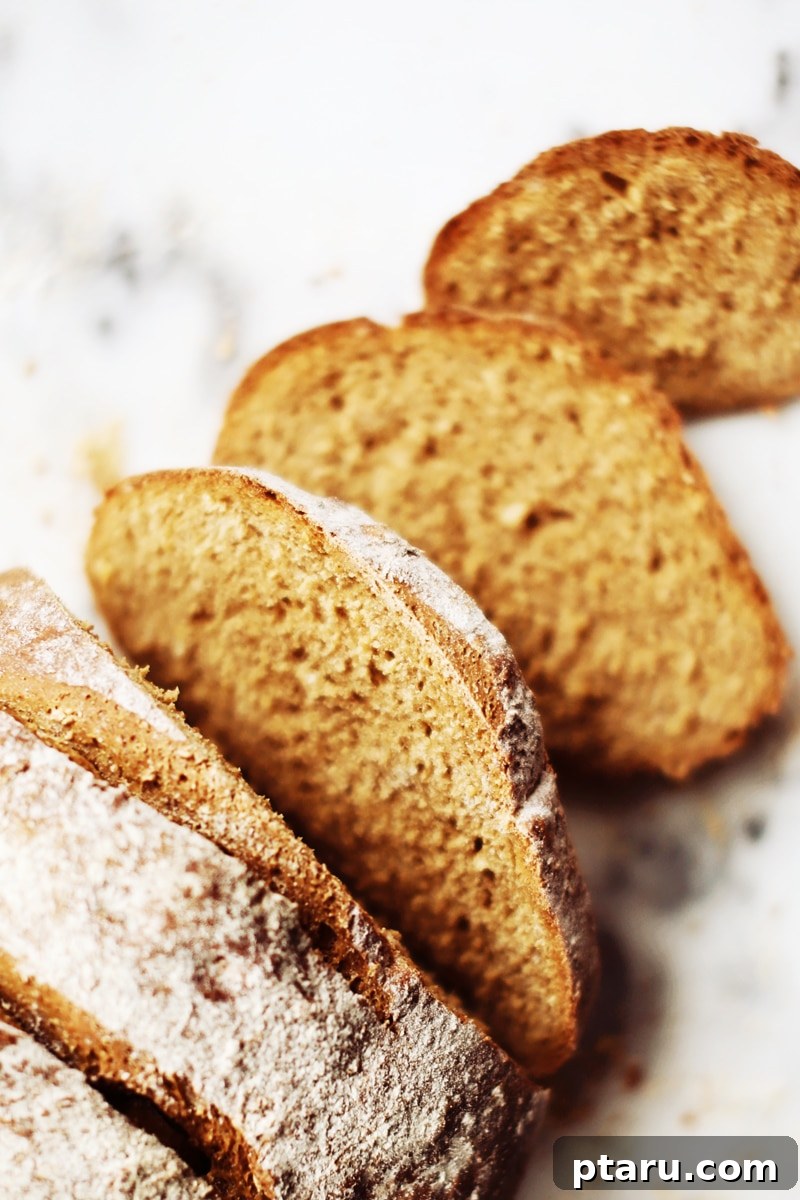
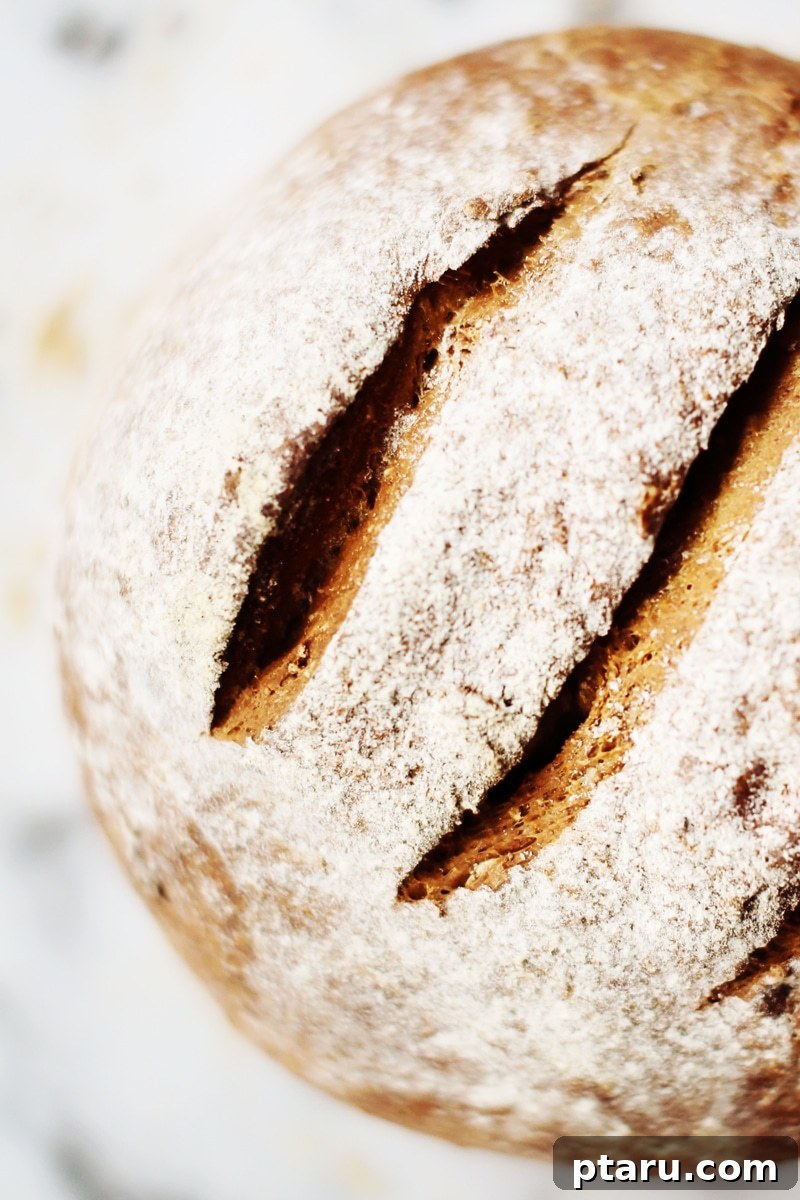
Upon cooling, each loaf reveals a beautiful, even crumb – soft, resilient, and ready for enjoyment. We highly recommend keeping one glorious loaf for yourself, a well-deserved reward for your baking prowess. But remember, the true joy of this Oatmeal Brown Bread is amplified through sharing. Distribute the remaining three loaves among friends, family, or neighbors. It’s more than just bread; it’s an act of kindness, a gesture of community, and as the saying goes, “good juju.”
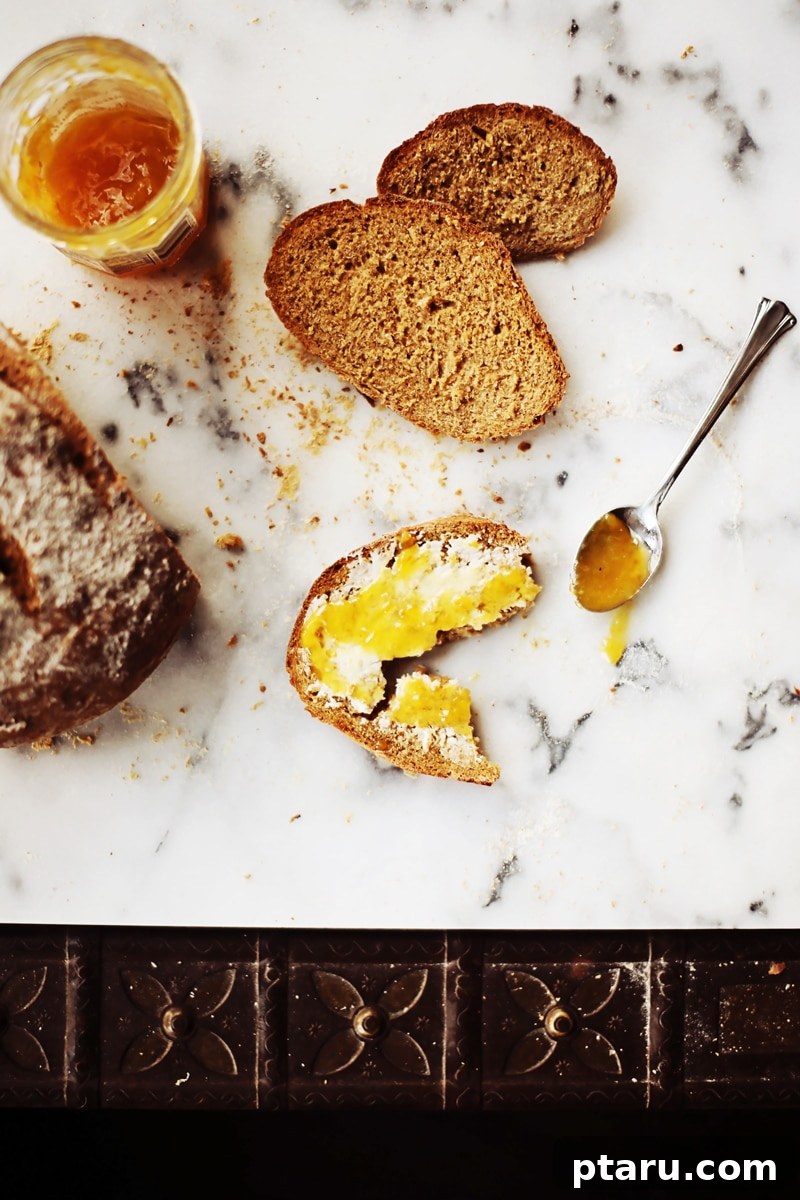
The versatility of this bread is truly remarkable. While a generous slathering of rich butter and vibrant marmalade makes for an exquisite breakfast or afternoon treat, its robust character also makes it the perfect companion for savory dishes. Imagine using thick slices to sop up the savory sauce of baked beans, or alongside a hearty bowl of chili or stew. It also makes for an incredibly satisfying sandwich bread, providing a subtly sweet and textural counterpoint to savory fillings. Don’t hesitate to toast it, cube it for croutons, or even use it as the base for a rustic bread pudding. This isn’t just bread; it’s an invitation to culinary creativity.
Ingredients for Your Hearty Oatmeal Brown Bread
Crafting this delightful bread begins with a precise selection of high-quality ingredients. Each component plays a vital role in achieving the signature flavor, texture, and rise of our Oatmeal Brown Bread. Here’s what you’ll need to gather:
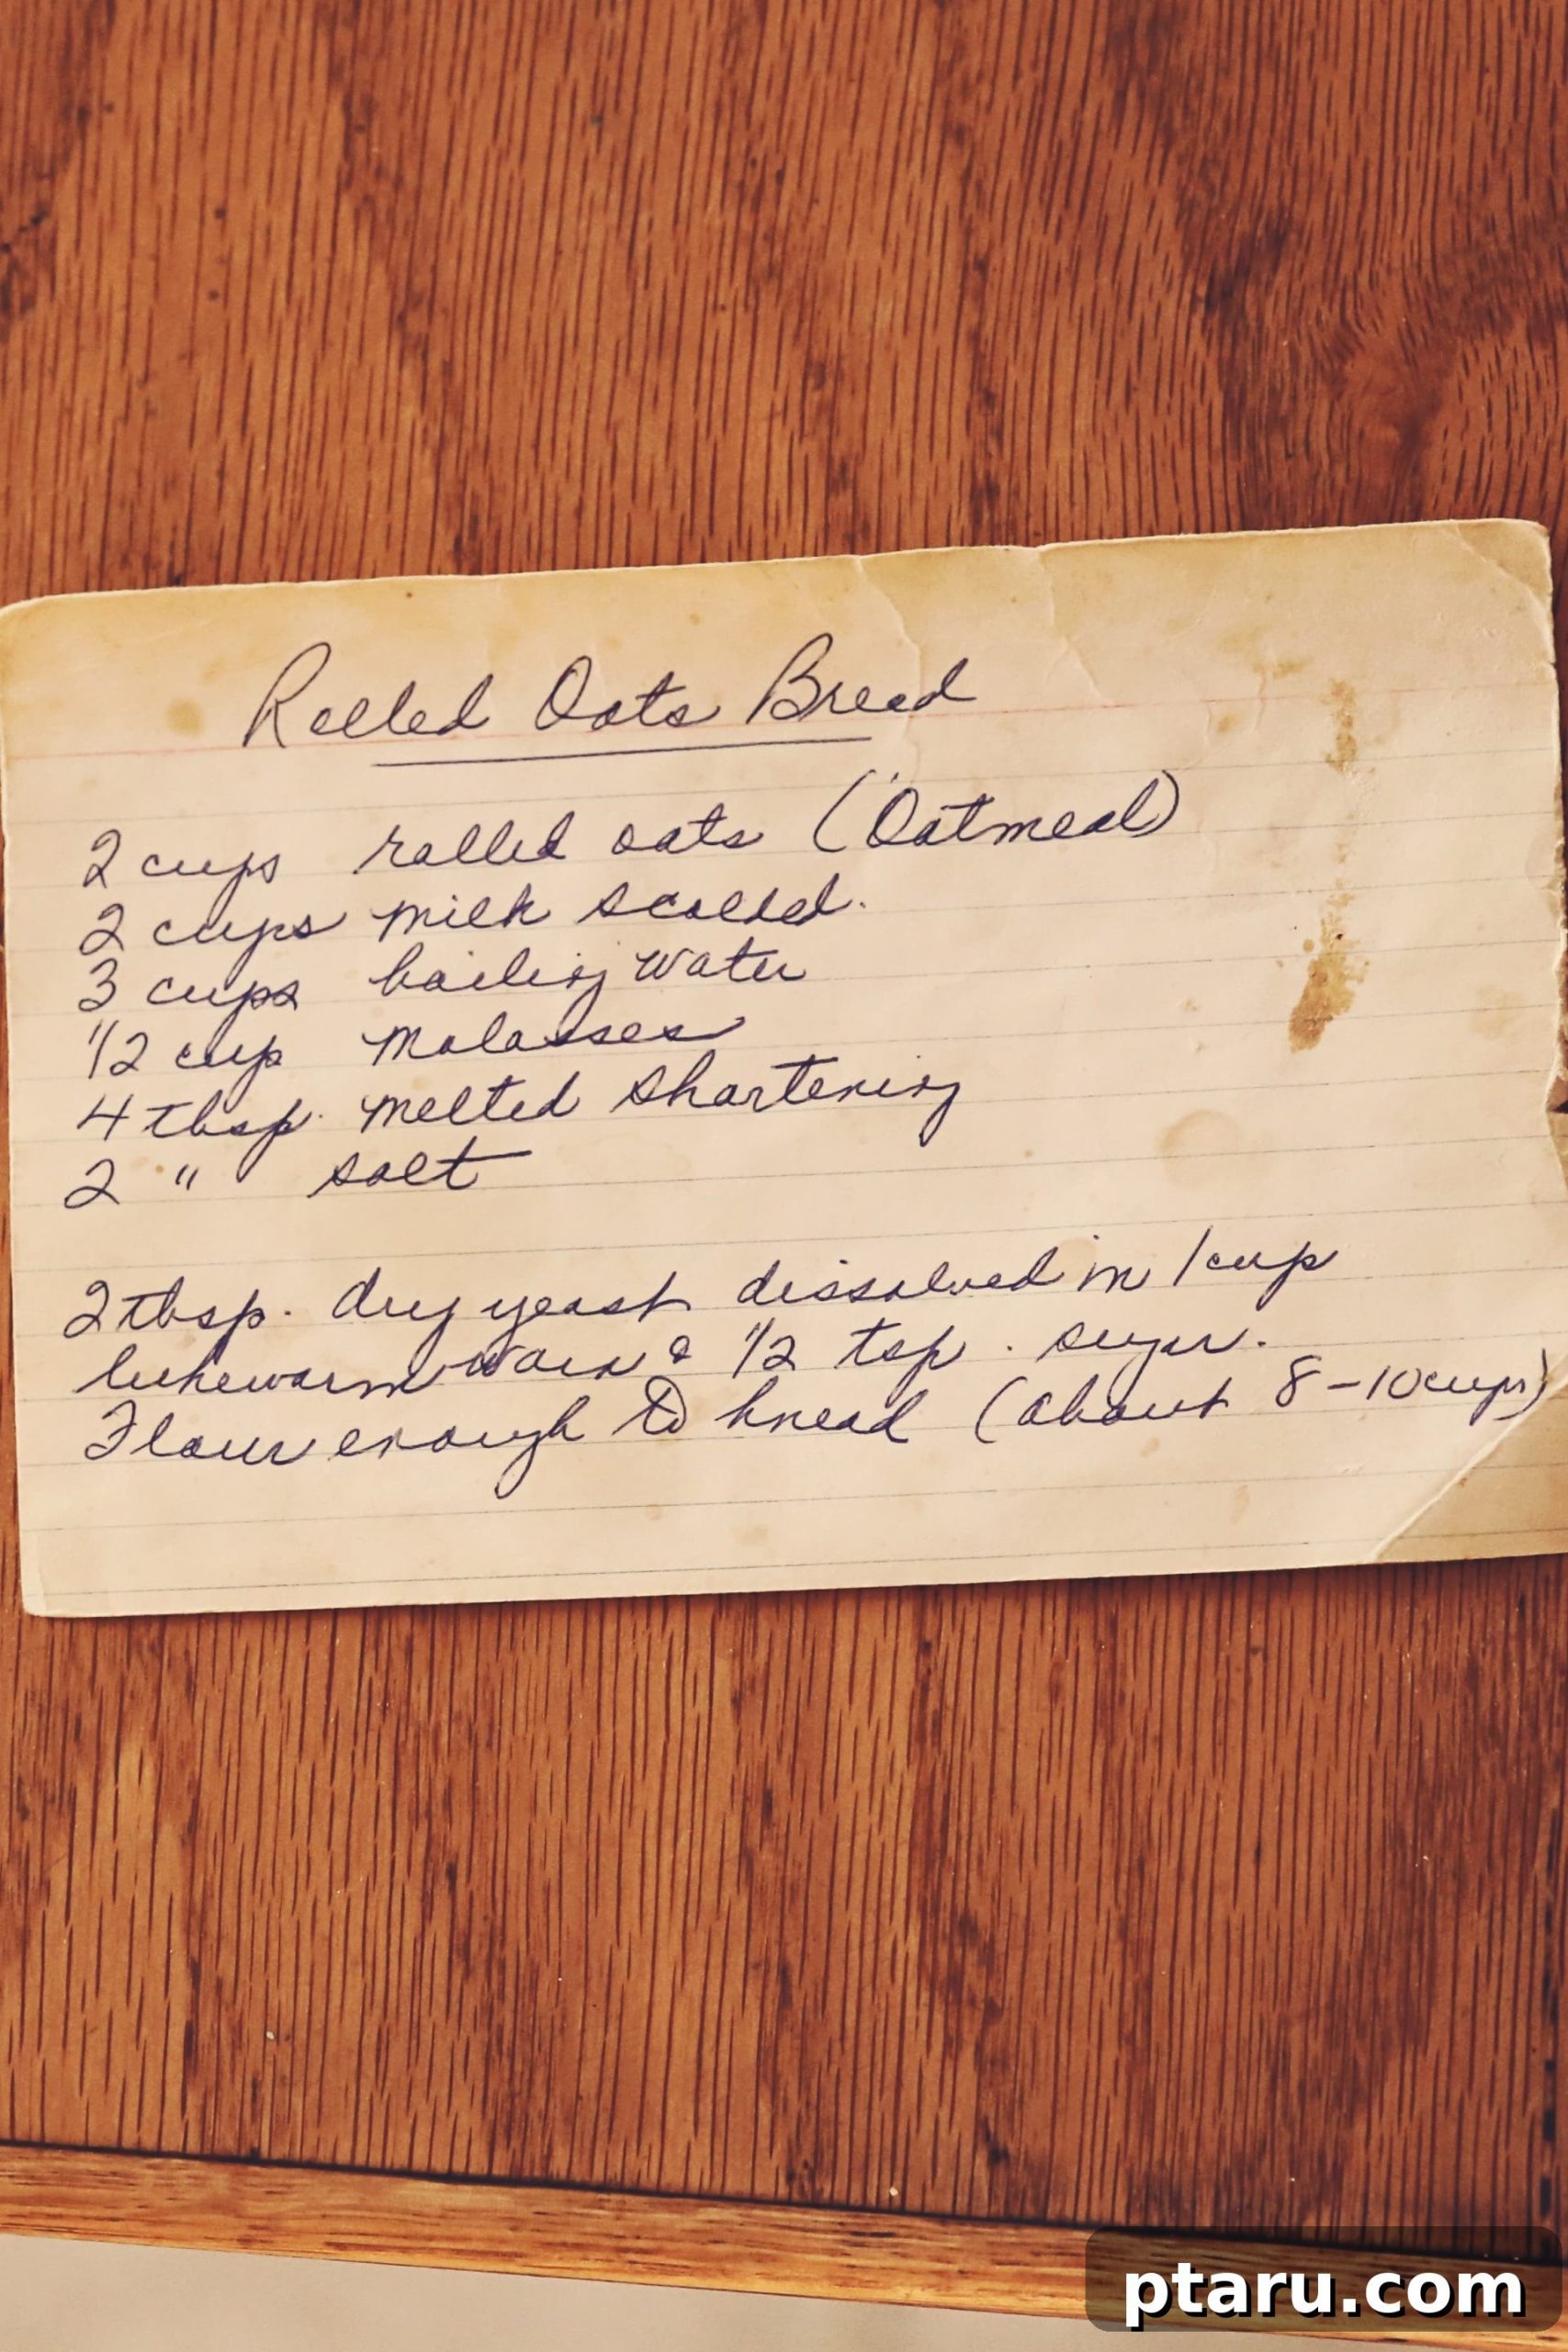
- 2 cups Milk: Adds richness, moisture, and contributes to the soft crumb of the bread.
- 1/2 cup Molasses: The star ingredient for its distinct brown color, deep, complex sweetness, and moisture-retaining properties. Choose dark, unsulphured molasses for the best flavor.
- 1/4 cup Butter: Unsalted butter is preferred to control salt content. It contributes richness, tenderness, and a lovely aroma to the final product.
- 2 tbsp Salt: Essential for balancing the sweetness, enhancing the overall flavor profile, and regulating yeast activity. Don’t skip it!
- 2 cups Old Fashioned Rolled Oats (not quick or instant): These provide a wonderful texture, a subtle nutty flavor, and contribute to the bread’s hearty character. Quick or instant oats won’t provide the same chew or absorption.
- 2 tbsp Active Dry Yeast: The leavening agent responsible for giving our bread its magnificent rise and airy structure. Ensure your yeast is fresh and active for optimal results.
- 1/2 tsp Granulated Sugar: A small amount is used to “feed” the yeast, helping to activate it and encourage its growth, leading to a strong, consistent rise.
- 10 cups All-Purpose Flour (approximate): The structural foundation of our bread. The “approximate” note is important because flour absorption can vary based on humidity and how packed it is. Always have a little extra on hand.
Preparation: A Step-by-Step Guide to Baking Perfection
Embark on the fulfilling journey of baking your own Oatmeal Brown Bread with these detailed preparation steps. Each stage is designed to ensure a successful and delicious outcome, from activating your yeast to achieving that perfect golden crust.
- Prepare the Oatmeal Mixture: Begin by bringing 3 cups of water to a rolling boil in a medium saucepan. Once boiling, carefully add the milk. Continue to heat the mixture until it reaches a near-boil, indicated by steam rising vigorously and small, tell-tale bubbles forming around the edges of the pan. Promptly remove the saucepan from the heat to prevent scorching. Now, stir in the molasses, butter, and salt. Continue stirring until the molasses is fully dissolved and the butter has completely melted, infusing the liquid with their rich flavors. Finally, add the old-fashioned rolled oats and let the mixture stand undisturbed. It’s crucial that this mixture cools down to only lukewarm before proceeding – ideally between 105-115°F (40-46°C). This temperature is vital to avoid killing the delicate yeast in the next step.
- Activate the Yeast: While the oatmeal mixture is cooling, grab your largest mixing bowl – you’ll need plenty of space for the dough to grow! In this bowl, combine the active dry yeast and granulated sugar with 1 cup of lukewarm water (again, around 105-115°F). Give it a gentle stir and set it aside for approximately ten minutes. During this time, the yeast will “bloom” – you’ll observe it becoming noticeably bubbly and expanding. This bubbling is a clear sign that your yeast is alive and active, ready to leaven your beautiful bread. If your yeast doesn’t show these signs, it might be old or inactive, and it’s best to start with a fresh batch.
- Combine, Knead, and Rise: Once your oatmeal mixture has cooled sufficiently to a lukewarm temperature, carefully pour it into the activated yeast mixture in your large bowl. Using a sturdy wooden spoon, beat the ingredients together thoroughly until well combined. Next, begin incorporating the all-purpose flour, adding it a cup at a time. Beat well after each addition until the dough becomes too stiff and heavy to mix effectively with the spoon. At this point, it’s time to get hands-on! Turn the dough out onto a clean, lightly floured counter or a dedicated kneading surface. Begin the joyous process of kneading. As you knead, gradually add more flour, just a tablespoon or two at a time, only as needed, until the dough transforms into a smooth, elastic, and workable ball that is no longer excessively sticky. Aim for about 10 minutes of continuous kneading – this is where the magic of gluten development happens, resulting in a bread with a beautiful structure. Once kneaded, place the dough ball into a lightly oiled bowl, turning it once to coat. Drape a clean tea towel over the top and set it aside in a warm, draft-free spot (like a slightly warm oven that’s turned off, or near a sunny window). Allow it to rise for approximately one hour, or until it has visibly doubled in size. Once risen, gently “punch down” the dough to release the accumulated gases. Then, turn it out onto your counter and divide it into four equal pieces, shaping each piece into a neat, round ball. Cover these dough balls and let them rise once again for another hour – this second rise ensures a lighter, more tender crumb.
- Bake to Golden Perfection: Meanwhile, as your dough enjoys its second rise, preheat your oven to a steady 350 degrees F (175°C). Line a large baking sheet with parchment paper to prevent sticking and ensure easy cleanup. For an appealingly rustic look, you can lightly dust the tops of your risen dough balls with a little extra flour just before baking. Then, using a sharp serrated knife, make a few shallow, ½-inch-deep slashes across the top of each loaf. These slashes help control the bread’s expansion in the oven and add to its artisanal charm. Bake 1-2 loaves at a time on the lowest rack of your oven, ensuring they have ample space for even browning. If you’re baking in batches, refrigerate the remaining dough balls in the interim to prevent them from over-proofing. Bake for approximately 45 minutes, or until the crust is a rich, golden-brown and the bottom of the loaf sounds hollow when gently tapped – this indicates it’s cooked through. For an even more precise measure, an instant-read thermometer inserted into the center of the loaf should read between 200-210°F (93-99°C). Once baked, transfer the loaves to a wire rack to cool completely. This cooling step is crucial for the internal structure to set and for the flavors to fully develop, resulting in perfectly sliceable bread.