Effortless No-Bake Raspberry Cheesecake Pots: Your Go-To Easy Dessert Recipe
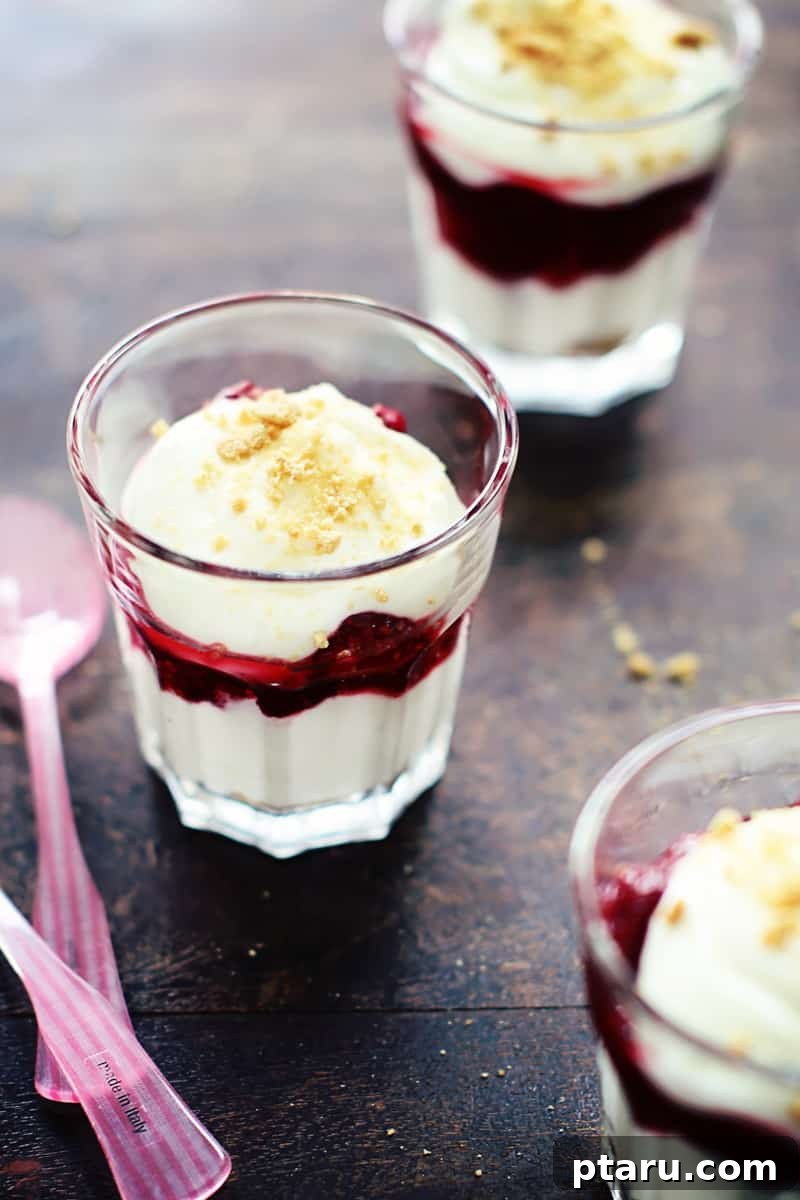
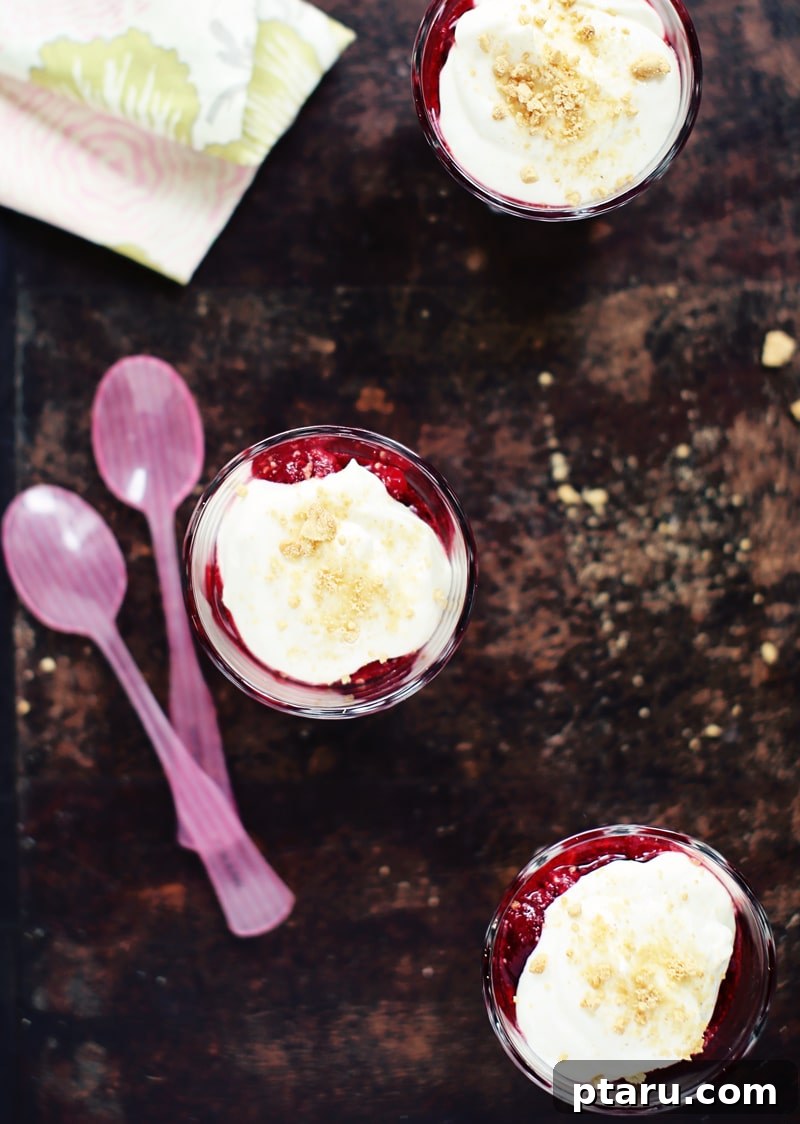
Craving a decadent dessert that requires minimal effort but delivers maximum flavor? Look no further than these utterly delightful No-Bake Raspberry Cheesecake Pots. Imagine a luxurious, creamy, and airy cheesecake filling, layered with vibrant, sweet-tart macerated raspberries and crunchy graham cracker crumbs. This isn’t just a dessert; it’s a culinary revelation that comes together in a flash, making it perfect for last-minute gatherings, busy weeknights, or simply when you need a little sweet escape.
My first attempt at these cheesecake pots was born out of a spontaneous kitchen experiment, and the results were truly astounding. The texture is a dream – light, fluffy, and refreshingly cool. The flavor profile is exquisitely balanced, with the rich tang of cream cheese beautifully complemented by the bright sweetness of raspberries and a hint of lemon. They’re individual portions of pure joy, guaranteed to impress your guests and leave them asking for the recipe. Best of all, there’s no oven required, making them an ideal treat for any season!
Why You’ll Fall in Love with These No-Bake Cheesecake Pots
These individual desserts aren’t just easy; they offer a wealth of advantages that make them a favorite for home cooks and dessert lovers alike:
- Effortlessly Easy: Forget the stress of baking! No ovens, no water baths, and no fear of cracks. This recipe is incredibly simple, relying on a few key ingredients and basic mixing techniques, making it perfect for beginner bakers or those short on time.
- Irresistibly Creamy & Fluffy: The harmonious combination of full-fat cream cheese and Greek yogurt creates a filling that’s both rich and light, with an airy, cloud-like texture that truly melts in your mouth.
- Vibrant Raspberry Flavor: Fresh, ripe raspberries macerated with sugar burst with natural sweetness and a delightful tang. This bright fruitiness beautifully cuts through the richness of the cheesecake, creating a perfectly balanced bite.
- Perfectly Portable & Individual: Served in charming individual cups or pots, these cheesecakes are ideal for parties, picnics, potlucks, or simply a convenient grab-and-go treat. No slicing, no serving fuss, just pure enjoyment!
- Make-Ahead Friendly: Both the sweet raspberry mixture and the creamy cheesecake filling can be prepared well in advance. This flexibility allows for quick and stress-free assembly just before serving, freeing up your time when you need it most.
- Customizable for Any Craving: While raspberries are fantastic, this recipe is a versatile canvas for your favorite fruits, different crusts, or additional flavorings, allowing endless creative possibilities.
- Naturally Beautiful: The distinct red and white layers create a visually appealing dessert that’s perfect for celebrations. You can even add a blue layer (with blueberries!) for a patriotic American theme, or keep it classic for Canada Day.
Ingredients You’ll Need for Raspberry Cheesecake Bliss
Gathering your ingredients is the first step towards creating these delightful no-bake treats. Quality ingredients make a difference, so here’s what you’ll need, along with a few notes for best results:
- 2 ½ cups Fresh Raspberries: Always opt for ripe, plump, and vibrant berries for the best flavor and sweetness. If fresh aren’t available, thawed and thoroughly drained frozen raspberries can be used in a pinch to avoid a watery result.
- ¼ cup Granulated Sugar: This is used to macerate the raspberries, drawing out their natural juices and intensifying their sweetness. Feel free to adjust the amount slightly based on the sweetness of your berries and your personal preference.
- ½ cup (1 stick or 125g) Full-Fat Cream Cheese, Room Temperature: This is arguably the most crucial ingredient for a truly creamy and rich cheesecake texture. Ensure it’s fully softened to room temperature before mixing to achieve a smooth, lump-free filling. A quick trick to soften cream cheese is to cut it into small cubes and spread them out on a piece of plastic wrap for 10-15 minutes.
- 1 cup Plain 2% Greek Yogurt: Greek yogurt adds a wonderful tangy counterpoint to the sweetness and contributes significantly to the light, fluffy texture of the filling. While full-fat or 0% can also work, 2% offers the best balance of richness and lightness.
- ¼ cup Confectioners’ Sugar (Powdered Sugar): Unlike granulated sugar, confectioners’ sugar dissolves effortlessly, guaranteeing a silky smooth cheesecake filling without any unwanted grittiness.
- 1 tsp Fresh Lemon Juice: Freshly squeezed lemon juice is essential. It brightens all the flavors and adds a vital zesty note that enhances the overall taste profile. You can even use lemon for other recipes as well!
- ½ tsp Finely Grated Lemon Zest (packed): The zest contains fragrant oils that elevate the entire dessert with a burst of fresh citrus aroma. Using a microplane grater is highly recommended for achieving a fine zest without incorporating the bitter white pith.
- ½ tsp Pure Vanilla Extract: A classic and indispensable enhancer that adds warmth, depth, and a comforting aroma to the cheesecake mixture.
- 1/2 cup Crushed Graham Crackers: These provide the delightful crunchy base and a beautiful textural contrast when sprinkled on top. You can crush them easily in a food processor or by placing them in a Ziploc bag and gently crushing them with a rolling pin until fine crumbs are formed.
Step-by-Step Preparation Guide: Crafting Your No-Bake Masterpiece
Making these no-bake cheesecake pots is surprisingly straightforward and incredibly satisfying. Follow these simple steps for a dessert that looks and tastes gourmet, all without turning on your oven!
- Prepare the Macerated Raspberries: In a medium-sized bowl, gently combine your fresh raspberries with the granulated sugar. Stir just enough to ensure the sugar coats the berries evenly. Allow this mixture to stand at room temperature for at least 30 minutes. This crucial step, known as macerating, allows the sugar to draw out the raspberries’ natural juices, creating a wonderfully flavorful and slightly syrupy fruit compote. For the best cool and refreshing taste, transfer the macerated raspberries to the refrigerator and chill until you are ready to assemble your pots.
- Whip the Creamy Cheesecake Filling: To the bowl of a stand mixer fitted with a paddle attachment (or using a hand mixer with a large bowl), add the room temperature cream cheese, Greek yogurt, confectioners’ sugar, fresh lemon juice, finely grated lemon zest, and pure vanilla extract. Begin beating on medium-high speed for approximately one minute, or until the mixture transforms into a completely smooth, incredibly light, and wonderfully fluffy consistency. Be mindful not to overmix, as this can incorporate too much air and potentially lead to a less stable texture. Once whipped to perfection, cover the cheesecake mixture and chill it thoroughly in the refrigerator until you are ready to assemble. This chilling period allows the mixture to firm up slightly, making it much easier to layer neatly.
- Assemble Your Cheesecake Pots: This is where your individual masterpieces come to life! Gather four clear individual serving glasses, jars, or small bowls to showcase the beautiful layers.
- First Layer – Crunchy Base: Start by placing about 1 ½ tablespoons of crushed graham crackers evenly into the bottom of each of the four glasses. You can gently press them down with the back of a spoon to form a compact base, or leave them loose for a more crumbly texture.
- Second Layer – Creamy Cheesecake: Carefully dollop a generous spoonful of the chilled creamy cheesecake mixture over the graham cracker layer in each glass. You can use a spoon or, for a neater presentation, a piping bag with a round tip.
- Third Layer – Fruity Burst: Evenly divide approximately half of the macerated raspberries among the four cups, layering them delicately over the cheesecake filling. Try to get some of that delicious raspberry syrup in there too!
- Fourth Layer – More Cheesecake: Add another layer of the remaining creamy cheesecake mixture on top of the raspberries, ensuring even distribution across all pots.
- Fifth Layer – Final Fruit & Finish: Finish by dividing the remaining macerated raspberries on top of the second cheesecake layer. For an extra touch of irresistible crunch and an appealing visual garnish, sprinkle the tops with any remaining crushed graham cracker crumbs just before serving.
Expert Tips for Perfect No-Bake Raspberry Cheesecake Pots
While this recipe is incredibly forgiving, a few expert tips can elevate your no-bake cheesecake pots from great to absolutely extraordinary:
- Room Temperature Cream Cheese is Non-Negotiable: This is the golden rule for any cheesecake, baked or no-bake. Cold cream cheese will inevitably result in a lumpy, inconsistent mixture that’s frustrating to work with and won’t yield that desired silky-smooth texture. Plan ahead and let it soften.
- Don’t Overmix the Filling: Beat the cream cheese mixture until it’s just smooth and beautifully fluffy. Overmixing can incorporate too much air, which might cause the filling to be less stable, potentially deflate, or even weep liquid over time.
- Chill, Chill, Chill: Patience is a virtue here! Both the macerated raspberry mixture and the creamy cheesecake filling benefit immensely from adequate chilling. This allows the flavors to deepen and meld beautifully, and, crucially, it helps the cheesecake mixture firm up, making assembly much cleaner and resulting in a better overall texture.
- Assemble Right Before Serving for Optimal Texture: While the individual components can be prepped in advance, assembling your pots no more than an hour or two before serving is ideal. This prevents the graham cracker crumbs from becoming soggy and ensures the dessert looks and tastes its absolute freshest.
- Get Creative with Your Layering: For a polished, professional look, consider using a piping bag for the cheesecake mixture – it allows for neat, even layers. However, simply spooning it in offers a charmingly rustic appeal that’s equally delicious.
- Garnish for Visual Impact: A single fresh raspberry, a tiny sprig of fresh mint, or a dusting of powdered sugar on top adds a beautiful finishing touch. Presentation truly enhances the dessert experience!
Delightful Variations & Customization Ideas
While this classic raspberry cheesecake recipe is absolutely divine as is, it’s also wonderfully adaptable! Feel free to experiment with these ideas to suit your taste or occasion, making this recipe truly your own:
- Berry Bliss Beyond Raspberries: Swap raspberries for other fresh berries like juicy strawberries, plump blueberries, tangy blackberries, or even a vibrant mixed berry medley. For a fun, patriotic American twist, consider using half blueberries and half raspberries in separate layers to incorporate blue, red, and white!
- Creative Crust Alternatives: If graham crackers aren’t your preference, explore other crunchy options. Try crushed shortbread cookies, digestive biscuits, vanilla wafers, or even gluten-free cookies for a different flavor profile or to accommodate dietary needs.
- Chocolate Lover’s Dream: Elevate the indulgence by drizzling a little melted dark or white chocolate over the layers, or sprinkle in some mini chocolate chips or chocolate shavings for an added touch of luxury.
- Citrus Zing Beyond Lemon: Experiment with different citrus zests or juices. Zesty lime or fragrant orange zest and juice can introduce a unique and refreshing twist to the cheesecake filling.
- Tropical Escape: Transport your taste buds to a warmer climate by layering with finely diced mango, pineapple, or a vibrant passion fruit pulp for an exotic and bright flavor profile.
- Spiced Crumbs: Infuse warmth and comfort into your dessert by adding a pinch of cinnamon, nutmeg, or even a touch of cardamom to your crushed graham crackers.
- Nutty Crunch: For an extra layer of texture and rich flavor, mix finely chopped nuts like pecans, walnuts, or almonds into your graham cracker crust.
- Large Dessert Option: Instead of individual pots, this recipe scales beautifully for a larger crowd. Layer all the ingredients in a beautiful trifle dish or a clear glass bowl for a stunning centerpiece dessert that’s perfect for a big gathering.
Serving and Storage Suggestions
These individual no-bake raspberry cheesecake pots are designed for immediate enjoyment. They are best savored fresh, ideally assembled within an hour or two of serving, to ensure the graham cracker crumbs retain their delightful crunch and the filling is perfectly chilled.
For an impeccable presentation, consider garnishing each pot with an extra fresh raspberry and a tiny, vibrant sprig of fresh mint. A light dusting of confectioners’ sugar can also add an elegant touch. They make a perfect light finish to a hearty meal or a wonderfully refreshing treat on a warm afternoon.
Should you miraculously have any leftovers (which is rare!), ensure they are covered tightly with plastic wrap to prevent them from absorbing refrigerator odors and to maintain freshness. Refrigerate them promptly. They will remain fresh and delicious for up to 2-3 days. However, please note that the graham cracker layer may soften slightly over time. For the absolute freshest taste and texture, it’s always recommended to assemble these delightful desserts just before you plan to indulge.
Frequently Asked Questions (FAQs)
Can I use frozen raspberries instead of fresh?
Yes, you certainly can! If you opt for frozen raspberries, make sure to thaw them completely first. It’s crucial to thoroughly drain off any excess liquid before combining them with sugar. This step is vital to prevent your cheesecake mixture from becoming watery and compromising the overall texture of the dessert.
Can I make this recipe dairy-free or vegan?
Absolutely! The recipe is quite adaptable for dietary preferences. To make it dairy-free or vegan, look for high-quality plant-based cream cheese alternatives and vegan Greek-style yogurt. Additionally, always check the ingredients list for your graham crackers, as some brands may contain honey or dairy products; opt for vegan-certified alternatives.
How far in advance can I prepare these cheesecake pots?
For optimal freshness and texture, you can prepare the macerated raspberries and the creamy cheesecake filling components up to 1-2 days in advance. Store each component separately in airtight containers in the refrigerator. However, for the best experience – particularly to maintain the crunch of the graham crackers – assemble the individual pots no more than a few hours before you plan to serve them.
Why is my cheesecake mixture runny?
A runny cheesecake mixture can often be attributed to a few factors. The most common cause is the cream cheese not being at proper room temperature, leading to lumps and poor emulsification. Additionally, using low-fat cream cheese or yogurt, which tends to have a higher water content, can result in a thinner mixture. Always ensure your cream cheese is thoroughly softened and, for the creamiest results, stick to full-fat dairy options. Adequate chilling of the mixture before assembly is also essential.
Can I make a larger batch for a crowd or a big event?
Yes, absolutely! This recipe scales up beautifully. Simply double or triple the ingredients as needed to accommodate your guest count. You can either make more individual pots (which are always a hit!) or layer the entire recipe in a large trifle bowl for a stunning and easily shareable presentation for a bigger gathering.
What kind of glasses or containers should I use for serving?
Any small serving glasses, elegant shot glasses (for mini versions), charming Mason jars, or even clear plastic dessert cups work wonderfully. Opting for clear containers is highly recommended as it allows the beautiful, vibrant layers of the cheesecake to be showcased, enhancing the visual appeal of your dessert.
More Irresistible Cheesecake Creations
If you’ve thoroughly enjoyed creating and savoring these No-Bake Raspberry Cheesecake Pots, you’re in for an absolute treat with these other delightful cheesecake recipes from our collection:
- Dreamy Chocolate Mousse Cheesecake: Indulge in a rich, deeply decadent chocolate experience that’s both elegant and utterly satisfying.
- Easy No-Bake Cherry Cheesecake Bars: Perfect for sharing and incredibly simple to make, these bars offer a delightful cherry twist with minimal effort.
- Cherry Cheesecake Popsicles: A fun, refreshing, and creatively frozen treat that captures all the classic, beloved cheesecake flavors in a portable format.
Final Thoughts on These Quick & Creamy Treats
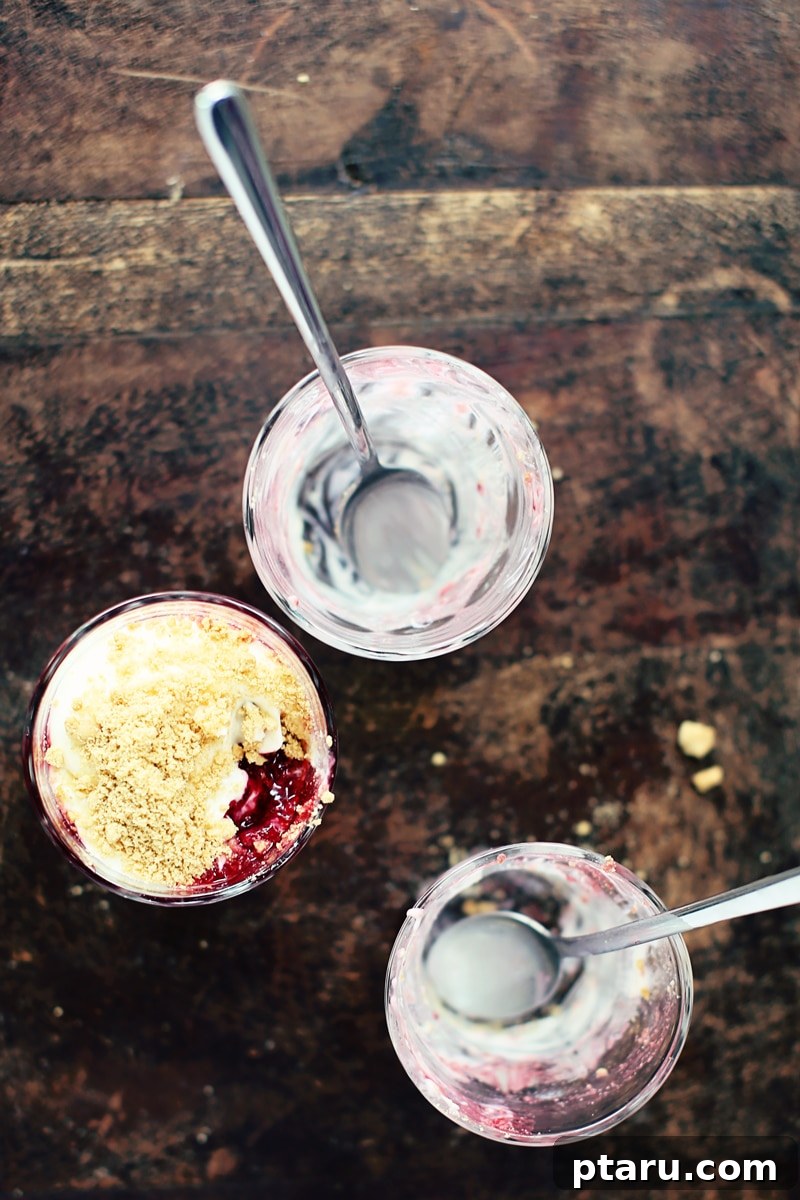
These No-Bake Raspberry Cheesecake Pots truly are a testament to how simple ingredients, combined with a little love and minimal effort, can come together to create something truly extraordinary. Whether you’re a seasoned baker looking for a quick win or a complete novice stepping into the kitchen, this recipe offers a foolproof path to a dessert that’s guaranteed to bring smiles and compliments. The exquisite balance of creamy, tangy, sweet, and delightfully crunchy textures makes every single spoonful a pure moment of bliss. So, go ahead, treat yourself, your family, and your loved ones to this incredibly easy and utterly delicious dessert. Happy making, and enjoy every blissful, creamy bite!