Homemade Magic Chocolate Shell: The Ultimate Ice Cream Topping
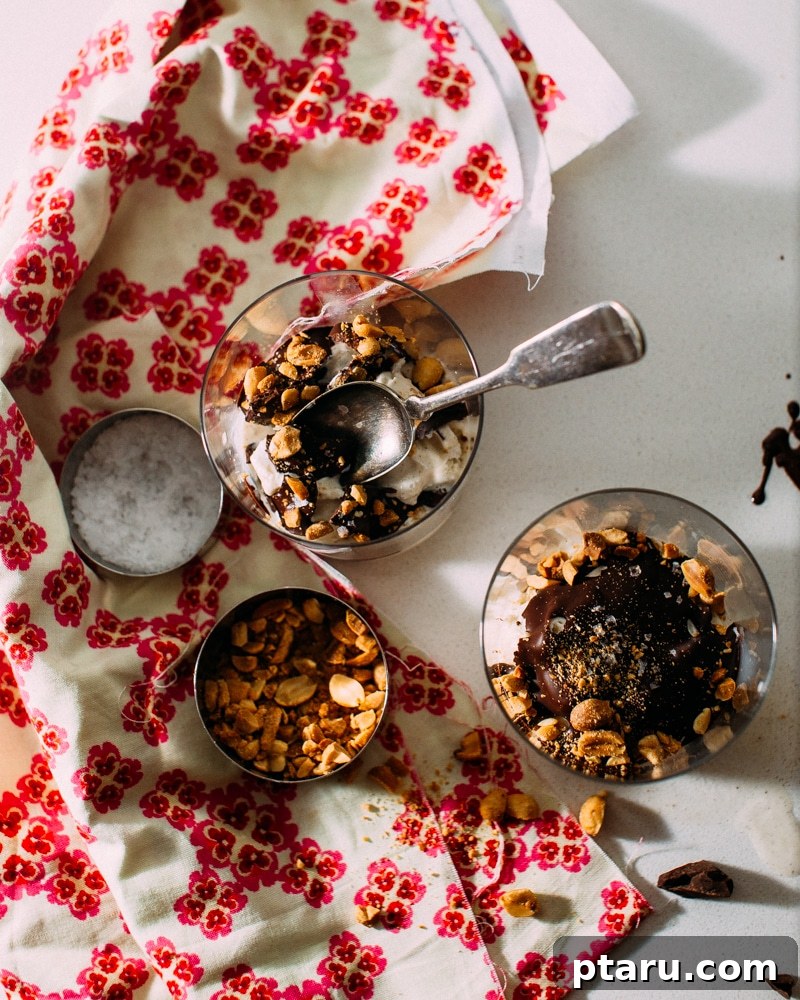
There’s a certain magic that happens when a rich, glossy chocolate sauce cascades over cold ice cream, instantly transforming into a crisp, crackable shell. This isn’t just any chocolate sauce; it’s a nostalgic delight that evokes childhood memories and adds a whimsical touch to any dessert. The moment your spoon taps that hardened layer, breaking through to the creamy ice cream beneath, is pure bliss. While store-bought versions exist, nothing compares to the homemade magic chocolate shell – especially when you have the freedom to choose premium chocolate. Forget those artificial ingredients; with this recipe, you’re crafting a gourmet experience that’s a million times better. We confess, we might have indulged in multiple batches over a few consecutive nights, perhaps using Valentine’s Day as a convenient excuse for such delightful decadence.
Why Homemade Magic Shell Is Superior
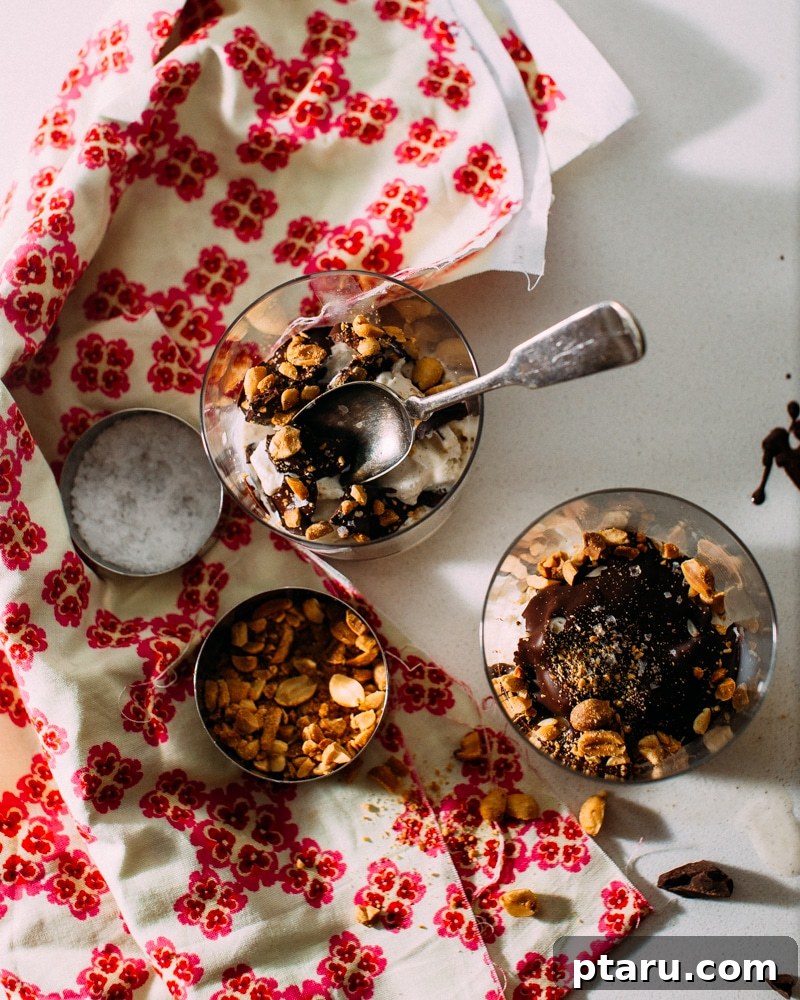
The allure of a chocolate shell that hardens on contact with ice cream is undeniable. But why settle for a product filled with unfamiliar additives when you can create a superior version in minutes, using just two simple ingredients? Homemade magic chocolate shell offers unparalleled flavor, allowing you to select your favorite high-quality chocolate – whether it’s a rich dark chocolate, a creamy milk chocolate, or even a nuanced semi-sweet. This control over ingredients means you can avoid hydrogenated oils, artificial flavors, and preservatives often found in commercial varieties. The result is a purer, more intense chocolate flavor that truly elevates your dessert. Plus, the satisfaction of making something so delightfully whimsical from scratch is an added bonus.
Beyond the enhanced taste and cleaner ingredients, making your own magic shell is incredibly economical and versatile. It’s a fun project for families, a sophisticated topping for dinner parties, and a simple indulgence for a quiet night in. The sheer simplicity of this recipe belies its impressive results, making it a staple for any dessert enthusiast. Once you experience the rich, genuine chocolate flavor and the satisfying crunch of a homemade shell, you’ll never go back to the pre-packaged options.
The Sweet Science of Instant Hardening
The secret to this magical transformation lies in one key ingredient: coconut oil. This remarkable oil is composed of approximately 86% saturated fats. Unlike unsaturated fats, saturated fats are solid at room temperature and have a relatively low melting point. When mixed with chocolate, the coconut oil lowers the overall melting point of the mixture while maintaining its ability to solidify rapidly when exposed to cold temperatures. The moment this warm chocolate mixture touches a frozen surface, like a scoop of ice cream, the saturated fats in the coconut oil instantly cool and solidify, creating that signature crisp shell. It’s a delightful demonstration of basic chemistry in your kitchen – and it’s absolutely delicious!
For this specific application, we recommend using deodorized coconut oil. Virgin coconut oil, while fantastic for many culinary uses, retains a distinct coconut flavor and aroma. While some might enjoy this tropical hint with their chocolate, deodorized coconut oil has been heat-treated to remove these strong characteristics, ensuring that the pure chocolate flavor takes center stage. This allows the quality of your chosen chocolate to shine through, providing a clean, unadulterated taste experience that perfectly complements your ice cream without any unexpected tropical notes. Knowing the science behind the magic makes it all the more fascinating!
Choosing Your Chocolate: Quality Matters
The foundation of an exceptional magic chocolate shell is, of course, exceptional chocolate. Resist the temptation to use low-quality chocolate chips or baking chocolate, as the flavor difference will be profoundly noticeable. Opt for a good quality dark chocolate with a cocoa content of 60-70%. This range provides a balanced bitterness and sweetness, allowing the rich chocolate notes to come through without being overly intense. If you prefer a sweeter shell, you can lean towards the 60% mark, or even experiment with a high-quality milk chocolate for a creamier, milder flavor. However, remember that milk chocolate typically has a higher sugar content and less cocoa butter, which might slightly alter the texture and hardening speed, so keep an eye on the consistency.
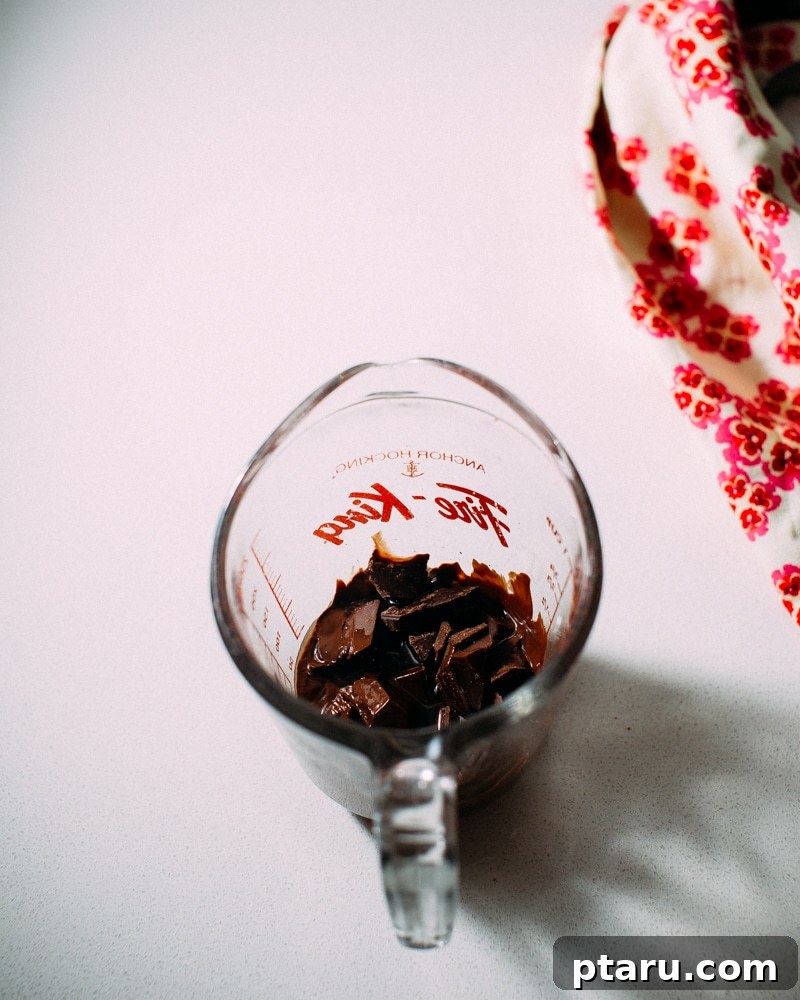
When selecting your chocolate, look for bars that list cocoa mass, cocoa butter, and sugar as primary ingredients, avoiding those with excessive emulsifiers or artificial flavors. Finely chopping your chosen chocolate bar is crucial for a smooth and even melt. Smaller pieces will melt more consistently and quickly, reducing the risk of overheating and seizing, which can ruin the texture of your shell. Investing a little extra in a premium chocolate will pay dividends in the final taste and overall indulgence of your homemade magic shell.
Perfecting the Melt: Tips for a Flawless Shell
Melting chocolate can seem straightforward, but doing it correctly is key to achieving a smooth, glossy magic shell. The goal is a low and slow melt to prevent the chocolate from seizing – a common issue where chocolate becomes thick, grainy, and unworkable due to overheating or introduction of moisture. There are two primary methods for a perfect melt:
- Microwave Method: Combine your finely chopped chocolate and coconut oil in a microwave-safe bowl or measuring cup. Heat on 50% power for 1 minute, then remove and stir thoroughly. Continue heating in 15-second intervals at 50% power, stirring vigorously after each interval, until the chocolate is about 60-70% melted. The residual heat in the bowl and the already melted chocolate will continue to melt the remaining pieces. Remove from the microwave and stir until completely smooth and free of lumps. This gradual approach prevents hot spots and ensures a silky consistency.
- Double-Boiler Method: Place your finely chopped chocolate and coconut oil in a heat-proof bowl. Set this bowl over a saucepan containing about an inch or two of simmering (not boiling) water. Ensure the bottom of the bowl does not touch the water. The steam from the simmering water will gently heat the bowl. Stir continuously until the chocolate and coconut oil are completely melted and smooth. This method provides a very controlled heat, making it almost foolproof against seizing.
Regardless of the method, constant stirring is important, especially towards the end of the melting process, to ensure all ingredients are well combined and the mixture is uniform. Once melted, let the mixture cool for a few minutes before pouring it over your cold ice cream. This slight cooling helps it solidify more effectively and prevents it from melting the surface of your ice cream too much.
Scaling Your Recipe: More Magic for More Moments
This recipe, initially designed for a cozy Valentine’s Day treat for two, is incredibly easy to scale up for larger gatherings, family desserts, or even gifting. The crucial element to remember is to maintain the same precise ratio of chocolate to coconut oil. The original recipe uses 2 ounces (approximately 1/3 cup) of good dark chocolate to 2 teaspoons of coconut oil. If you wish to make a larger batch, simply multiply these quantities. For instance, if you want to quadruple the recipe for a small party, you would use 8 ounces (about 1 1/3 cups) of chopped dark chocolate and 8 teaspoons (approximately 2 tablespoons and 2 teaspoons, or roughly 1/4 cup plus 2 teaspoons) of coconut oil.
A good rule of thumb for easier scaling is 6 teaspoons (2 tablespoons) of coconut oil per 6 ounces (1 cup) of chopped dark chocolate. This ratio has been meticulously tested to ensure that perfect hardening consistency every time. So whether you’re making a small batch for personal indulgence or preparing a grand dessert buffet, feel confident in adjusting the quantities while preserving that magical snap. Having a larger batch on hand means you’re always ready for an impromptu ice cream sundae night!
Creative Serving Suggestions & Flavor Variations
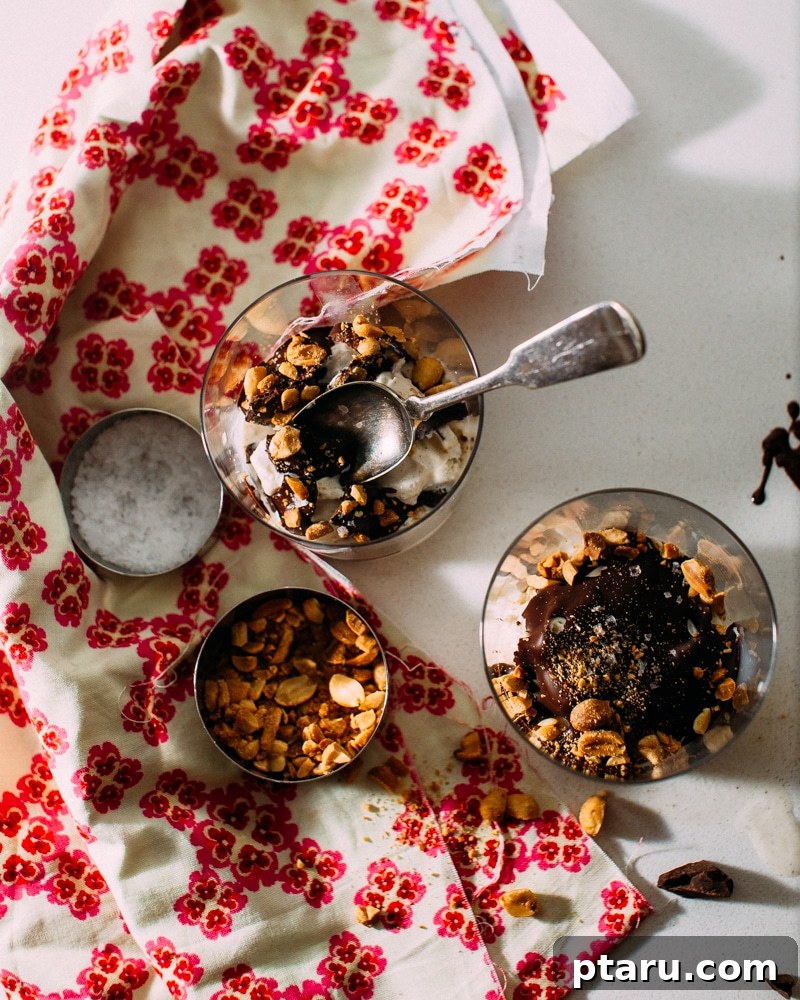
While a simple scoop of vanilla ice cream with magic chocolate shell is a classic for a reason, don’t be afraid to get creative with your serving suggestions and flavor variations. The possibilities are truly endless, allowing you to customize your dessert experience every time. For a truly gourmet experience, pair your homemade magic shell with top-quality ice cream. We’re particularly fond of a rich vanilla bean ice cream (like Hagen Dazs, known for its minimal and natural ingredients) as it provides a perfect canvas for the chocolate.
Classic & Crunchy Pairings:
- Salty Peanuts: A timeless combination. The crunch and salty kick of chopped peanuts beautifully complement the sweet chocolate and creamy ice cream.
- Toasted Almonds or Pecans: For a more refined nutty flavor, lightly toast some sliced almonds or chopped pecans before sprinkling them over your shell.
- Sprinkles: A fun and colorful option, especially for kids or festive occasions.
Elevated Indulgences:
- Homemade Ice Cream: Take your dessert to the next level by making your own ice cream. A Vanilla Bourbon Ice Cream, for example, would add incredible depth and sophistication.
- Fresh Berries: Strawberries, raspberries, or blueberries offer a refreshing tartness that cuts through the richness of the chocolate.
- Whipped Cream & Cherry: For a traditional sundae feel, add a dollop of homemade whipped cream and a maraschino cherry on top.
- Caramel or Hot Fudge Drizzle: Double the delight by adding another layer of sauce before the magic shell, or drizzling it on after the shell has hardened.
Exciting Flavor Variations for Your Shell:
- Peppermint Magic Shell: Add 1/4 teaspoon of food-grade peppermint extract to the melted chocolate mixture for a refreshing twist. Perfect for holidays!
- Orange Zest Chocolate Shell: Stir in a teaspoon of finely grated orange zest for a bright, citrusy note that pairs wonderfully with dark chocolate.
- Chili Chocolate Shell: For a daring kick, add a pinch of cayenne pepper or chili powder to the melted chocolate.
- Sea Salt Flakes: Sprinkle a tiny pinch of flaky sea salt directly into the melted chocolate before pouring, or on top of the hardened shell for an irresistible sweet and salty combination.
Don’t limit yourself to just ice cream! This magic shell is also fantastic for dipping frozen banana slices, fruit skewers, or even as a coating for homemade popsicles. Let your culinary imagination run wild!
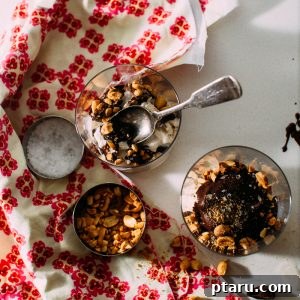
Homemade Magic Chocolate Shell Recipe
By: Jennifer Pallian BSc, RD
Homemade Magic Chocolate Shell – it magically hardens the second it touches cold ice cream, enveloping it in a chocolatey hug that cracks with the tap of a spoon.
Recipe Details
Prep Time: 2 minutes
Cook Time: 2 minutes
Total Time: 4 minutes
Servings: 2
Ingredients
- 2 oz (1/3 cup) good dark chocolate (60-70% cocoa recommended), finely chopped
- 2 tsp coconut oil (deodorized recommended)
Instructions
- Combine finely chopped chocolate and coconut oil in a microwave-safe measuring cup or bowl.
- Melt on 50% power in the microwave for 1 minute. Stir thoroughly.
- Continue heating in 15-second increments at 50% power, stirring after each, until the chocolate is about 60% melted.
- Remove from the microwave and continue stirring until all chocolate is fully melted and the mixture is smooth and glossy. The residual heat will finish melting the remaining pieces.
- Let the chocolate mixture cool for a few minutes (about 5-10 minutes) to reach a slightly warm but not hot temperature.
- Pour generously over cold ice cream and watch it instantly harden.
- If there is any leftover magic shell, store it at room temperature in an airtight container. If it solidifies and needs to be pourable again, rewarm it at 50% microwave power for 30 seconds, or until liquid, then stir well.
Storage and Rewarming Your Magical Creation
One of the best aspects of homemade magic chocolate shell is its convenience. If you happen to have any leftover (a rare occurrence in most households!), storing it is incredibly simple. Unlike many sauces that require refrigeration, magic chocolate shell should be stored at room temperature. Because of the high saturated fat content in coconut oil, refrigerating it will cause it to become rock hard and difficult to use without significant rewarming. Simply transfer any remaining sauce into an airtight container and keep it in your pantry or on your countertop.
When you’re ready to enjoy more of its magic, simply rewarm the stored shell. If it has solidified, place the container in the microwave and heat at 50% power for about 30 seconds. Stir well, and if necessary, continue heating in 15-second bursts until it returns to a pourable, smooth consistency. Always stir thoroughly after heating to ensure even temperature distribution and prevent any hot spots. This easy storage and rewarming process means you can have instant ice cream magic on demand, whenever a craving strikes.
In conclusion, crafting your own homemade magic chocolate shell is a simple yet incredibly rewarding culinary endeavor. It’s an opportunity to create a pure, delicious, and customizable treat that far surpasses any store-bought alternative. By understanding the science, choosing quality ingredients, and employing careful melting techniques, you can reliably produce that delightful, crackable chocolate coating every single time. So go ahead, gather your ingredients, and prepare to elevate your ice cream experience to truly magical heights!