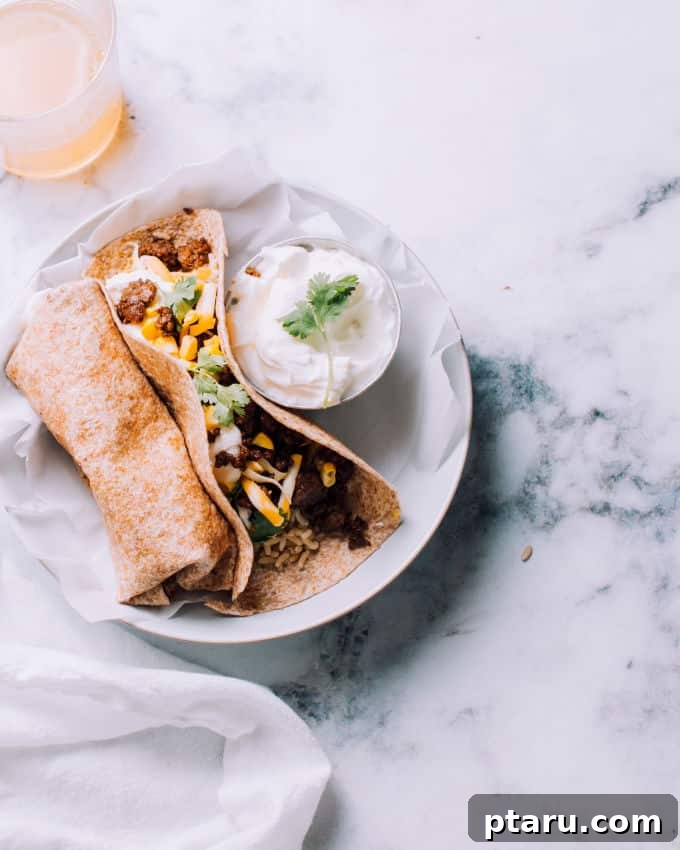
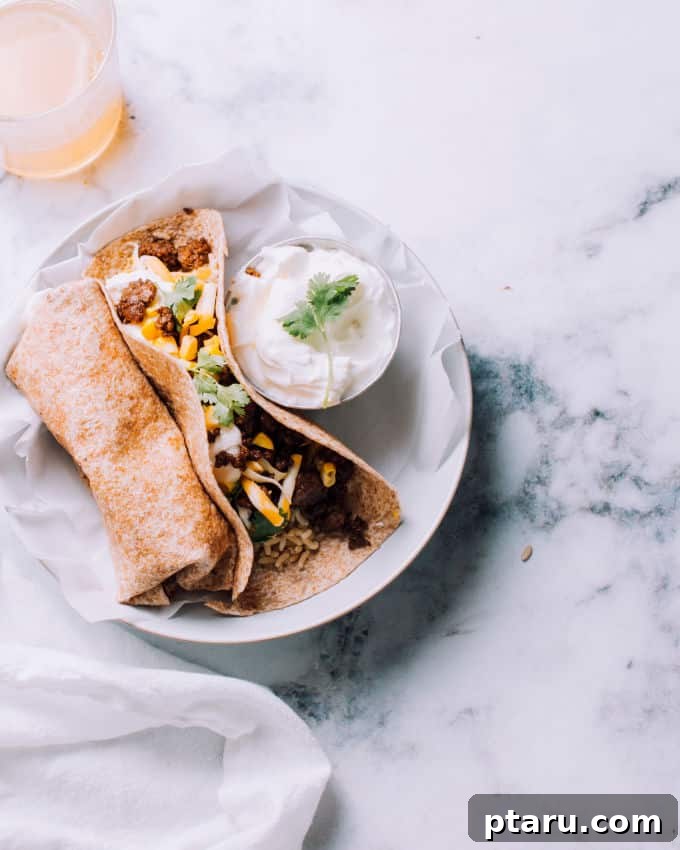
Freezer-Friendly Ground Beef Burritos: Your Ultimate Meal Prep Solution for Wholesome, Quick Dinners
In today’s fast-paced world, finding time for wholesome, homemade meals can often feel like an impossible task. We all juggle busy schedules, and by the time dinner rolls around, the last thing many of us want to do is spend an hour in the kitchen. That’s where these incredibly satisfying and protein-packed ground beef burritos come to the rescue! Designed for convenience without compromising on flavor or nutrition, they are an absolute game-changer for anyone looking to streamline their meal routine.
Imagine having a freezer stocked with delicious, comforting meals that are ready in just minutes. These freezer burritos are not only perfect for a quick and easy weeknight dinner but also make an excellent, warming lunch to take to work or school. They embody the best of meal prep: tasty, nutritious, and incredibly efficient. Say goodbye to last-minute cooking stress and hello to more relaxed evenings with these make-ahead wonders.
For an extra layer of authentic Mexican flavor, consider filling your burritos with a batch of Instant Pot Mexican Rice. Its rich, aromatic profile complements the savory ground beef beautifully, elevating your burritos from great to absolutely unforgettable.
The Power of Proactive Meal Planning: Reclaim Your Evenings
For many of us, the time just before dinner is often the only window we have for personal activities, whether it’s a quick workout, spending time with family, or simply unwinding. Streamlining the evening meal process isn’t just a convenience; it’s a necessity that can significantly impact our daily lives. Effective meal planning and leveraging the power of freezer meals can make all the difference between feeling rushed and enjoying a peaceful evening.
My personal strategy involves planning meals in advance, stocking my freezer with an array of pre-made dishes, making the most of leftovers, and maintaining a well-stocked fridge. This proactive approach ensures that no matter how hectic the day gets, a wholesome meal is always within reach. For instance, I always keep a variety of protein-rich staples like different types of yogurt (especially full-fat Greek-style), whole milk, plain kefir, and several kinds of cheese. These items are perfect for crafting quick, nutritious additions to any meal or for those emergency “I need food now!” moments. These ground beef freezer burritos fit perfectly into this philosophy, offering a complete, balanced meal that’s ready when you are.
Customizable & Nutritious: Craft Your Perfect Burrito
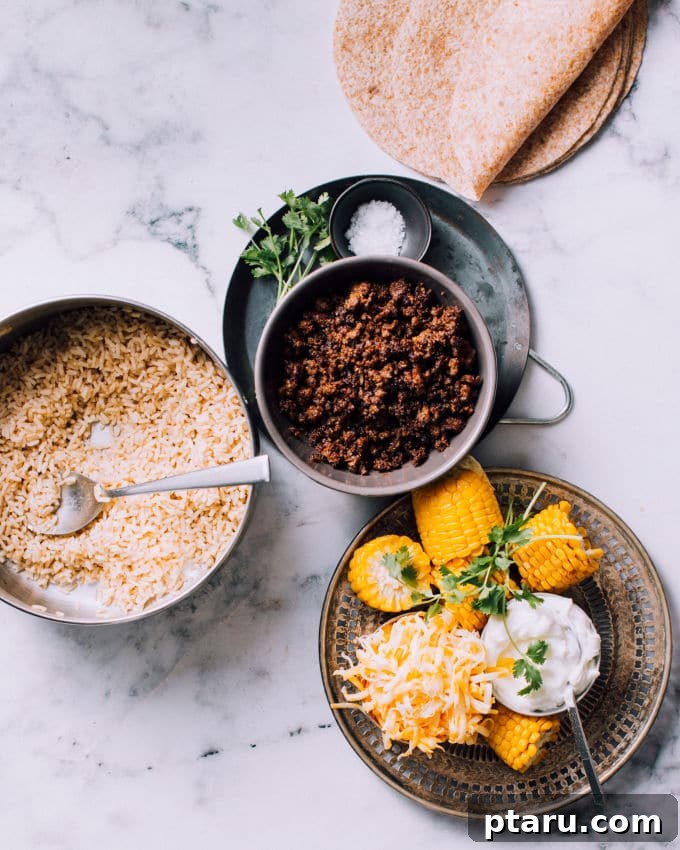
One of the aspects I love most about this ground beef burrito recipe is its incredible flexibility. It truly functions as a “clean-out-the-fridge” meal, encouraging you to use whatever wholesome ingredients you have on hand. The foundation of these burritos is typically soft flour tortillas (you can opt for whole wheat for extra fiber) and fluffy brown rice, which provides substantial fiber and complex carbohydrates to keep you feeling full and energized. To boost the protein content and add a rich, creamy texture, we generously incorporate full-fat Greek-style yogurt and a hearty amount of shredded cheese.
The beauty of these customizable burritos lies in the filling possibilities. While the spiced ground beef is the star, the supporting cast can change with your mood or pantry contents. Think beyond just the suggestions; this is your canvas!
Endless Filling Variations
- Vegetables: Almost any cooked vegetable works wonderfully. Beyond leftover grilled corn, consider sautéed bell peppers (any color!), zucchini, onions, spinach, or kale. Roasted root vegetables like sweet potatoes or carrots add a touch of sweetness and earthiness. Don’t forget the crispy texture of air fryer eggplant or steamed broccoli.
- Beans & Legumes: Add a layer of black beans, pinto beans, or refried beans for extra protein and fiber, enhancing the classic burrito experience.
- Grains: If brown rice isn’t your preference, feel free to substitute with quinoa, farro, or even white rice. Just ensure it’s cooked and cooled before assembly.
- Spices: While chili powder provides a foundational flavor, feel free to experiment with cumin, smoked paprika, garlic powder, or even a dash of cayenne for extra heat in your ground beef mixture.
The only crucial rule for assembly is to resist the urge to over-stuff. A common pitfall, an overly full burrito can be difficult to roll and prone to bursting. After making one or two, you’ll quickly get a feel for the optimal amount of filling that allows for a snug and secure wrap.
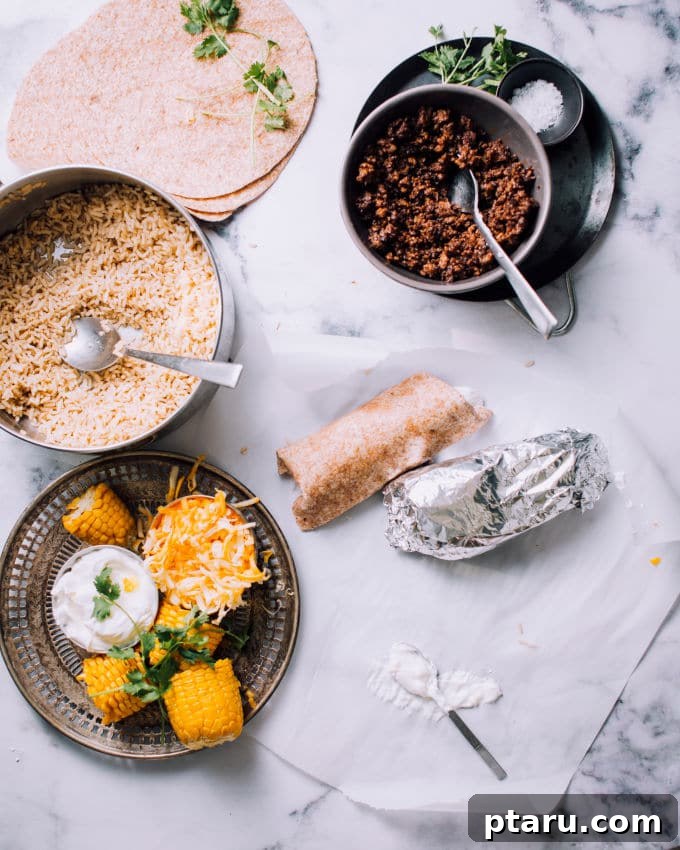
Assembling Your Perfect Freezer Burritos: A Step-by-Step Guide
Crafting these freezer-friendly burritos is a straightforward process, and once you get into the rhythm, you’ll find it quite enjoyable. Here’s how to assemble them for maximum flavor and ease of rolling:
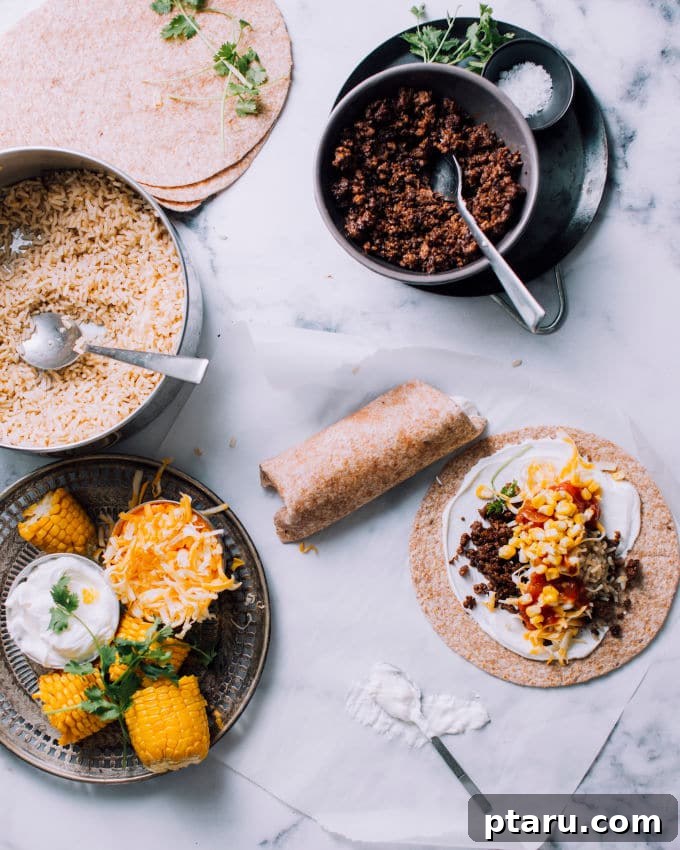
- The Yogurt Base: Begin by spreading a generous layer of thick, full-fat Greek-style yogurt across the surface of your tortilla. I personally prefer the 10% milkfat variety for its unparalleled richness and creaminess. This yogurt layer isn’t just for flavor; it acts as a binder, helping to hold all the delicious ingredients together for easy rolling, and transforms into a wonderfully creamy sauce upon heating.
- Layer the Essentials: Next, add a spoonful of your cooked brown rice, followed by a spoonful of the seasoned ground beef. These form the hearty core of your burrito.
- Add Your Veggies and Zest: Pile on your choice of roasted, grilled, or steamed vegetables. This is where your “clean-out-the-fridge” mentality shines! A dollop of store-bought salsa adds a kick of heat and a tangy acidity that brightens the entire profile.
- Cheese Please! Sprinkle generously with shredded cheese. Cheddar is a classic choice, but feel free to experiment with Monterey Jack, a Mexican blend, or even a spicy pepper jack for extra zing.
- Fresh Herbs Finish: A scattering of fresh cilantro leaves adds a burst of freshness that is indispensable in Mexican-inspired dishes.
- The Art of Rolling: Now for the crucial step – rolling. Fold the two opposite sides of the tortilla inwards by about half an inch. Then, starting from the side closest to you, tightly roll the burrito upwards and away. The key is to keep it snug but not so tight that it tears. If a little filling escapes, don’t worry, you’ll get better with practice! Repeat this process until all your ingredients are used up.
Once your burritos are expertly rolled, individually wrap each one snugly in aluminum foil. This prevents freezer burn and makes reheating a breeze. Store these wrapped wonders in large freezer bags, labeling them with the date for easy tracking. They can be kept in the freezer for up to 3 months, ready to rescue you on the busiest of days.
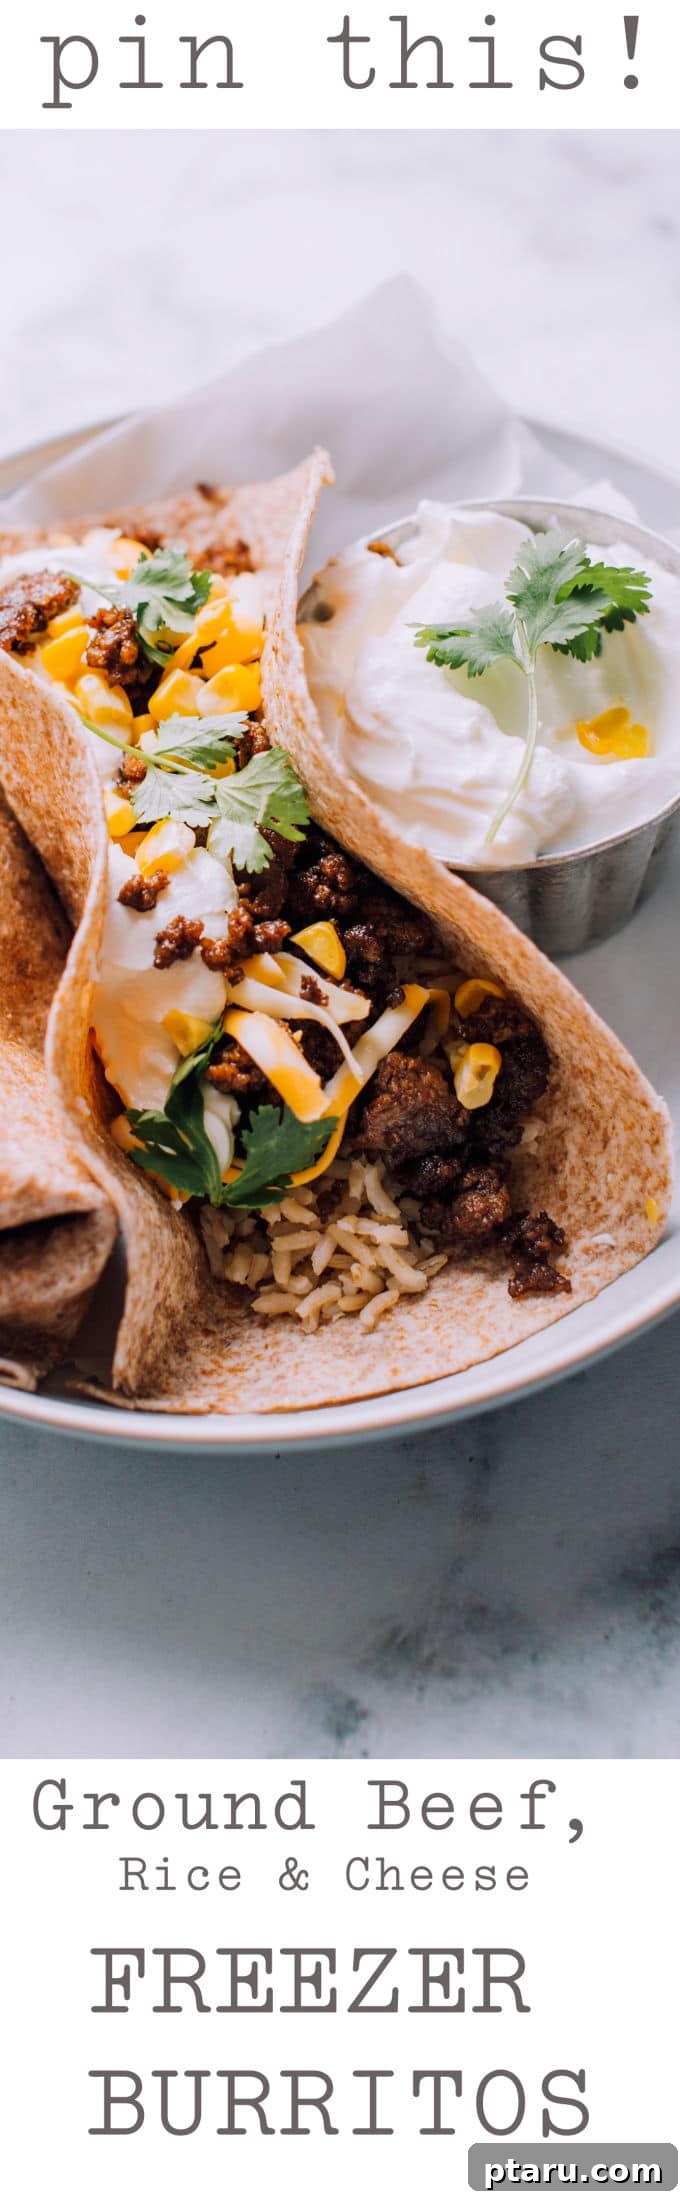
Reheating & Serving Suggestions for Your Freezer Burritos
One of the best features of these ground beef freezer burritos is how incredibly easy they are to reheat. Whether you’re making a quick solo lunch or feeding a hungry family, there’s a method for you:
- Microwave (Individual Burritos): For a speedy single serving, remove the aluminum foil. Microwave on high power for approximately 2 minutes per side, or until the center is steaming hot (internal temperature should reach 165ºF). Cooking times may vary depending on your microwave’s wattage and the size of your burrito.
- Oven (Batch Reheating): If you’re reheating several burritos for a family meal, the oven is your best friend. Preheat your oven to 350ºF (175ºC). You do not need to remove the aluminum foil for oven reheating. Place the wrapped burritos directly on a baking sheet. Allow about 20-25 minutes for smaller burritos and up to 35-40 minutes for larger ones, or until thoroughly heated through.
- Air Fryer (Crispy Finish): For a delightfully crispy exterior, remove the aluminum foil and air fry at 350ºF (175ºC) for 10-15 minutes, flipping halfway through, until golden brown and hot in the center.
Serve your warmed burritos with extra dollops of creamy Greek yogurt or sour cream, a fresh spoonful of vibrant salsa, and perhaps a sprinkle of chopped fresh cilantro. For an even more complete meal, consider adding a side of homemade guacamole, a dash of your favorite hot sauce, or a squeeze of fresh lime juice for a bright, zesty finish. A simple green salad or some tortilla chips can round out the experience beautifully.
These ground beef freezer burritos are more than just a recipe; they’re a commitment to a less stressful, more delicious way of eating. Embrace the joy of homemade convenience and make these a staple in your meal prep rotation!

Ground Beef, Rice & Cheese Freezer Burritos
Ingredients
- 2 tbsp olive oil
- 1 lb lean ground beef
- Kosher salt
- 1 tbsp chili powder (the chili spice mix, not ground cayenne)
- 1 ¼ cups raw brown rice (par-boiled for quicker cooking if preferred)
- About 2 ½ cups full-fat or higher Greek-style yogurt
- About 3 cups roasted, grilled, or steamed vegetables
- Store-bought salsa (to taste)
- About 2 ½ cups grated cheddar cheese
- Handful of cilantro leaves
- About 16 small whole wheat or white flour tortillas (or 8 large; quantity may vary based on filling and packing)
Instructions
-
Heat olive oil in a large, heavy skillet over medium heat. Add the lean ground beef, ½ teaspoon of kosher salt, and chili powder. Cook, breaking up the beef with a spoon, until it is no longer pink and begins to brown, approximately 8 minutes. Meanwhile, prepare brown rice according to its package directions.
-
To assemble each burrito, spread a thick layer of Greek-style yogurt onto the center of a tortilla. Top with a spoonful of cooked brown rice and a spoonful of the seasoned ground beef. Add your desired vegetables and a dollop of store-bought salsa. Sprinkle generously with grated cheese. Finish with a few fresh cilantro leaves. Fold over both sides of the tortilla by about ½ inch, then firmly roll it up from the bottom, creating a snug package. Repeat until all ingredients are used. Wrap each finished burrito tightly in aluminum foil and pack them into large freezer bags.
-
To reheat from frozen:
- Microwave: Remove aluminum foil. Microwave on high power for about 2 minutes on each side (or until the center is steaming hot; 165ºF).
- Oven: Preheat oven to 350ºF (175ºC). No need to remove the aluminum foil. Place wrapped burritos on a baking sheet. Allow about 20-25 minutes for small burritos, or up to 35-40 minutes for large, until heated through.
- Air Fryer: Remove aluminum foil. Air fry at 350ºF (175ºC) for 10-15 minutes, flipping halfway, until crispy and heated through.
Serve with additional yogurt or sour cream, salsa, or guacamole for dipping, if desired.
Tried this recipe? Leave a comment!