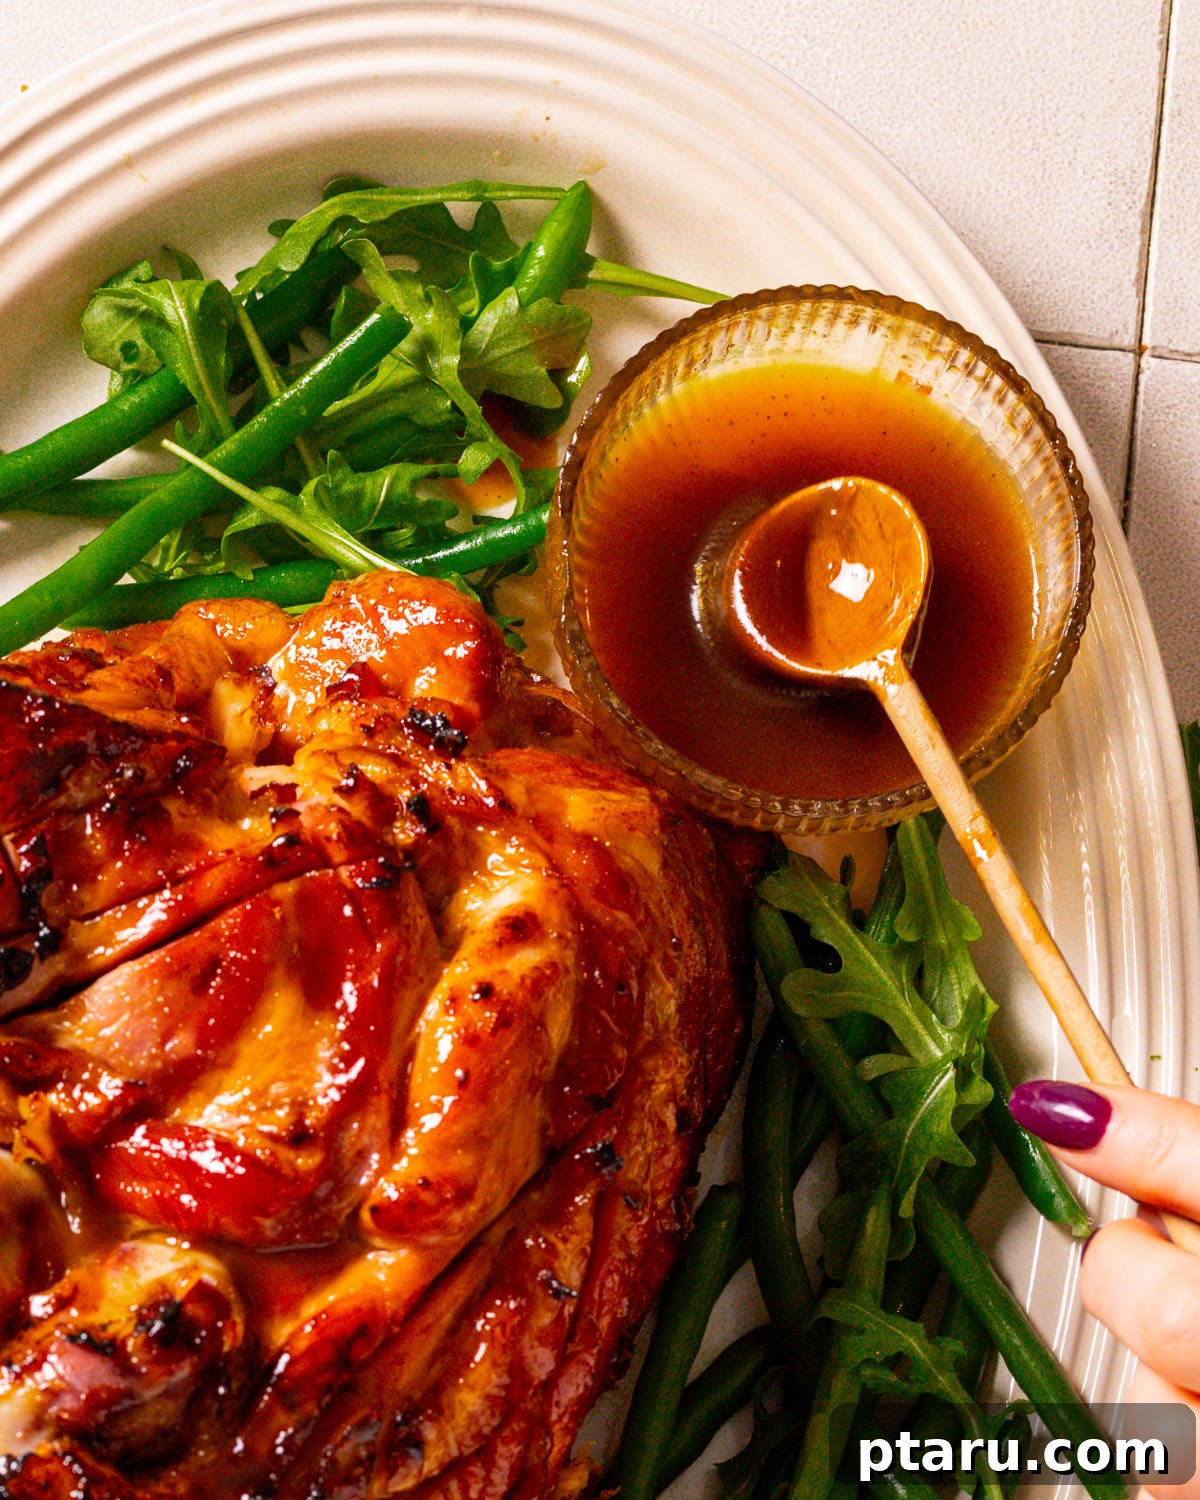
Transform your holiday feast or any special occasion meal with the most exquisite Glaze for Ham you’ll ever make! This acclaimed 5-minute recipe delivers a stunningly caramelized, glossy finish that will elevate your ham from good to unforgettable. As a seasoned food scientist, I’m thrilled to share my expert tips and culinary insights to ensure your glazed ham is not only visually magnificent but also incredibly succulent and bursting with flavor every single time. Prepare to impress your guests with a perfectly sticky, sweet, and savory ham that becomes the centerpiece of any spread.
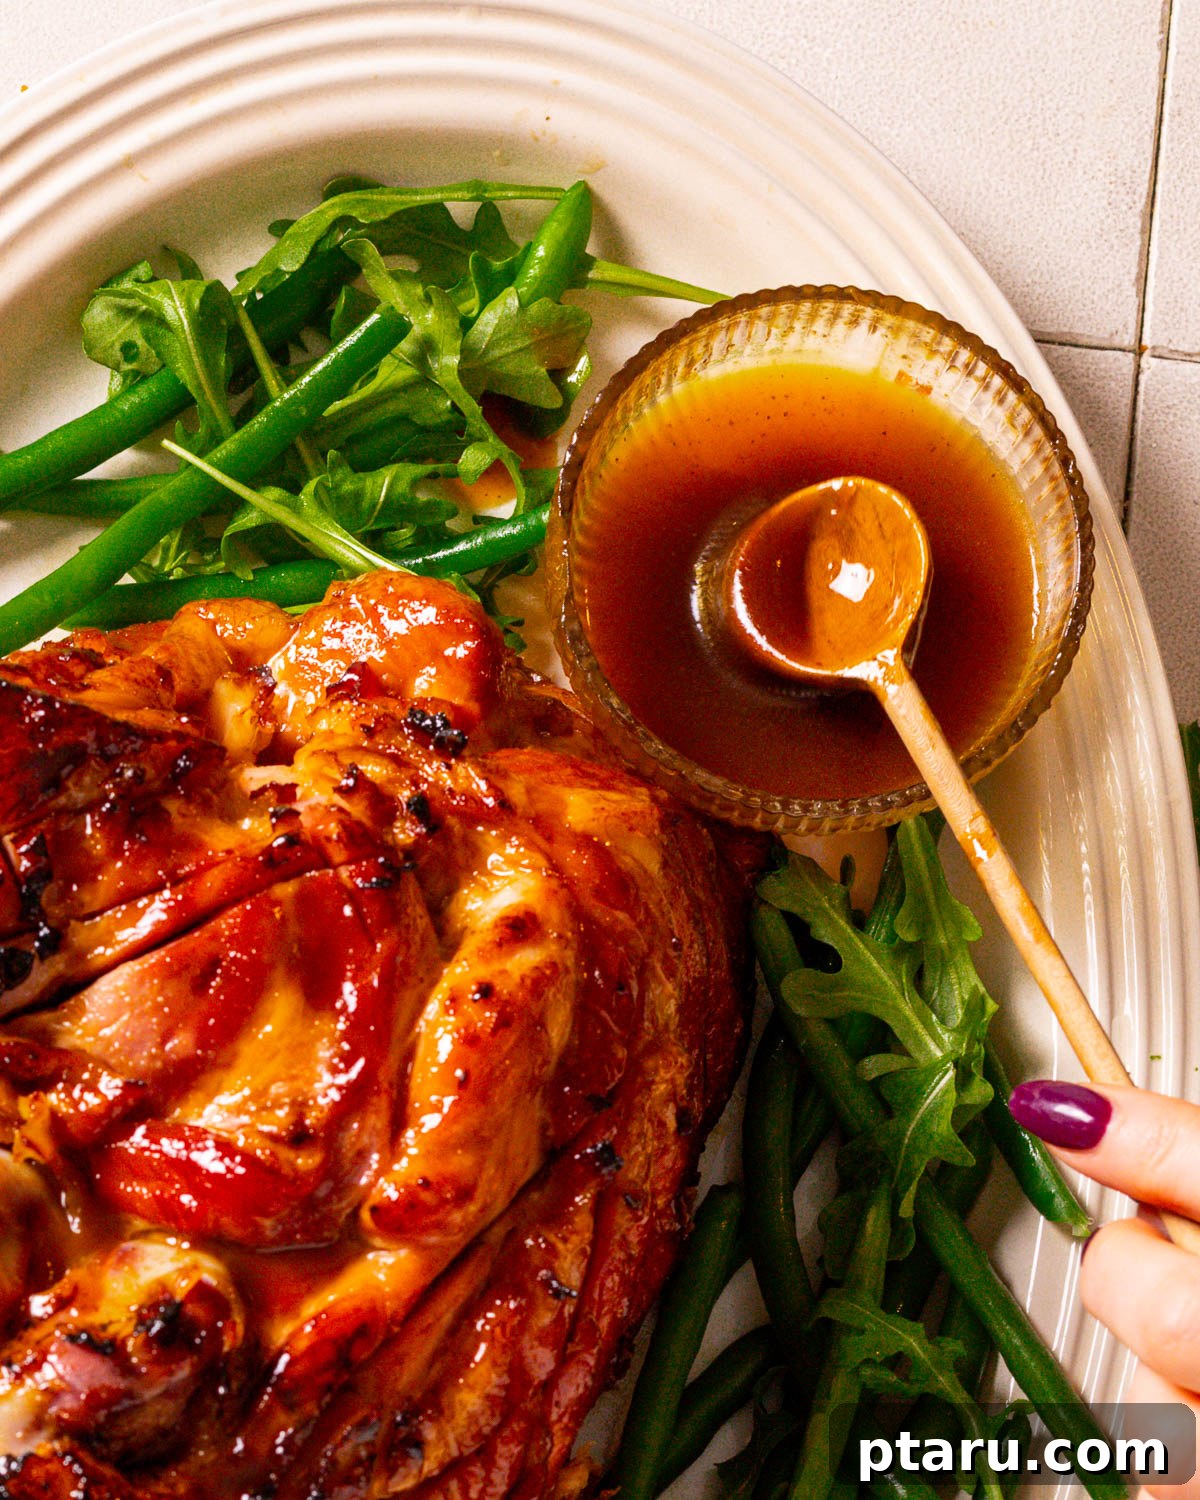
Get ready to discover your ultimate go-to ham glaze recipe, meticulously crafted for achieving the most luscious, flavorful, and gorgeously sticky finish imaginable. Whether you’re preparing a elegant spiral-cut ham, a convenient boneless ham, a hearty bone-in ham roast, experimenting with a pressure cooker ham, or opting for a relaxed crockpot ham recipe, these are the indispensable secrets that guarantee a perfectly glazed ham, every time. This recipe is designed to simplify your cooking process while maximizing taste and visual appeal, making it ideal for busy holidays or any gathering where you want to serve something truly special.
Science-Based Secrets for the BEST Glazed Ham
As a food scientist, I revel in uncovering the ‘why’ behind perfect culinary results. By understanding the principles at play, you can consistently achieve professional-level dishes. Here’s how to master the art of glazing ham, transforming it into a masterpiece of flavor and texture:
- Score the Ham Strategically: Before applying any glaze, take a sharp knife and lightly score the surface of your ham in a diamond pattern, about ¼ inch deep. This critical step isn’t just for aesthetics; it significantly increases the surface area, allowing the glaze to deeply penetrate the meat and adhere beautifully. This also promotes superior caramelization, creating a delicious crust that is both visually appealing and texturally exciting. The small channels created by scoring act as reservoirs, holding the glaze and allowing its flavors to meld perfectly with the ham as it bakes.
- Line the Pan for Effortless Cleanup: Glazes, by nature, are sugar-dense and prone to becoming a sticky, baked-on mess at high temperatures. To save yourself from arduous scrubbing, always line your roasting pan with aluminum foil or parchment paper. This simple trick ensures that any glaze drips caramelize onto the lining rather than the pan itself, making cleanup incredibly easy. Furthermore, the foil helps to manage heat, preventing the bottom of the ham from burning while creating a steamy environment that keeps the ham moist.
- Optimal Glazing Temperature: Timing is everything when it comes to glazing. Begin applying your glaze when the ham reaches an internal temperature of approximately 110-115°F (about 43-46°C). Starting the glazing process at this specific temperature range is crucial because it allows the sugars in the glaze to caramelize gradually without burning. If applied too early, the glaze could burn before the ham is fully heated through. This sweet spot ensures a rich, golden-brown crust without any acrid burnt flavors.
- Precise Glazing Timing: For that perfect caramelized crust, apply the glaze during the final 25-30 minutes of the ham’s baking time. This window is ideal for the sugars to develop their complex flavors and achieve a beautiful sticky sheen. Applying it too soon risks burning, leading to a bitter taste, while applying it too late might not give the glaze enough time to properly caramelize and adhere to the ham’s surface, resulting in a less impactful finish.
- Finish with High Heat or Broil: To achieve an extra-crisp, deeply caramelized, and incredibly glossy crust, finish the ham by briefly increasing the oven temperature to 425°F (220°C) during the final glazing stages, or by using the broiler for just a few minutes at the very end. This intense heat causes the sugars on the surface to rapidly caramelize and crisp up. However, exercise extreme caution and watch the ham continuously, as sugar can go from perfectly golden to burnt in a matter of seconds under the broiler. This step is optional but highly recommended for a show-stopping presentation.
- Rest Before Carving: The moment your perfectly glazed ham emerges from the oven, resist the urge to carve it immediately. Allow the ham to rest, loosely tented with foil, for at least 15-20 minutes. This resting period is vital for the muscle fibers to relax and reabsorb the juices that have migrated to the center during cooking. The result is consistently juicier, more tender slices of ham that retain their moisture and flavor, making every bite a delight.
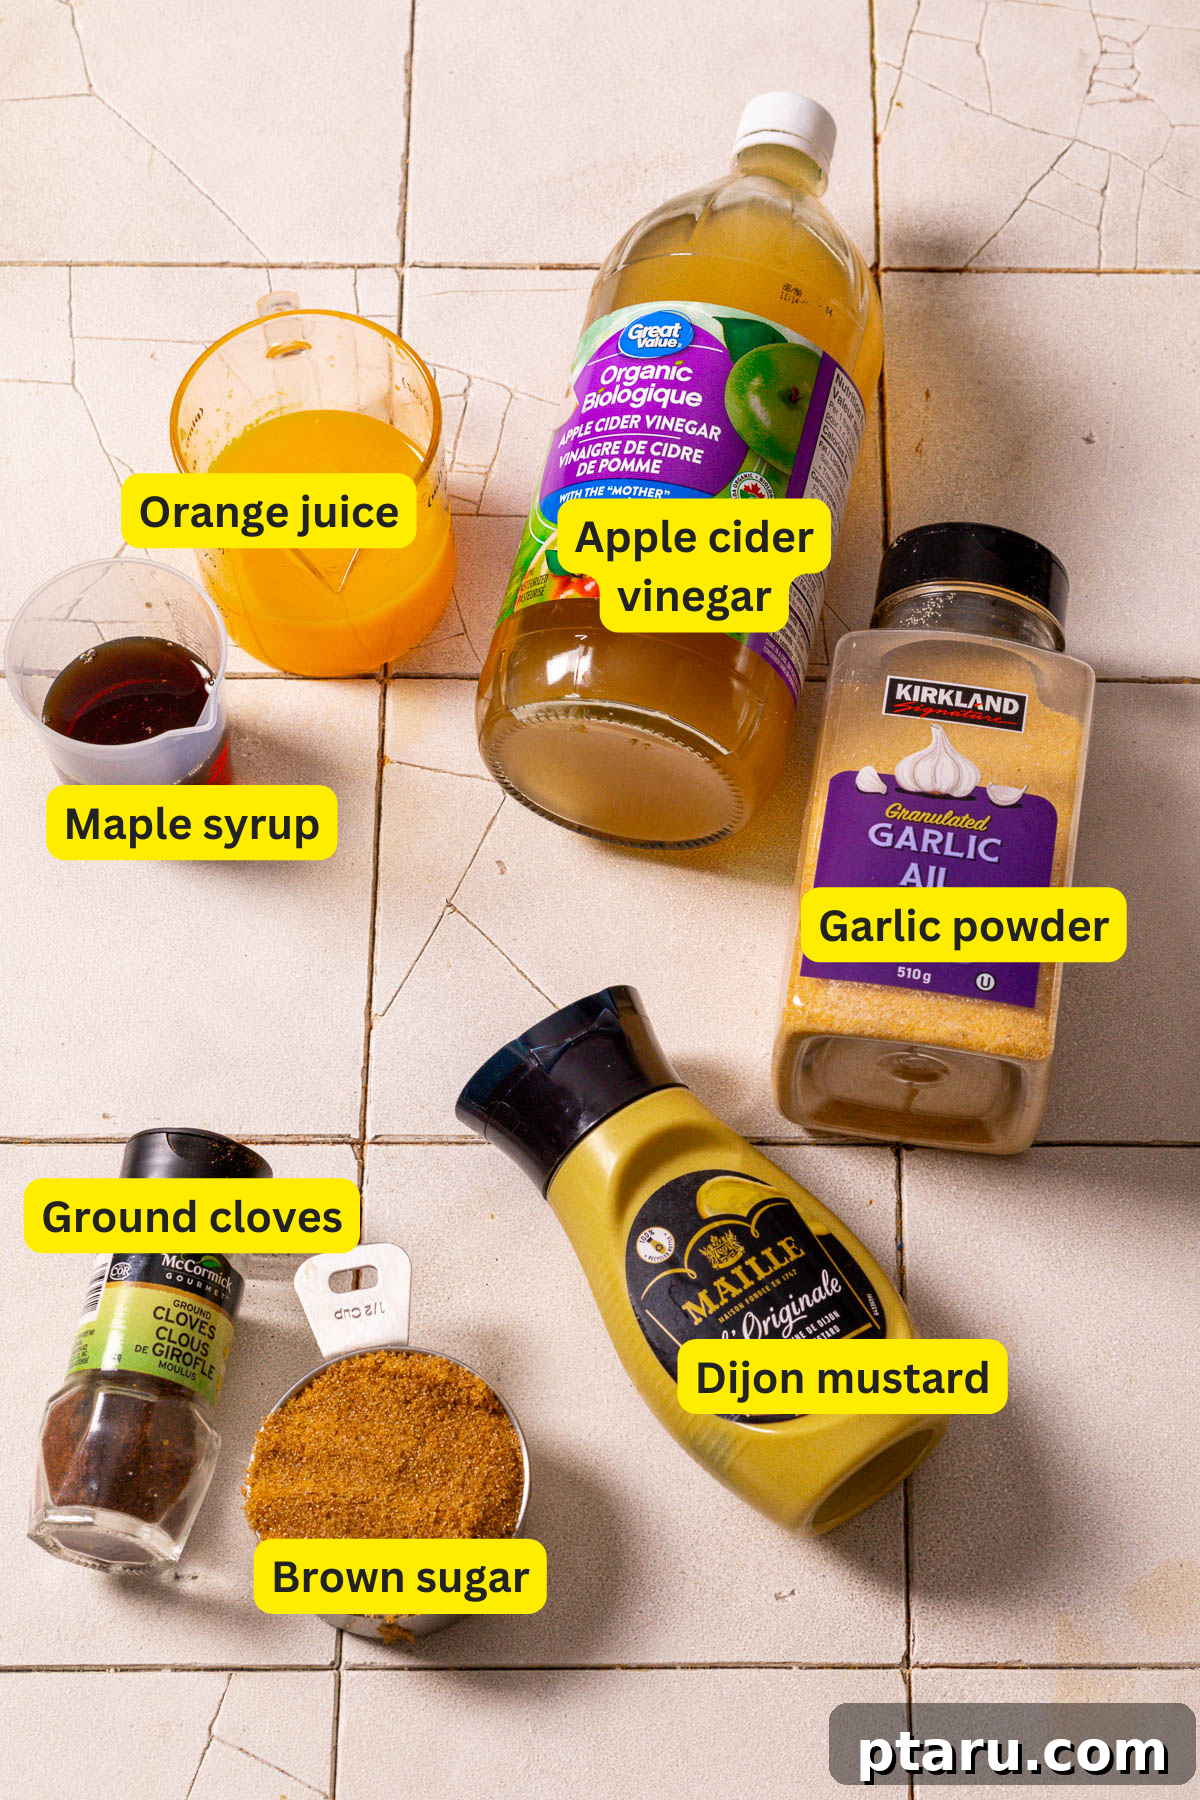
Ham Glaze Ingredients: The Perfect Blend for Flavor and Shine
Creating an exceptional ham glaze relies on a thoughtful combination of ingredients that balance sweetness, acidity, and savory notes. Each component plays a crucial role in achieving that signature glossy, caramelized finish and irresistible taste:
- Brown Sugar: This is the cornerstone of our glaze, providing a rich, deep sweetness with subtle molasses undertones. Brown sugar is essential for achieving a beautiful caramelization and a wonderfully sticky texture. It lends a warmth that granulated sugar simply cannot replicate, contributing significantly to the glaze’s depth of flavor.
- Maple Syrup (or Honey): Offering another layer of natural sweetness, maple syrup adds a complex, earthy aroma and a beautiful amber hue. Its viscosity also contributes to the glaze’s desirable thick and shiny consistency. If maple syrup isn’t available, honey is an excellent substitute, providing a distinct floral sweetness and similar thickening properties.
- Orange Juice or Pineapple Juice: These fruit juices introduce a bright, tangy counterpoint that cuts through the richness of the ham and the sweetness of the sugars. Orange juice provides a classic citrus aroma and flavor, while pineapple juice adds a tropical tang and contains natural enzymes (bromelain) that can subtly tenderize the ham. Either choice adds essential moisture and a refreshing zest.
- Dijon Mustard: Far from just adding a hint of spice, Dijon mustard is a powerhouse ingredient in this glaze. It acts as an emulsifier, helping to bind the sweet and acidic elements into a cohesive sauce. Its pungent, savory notes provide a crucial balance, preventing the glaze from becoming overly sweet and adding a sophisticated depth of flavor that complements the ham beautifully.
- Apple Cider Vinegar: A touch of apple cider vinegar brightens the entire flavor profile. Its sharp acidity is vital for balancing the sweetness of the sugars and juices, creating a more dynamic and less cloying glaze. It also enhances the overall aroma and adds a subtle fruity tartness that rounds out the flavors.
- Garlic Powder: For a foundational layer of savory aromatic flavor, garlic powder is an indispensable addition. It provides a mellow, sweet garlic note that enhances the umami of the ham without overpowering the other ingredients. This subtle savory element makes the glaze more complex and appealing.
- Ground Cloves (Optional, but Recommended): Ground cloves are a traditional pairing with ham, lending a warm, aromatic, and slightly pungent spice that perfectly complements the rich meat. A small amount can transform the glaze, adding a depth and complexity that evokes classic holiday flavors. If you love warm spices, this is a must-add for an authentic and inviting aroma.
Exact ingredient quantities are provided in the comprehensive recipe card located at the bottom of this article, ensuring you have all the details for perfect execution.
Savory Substitutions and Flavorful Variations
This ham glaze recipe is incredibly versatile, allowing for easy substitutions and creative variations to suit your taste preferences or what you have on hand. Feel free to experiment and make it your own!
- Sweetener Swaps: While maple syrup and honey offer distinct flavors, you can easily substitute them with other liquid sweeteners like agave nectar for a neutral sweetness, or even a touch of dark corn syrup for a thicker, glossier texture. For a less refined sugar option, try coconut sugar, though its flavor profile is slightly different. Keep in mind that artificial sweeteners may not caramelize as effectively.
- Juice Alternatives: If orange or pineapple juice isn’t your preference, consider apple juice for a milder, sweeter fruit note, or a squeeze of fresh lemon juice for a sharper, more vibrant citrus kick. For an even deeper, more robust flavor, using freshly squeezed orange juice instead of store-bought concentrate can make a noticeable difference. Cranberry juice can also add a festive tartness, especially for holiday hams.
- Spice Explorations: The spice rack offers a wealth of options to customize your glaze. Beyond ground cloves, consider adding a pinch of ground cinnamon for a classic holiday warmth, a touch of ground ginger for a subtle zing, or a dash of allspice for a complex, aromatic blend. For those who enjoy a little heat, a tiny pinch of cayenne pepper can introduce a pleasant warmth without overpowering. Instead of garlic powder, you can finely mince 1-2 cloves of fresh garlic for a more pungent, vibrant garlic flavor.
- Elevated Flavor Boosters: For an adult-friendly glaze, a tablespoon of bourbon, rum, or even a dry sherry can add remarkable depth and sophistication, complementing the smoky notes of the ham beautifully. A teaspoon of smoked paprika can also infuse a delightful smoky complexity, while a touch of Worcestershire sauce can enhance the savory umami profile.
Essential Tools to Grab for a Seamless Glazing Process
Gathering your tools before you start ensures a smooth and efficient cooking experience. For this ham glaze recipe, you’ll need just a few basic kitchen items:
- Small Saucepan: Ideal for whisking and simmering the glaze ingredients. Its compact size helps the glaze thicken efficiently.
- Whisk: Essential for thoroughly combining the ingredients and ensuring a smooth, lump-free glaze. It also helps prevent scorching by keeping the mixture moving as it simmers.
- Basting Brush: A silicone basting brush is perfect for evenly applying thin layers of glaze onto the ham. Silicone brushes are heat-resistant and easy to clean, ensuring precise coverage for that perfect shine.
- Sharp Knife and Chopping Board: These are indispensable for scoring your ham before glazing and for cleanly slicing your beautifully glazed ham once it’s rested and ready to serve.
- Meat Thermometer: While not strictly a ‘glaze’ tool, an accurate meat thermometer is crucial for monitoring the ham’s internal temperature, ensuring it reaches the ideal temperature for glazing and is cooked perfectly without drying out.
How to Make the Perfect Glaze for Ham: Step-by-Step
This incredibly easy glaze comes together in just minutes, yet delivers an impressive depth of flavor and a beautiful sheen. Here is my proven method for preparing the glaze, followed by precise instructions on how to apply it to your ham for optimal results:
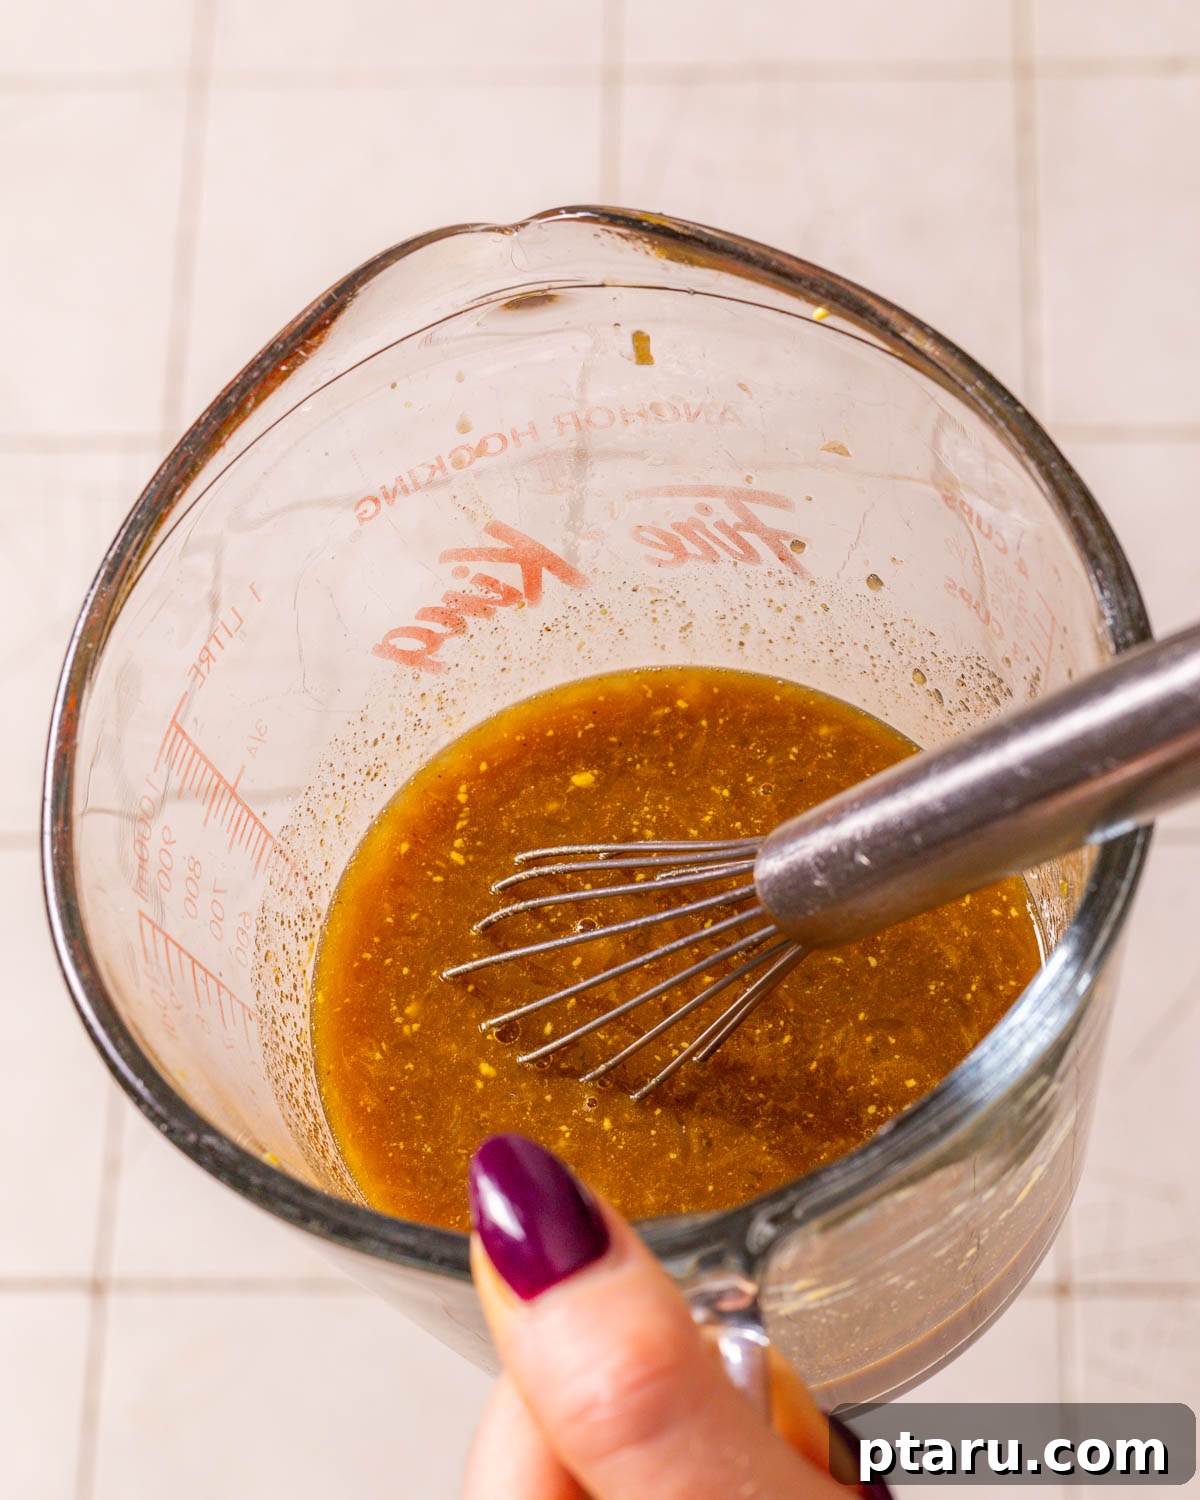
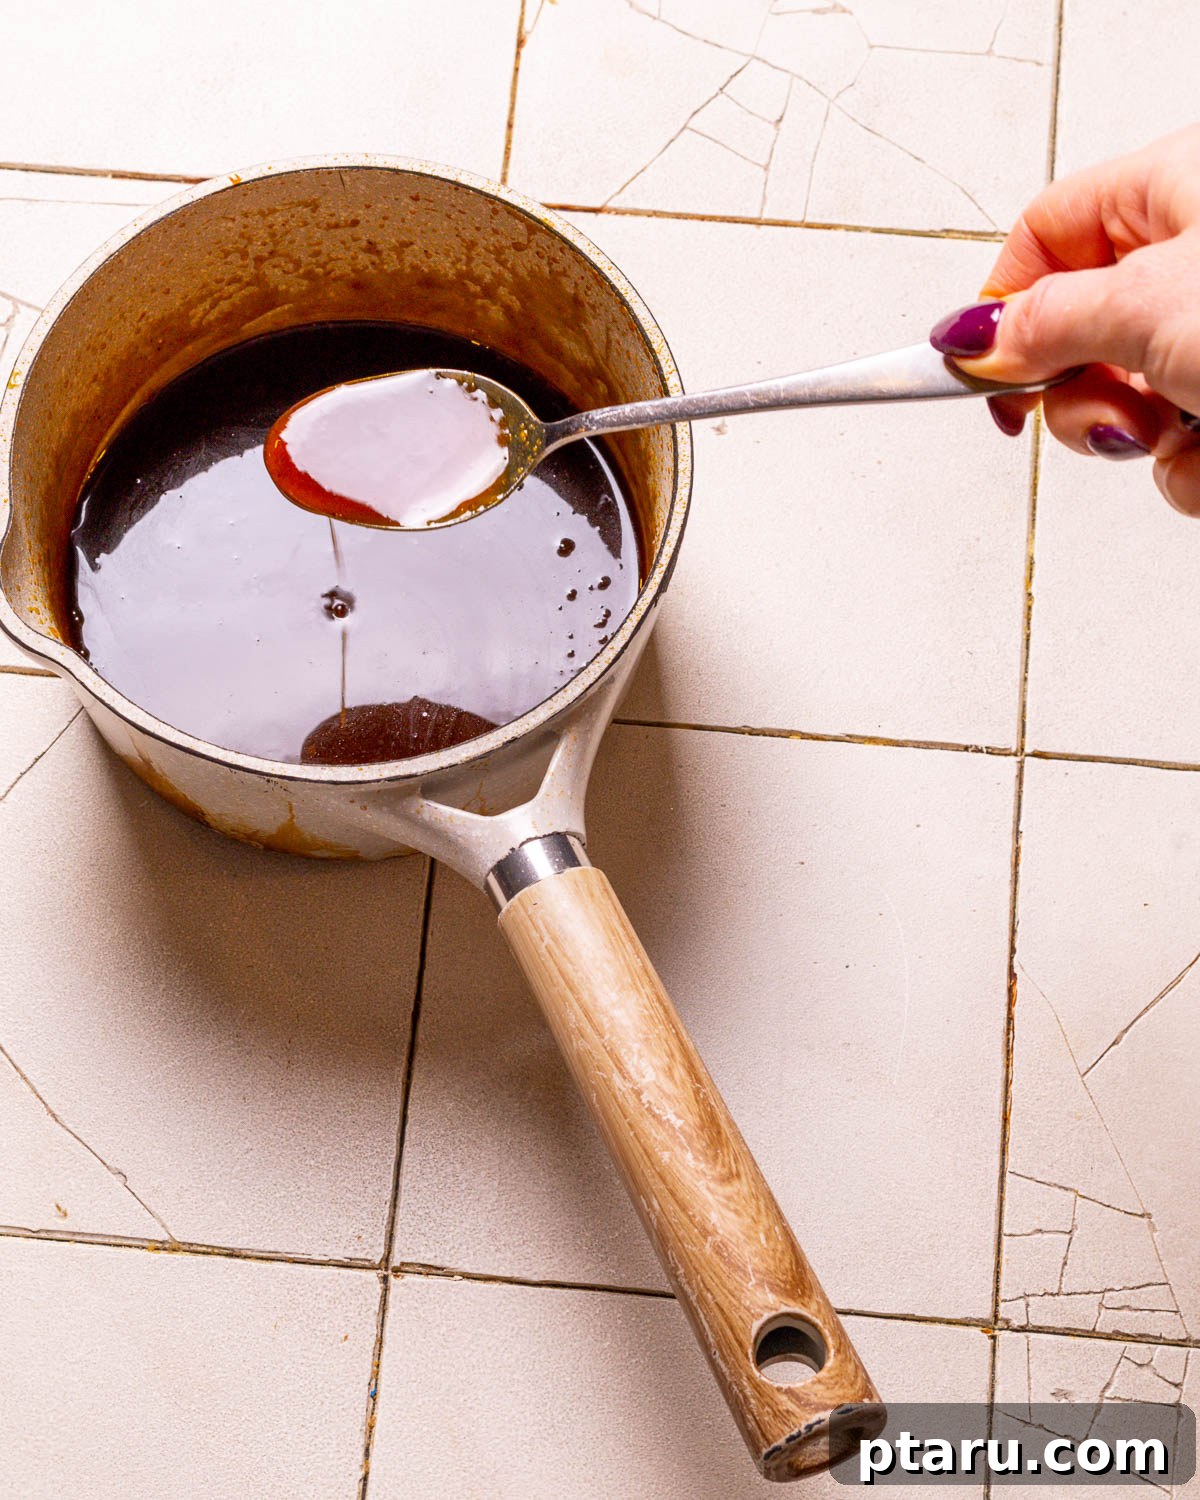
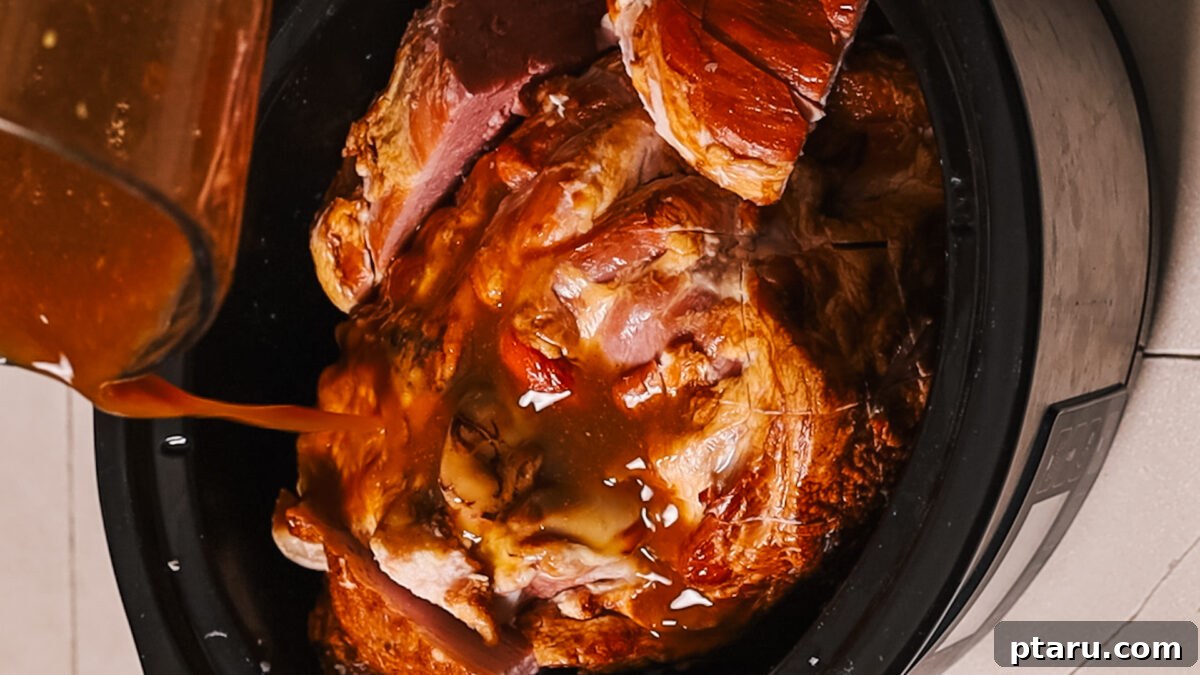
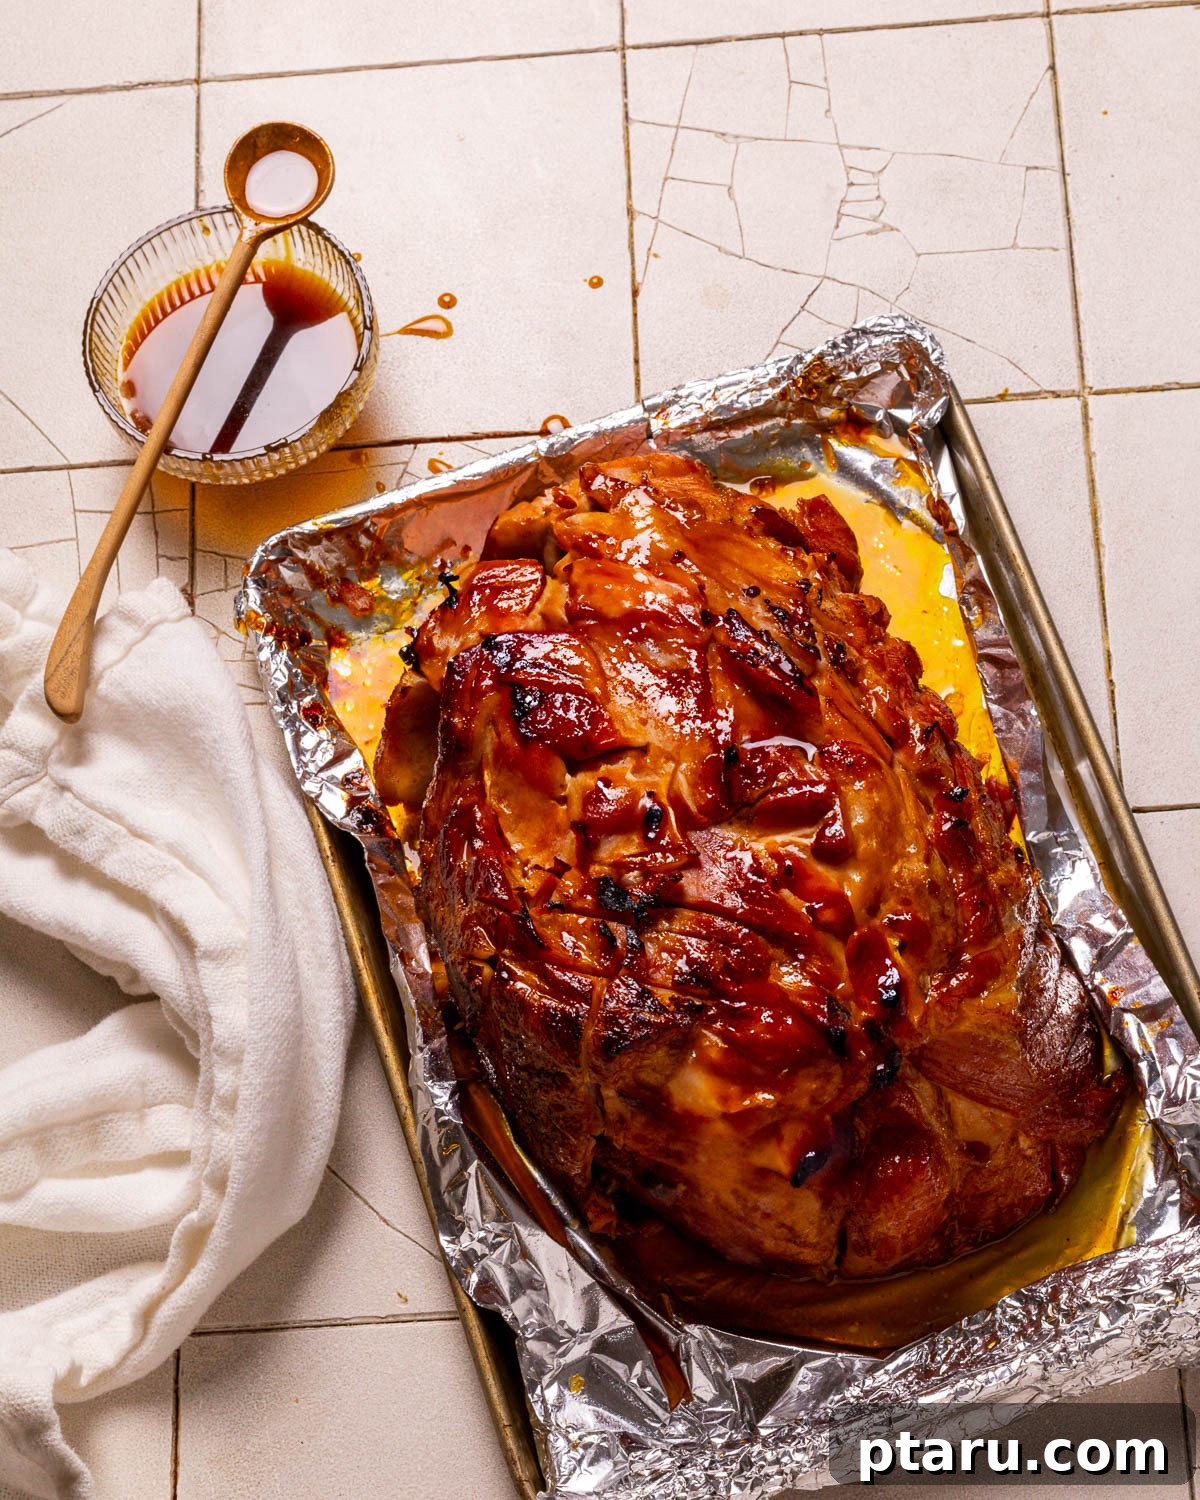
Crafting Your Irresistible Glaze
- Combine All Ingredients: In a small, heavy-bottomed saucepan, whisk together all the glaze ingredients. This includes the brown sugar, maple syrup (or honey), orange or pineapple juice, Dijon mustard, apple cider vinegar, garlic powder, and the optional ground cloves. Ensure everything is well combined and no lumps of sugar remain.
- Simmer to Thicken: Place the saucepan over medium heat. Bring the mixture to a gentle simmer, stirring occasionally with your whisk to prevent the sugars from sticking to the bottom and burning. As it heats, the sugars will dissolve and the flavors will begin to meld.
- Cook Until Slightly Thickened: Allow the glaze to cook for 5-7 minutes at a gentle simmer. During this time, the mixture will reduce slightly and thicken to a syrupy consistency, perfect for coating your ham. You want it thick enough to cling to the ham, but still pourable. Once thickened, remove the saucepan from the heat and set it aside, ready for application.
How to Achieve a Perfectly Glazed Ham
Applying the glaze at the right time and in layers is crucial for developing a deep, rich flavor and that coveted glossy, caramelized exterior. Follow these steps for an expertly glazed ham:
The Initial Glaze Application
- Prepare for Glazing: Approximately 25-30 minutes before your ham is scheduled to finish baking, its internal temperature should be around 110-115°F (43-46°C). At this point, remove the ham from the oven. Using a basting brush, apply a generous, thin and even layer of the prepared glaze over the entire surface of the ham, especially into the scored diamond pattern. The goal is an even coating that will caramelize beautifully. After applying the first layer, increase your oven temperature to 425°F (220°C). This higher heat will accelerate the caramelization process, creating a stunning finish.
The Second Layer: Enhancing Flavor and Sheen
- Reinforce the Flavor: About 10-15 minutes before the ham is completely done cooking (i.e., its internal temperature is nearing 135-140°F / 57-60°C), apply a second liberal layer of glaze. This additional coating will deepen the flavor, enhance the caramelization, and build that irresistible sticky-sweet crust. Return the ham to the hot oven, allowing the second layer to bake and develop its glossy texture. This layering technique builds complexity and ensures every bite is infused with delicious glaze.
The Optional Third Glaze: For an Ultra-Glossy Finish
- The Ultimate Shine: For those who desire an extra-luxurious, truly mirror-like finish, consider a final, light brush of glaze immediately after removing the ham from the oven. The residual heat from the ham will help this fresh layer adhere and create an unparalleled gloss. Alternatively, if you wish to introduce a crackling crispness, you can briefly place the ham under a broiler for 1-2 minutes after the second glaze, watching it *very closely* to prevent burning. Once achieved, allow the ham to rest as instructed. Then, slice and serve, optionally drizzling with any extra glaze that may have collected in the roasting pan.
💡 Recipe Tip: Mastering Your Glazing Timeline
Accurately timing your glaze application is paramount for achieving that perfect caramelized crust without burning the delicate sugars. Here’s how to estimate and ensure precision:
- General Rule for Glazing: Always plan to apply your ham glaze during the final 25-30 minutes of the ham’s total baking time. This critical window allows the sugars to caramelize beautifully, creating a sticky, glossy crust without scorching. Most hams, particularly pre-cooked varieties, typically bake at 325°F (160°C) for approximately 10-15 minutes per pound to reach a safe and delicious internal temperature of 135-140°F (57-60°C).
- Practical Example: Let’s consider a 6-pound ham. If baking at 325°F (160°C), it will require roughly 1 hour and 30 minutes to cook through (6 pounds x 15 minutes/pound = 90 minutes). To calculate your glazing start time, subtract 30 minutes from the total baking time. Therefore, you would begin applying the glaze around the 1-hour mark of baking, ensuring the final 30 minutes are dedicated to creating that glorious caramelized finish.
- The Most Accurate Method: Use a Meat Thermometer: For absolute precision, a reliable internal meat thermometer is your best friend. Instead of relying solely on time estimates, insert your thermometer into the thickest part of the ham, avoiding the bone. The optimal time to start applying your glaze is when the ham’s internal temperature reaches approximately 110-115°F (43-46°C). This temperature signals that you are roughly 25-30 minutes away from the ham reaching its desired final internal temperature of 135-140°F (57-60°C).
- Important Note on Pre-Cooked Hams: Most hams purchased from grocery stores are fully cooked and only require reheating. For these, you are simply aiming to heat the ham to an internal temperature of 135°F (57°C) to 140°F (60°C). The USDA recommends this range for reheating cooked ham for safety and optimal texture. Since the ham has already undergone its initial cooking process, you are primarily focusing on warming it through and creating that spectacular glaze.
Make Ahead and Storage Solutions for Your Glaze and Ham
Planning ahead can significantly reduce stress on a busy cooking day, especially when preparing a centerpiece like glazed ham. This versatile glaze can be made in advance, and both the glaze and leftover ham store wonderfully.
Preparing and Storing the Glaze in Advance
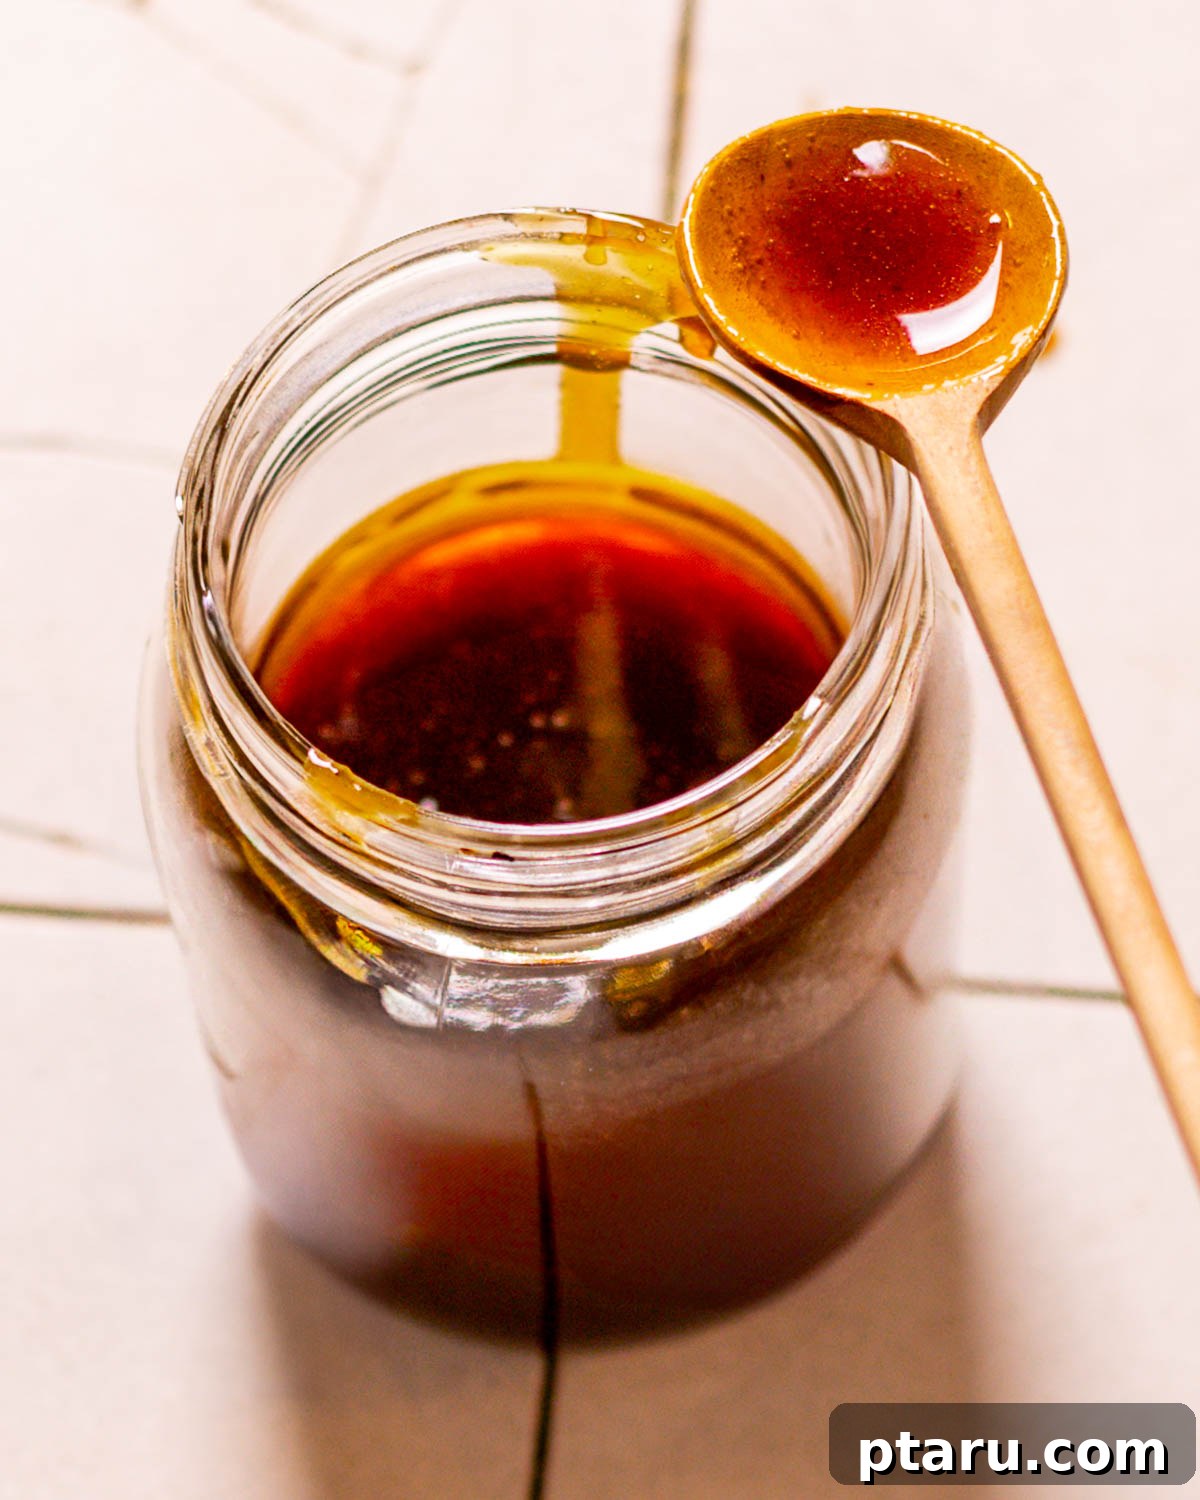
- The beauty of this ham glaze is that it can be prepared up to a week in advance, allowing you to focus on other aspects of your meal closer to serving time. Simply whisk all the ingredients together in a saucepan as directed, bring it to a gentle simmer, and cook until it has slightly thickened. Once it reaches the desired consistency, remove it from the heat and allow it to cool completely to room temperature. Transfer the cooled glaze to an airtight container and store it in the refrigerator for up to seven days.
- To use your make-ahead glaze, gently reheat it over low heat on the stovetop, stirring occasionally, until it becomes fluid and warm again. If you find the glaze has thickened too much during refrigeration, don’t worry. You can easily loosen it by adding a splash (a tablespoon or two) of water, orange juice, or pineapple juice until it reaches your preferred brushable consistency. This flexibility makes holiday meal prep a breeze.
Maximizing Leftovers: Glaze and Glazed Ham
- Leftover Glaze: Don’t discard any unused glaze! Store leftover ham glaze in an airtight container in the refrigerator for up to one week. It’s incredibly versatile and can be repurposed to add a burst of flavor to other dishes. Try brushing it on grilled chicken breasts, pork chops, or even roasted vegetables like carrots or sweet potatoes for a delicious sweet and savory twist. It can also be thinned slightly and used as a dipping sauce.
- Leftover Glazed Ham: If you’re fortunate enough to have leftover glazed ham, store it properly to maintain its freshness and flavor. Once the ham has cooled to room temperature, transfer any remaining slices or chunks to a sealed container and refrigerate for 3-5 days. To reheat, place the ham in an oven-safe dish, add a splash of water or broth to the bottom, and cover tightly with foil to retain moisture. Reheat in a moderate oven (around 300°F/150°C) until warmed through, or microwave individual servings on a lower power setting to prevent drying out.
How to Serve Your Magnificently Glazed Ham
A perfectly glazed ham is more than just a meal; it’s a centerpiece, a focal point of celebration and togetherness. There’s truly nothing more inviting than a glossy, beautifully caramelized ham, especially during festive occasions like Easter, Christmas, or any significant family dinner. Here’s how to serve it for maximum enjoyment and impact:
- Elevate with Complementary Condiments: While the glaze itself is incredibly flavorful, offering a selection of condiments allows guests to customize their experience. Classic pairings include various mustards – a tangy stone-ground, a sharp Dijon, or a fiery horseradish mustard. For a sweet and savory counterpoint, consider serving fruit-based accompaniments like a zesty mango chutney, a homemade apple sauce, or a spiced cranberry relish. These additions enhance the ham’s complex flavors and add an extra layer of gourmet appeal.
- Perfect Pairings: Essential Side Dishes: The right side dishes can truly complete your glazed ham meal. Opt for complementary textures and flavors that won’t overshadow the ham. Excellent choices include creamy mashed potatoes (perhaps even garlicky or cheesy variations like my favorite mashed potato recipes), a rich and comforting au gratin potatoes (naturally gluten-free), or tender roasted vegetables such as asparagus, Brussels sprouts, or honey-glazed carrots. Fresh, vibrant green salads with a light vinaigrette also provide a refreshing contrast, balancing the richness of the ham. Don’t forget a basket of warm, crusty dinner rolls to soak up any delicious pan drippings.
- Presentation Matters: Present your glazed ham on a large, attractive platter, perhaps garnished with fresh herbs like rosemary or parsley, or slices of orange for a pop of color. The visual appeal of a perfectly roasted and glazed ham is a feast for the eyes before it even reaches the palate. Carve it at the table for a dramatic presentation, or pre-slice some portions for ease of serving.
Creative Culinary Uses for Leftover Glazed Ham: Beyond the Main Course
One of the best parts of a large ham is the delicious leftovers! Far from being a chore, transforming leftover glazed ham into new dishes is an opportunity for culinary creativity and extends the joy of your meal.
- Hearty Sandwiches and Wraps: The most immediate and satisfying use for leftover ham is in sandwiches. Pile thick slices of glazed ham onto fresh bread with your favorite cheese, crisp lettuce, a smear of Dijon, or even a tangy pickle. For a twist, try it in a grilled cheese or a warm Cuban sandwich. Diced ham also makes a fantastic filling for savory wraps with cream cheese, spinach, and bell peppers.
- Comforting Soups and Stews: Leftover ham lends an incredible smoky, savory depth to soups and stews. Dice it and add it to a classic split pea soup, a robust vegetable soup, or a creamy potato chowder. If you cooked a bone-in ham, utilize the ham bone to make a rich, flavorful stock, then incorporate the leftover meat into recipes like a hearty ham and bean soup, a deeply savory ham bone soup (perfect for extracting every last bit of flavor), or my personal favorite, a comforting ham and lentil soup recipe.
- Delightful Breakfast and Brunch Dishes: Ham is a natural fit for breakfast. Chop it finely and fold it into fluffy omelets or scrambled eggs. Create savory mini quiches or a full-sized quiche with ham and cheese. It’s also excellent in a cheesy breakfast tater tot casserole or added to a breakfast hash. For something truly unique, try incorporating diced ham into savory pancakes or waffles, such as my delectable Ham & Cheese Buttermilk Waffles.
- Pasta and Casseroles: Diced glazed ham can be a wonderful addition to pasta dishes like a creamy carbonara or a baked mac and cheese. It also shines in casseroles, adding a savory element to broccoli and rice bakes or scalloped potatoes with ham.
Frequently Asked Questions (FAQs) About Glaze for Ham
Whether you’re a seasoned chef or new to glazing ham, you might have some lingering questions. Here are answers to common queries to ensure your ham glaze experience is a resounding success:
Absolutely! To add a delightful kick, simply stir in a pinch of cayenne pepper, a dash of hot sauce, or a teaspoon of finely minced fresh jalapeño or habanero (if you’re feeling adventurous) to the glaze while it simmers. Alternatively, you could substitute the Dijon mustard for a spicier variety, such as a whole-grain mustard with horseradish, to infuse a more robust heat.
Yes, you can. For a lower-sugar option, natural sweeteners like coconut sugar or monk fruit sweetener can be used. However, it’s important to be mindful that these substitutes may affect the texture and caramelization process differently than traditional brown sugar or maple syrup. Coconut sugar will caramelize, but perhaps not with the same stickiness. Monk fruit sweetener may not caramelize at all, resulting in a less glossy, more sauce-like finish. Always test a small batch first if experimenting.
This glaze works beautifully on almost any type of ham! Spiral-cut hams are particularly popular as the pre-cut slices allow the glaze to penetrate deep into the meat. Boneless hams and bone-in ham roasts also take to the glaze wonderfully. Most hams sold in stores are pre-cooked, which simplifies the process as you’re primarily reheating and glazing.
Glazes can burn if applied too early in the baking process, exposed to excessively high heat for too long, or if the glaze itself is too thin or has too much sugar without enough balancing acidity. Ensure you follow the timing guidelines (last 25-30 minutes of baking) and monitor the ham closely, especially if you increase the oven temperature or use the broiler. A thicker glaze tends to burn less easily.
To reduce the sweetness, you can decrease the amount of brown sugar and maple syrup slightly. Compensate by increasing the orange or pineapple juice and apple cider vinegar to maintain the liquid consistency and balance the flavors. You could also add a touch more Dijon mustard for a savory counterpoint. A splash of savory broth instead of some juice can also help.
If you don’t have a basting brush, you can improvise! A clean pastry brush, a clean wad of cheesecloth tied to a wooden spoon, or even the back of a spoon can be used to drizzle and spread the glaze over the ham. The key is to get an even coating, so take your time with whatever tool you use.
Other Easy Glaze Recipes You’ll Love for Various Meats
If you’ve enjoyed the simplicity and deliciousness of this ham glaze, you’ll be thrilled to discover other versatile glaze recipes that can elevate a variety of dishes. Mastering a few go-to glazes is a secret weapon for any home cook looking to add a touch of gourmet flavor with minimal effort.
- Best Meatloaf Glaze (just 3 ingredients!): A fantastic, quick, and savory-sweet glaze that takes your everyday meatloaf from ordinary to extraordinary. Its simplicity makes it a weeknight winner.
- Honey Teriyaki Glaze (amazing on salmon): This Asian-inspired glaze offers a perfect balance of sweet, salty, and umami flavors. While exceptional on flaky salmon, it also works wonderfully on chicken, pork, or even stir-fried vegetables.
- Maple-Butter Glaze (used on a boneless turkey breast roast, but works on ham, too!): Rich with the comforting flavors of maple and butter, this glaze creates a succulent, golden crust. It’s a natural complement to turkey, but its sweet, savory notes are also incredible when brushed over ham, pork tenderloin, or even roasted root vegetables.
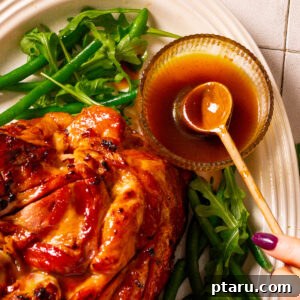
Perfect Glaze for Ham (Easy 5-Minute Recipe + Pro Tips!)
Ingredients
- ½ cup brown sugar
- ¼ cup maple syrup or honey
- ½ cup orange juice or pineapple juice
- 2 tbsp Dijon mustard
- 1 tbsp apple cider vinegar
- 1 tsp garlic powder
- ¼ tsp ground cloves optional for warm spice
Instructions
-
1. Combine Ingredients: Whisk all glaze ingredients together in a small saucepan. Place over medium heat and bring to a simmer, stirring occasionally. Cook for 5-7 minutes until slightly thickened and syrupy.
-
2. First Glaze: About 25-30 minutes before the ham is finished baking (when internal temperature is 110-115°F), brush a thin, even layer of glaze over the ham. Increase the oven temperature to 425°F (220°C) to achieve a beautifully caramelized finish.
-
3. Second Glaze: Apply a second generous layer of glaze 10-15 minutes before the ham is fully cooked to enhance flavor and caramelization.
-
4. Optional Third Glaze: For an extra glossy finish, brush a final layer of glaze onto the ham immediately after removing it from the oven.
-
5. Rest and Serve: Let the ham rest for 10-15 minutes before slicing to allow the juices to redistribute, ensuring tender, juicy slices. Serve with any extra glaze collected in the pan for drizzling.
Notes
Example: A 6-pound ham at 325°F takes around 1 hour 30 minutes. You’d apply the glaze at the 1-hour mark for the last 30 minutes.
OR Use a Thermometer: The most accurate way is to check the internal temperature. When the ham reaches around 110-115°F (43-46°C), you’re about 25-30 minutes away from the finish line.
If your ham is fully cooked (most store-bought hams are), you only need to heat it to 135°F (57°C) to 140°F (60°C). The USDA recommends this range for reheating cooked ham. It’s safe because the ham was already cooked during processing.
Nutrition
Nutrition information is automatically calculated, so should only be used as an approximation.
Tried this recipe? Leave a comment!