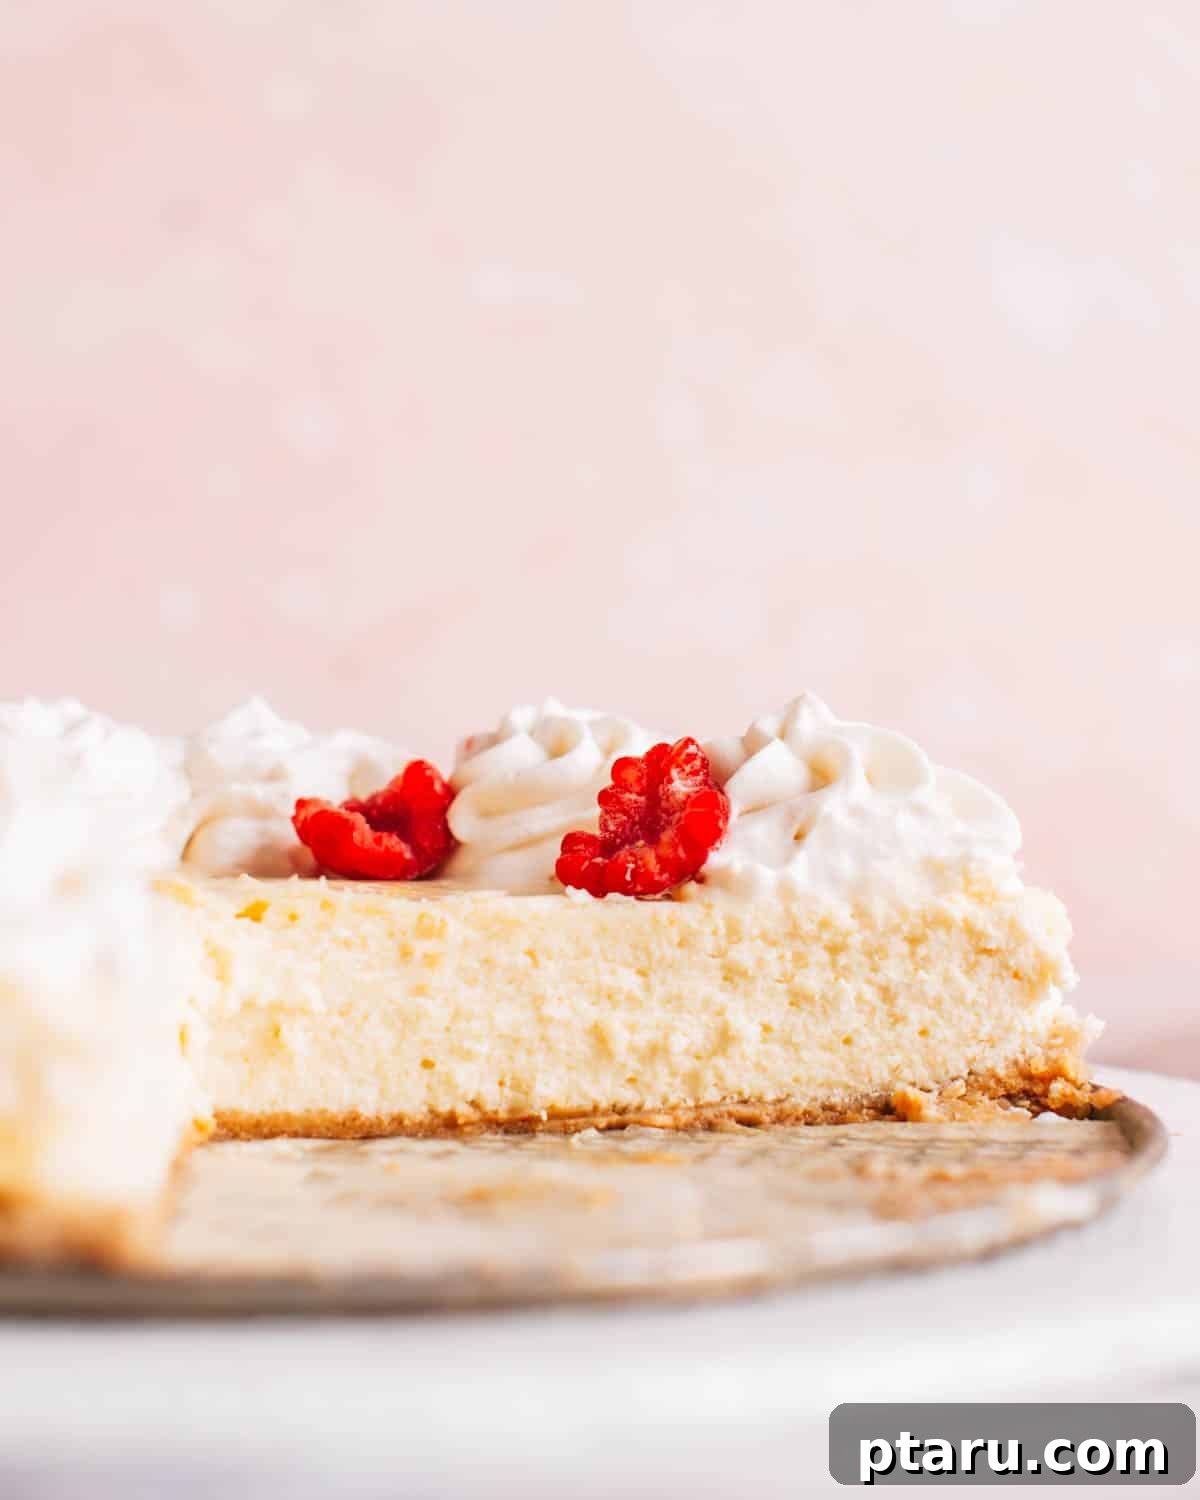
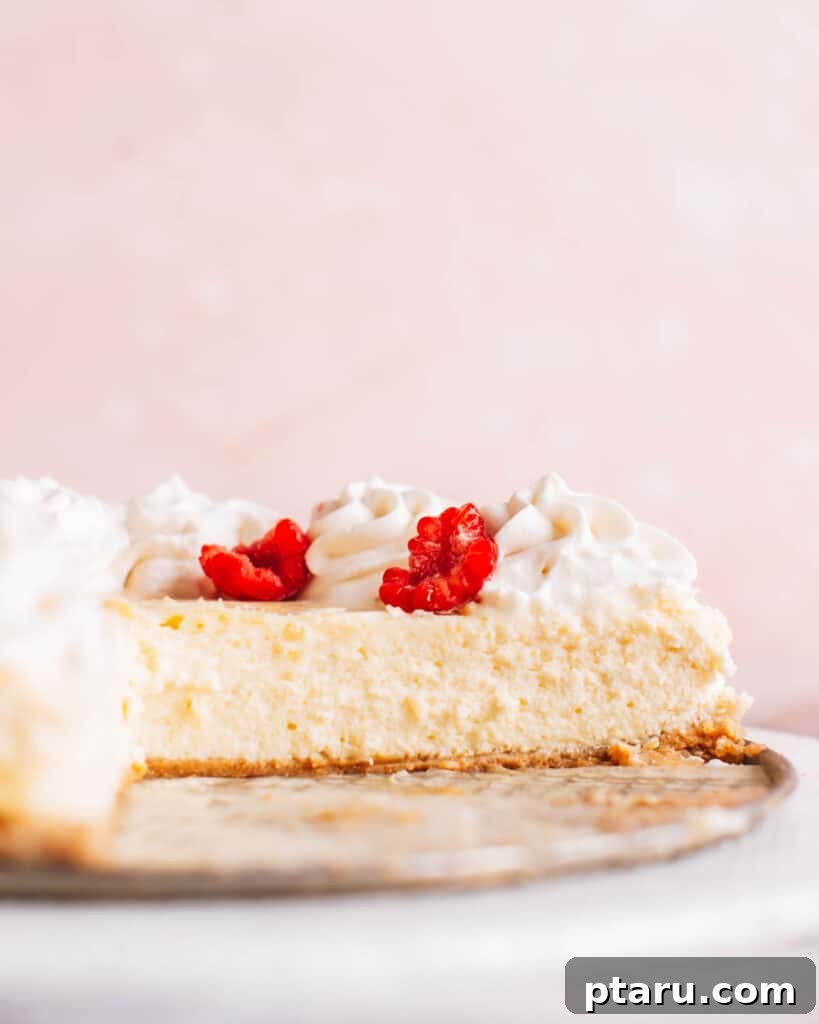
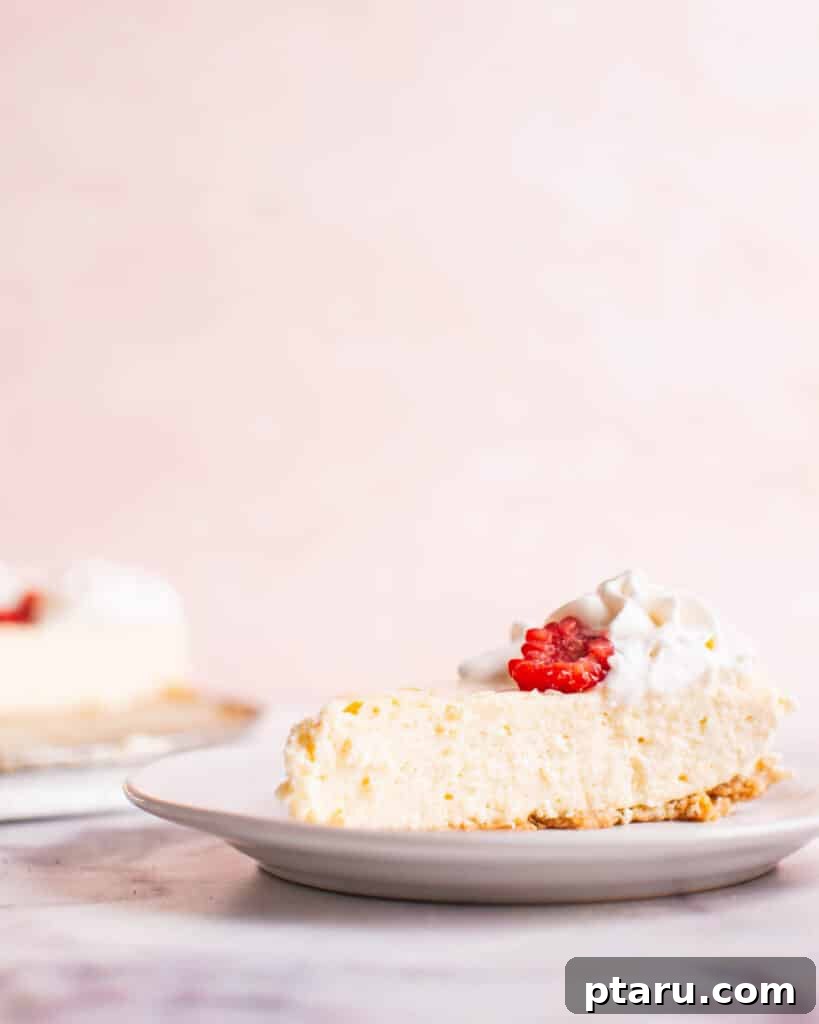
Welcome to the ultimate guide for making a flawless Philadelphia Cheesecake! This recipe combines a delightfully simple 3-ingredient filling with a classic graham cracker crust, ensuring a rich, creamy, and utterly delicious dessert. Once you experience the velvety texture and balanced sweetness of this iconic cheesecake, you’ll understand why it remains a timeless favorite in kitchens worldwide. Whether you’re a seasoned baker or new to cheesecakes, our pro tips will guide you to perfection, helping you achieve that enviable smooth, crack-free top every single time.
Reader Rating
⭐️⭐️⭐️⭐️⭐️ “This is my go-to cheesecake recipe. I’ve made it for years and everyone loves it!”
– Linda
Why You’ll Adore This Classic Philadelphia Cheesecake Recipe
Are you searching for a dessert that’s both incredibly indulgent and surprisingly easy to prepare? Look no further! This Philadelphia Cheesecake recipe delivers on all fronts, combining a luscious, rich cream cheese filling with a perfectly crumbly graham cracker crust. Here’s why this recipe will quickly become your new favorite:
- Effortless 2-Ingredient Crust: Forget complicated pastry work. Our simple graham cracker crust requires just two ingredients – graham cracker crumbs and melted butter. This minimal approach means less time in the kitchen and a quick, sturdy base that complements the creamy filling beautifully. It’s a no-fuss foundation for your masterpiece, providing a satisfying crunch in every bite.
- Foolproof 3-Ingredient Cheesecake Filling: The heart of this classic Philadelphia cheesecake is its incredibly straightforward filling. With just three core ingredients – Philadelphia cream cheese, sugar, and eggs – it’s designed to be nearly foolproof. This simplicity minimizes the chances of error while maximizing that beloved creamy, tangy flavor, ensuring a smooth, velvety texture every single time.
- Unmatched Creamy and Delicious Texture: There’s a reason this dessert is a classic. The rich, velvety texture of the full-fat cream cheese filling, perfectly balanced with the slight crunch of the graham cracker crust, creates an irresistible culinary experience. Each bite melts in your mouth, offering a harmonious blend of sweet and tangy notes that truly embodies comfort and indulgence. If you’re pressed for time or prefer a lighter option, you might also enjoy our easy No-Bake Cheesecake recipe!
- Expert Tips for Perfection: Beyond the simple steps, we’ll share science-backed pro tips to help you achieve a perfectly smooth, crack-free cheesecake, just like a professional baker. Say goodbye to common cheesecake woes and hello to consistently beautiful results!
Essential Ingredients for Your Philadelphia Cheesecake
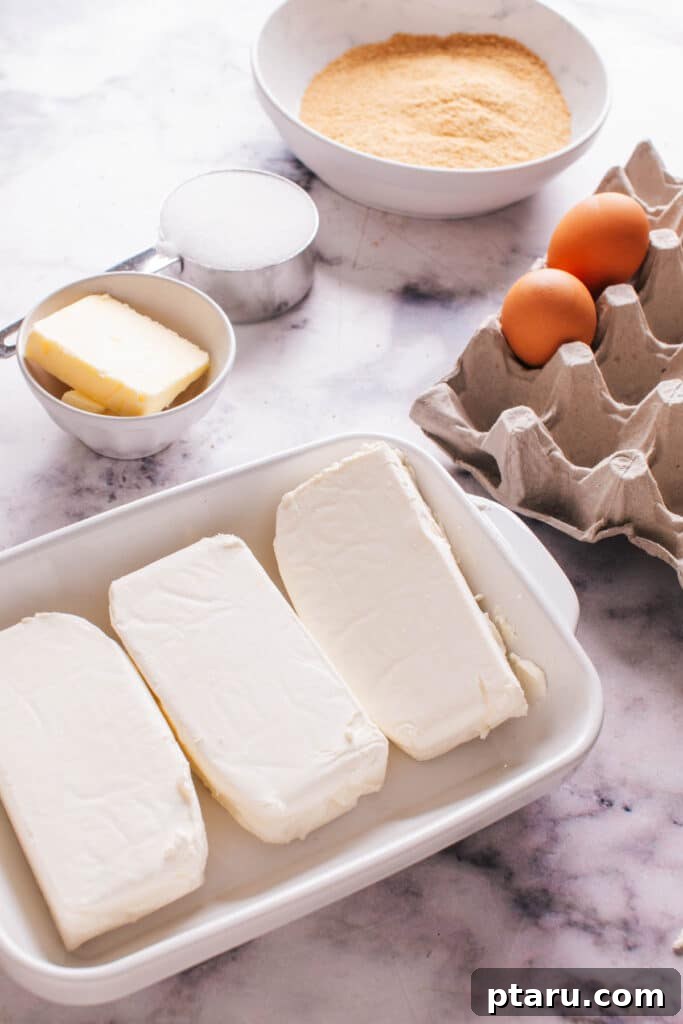
Crafting a sublime Philadelphia Cheesecake begins with selecting the right ingredients. Here’s a detailed look at what you’ll need to create this decadent dessert, ensuring optimal flavor and texture that truly stands out.
Key Ingredients
For the Crust:
- Graham Cracker Crumbs: These sweet, slightly spiced crumbs form the foundational layer of your cheesecake. They provide a delightful texture contrast to the creamy filling. You can easily make your own by pulsing whole graham crackers in a food processor until finely ground. A finer crumb will yield a more cohesive and professional-looking crust.
- Melted Unsalted Butter: The butter acts as the crucial binder, holding the graham cracker crumbs together to form a firm, stable, and richly flavored crust. Using unsalted butter allows you to control the overall saltiness of the dessert, ensuring a balanced taste.
For the Filling (The 3 Core Ingredients):
- Full-Fat Philadelphia Cream Cheese: This is the star ingredient and non-negotiable for that signature rich, tangy, and impossibly creamy Philadelphia cheesecake texture. Ensure it’s softened to room temperature for a lump-free, silky batter – this is vital for a smooth consistency. (See our tips below on how to quickly soften cream cheese.)
- Granulated Sugar: Beyond simply adding sweetness, sugar plays a crucial role in the cheesecake’s structure and texture. It helps to tenderize the cream cheese and eggs, contributing to the smooth, melt-in-your-mouth consistency, and aids in achieving a beautiful golden hue on the surface.
- Large Eggs: Eggs are essential for setting the cheesecake. As they bake, the proteins in the eggs coagulate, providing the necessary structure and stability to the delicate filling. Like the cream cheese, eggs should be at room temperature to ensure they incorporate smoothly and prevent the need for overmixing, which can lead to cracks.
-
Optional 4th Ingredient (Flavoring Enhancers): While the classic three ingredients yield a superb cheesecake, a touch of flavoring can elevate your creation.
- Vanilla Extract: A teaspoon of pure vanilla extract adds a warm, classic vanilla cheesecake flavor that complements the tanginess of the cream cheese beautifully. Consider vanilla bean paste for visible specks and a more intense, gourmet flavor.
- Almond Extract: For a more distinct, sophisticated aroma, a ¼ teaspoon of almond extract can be used. Be cautious, as it is potent and a little goes a long way.
- Lemon Zest: For a bright, zesty twist, finely grated zest from one lemon adds a refreshing citrus note without altering the texture. This brightens the overall profile.
- Mini Chocolate Chips: Fold in a handful of mini chocolate chips for a delightful textural and flavor contrast, creating a beloved chocolate chip cheesecake experience.
Variations and Creative Substitutions for Your Cheesecake
While the classic Philadelphia Cheesecake is perfect on its own, don’t hesitate to get creative with these delightful variations and substitutions to tailor it to your taste or dietary needs:
-
Alternative Crusts:
- For a gluten-free option, simply use gluten-free graham crackers or a nut-based crust (like almond meal mixed with butter and a touch of sugar).
- Chocolate Lover’s Crust: Swap graham crackers for crushed chocolate wafer cookies (like Oreos, with or without the cream filling) for a rich chocolate base that pairs wonderfully with the creamy filling.
- Vanilla Wafer Crust: Nilla wafers or similar vanilla biscuits provide a buttery, sweet, and comforting alternative base with a slightly different flavor profile.
- Shortbread Crust: Crushed shortbread cookies can offer a more elegant, buttery base with a finer crumb and a distinct European flair.
-
Filling Enhancements:
- Lemon Cheesecake: For a vibrant, tangy lemon cheesecake, increase the lemon zest to 2 teaspoons and add 1-2 tablespoons of fresh lemon juice to the filling.
- Swirled Cheesecakes: Create beautiful marbled effects by gently swirling in fruit purees (raspberry, strawberry), rich caramel sauce, or melted dark chocolate into the batter just before baking.
- Seasonal Flavors: Adapt your cheesecake for holidays or seasons! Incorporate spices like pumpkin pie spice for a fall treat, a hint of eggnog extract for winter festivities, or peppermint extract for a festive twist.
- Nutella Swirl: Warm 1/4 cup of Nutella until it’s pourable and swirl it through the batter with a knife for a decadent chocolate-hazelnut flavor.
Essential Tools for Cheesecake Success
Having the right equipment can make all the difference in achieving a perfect cheesecake, from preparation to presentation. Here are the key tools you’ll need and why they’re important:
- 9-Inch Springform Pan: This is an indispensable tool for cheesecake baking. Its removable sides allow for effortless release and beautiful presentation of your delicate cheesecake without the need for flipping or complicated maneuvers.
- Electric Mixer (Stand or Handheld): Crucial for blending the cream cheese and sugar to a super smooth, lump-free consistency. It ensures proper aeration without overworking the batter, which is a common cause of cracks.
- Large Mixing Bowls: You’ll need at least two separate bowls: one for thoroughly combining the crust ingredients and another, larger one for preparing the creamy filling.
- Measuring Cups and Spoons: Accuracy is paramount in baking. Precise measurements ensure the perfect balance of ingredients, contributing to the desired flavor and texture of your cheesecake.
- Oven: A well-calibrated oven is essential to bake your cheesecake to that golden, almost-set perfection, ensuring even cooking and preventing overbaking.
- Wire Rack: For even cooling after baking. Placing the cheesecake on a wire rack allows air to circulate around all sides, preventing a soggy bottom and facilitating gradual heat dissipation, which is crucial for preventing cracks.
- Instant-Read Thermometer: While optional, a thermometer provides pinpoint accuracy for determining when your cheesecake is perfectly cooked, eliminating guesswork and minimizing the risk of overbaking.
How to Make a Flawless Philadelphia Cheesecake: A Step-by-Step Guide
Let’s walk through the simple yet rewarding process of baking a classic Philadelphia Cheesecake. You’ll be surprised at how easily you can create this impressive dessert with our detailed, easy-to-follow instructions!
Step 1: Preparing the Perfect Crust
A solid, flavorful crust is the foundation of any great cheesecake. This quick and easy base sets the stage for the creamy filling, providing both taste and structural integrity.
- Preheat your oven to 350ºF (175ºC). This ensures your oven is at the correct temperature for both setting the crust and baking the filling.
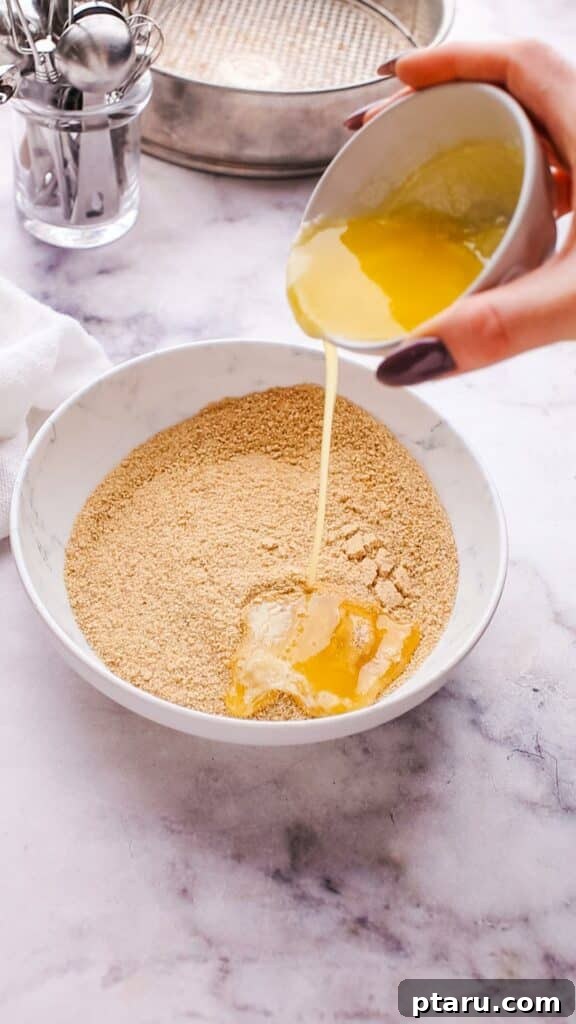
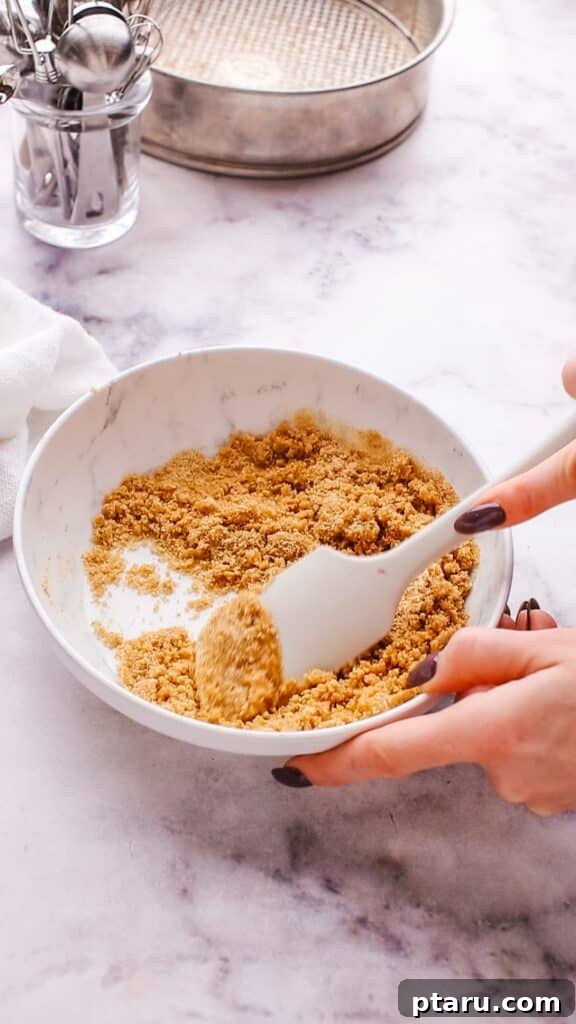
- In a medium bowl, combine 1 ¼ cups of finely crushed graham cracker crumbs with ¼ cup of melted unsalted butter. Mix thoroughly with a fork or your hands until the crumbs are evenly moistened and resemble wet sand.
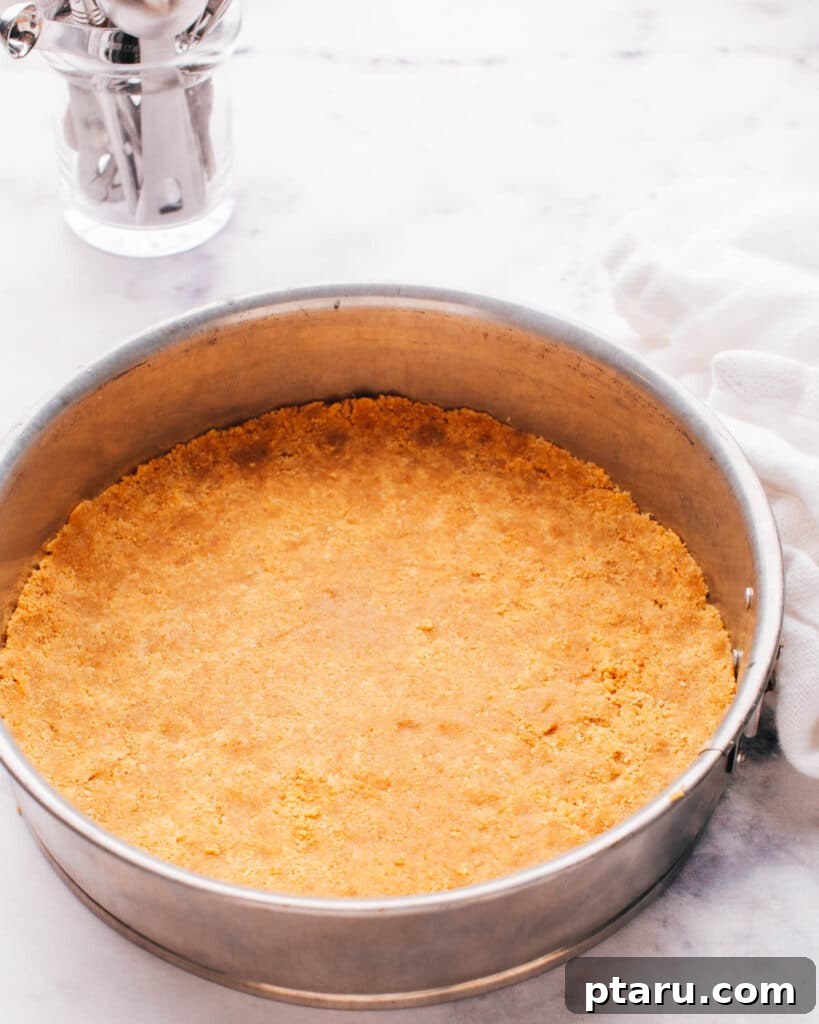
- Press this mixture firmly and evenly onto the bottom of a 9-inch springform pan. Use the back of a spoon or the bottom of a flat-bottomed glass to create a compact, sturdy base. Ensure the crust is uniform in thickness.
- Optional: Bake the crust for 8-10 minutes. This step helps to set the crust, making it extra crisp and less likely to crumble or become soggy when sliced. If skipping baking, chill the crust in the refrigerator for at least 15-20 minutes to firm it up before adding the filling.
Step 2: Crafting the Silky Filling
This 3-ingredient filling is incredibly simple but requires a gentle touch to achieve its signature smooth, lump-free texture and prevent common cheesecake pitfalls.
-
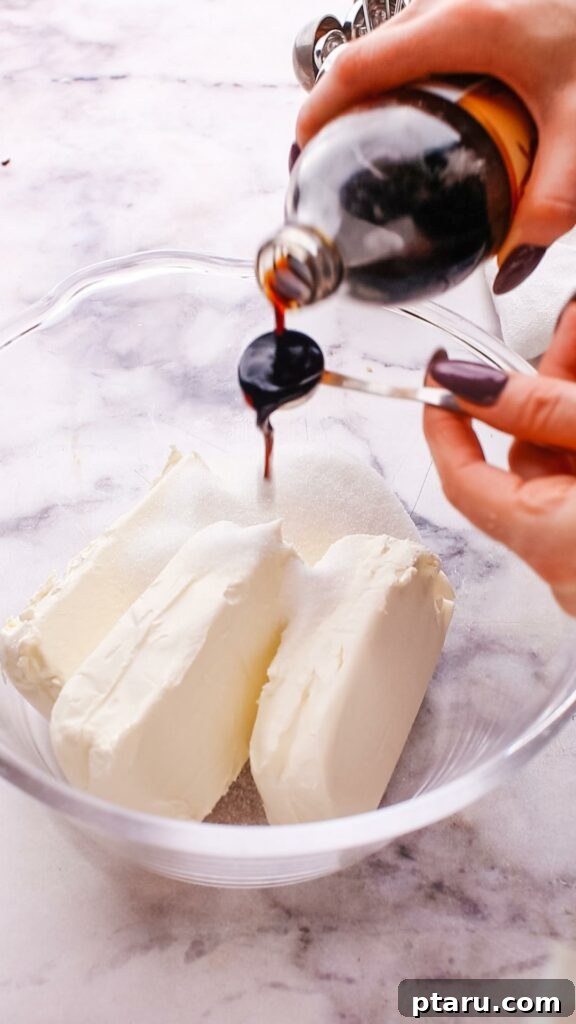
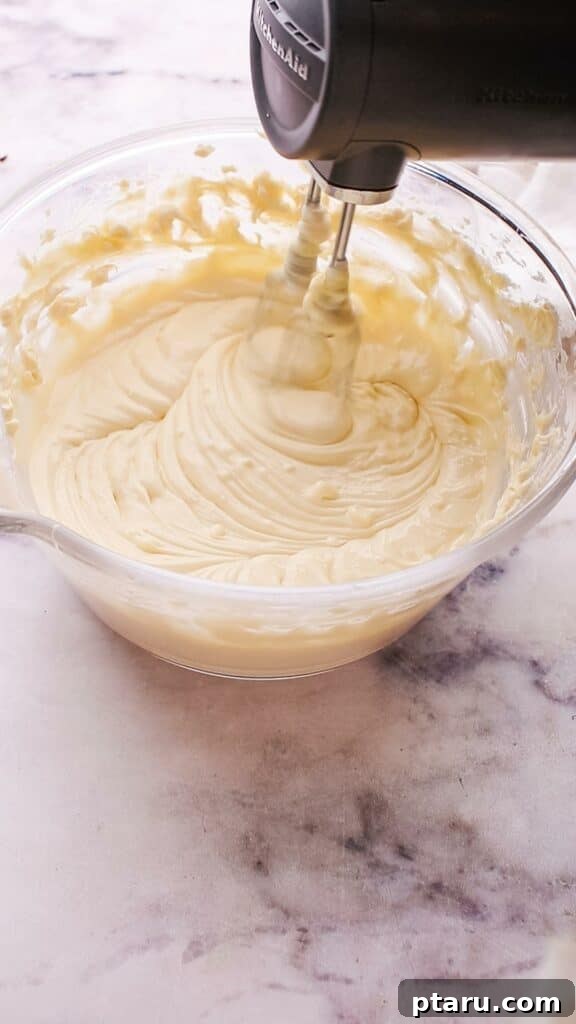
In a large mixing bowl, using an electric mixer (either stand or handheld), beat 3 packages (8 ounces each) of softened full-fat Philadelphia cream cheese with ¾ cup of granulated sugar. Beat on medium speed until the mixture is completely smooth and creamy, with absolutely no lumps visible. Stop frequently to scrape down the sides and bottom of the bowl with a rubber spatula, ensuring all ingredients are incorporated.
Pro Tip: Do not overmix the cream cheese and sugar. While you want it smooth, excessive beating at this stage can incorporate too much air, which can cause the cheesecake to puff up significantly in the oven and then crack as it cools. - If using, add your optional flavoring (1 tsp vanilla extract, ¼ tsp almond extract, or finely grated lemon zest) and mix briefly on low speed until just combined.
-
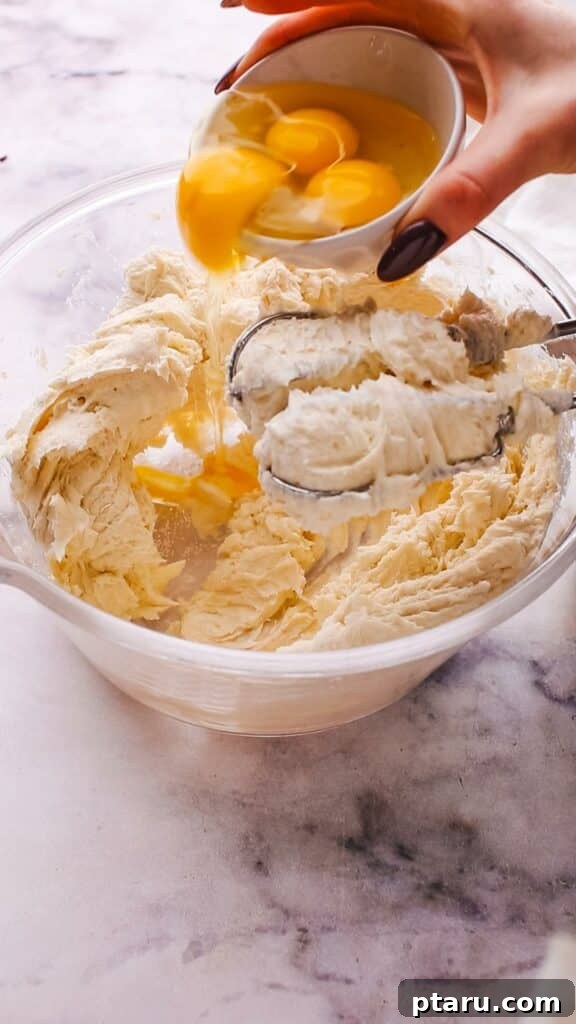
Add 3 large eggs, one at a time, mixing on low speed after each addition just until combined. Stop mixing as soon as the yolk disappears into the batter.
Science Alert: Overmixing the eggs is the primary culprit for cracks in cheesecakes. Whipping too much air into the batter, particularly after adding eggs, creates numerous tiny air bubbles. These bubbles expand rapidly during baking and then collapse unevenly as the cheesecake cools, leading to unsightly surface cracks. Gentle, minimal mixing here is crucial for a smooth, perfect top.
Step 3: Baking Your Cheesecake to Perfection
Baking a cheesecake is all about gentle, even heat and knowing precisely when it’s perfectly set. Patience during this stage will yield a beautifully baked dessert.
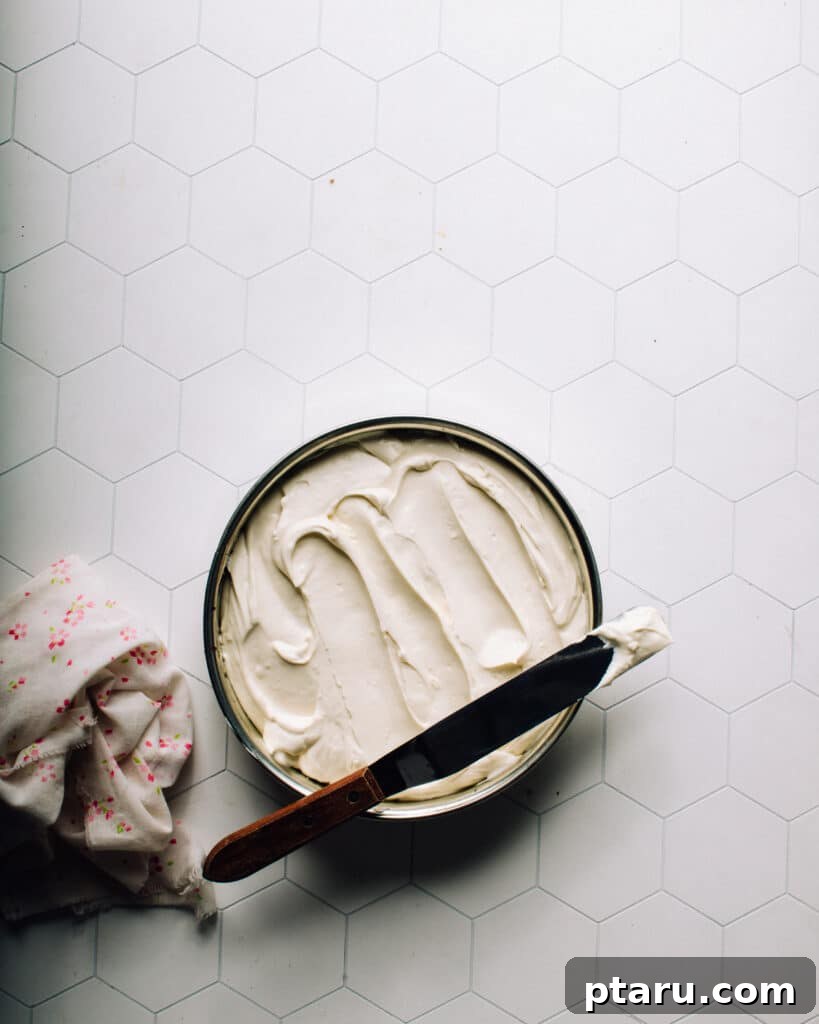
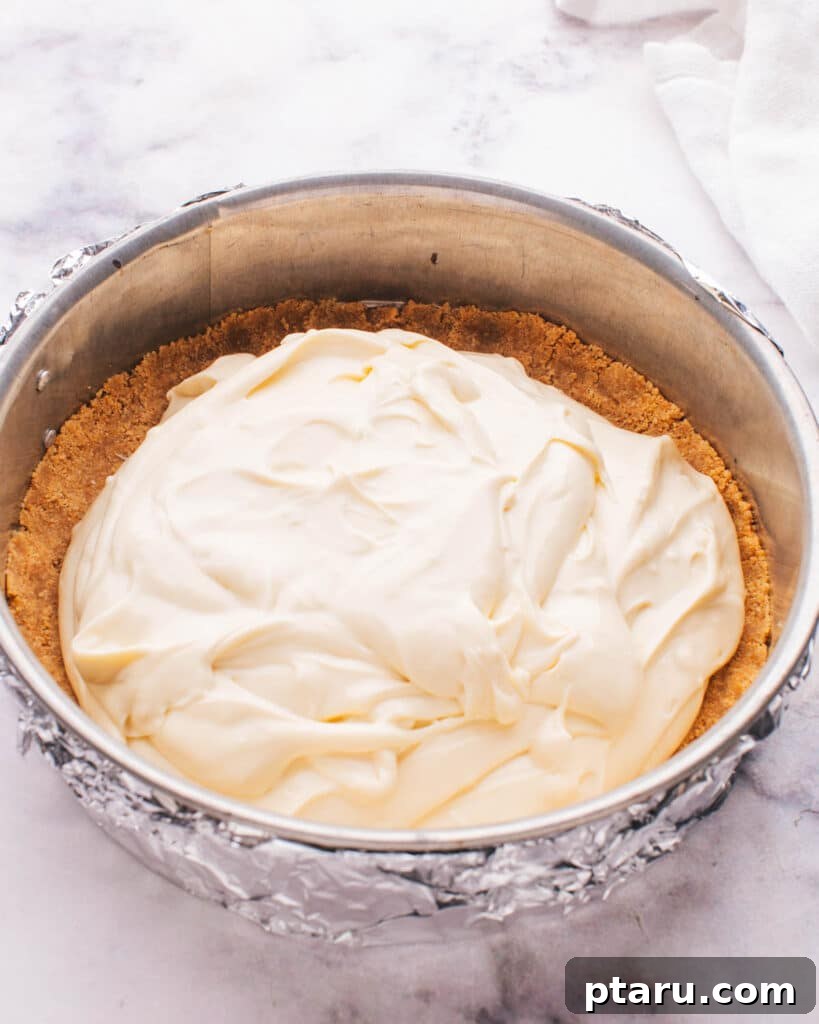
- Carefully pour the creamy cheesecake filling over your prepared graham cracker crust in the springform pan. Gently tap the pan on the counter a few times to release any large air bubbles trapped within the batter.
- Bake in the preheated oven for 35-45 minutes. The cheesecake is ready when the edges appear set and slightly puffed, but the center 2-3 inches still have a slight, delicate jiggle (like firm Jell-O or custard). It should not be liquidy.
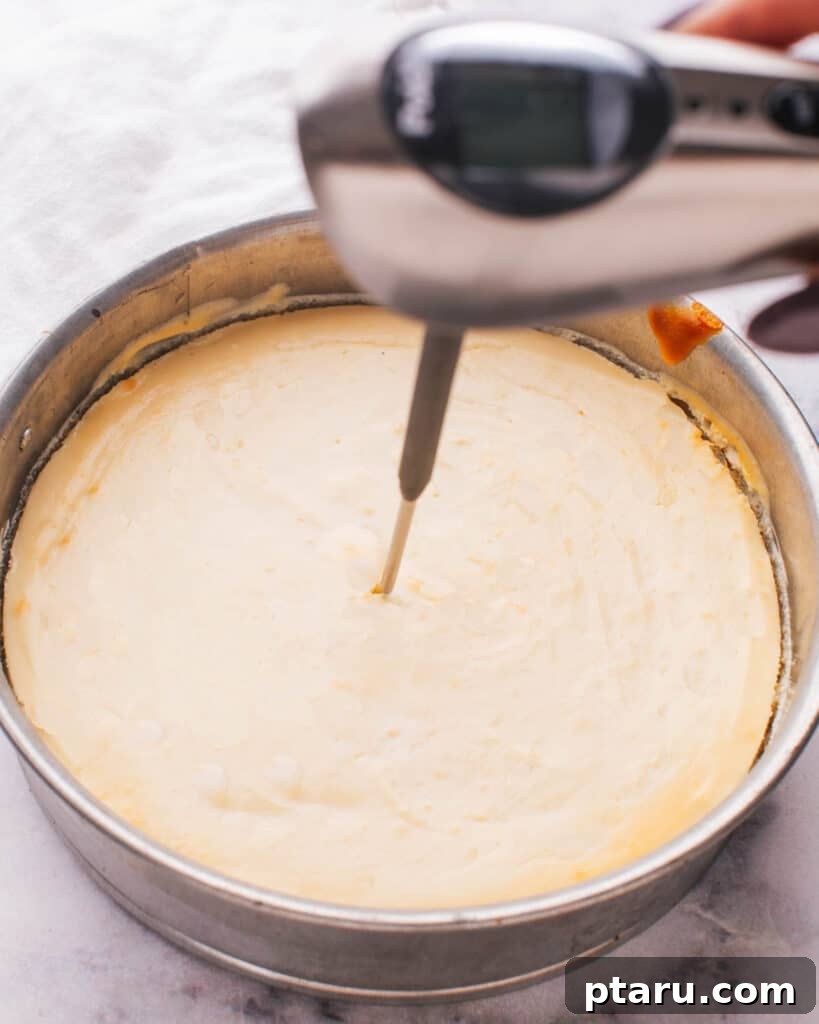
- Precise Doneness: For ultimate accuracy and to avoid overbaking, use an instant-read thermometer. Insert it into the center of the cheesecake – the internal temperature should reach 145ºF (63ºC). While the USDA generally recommends 160ºF (71ºC) for dishes with eggs, this temperature will be achieved through carry-over cooking – the cheesecake will continue to cook and its temperature will rise as it cools outside the oven. Baking beyond 145ºF risks drying out the delicate custard and significantly increases the likelihood of cracks.
Step 4: Cooling and Chilling for Optimal Texture
Patience is a virtue when it comes to cheesecake, especially during the cooling and chilling phases. This is crucial for achieving a firm, smooth texture, preventing cracks, and allowing the flavors to fully develop.
- Once baked, turn off the oven and prop the oven door open slightly (about 3-4 inches or use a wooden spoon to keep it ajar). Let the cheesecake cool gradually inside the turned-off oven for at least one hour, or until the oven is mostly cool. This slow cooling process prevents thermal shock, which is a major cause of cracks.
- Remove the cheesecake from the oven and carefully transfer it to a wire rack to cool completely to room temperature. This can take another 1-2 hours, depending on your kitchen’s temperature.
- Once at room temperature, gently run a thin, flexible knife around the inside edge of the springform pan to loosen the cheesecake from the sides. This prevents the cake from sticking and tearing as it shrinks slightly during chilling.
- Cover the cheesecake loosely with plastic wrap and refrigerate for at least 4 hours, or preferably overnight. Chilling is absolutely essential for the cheesecake to fully set, develop its rich flavor, and achieve that perfect creamy density that Philadelphia cheesecakes are known for.
Serving Your Irresistible Philadelphia Cheesecake
The moment of truth! Serving your meticulously baked Philadelphia Cheesecake is just as important as the baking process itself. Proper technique ensures beautiful, clean slices and an unforgettable presentation that will impress your guests.
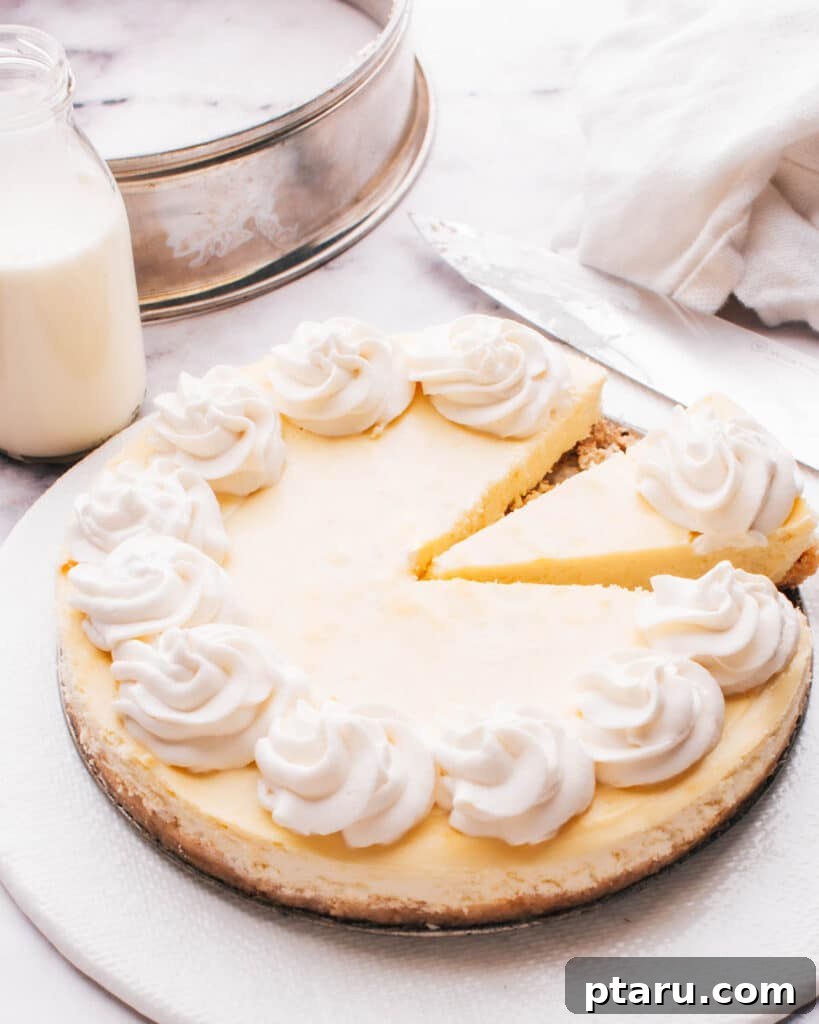
After your cheesecake has perfectly chilled for at least 4 hours (or ideally overnight), it’s ready to be unveiled and enjoyed. You can serve it directly from the refrigerator for a firmer, colder texture, or let it sit at room temperature for about 20-30 minutes before slicing. Allowing it to warm up slightly enhances the creaminess and allows the flavors to truly blossom, offering a more melt-in-your-mouth experience.
To ensure clean, elegant slices that showcase your cheesecake’s creamy interior, employ this simple but highly effective technique:
- Always use a sharp, thin-bladed knife. A long, non-serrated knife works best.
- For perfectly smooth cuts, dip the knife in hot water and wipe it completely dry with a clean towel before each cut. The heat from the blade helps it glide through the dense cheesecake without tearing.
- Make a single, swift, downward cut through the cheesecake. Avoid sawing motions, which can create jagged edges.
- Repeat the hot water and wipe process for every single slice. This meticulous step prevents the cheesecake from sticking to the knife and creates beautifully neat, professional-looking portions.
Elevate Your Cheesecake: Delicious Topping Ideas
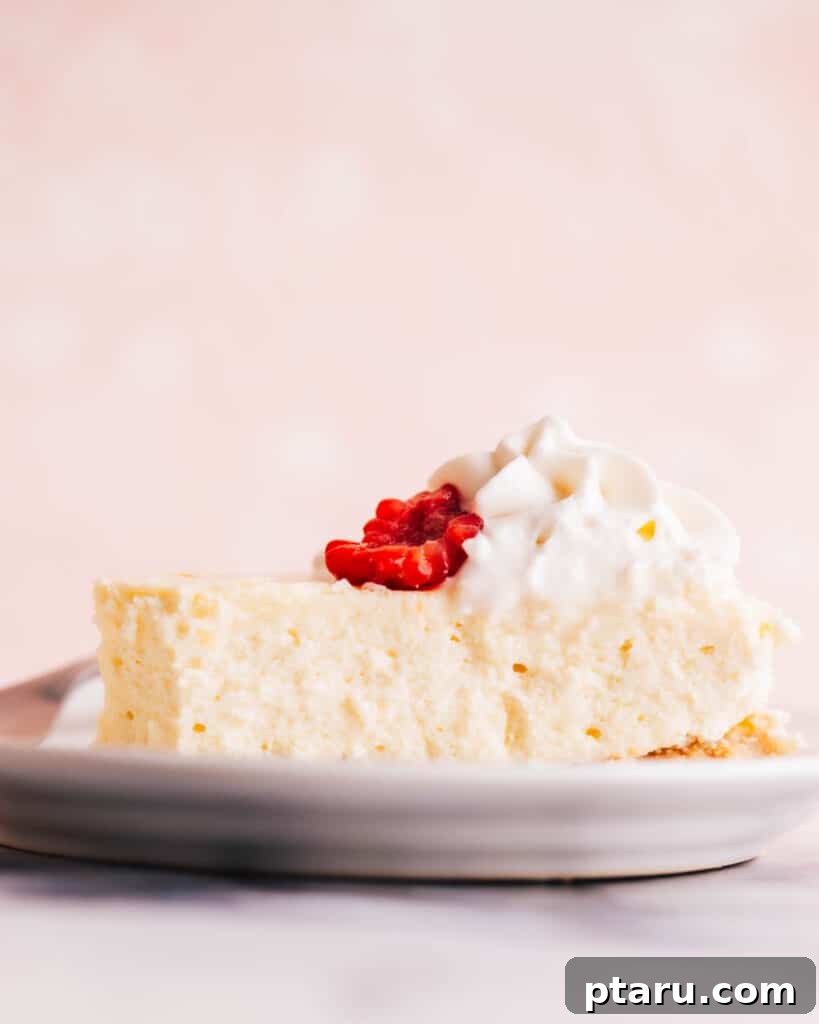
While fantastic on its own, a classic Philadelphia cheesecake is also a perfect canvas for a myriad of delightful toppings. These additions can add extra flavor, texture, and visual appeal, making your dessert even more special. Here are some of my favorite ways to enhance your Philadelphia Cheesecake:
- Fresh Fruit Medley: Simple, elegant, and refreshing. Adorn your cheesecake with a vibrant array of fresh berries (strawberries, blueberries, raspberries), sliced peaches, kiwi, or mango. For an extra touch, lightly macerate sliced fresh strawberries in a little granulated sugar for a quick, juicy strawberry topping that tastes incredibly fresh.
- Decadent Sauces and Syrups: Drizzle your favorite sauces for an extra layer of indulgence. A rich caramel sauce, velvety chocolate syrup, or a homemade fruit compote (such as cherry, mixed berry, or spiced apple) are fantastic choices. For convenience, store-bought cherry pie filling is also a quick and easy option that provides a classic and beloved flavor combination.
- Light and Creamy Whipped Cream: A generous dollop of freshly whipped cream adds a delightful lightness and creamy contrast to the rich cheesecake. For extra flair, you can lightly sweeten the whipped cream or infuse it with a touch of vanilla extract or a liqueur like Grand Marnier.
- Crunchy Textural Delights: For an added layer of texture and flavor, sprinkle crushed cookies (like Oreos, Biscoff, or shortbread), toasted chopped nuts (pecans, walnuts, almonds), or even some shredded coconut on top of each slice. A light sprinkle of cinnamon or cocoa powder can also add an aromatic touch.
Mastering the Art: How to Prevent Cheesecake Cracks
Cracks in cheesecake can be frustrating, turning an otherwise perfect dessert into a slightly less appealing one. But armed with a little food science, you can conquer this common baking challenge! As a food scientist, I’m delighted to share my best, science-backed tips to ensure your Philadelphia Cheesecake always emerges with a perfectly smooth, unblemished surface, worthy of any celebration.
- Avoid Overmixing – Especially the Eggs: This is arguably the most critical rule for a crack-free cheesecake. When you beat the cream cheese and sugar, you inevitably incorporate some air. Adding eggs and continuing to beat at high speed introduces even more air into the batter. During baking, these numerous air bubbles expand rapidly due to the heat, creating a light, airy structure. As the cheesecake cools, this expanded structure can collapse unevenly, leading to unsightly cracks across the surface. The solution: Beat only until the ingredients are just combined, especially after adding the eggs, and always keep the mixer speed low. A smooth batter is the goal, not a fluffy one.
- Embrace Gentle, Gradual Cooling: Sudden temperature changes are a cheesecake’s arch-nemesis. Removing a hot cheesecake directly from the oven into a much cooler room causes the cake to contract too rapidly, creating significant internal stress and leading to cracking. Instead, after baking, turn off your oven, crack the door open slightly (you can use a wooden spoon to keep it ajar), and allow the cheesecake to cool slowly inside the oven for at least one hour, or until the oven is mostly cool. This gradual acclimatization to room temperature is essential for a smooth top.
- Ensure Room Temperature Ingredients: Starting with cream cheese and eggs at room temperature is fundamental for achieving a smooth, homogenous batter without lumps. Cold ingredients don’t emulsify or blend properly with each other or with sugar, leading to a lumpy mixture that would require more mixing to smooth out. More mixing, as we know, means more air and a higher risk of cracks. Planning ahead to let ingredients warm up naturally is ideal, but we also have a quick microwave trick if you’re in a pinch!
- Consider a Water Bath (Bain-Marie) for Extra Insurance: While not strictly necessary for this recipe if other tips are followed diligently, a water bath provides the gentlest, most even baking environment possible. By surrounding the cheesecake pan with hot water, it creates a moist, consistent heat that cooks the cheesecake slowly and prevents the edges from baking faster and drying out before the center is cooked. This significantly reduces the likelihood of cracks and results in an incredibly creamy texture. It’s a bit more effort, but guarantees a professional finish.
- Utilize a Thermometer for Precision Baking: Overbaking is a very common cause of dry, crumbly, and cracked cheesecakes. Relying solely on a visual “jiggle test” can be misleading. An instant-read thermometer provides pinpoint accuracy. Aim for an internal temperature of 145ºF (63ºC) in the very center of the cheesecake. The cheesecake will continue to set and its temperature will rise a bit as it cools (carry-over cooking). Baking beyond this point can dry out the delicate custard, making it prone to shrinking and cracking.
Note: Inserting a thermometer will leave a small hole in the middle of your cheesecake, but this becomes completely unnoticeable once you cut the first slice. The precision it offers for a perfect bake is well worth this minor detail!
How to Create a Water Bath (Bain-Marie) for Cheesecake
Creating a water bath is an excellent technique for ensuring a super creamy, crack-free cheesecake. It works by providing a moist, even heat source that gently cooks the delicate custard, preventing it from drying out or baking too quickly around the edges. Here’s a step-by-step guide on how to set one up effectively:
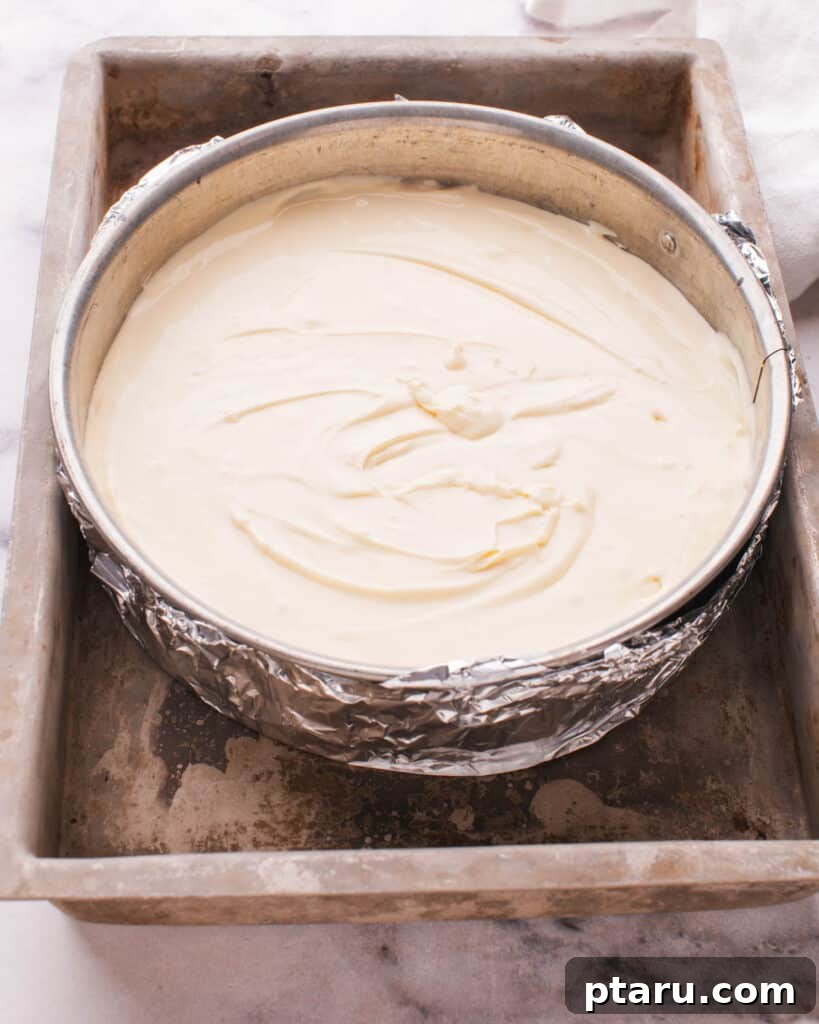
- Prepare Your Springform Pan: Before pouring in the batter, wrap the exterior of your 9-inch springform pan with at least a double layer of heavy-duty aluminum foil. Ensure the foil extends up past the sides of the pan to create a robust, watertight seal. This is crucial to prevent any water from seeping into your crust and making it soggy.
- Place Pan in a Larger Roasting Pan: Position your foil-wrapped springform pan inside a larger, oven-safe roasting pan. The roasting pan should be adequately sized to comfortably hold the springform without touching its sides too tightly, allowing water to circulate evenly around it.
- Fill with Cheesecake Batter: Pour your prepared cheesecake filling into the foil-wrapped springform pan and gently smooth the top with a spatula.
- Add Hot Water: Carefully transfer the roasting pan (with the cheesecake inside) to the preheated oven. Once in the oven, pour hot (preferably boiling) water into the larger roasting pan, taking extreme care not to splash any water onto the cheesecake itself. The water should come up about halfway to two-thirds of the way up the sides of the springform pan.
- Bake and Cool: Bake according to the recipe instructions, monitoring the temperature carefully. Once baking is complete, carefully remove the entire roasting pan from the oven. Let the cheesecake cool in the water bath for about 30 minutes before gently lifting the springform pan out of the water bath. Then proceed with the rest of the cooling instructions as outlined in the main recipe.
IMPORTANT SAFETY NOTE:
- Always use a heat-safe baking pan for the water bath. Metal roasting pans (especially those made of aluminum) are ideal as they conduct heat evenly and are much less prone to thermal shock than glass, which can crack with rapid temperature changes.
- Be extremely cautious when handling the hot water bath. The entire roasting pan, including its rim, will become scalding hot as soon as you pour in the hot water. Always use thick, dry oven mitts and move slowly and deliberately when placing the pan into and removing it from the oven to prevent painful splashes and burns.
Quick Tip: How to Soften Cream Cheese in the Microwave
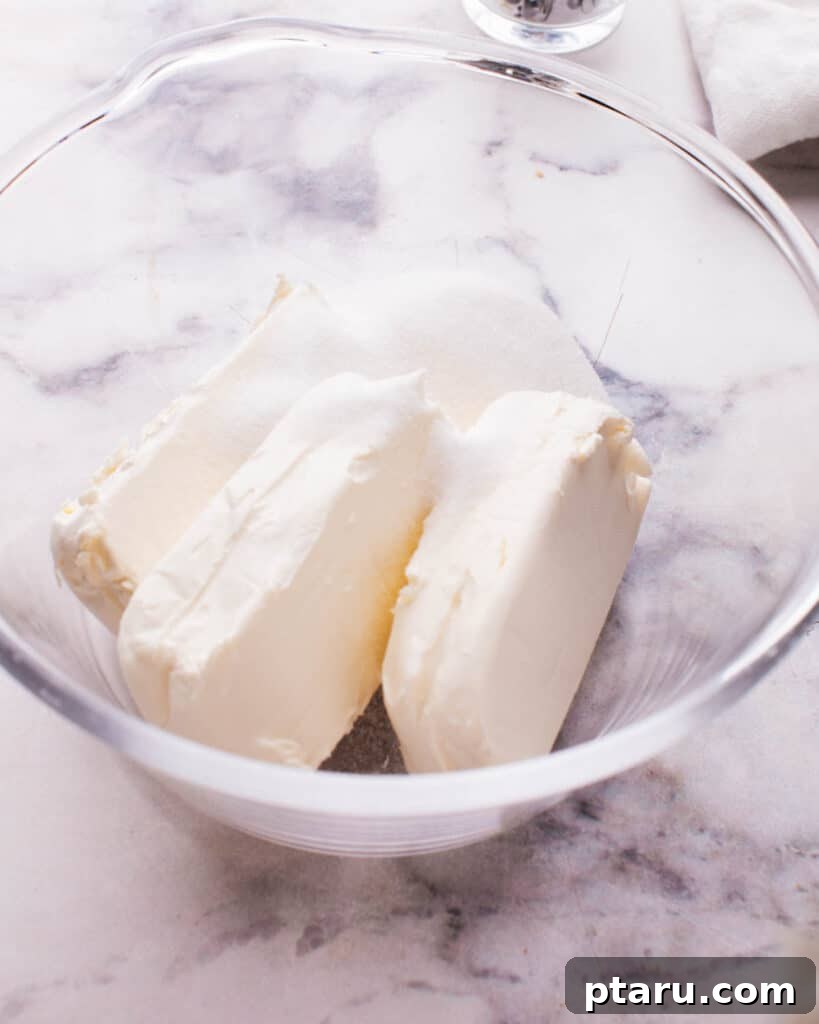
Achieving a smooth, lump-free cheesecake batter is paramount for a creamy final product, and room temperature cream cheese is the absolute key to this. If you forgot to take your cream cheese out in advance, the microwave can be your best friend – but it requires a delicate touch to avoid melting or cooking it. Here’s how to do it safely and effectively:
- Unwrap Completely: Remove the cream cheese blocks entirely from their foil or plastic packaging. If it’s in a plastic tub, you can leave it in there.
- Cut into Smaller Pieces: For the quickest and most even softening, cut each block of cream cheese into 2-3 smaller pieces or cubes. This increases the surface area exposed to the microwave energy, allowing it to soften more uniformly.
- Use a Microwave-Safe Dish: Place the cream cheese pieces on a microwave-safe plate or in a shallow bowl.
- Microwave on Low Power: Set your microwave to a low power setting, ideally around 30-50% power. High power can quickly cook the edges of the cream cheese while the center remains cold, leading to an uneven and undesirable texture.
- Short Bursts and Flip: Heat the cream cheese in very short intervals, typically 10-15 seconds at a time. After each interval, check the consistency by gently pressing it with your finger. Flip the pieces over or stir them around to ensure even softening throughout.
- Repeat as Necessary: Continue with 10-15 second bursts, checking and flipping after each, until the cream cheese is uniformly soft and pliable to the touch. It should be easily indentable with a finger but not warm, runny, or melted.
Remember: Microwave wattages and efficiencies vary significantly. The first time you try this method, pay extra close attention to avoid overheating, which can result in a runny, greasy, or partially cooked consistency that is not ideal for making a perfect cheesecake batter. It’s always better to go slower and check frequently!
Make Ahead and Storage Tips for Philadelphia Cheesecake
Philadelphia Cheesecake is an excellent make-ahead dessert, allowing its flavors to meld and its texture to firm up beautifully. Proper storage ensures you can enjoy its creamy goodness for days or even months without compromising quality!
- Making Ahead: You can confidently prepare and bake your cheesecake 1 to 2 days before you plan to serve it. This extra time in the refrigerator allows the filling to fully set, resulting in a denser, richer texture and a more developed flavor profile that often improves with a little rest. Always keep it chilled until serving.
- Refrigerating Leftovers: Store any leftover cheesecake in the refrigerator for up to 4 to 5 days. It’s crucial to cover it tightly with plastic wrap or place it in an airtight container to prevent it from absorbing other odors from the fridge and to maintain its delicate moisture content.
- Freezing for Longer Enjoyment: Philadelphia Cheesecake freezes exceptionally well, allowing you to savor it for up to 2 months. To freeze, ensure the cheesecake is completely cool. You can freeze it whole or cut into individual slices for easier portioning. Wrap it tightly first in plastic wrap, then in a layer of heavy-duty aluminum foil to prevent freezer burn and protect its flavor.
- Thawing: When ready to enjoy a frozen cheesecake, transfer it from the freezer to the refrigerator and allow it to thaw slowly overnight. Avoid thawing at room temperature, as this rapid temperature change can affect its delicate texture, leading to condensation and potentially a soggy crust.
- Serving Temperature: For the best flavor and texture, pull your cheesecake out of the refrigerator about 20-30 minutes before serving. This allows it to soften slightly, releasing its full aroma and creating a more pleasant, luxurious mouthfeel.
- Store Toppings Separately: If you plan to use fresh fruit, whipped cream, or sauces, always store them separately and add them just before serving. This maintains the freshness, texture, and visual appeal of both the topping and the cheesecake itself.
Frequently Asked Questions About Philadelphia Cheesecake
Here are quick answers to some of the most common questions regarding Philadelphia Cheesecake, designed to help you perfect your baking and enjoyment.
What is the main difference between Philadelphia and New York Cheesecake?
The primary difference lies in their texture and ingredients. Philadelphia cheesecake is renowned for its lighter, airier, and incredibly creamy consistency, primarily relying on cream cheese for its base. New York cheesecake, on the other hand, is typically denser, richer, and often includes additional dairy such as sour cream or heavy cream, giving it a more robust flavor and a firmer set.
How long can a baked Philadelphia cheesecake be stored in the refrigerator?
When properly covered with plastic wrap or stored in an airtight container, a baked Philadelphia cheesecake will remain fresh and delicious in the refrigerator for up to 4 to 5 days.
Is mascarpone a better choice than Philadelphia cream cheese for cheesecake?
The choice between mascarpone and Philadelphia cream cheese depends entirely on your desired outcome. Mascarpone will yield an even richer, silkier, and more luxurious texture with a slightly sweeter, less tangy flavor profile. Philadelphia cream cheese provides that classic creamy, slightly tangy profile that many associate with traditional cheesecake. Both are excellent, but offer distinct experiences.
How do you get lumps out of cheesecake filling?
To achieve a perfectly smooth, lump-free filling, always start with full-fat cream cheese softened to room temperature. Beat the cream cheese alone for a minute or two before adding sugar, then beat until completely smooth. If lumps persist, you can briefly pass the mixture through a fine-mesh sieve, though this is rarely necessary if the cream cheese is properly softened and mixed correctly from the start.
What can I do with leftover cheesecake filling?
If you have extra cheesecake filling, don’t let it go to waste! You can use it to make delightful individual cheesecake bites, swirl it into brownie batter, use it as a decadent dip for fresh fruit, or even spread it on toast or pancakes for a gourmet breakfast treat.
Can I freeze a Philadelphia cheesecake?
Absolutely! Philadelphia cheesecake freezes very well. Once completely cooled, wrap it tightly in plastic wrap and then in heavy-duty aluminum foil. It can be frozen for up to 2 months. For the best results, thaw it in the refrigerator overnight before serving.
Why did my Philadelphia cheesecake crack?
Cheesecake cracks are a common issue, usually a result of overmixing the batter (introducing too much air), overbaking (drying out the delicate custard), or cooling the cheesecake too quickly (thermal shock). Following the detailed tips in our “Preventing Cheesecake Cracks” section will significantly reduce this issue.
Is a water bath essential for baking Philadelphia cheesecake?
While not strictly “essential” for every cheesecake, using a water bath is highly recommended, especially if you’re aiming for a perfectly smooth, uncracked surface and an exceptionally creamy texture. It provides a gentler, moister baking environment that prevents the cheesecake from drying out and baking too quickly.
What are the best toppings for Philadelphia cheesecake?
The beauty of Philadelphia cheesecake is its incredible versatility with toppings. Popular choices include fresh berries (strawberries, raspberries, blueberries), various fruit compotes (cherry, strawberry, apple), rich chocolate or caramel sauces, a dollop of freshly whipped cream, or a sprinkle of toasted nuts or crushed cookies for added crunch.
More Irresistible Cheesecake Recipes to Try
If you’ve fallen in love with this classic Philadelphia Cheesecake, you’ll be thrilled to discover these other fan-favorite cheesecake creations from our kitchen. Expand your baking repertoire and explore new flavors!
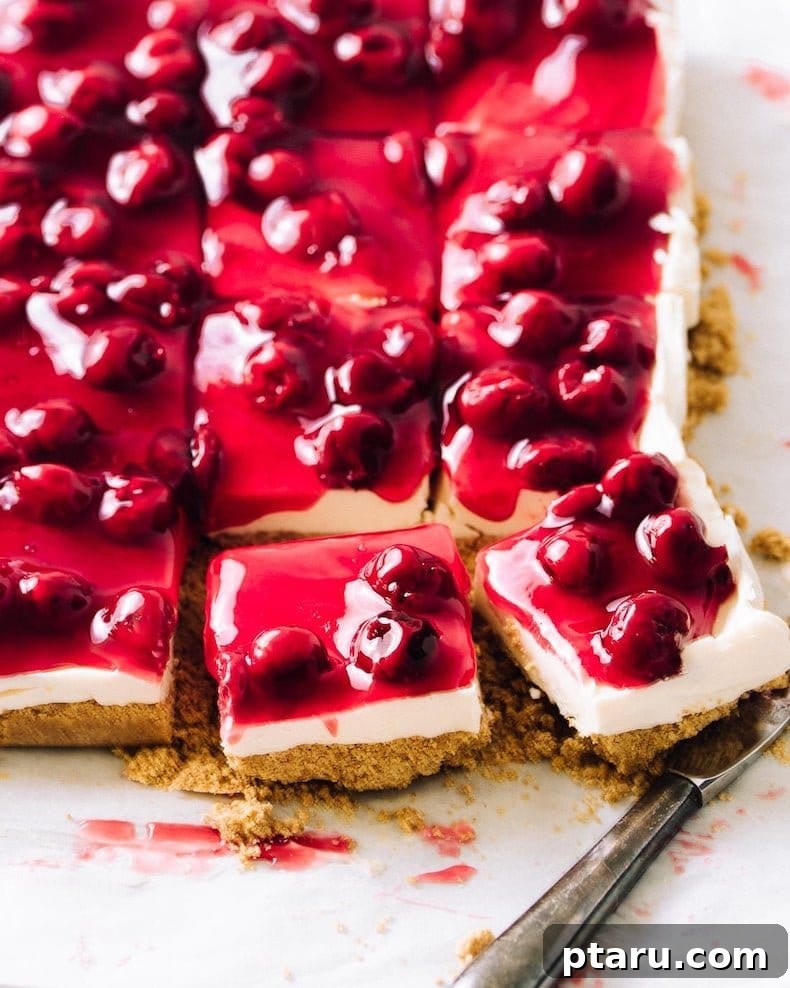
- No-Bake Cherry Cheesecake Bars (Perfect for a quick, refreshing dessert!)
- Cheesecake Popsicles (A fun, innovative, and cool twist on cheesecake!)
- Decadent Chocolate Cheesecake (For the ultimate chocolate lover!)
- Spiced Pumpkin Cheesecake Bars (A must-try for autumn!)
- Easy Caramel Apple Cheesecake Recipe (A comforting blend of sweet and tart.)
- Sweet Potato Cheesecake with Oat Pecan Crust (A unique and flavorful option.)
Reader Rating: 5 out of 5 stars (Based on 9 votes)
Classic Philadelphia Cheesecake Recipe
Jennifer Pallian BSc, RD
20 minutes
45 minutes
1 hour 5 minutes
12
Video Tutorial
Ingredients
For the Crust:
- 1 ¼ cups graham cracker crumbs
- ¼ cup melted butter
For the Filling:
- 3 (8-ounce) packages Philadelphia cream cheese, softened
- ¾ cup granulated sugar
- 3 large eggs
- Optional: 1 tsp vanilla extract or ¼ tsp almond extract
Instructions
- Preheat your oven to 350ºF (175ºC).
- Mix graham cracker crumbs and melted butter. Press firmly onto the bottom of a 9-inch springform pan to form the crust. (Optional: Bake crust for 8-10 minutes, then cool.)
- In a large bowl, using an electric mixer, beat softened cream cheese with sugar until smooth and blended. If using, add vanilla or almond extract and mix briefly on low speed.
- Add eggs one at a time, mixing on low speed after each addition just until combined. Avoid overmixing.
- Pour the cheesecake mixture over the prepared crust in the pan.
- Bake for 35-45 minutes, or until the edges are set and the center slightly jiggles. An instant-read thermometer inserted into the center should read 145ºF (63ºC).
- Turn the oven off and open the door halfway. Let the cheesecake cool gradually in the oven for at least one hour, then transfer to a wire rack to cool completely to room temperature.
- Once at room temperature, run a thin knife around the inside edge of the pan to loosen the cake, then cover and refrigerate for at least 4 hours (preferably overnight) before removing the rim and slicing to serve.
Notes
To prevent cracks:
- Avoid over-mixing the batter, especially after adding eggs.
- Allow the cheesecake to cool gradually in the turned-off oven.
- For extra insurance against cracks, consider baking in a water bath (see detailed instructions in the article section).
Room temperature ingredients:
- Ensure cream cheese and eggs are at room temperature for a smooth, lump-free batter.
- Refer to the article section for quick tips on how to soften cream cheese using the microwave.
To serve:
- For optimal texture and flavor, take the cheesecake out of the fridge 20-30 minutes before serving.
- Garnish with fresh berries, fruit compote, chocolate syrup, or whipped cream for added flavor and presentation.
Storage:
- Refrigerate leftovers, tightly covered, for up to 4-5 days.
- Cheesecake can be frozen for up to 2 months; wrap tightly in plastic wrap and then foil. Thaw overnight in the refrigerator before serving.
Nutrition Information (per serving)
Carbohydrates: 23g |
Protein: 4g |
Fat: 15g |
Saturated Fat: 8g |
Polyunsaturated Fat: 1g |
Monounsaturated Fat: 4g |
Trans Fat: 0.2g |
Cholesterol: 77mg |
Sodium: 187mg |
Potassium: 67mg |
Fiber: 0.3g |
Sugar: 18g |
Vitamin A: 528IU |
Calcium: 40mg |
Iron: 1mg
Nutrition information is automatically calculated and should only be used as an approximation.