Mastering Make-Ahead Brown Gravy: Your Secret to Stress-Free Holiday Meals
Imagine a holiday meal where the centerpiece roast is carved, the side dishes are ready, and your guests are seated, eagerly anticipating. The only thing missing? That luscious, pourable brown gravy – and this time, you’re not frantically whisking over a hot stove, beads of sweat forming as hungry eyes watch your every move. This dream is a reality with our ultimate make-ahead brown gravy recipe. Forget the last-minute stress; this silky-smooth, herb-infused peppercorn gravy can be prepared entirely in advance, allowing you to relax and enjoy the celebration.
There’s something truly special about a homemade brown gravy that elevates any meal, transforming simple roasted turkey or mashed potatoes into a culinary masterpiece. The depth of flavor, the comforting aroma, and the luxurious texture are unparalleled. This particular recipe stands out not just for its incredible taste – a harmonious blend of savory notes, fresh herbs, and a hint of black pepper – but also for its sheer convenience. It’s so good, you might just find yourself licking the pot clean!
For many home cooks, the idea of making gravy can be daunting, often relegated to the chaotic final moments of a holiday feast. But what if you could have that essential component ready and waiting, simply needing a gentle re-warm before serving? This recipe liberates you from that pressure, proving that exceptional homemade gravy doesn’t require a last-minute scramble.
Why Make Your Brown Gravy Ahead?
Preparing your brown gravy in advance offers a multitude of benefits, especially when hosting a large gathering or for busy weeknights:
- Eliminates Stress: The most significant advantage is freeing up valuable time and mental space on the day of your event. With gravy already made, you can focus on other dishes, interact with guests, and truly savor the moment. No more sweating over a roux as hungry guests stare impatiently.
- Deepens Flavor: Like many culinary creations, gravy benefits immensely from a resting period. When made ahead, the flavors of the onion, broth, and herbs have ample time to meld and deepen, resulting in a more complex and satisfying taste profile.
- Ensures Consistency: Making gravy on the fly can sometimes lead to lumps or an inconsistent thickness. Preparing it in advance allows you to perfect the texture without time constraints, ensuring a consistently smooth and velvety sauce every time.
- Versatility Beyond Holidays: While perfect for Thanksgiving or Christmas turkey, this make-ahead brown gravy isn’t just for special occasions. It’s a fantastic staple to have on hand for everyday meals, whether you’re serving pot roasts, pork chops, chicken, or even a comforting plate of biscuits.
The Heart of Great Gravy: Understanding the Roux
The secret to achieving a deeply flavorful and richly colored brown gravy lies in a well-executed roux. A roux is a mixture of flour and fat (in this case, butter) cooked together, which serves as the thickening agent for your sauce. But it’s more than just a thickener; it’s a fundamental flavor builder.
Achieving the Perfect Butterscotch Roux
Many gravies settle for a blonde roux, which thickens but offers little flavor depth. Our recipe calls for cooking the flour and butter until it reaches a beautiful “butterscotch color.” This isn’t just about aesthetics; it’s about developing a nutty, toasted flavor that forms the foundation of a truly delicious brown gravy. Patience is key here. You’ll stir the flour and butter over medium-high heat, watching it transform from white to a pale golden, then to a rich, toasty butterscotch. This process toasts the flour, removing any raw taste and imparting those coveted deep, savory notes.
Key Ingredients Spotlight
- Broth Choice: The backbone of any great gravy is its broth. While turkey broth is ideal for holiday meals, high-quality chicken broth works beautifully as a substitute. For maximum flavor, homemade broth is always preferred, but a good store-bought low-sodium broth is a perfectly acceptable and convenient option. Using low-sodium broth allows you to control the seasoning precisely.
- Fresh Herbs: Rosemary takes center stage in this recipe, lending a fragrant, earthy aroma and taste that pairs wonderfully with poultry. Freshly chopped is always best for vibrant flavor. Feel free to experiment with other complementary herbs like thyme or sage, depending on your preference.
- Freshly Ground Black Pepper: A generous amount of freshly ground black pepper adds a delightful piquancy and a subtle kick, enhancing the overall savory profile without overpowering it.
- Heavy Cream: A splash of heavy cream at the end is the ultimate indulgence, contributing to the gravy’s luxurious richness and its signature silky-smooth texture. It mellows the flavors and adds a beautiful mouthfeel. For a lighter version, you can reduce the amount or use half-and-half, though the texture will be slightly less decadent.
Step-by-Step: Crafting Your Delicious Make-Ahead Brown Gravy
Follow these detailed steps to create a show-stopping brown gravy that’s ready whenever you are.
- Sauté the Aromatics: Begin by melting butter in a large, heavy-bottomed saucepan over medium-high heat. Add your finely minced onion along with half of the kosher salt. Cook the onion until it’s beautifully softened and translucent, which usually takes about 5 minutes. This step is crucial for building a flavorful base, as the softened onions release their sweet, savory notes into the butter.
- Build the Butterscotch Roux: Once the onions are soft, stir in the flour. Continue to cook, stirring frequently and scraping the bottom of the pan to prevent sticking, until the mixture transforms into a deep, toasty butterscotch color. This process typically takes another 5-7 minutes. This extended cooking time is essential for developing that nutty, rich flavor and a beautiful brown hue, preventing any raw flour taste. Don’t rush this step!
- Gradually Whisk in Broth: Very carefully and slowly, begin whisking in the turkey (or chicken) broth in a thin, steady stream. Be mindful, as the hot roux will bubble up quickly as the liquid is added. Whisk continuously and vigorously to ensure the liquid fully incorporates into the roux, creating a smooth, lump-free base. The gradual addition prevents lumps and helps create a silky texture.
- Simmer and Infuse Flavors: Once all the broth is added and the gravy is smooth, stir in the fresh rosemary and freshly ground black pepper. Reduce the heat to low and continue to whisk in the heavy cream and the remaining half teaspoon of kosher salt. Let the mixture gently simmer, stirring occasionally, until it thickens to your desired consistency. This should take about 5-10 minutes. For an even deeper flavor infusion, turn off the heat, cover the saucepan, and let the gravy stand for at least 1 hour. This allows the herbs to fully release their essence into the warm gravy.
- Finishing Touches and Reheating: Just before serving, gently rewarm the gravy over low heat, whisking until it’s hot and smooth. For an exceptionally silky-smooth gravy, press it through a fine-mesh sieve to remove any remaining onion pieces or herb bits. Alternatively, use an immersion blender directly in the pot to achieve a perfectly smooth consistency. Transfer to a heat-safe storage container, cool slightly to room temperature, then refrigerate until you’re ready to serve.
Make-Ahead Mastery: Storing and Reheating Your Gravy
Refrigeration
Once cooled, transfer your delicious brown gravy to an airtight container and store it in the refrigerator for up to 3-4 days. When ready to serve, simply rewarm it gently over low heat on the stovetop, whisking occasionally. If it appears too thick, you can whisk in a little extra broth or water until it reaches your preferred consistency.
Freezing Homemade Gravy
Yes, you can absolutely freeze homemade gravy! This is a fantastic option for long-term storage and ultimate convenience. For best results, it’s recommended to omit the heavy cream if you plan to freeze the gravy. The cream can sometimes separate or change texture upon thawing and reheating. Instead, add the cream when you’re reheating the gravy.
To freeze, allow the gravy to cool completely. For easy storage and thawing, pour the cooled gravy into large freezer bags. You can place the freezer bag inside a blender container or another sturdy container to hold it upright as you ladle in the gravy. Squeeze out as much air as possible before sealing the bag tightly. Lay the bags flat in your freezer to create flat, stackable portions. This allows for quicker thawing. Frozen gravy can be stored for up to 3 months.
When you’re ready to use it, thaw the gravy overnight in the refrigerator or gently in a bowl of cold water. Reheat over low heat on the stovetop, whisking frequently. If you froze it without cream, whisk in the heavy cream during the reheating process. Adjust seasoning if needed.
Troubleshooting Common Gravy Problems
Even the most seasoned cooks can encounter a gravy mishap. Here’s how to fix common issues:
- Lumpy Gravy: If your gravy has lumps, don’t despair! You have a few easy solutions. You can either pass the gravy through a fine-mesh sieve to remove any lumps and solids, or for a faster method, use an immersion blender directly in the pot to smooth it out until velvety.
- Gravy is Too Thin: If your gravy isn’t thick enough, you can create a simple slurry of 1 tablespoon cornstarch mixed with 1 tablespoon cold water. Whisk this mixture into the simmering gravy and cook for another minute or two until it thickens. Repeat if necessary.
- Gravy is Too Thick: If your gravy is too dense, simply whisk in a little extra warm broth (turkey or chicken) or even some hot water, a tablespoon at a time, until it reaches your desired consistency.
- Bland Flavor: If your gravy tastes a bit flat, it likely needs more seasoning. Taste and adjust with additional salt and pepper. A dash of Worcestershire sauce or a splash of dry sherry can also add a surprising depth of umami. A pinch of dried herbs or a fresh herb sprig allowed to steep can also boost flavor.
What to Serve with Your Perfect Brown Gravy
This versatile brown gravy is truly the crowning glory for a variety of dishes. While it’s a quintessential companion for roasted turkey during holiday feasts, its rich, savory notes enhance so much more:
- Classic Roasts: Beyond turkey, serve it generously over roast chicken, beef, or pork loin.
- Mashed Potatoes: A dollop of this gravy transforms creamy mashed potatoes into the ultimate comfort food.
- Pot Roasts and Stews: Elevate the flavors of slow-cooked pot roasts and hearty stews.
- Biscuits and Gravy: A Southern classic, perfect for a cozy breakfast or brunch.
- Poutine: Drench crispy french fries and cheese curds in this rich gravy for an authentic Canadian treat.
- Chicken Fried Steak: The ideal topping for this comforting American diner classic.
- Vegetables: Drizzle over roasted vegetables like Brussels sprouts, carrots, or green beans for an extra layer of flavor.
Recipe Yield and Scaling
This recipe yields approximately 2½ cups of rich, flavorful brown gravy, which is typically sufficient for a family-sized meal. However, if you’re hosting a larger crowd or simply want plenty of leftovers, feel free to double or even triple the recipe. The make-ahead nature of this gravy makes scaling up a breeze!
Make-Ahead Herbed Peppercorn Brown Gravy Recipe
By: Jennifer Pallian BSc, RD
This make-ahead brown gravy is so delicious you’ll lick the pot. Best part is that it can be made fully in advance for a totally stress-free meal.
Prep Time: 10 minutes
Cook Time: 10 minutes
Servings: 6
Ingredients
- 4 tbsp butter
- ¾ cup minced onion (from about ½ of a large onion)
- 1 tsp kosher salt (divided use)
- 4 tbsp flour
- 2 cups turkey broth (or chicken broth)
- 1 tbsp rosemary (finely chopped)
- 1 tsp freshly-ground black pepper
- ½ cup heavy cream (35% fat whipping cream)
Instructions
- Melt the butter in a large, heavy-bottomed saucepan over medium-high heat. Add minced onion and ½ tsp salt and cook until soft and translucent, about 5 minutes.
- Stir in flour and cook, stirring frequently, until it turns a deep butterscotch color, about 5-7 minutes. This develops a nutty flavor.
- Very carefully whisk in the broth in a slow, steady stream. Be cautious, as the mixture will bubble up quickly. Whisk continuously until smooth and no lumps remain.
- Stir in the rosemary and pepper. Turn the heat down to low. Whisk in the heavy cream and the remaining ½ tsp salt. Simmer gently, stirring occasionally, until the mixture thickens to your desired consistency. Remove from heat and cover. PRO TIP: Let stand for 1 hour to infuse flavors more deeply.
- To serve later, strain the gravy into a heat-safe storage container, cool slightly, then refrigerate. When ready to serve, rewarm over low heat on the stovetop, whisking often. For an extra silky-smooth gravy, puree it with an immersion blender or force it through a fine-mesh sieve before serving, discarding any solids.
Notes
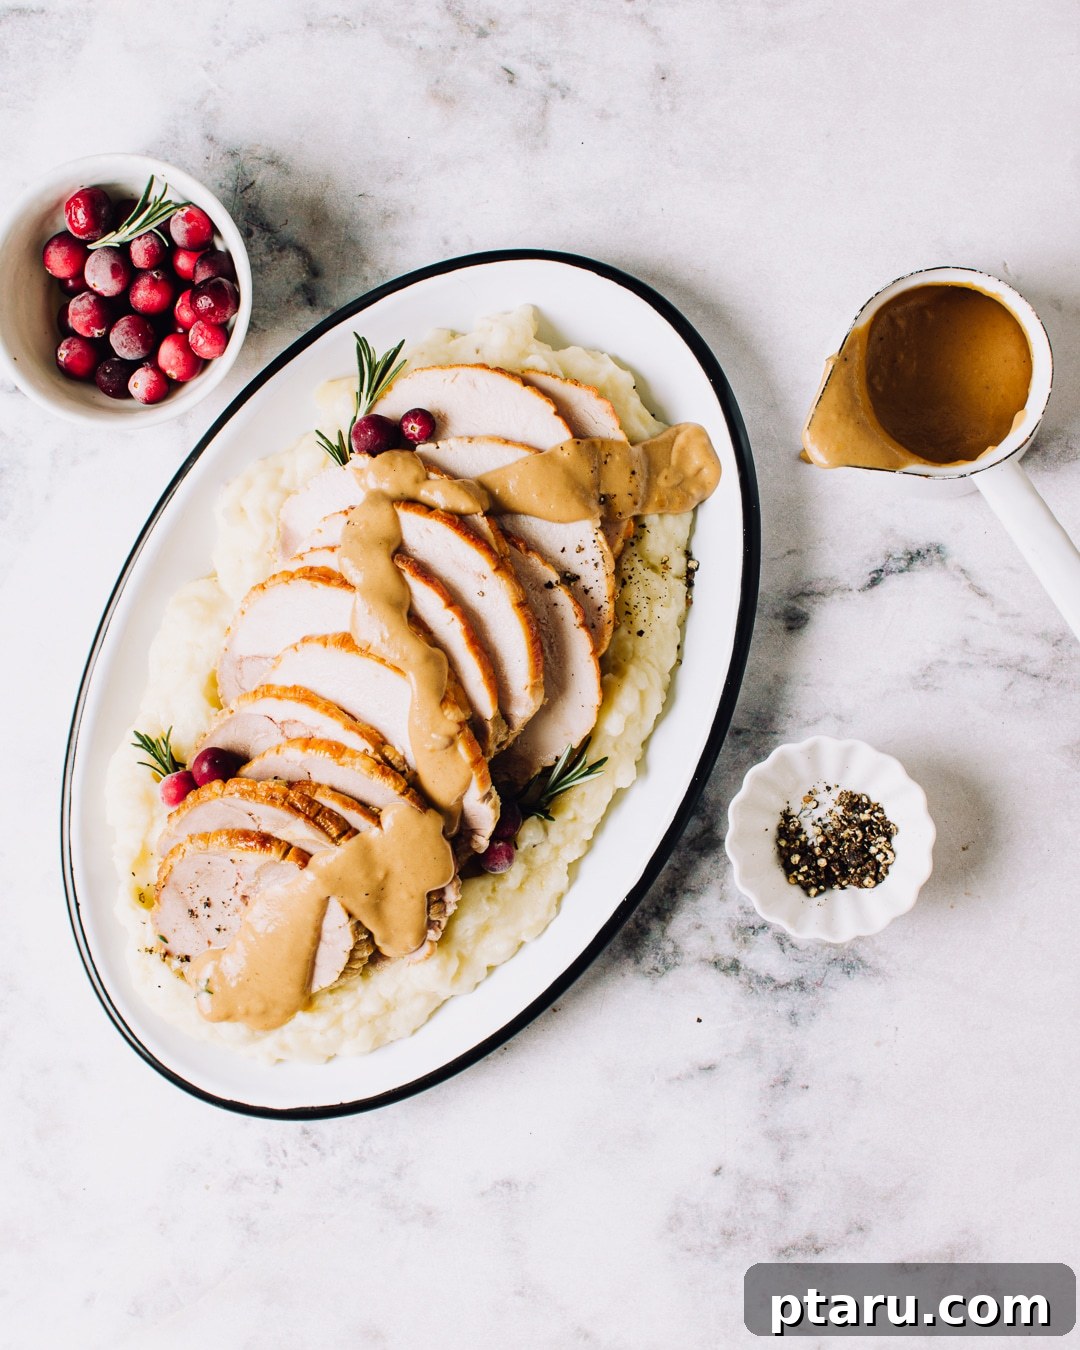
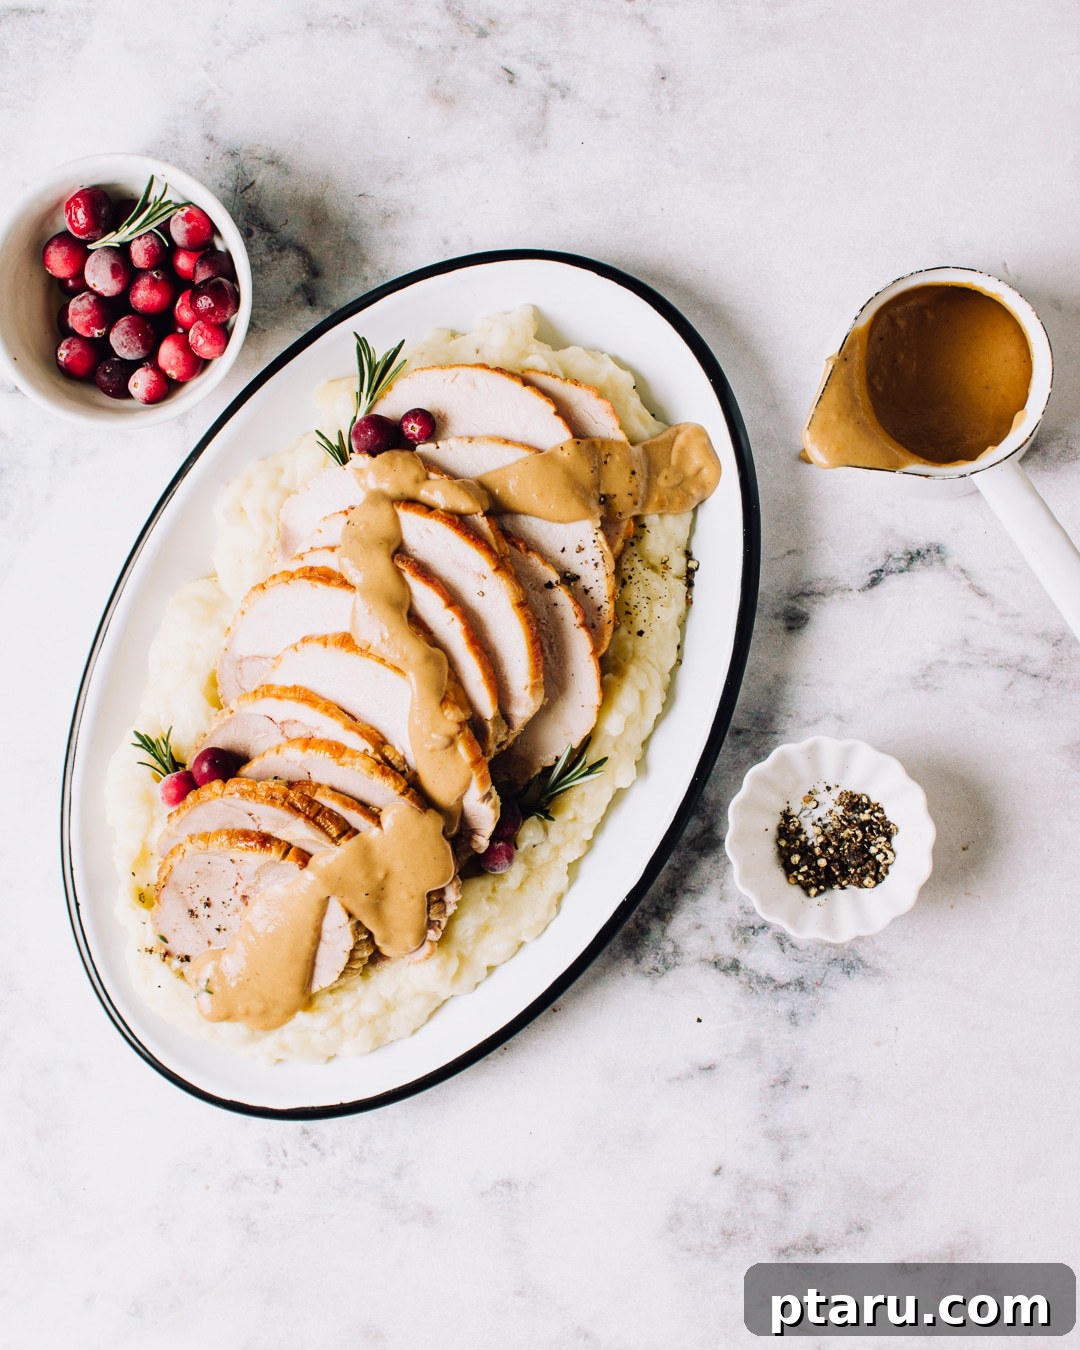
- This gravy is shown served here with a boneless turkey breast roast.
- Remember to omit cream if freezing, and add it during reheating.
Other Fan-Favorite Turkey Dinner Recipes
Looking to complete your holiday menu or explore more comforting dishes? Here are some highly recommended recipes that pair perfectly with your make-ahead brown gravy:
- Easy Roast Turkey with Cranberry Chutney
- The Best Mashed Potatoes You’ll Ever Try
- Cornbread Casserole
- Apple Turkey Stuffing
- Candied Brussels Sprouts with Maple and Bacon
- Maple Five Spice Roasted Butternut Squash
- Super Easy Pumpkin Pie
- Green Bean Casserole with Crispy Onions
- Turkey Giblet Gravy Recipe (Without Drippings)
Keep Reading: Creative Ways to Enjoy Leftovers
Don’t let any of your delicious holiday bounty go to waste! Transform leftovers into exciting new meals with these fantastic ideas:
- What to eat with leftover mashed potatoes
- Leftover Turkey Pot Pie
- Leftover Turkey Casserole
Embrace the joy of stress-free cooking with this impeccable make-ahead brown gravy. It’s a recipe that promises not just incredible flavor, but also precious moments back into your day, making every meal a little more special. Happy cooking!