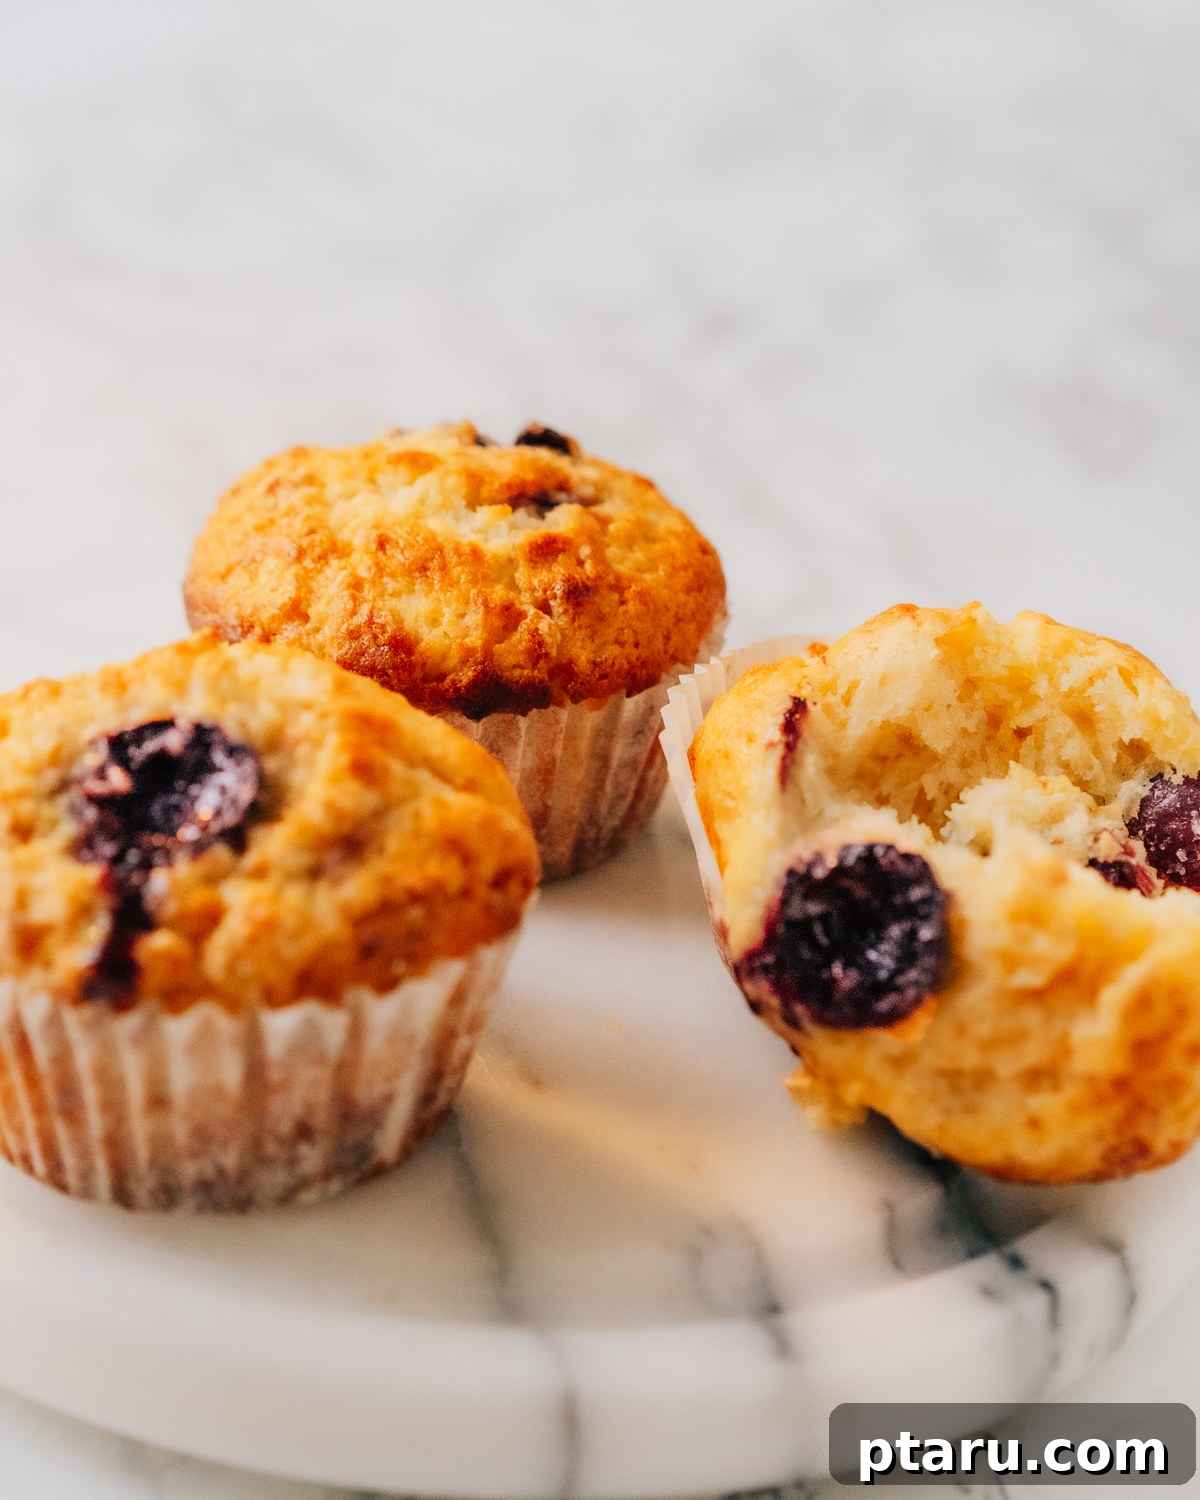
Fluffy & Juicy Cherry Muffins: Your Go-To Recipe for Sweet or Sour Perfection
Prepare to fall in love with these incredibly fluffy, tender, and intensely flavorful Cherry Muffins. This recipe is designed to showcase the vibrant taste of cherries, whether you’re using sweet or tart varieties, fresh from the orchard, or straight from the freezer. Each bite offers a delightful burst of juicy fruit, perfectly complemented by a hint of lemon, making them an ideal treat for breakfast, brunch, or a satisfying snack. If you’re a fan of a tangy kick, these are truly exceptional as Sour Cherry Muffins!
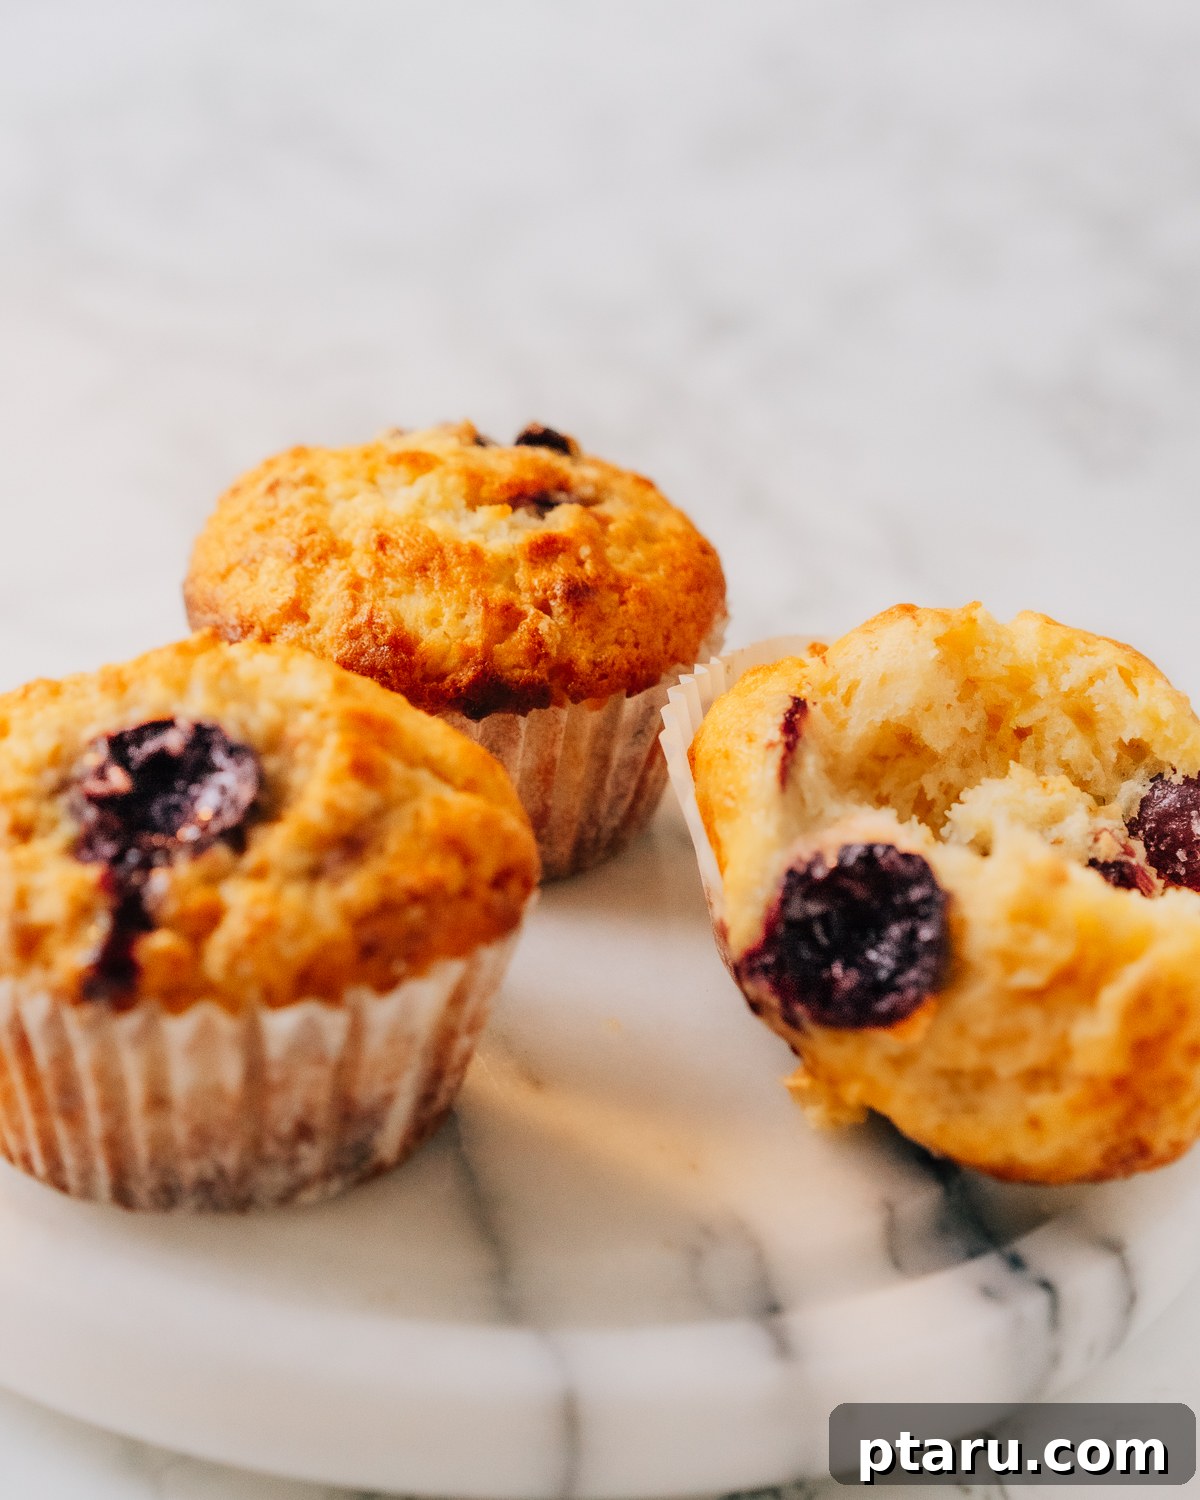
Why These Cherry Muffins Are Your New Favorite
What makes this cherry muffin recipe stand out from the rest? It’s a combination of thoughtfully selected ingredients and simple techniques that yield consistently moist, light, and flavorful results. Forget dry, crumbly muffins – ours boast a wonderfully soft crumb, thanks to key additions like sour cream, which not only adds moisture but also a subtle tang that enhances the sweetness of the cherries and brightens the lemon notes. This is an incredibly easy muffin recipe that doesn’t require any fancy equipment, making it perfect for bakers of all skill levels.
Essential Ingredients for Irresistible Cherry Muffins
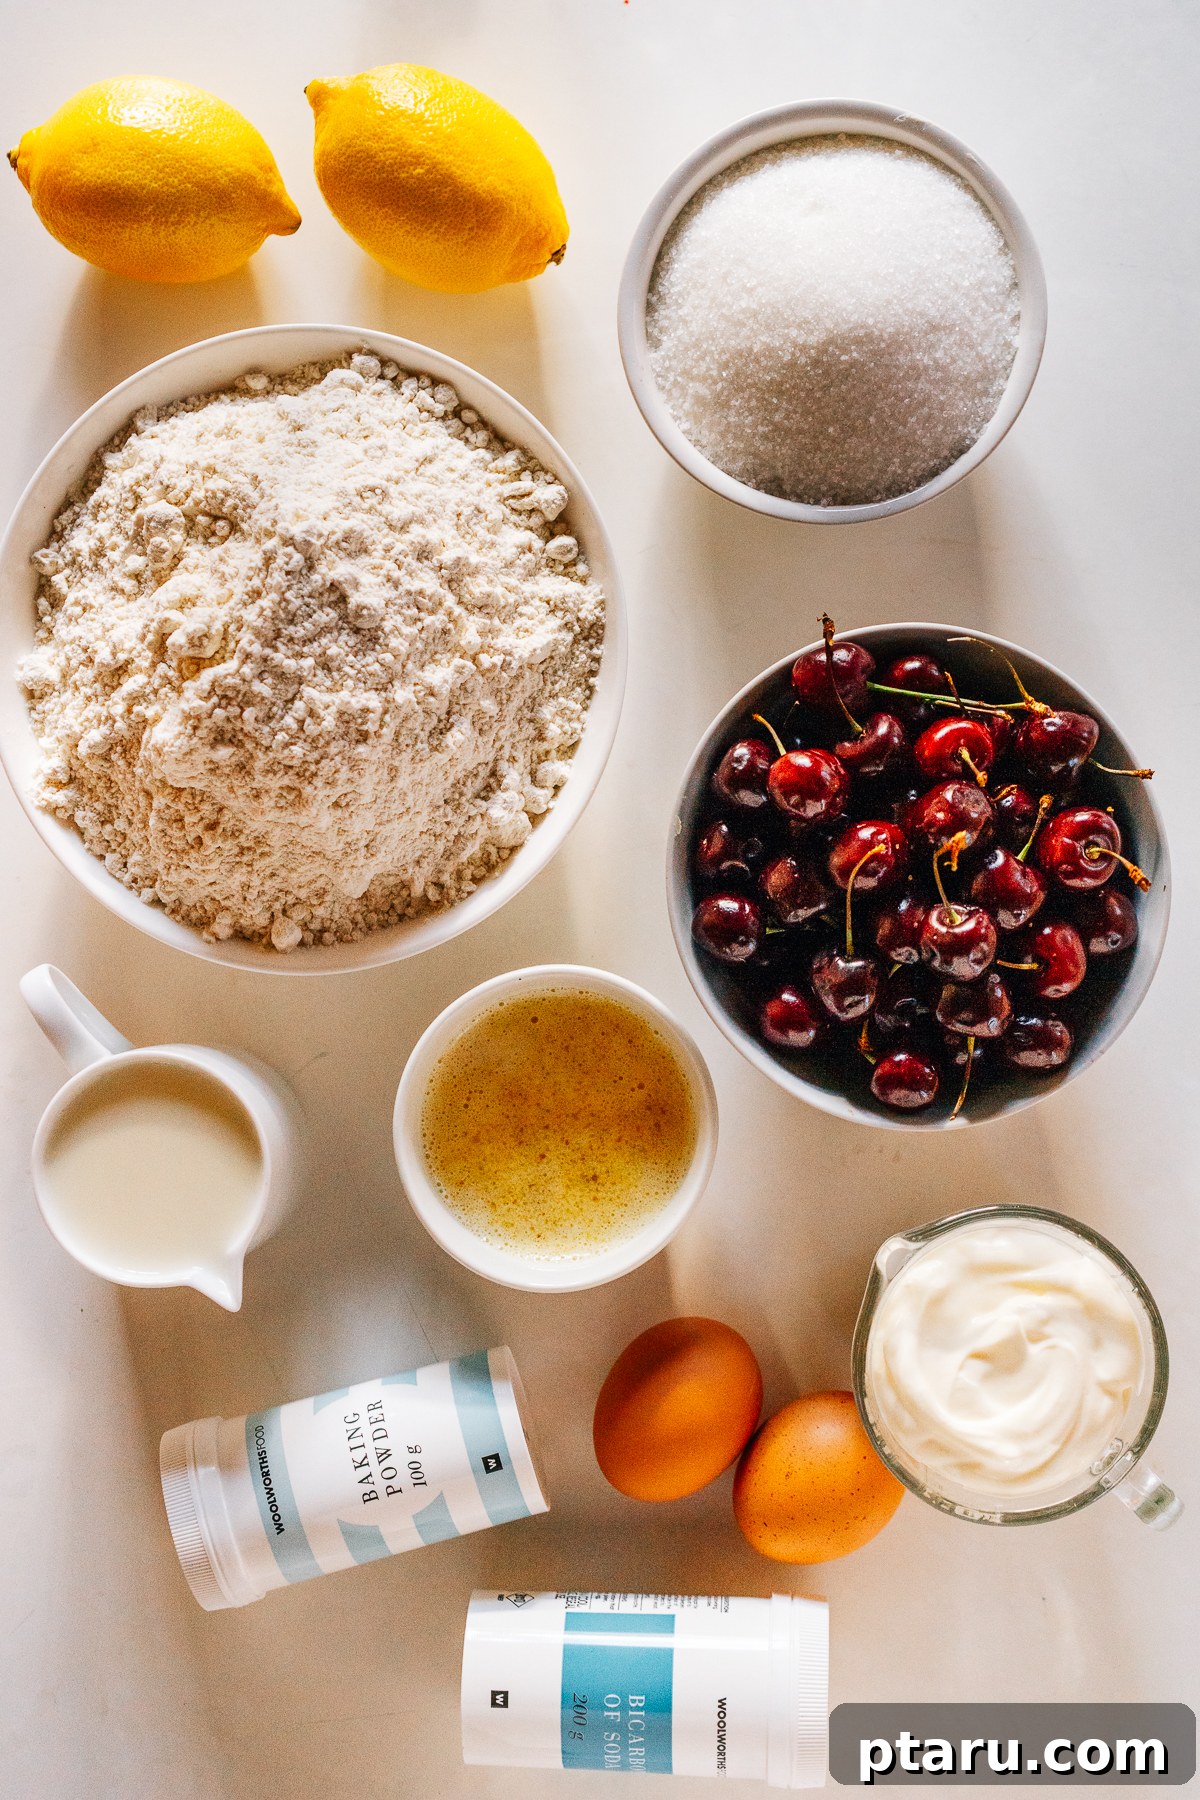
Crafting the perfect batch of fluffy cherry muffins starts with understanding the role of each ingredient. Here’s a closer look at what you’ll need to create these delectable treats:
- All-Purpose Flour: The foundation of our muffins. For the lightest texture, always remember to spoon your flour into the measuring cup and level it off. Scooping directly from the bag can pack too much flour, leading to dense or tough muffins.
- Granulated Sugar: Provides essential sweetness, balancing the tartness of the cherries and aiding in the golden-brown crust.
- Baking Soda and Baking Powder: This powerful duo works together to give the muffins their beautiful rise and airy texture. Baking soda reacts with acidic ingredients (like sour cream and lemon juice), while baking powder provides consistent lift.
- Salt: A pinch of salt is crucial for enhancing all the other flavors, making the muffins taste even richer and more complex.
- Melted Butter: Contributes a rich, comforting flavor and tender crumb that oil simply can’t replicate. Make sure your melted butter has cooled slightly before incorporating it with the eggs to prevent them from scrambling.
- Sour Cream: This is a secret weapon for super tender and moist muffins! Sour cream adds a delightful richness, a subtle tang, and ensures a wonderfully soft crumb that stays fresh longer. It’s particularly effective when making sour cherry muffins, as it echoes the fruit’s tartness beautifully.
- Milk: Whole milk is recommended for its richness, which contributes to a more luxurious texture and flavor. However, if you prefer, low-fat milk will also work well without significantly altering the outcome.
- Eggs: Act as a binder, provide structure, and add richness to the muffin batter, contributing to their overall fluffiness.
- Lemon Zest: Don’t underestimate the power of fresh lemon zest! It imparts a bright, aromatic citrus essence that elevates the cherry flavor. Remember to zest only the yellow part of the peel, as the white pith underneath can be bitter.
- Lemon Juice: Adds a fresh, tart counterpoint to the sweet cherries and sugar. Crucially, its acidity reacts with the baking soda, contributing to the muffins’ fantastic lift and tender texture. Freshly squeezed juice will always yield the best flavor.
- Fresh or Frozen Cherries: The star of the show! You can use either fresh sweet cherries or sour cherries (tart cherries) for this recipe. If you’re lucky enough to find them, sour cherries make these particularly spectacular, hence their popular designation as sour cherry muffins. If using frozen cherries, there’s no need to thaw them first. Pit them if fresh, or ensure frozen ones are already pitted.
Exact ingredient quantities are provided in the comprehensive recipe card at the bottom of this article.
Smart Substitutions and Creative Variations for Your Muffins
This versatile cherry muffin recipe allows for several adjustments to suit your dietary needs or flavor preferences. Feel free to experiment!
- Sour Cream Alternatives: If sour cream isn’t available, plain Greek yogurt (full-fat or low-fat) is an excellent substitute, offering a similar tang and moisture. For a lighter touch, you can even find healthy muffin recipes using Greek yogurt.
- Milk Options: Any dairy milk, from whole to skim, will work. For a dairy-free version, unsweetened almond, oat, or soy milk are fantastic alternatives that won’t compromise the texture or flavor of your homemade cherry muffins.
- Butter Alternatives: While butter provides unparalleled flavor, a neutral-flavored oil like canola, vegetable, or melted coconut oil can be used as a 1:1 replacement. Be aware that this may result in a slightly different flavor profile and crumb texture.
- Exciting Add-ins: Elevate your muffins with additional textures and flavors! Consider folding in white chocolate chips for extra sweetness, chopped nuts like almonds or pistachios for crunch, or a sprinkle of shredded coconut for a tropical twist. For a bakery-style finish, try a simple cinnamon-sugar topping before baking or a buttery streusel crumble.
- Gluten-Free Cherry Muffins: To make these muffins gluten-free, substitute the all-purpose flour with a high-quality gluten-free flour blend. Always check the package instructions, as some blends require specific adjustments, but many are designed for a 1:1 replacement.
If you adore fruit-filled muffins, you’ll also love our blueberry muffins with sour cream, apricot muffins, blueberry bran muffins, and raspberry rhubarb muffins.
Essential Tools for Baking Cherry Muffins
You won’t need a lot of specialized equipment to whip up these delightful cherry muffins. Here’s a quick list of what to gather:
- Two Mixing Bowls: One for your dry ingredients and another for your wet ingredients.
- Whisk: For thoroughly combining dry ingredients and smoothing out wet mixtures.
- Rubber Spatula: Ideal for gently folding the wet and dry ingredients together, minimizing the risk of overmixing.
- Standard 12-Cup Muffin Tin: You’ll likely need two, or you can bake your muffins in batches.
- Paper Liners or Non-Stick Spray: Paper liners make cleanup a breeze and prevent sticking. Alternatively, grease your muffin tins thoroughly with butter or a good quality non-stick spray.
- Ice Cream Scoop or Large Spoon: Helps in portioning the batter evenly into the muffin cups, ensuring consistent muffin size and baking.
How to Make Cherry Muffins: An Easy Step-by-Step Guide
Get ready to bake a batch of the best homemade cherry muffins with this straightforward, no-fuss recipe. No electric mixer is required!
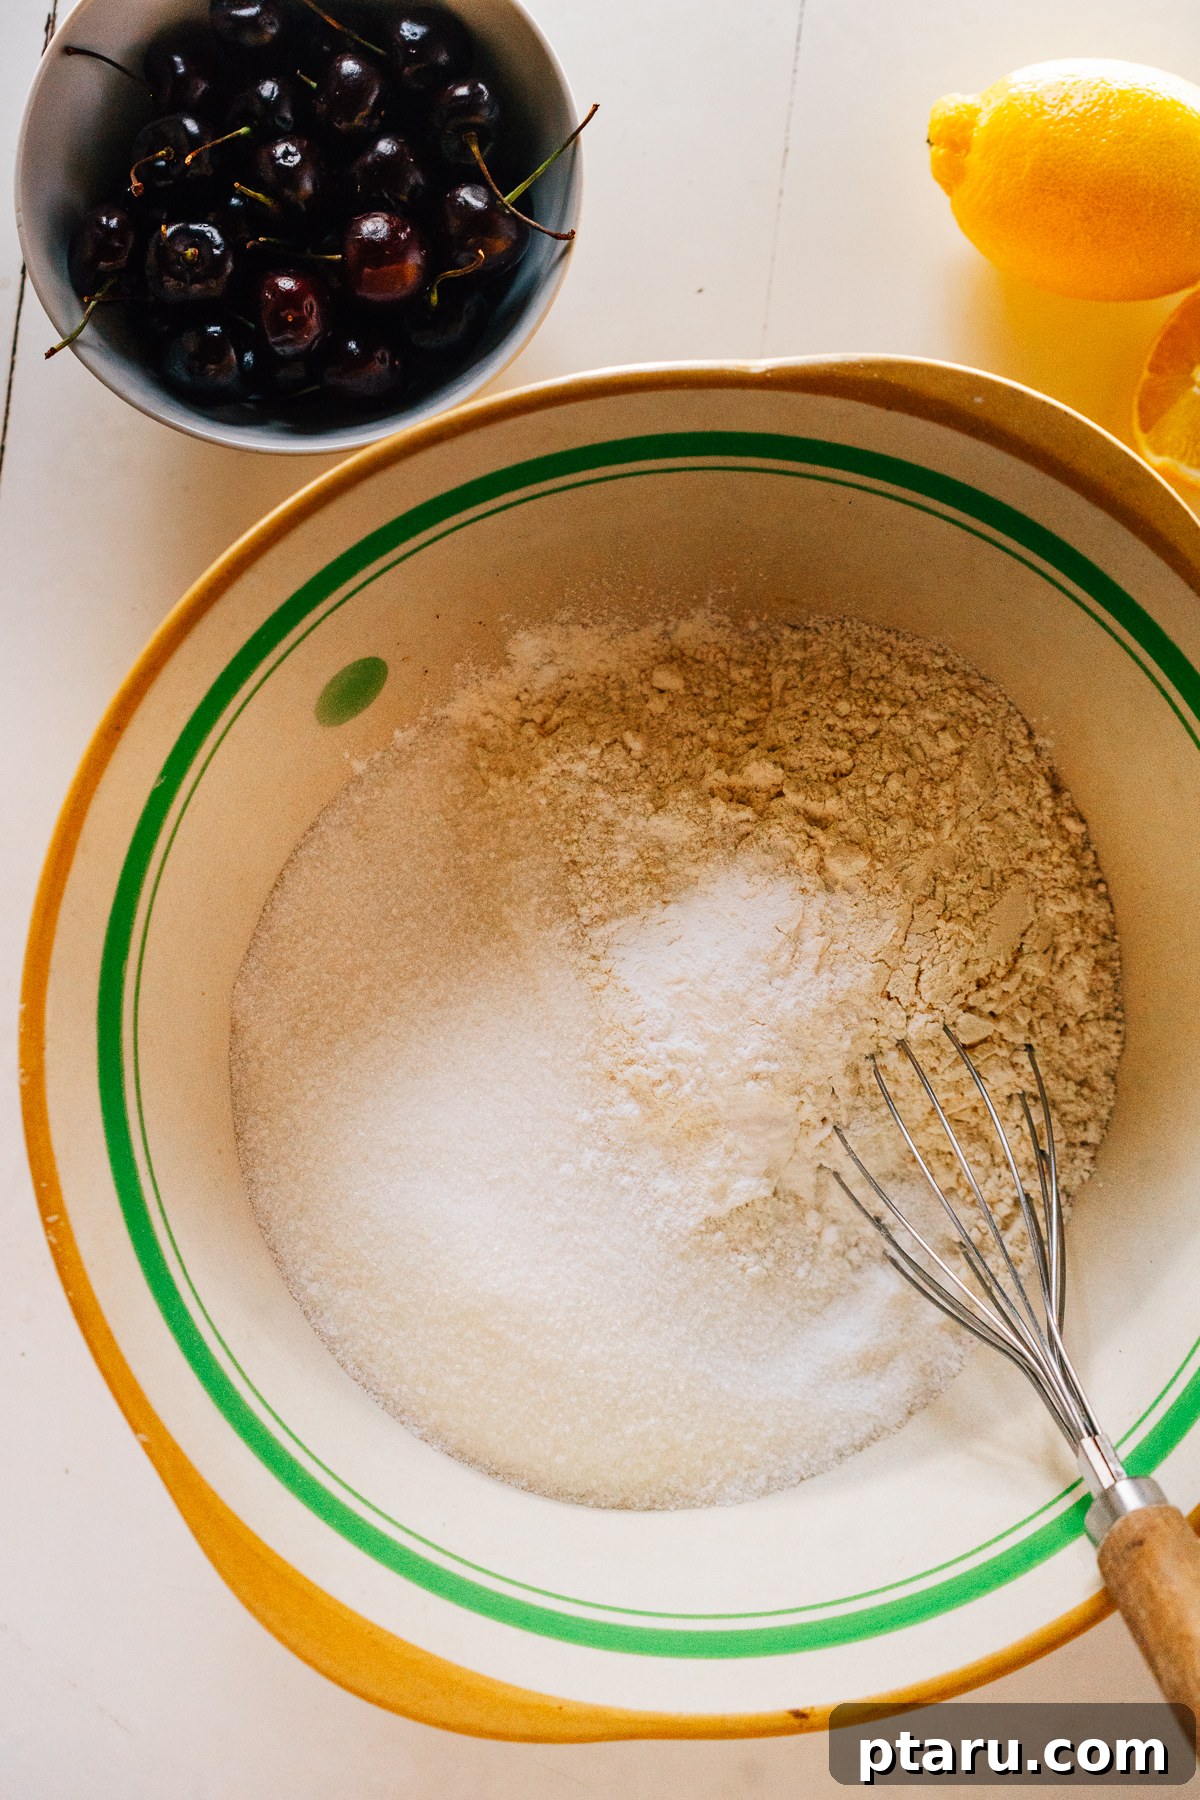
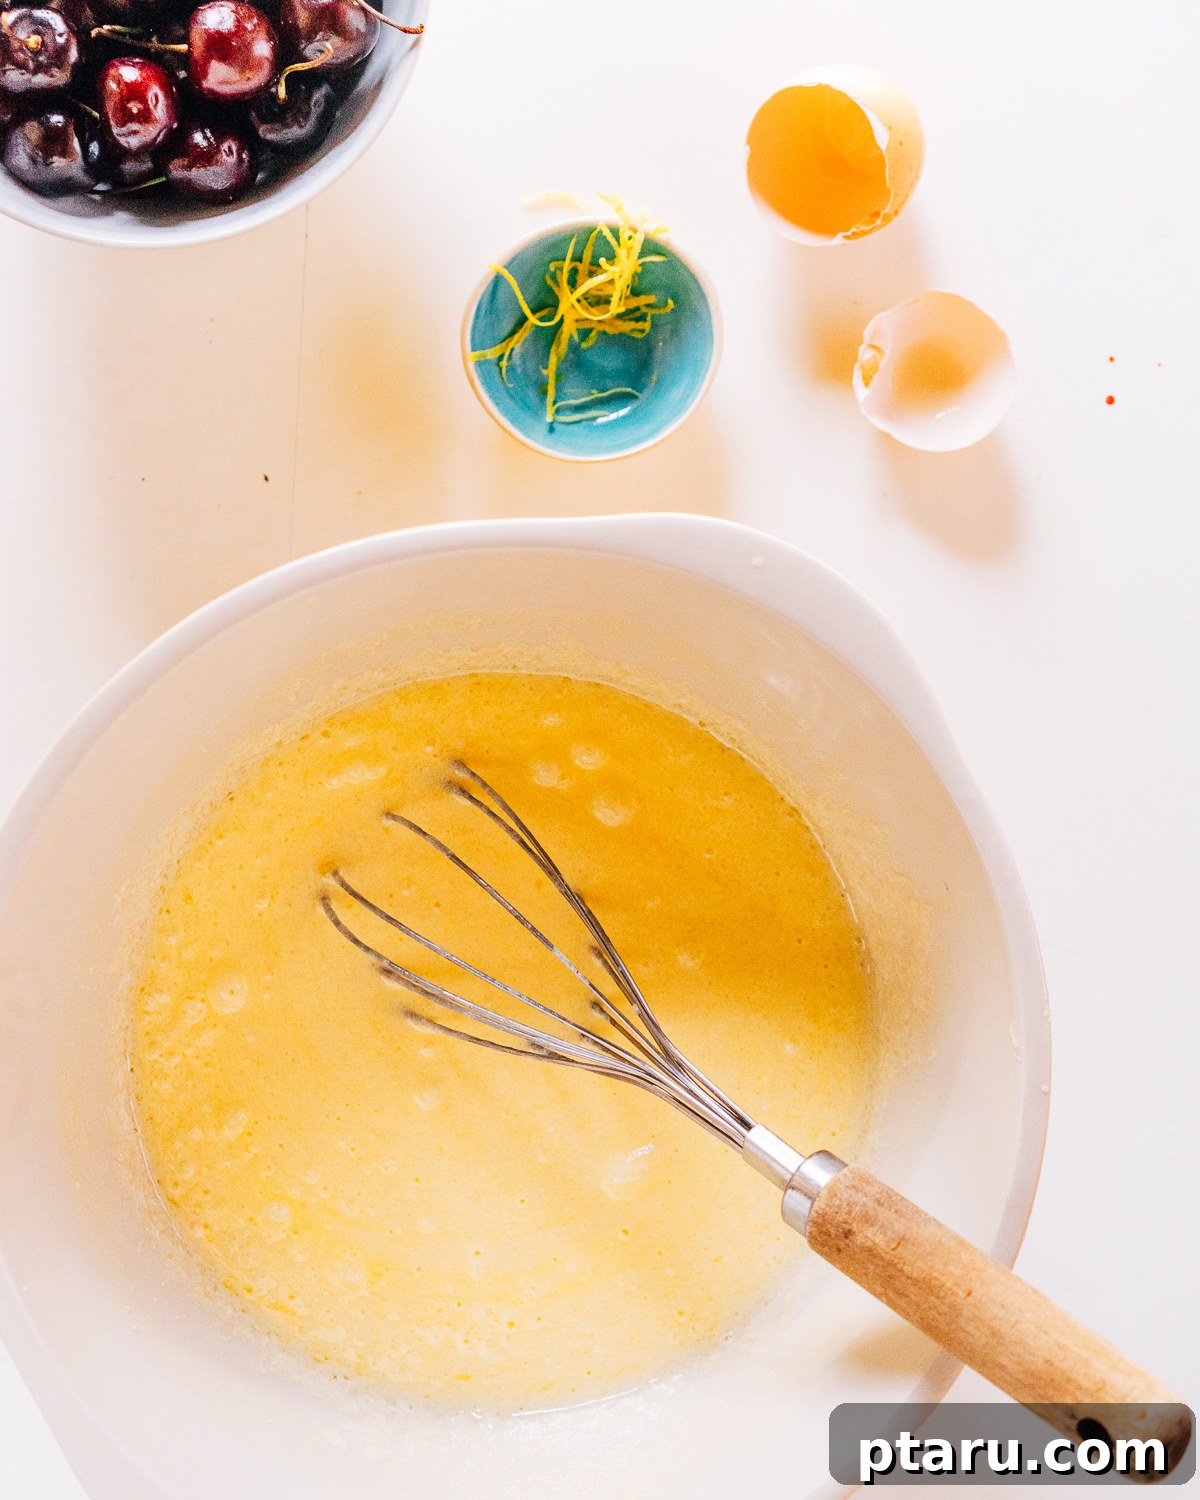
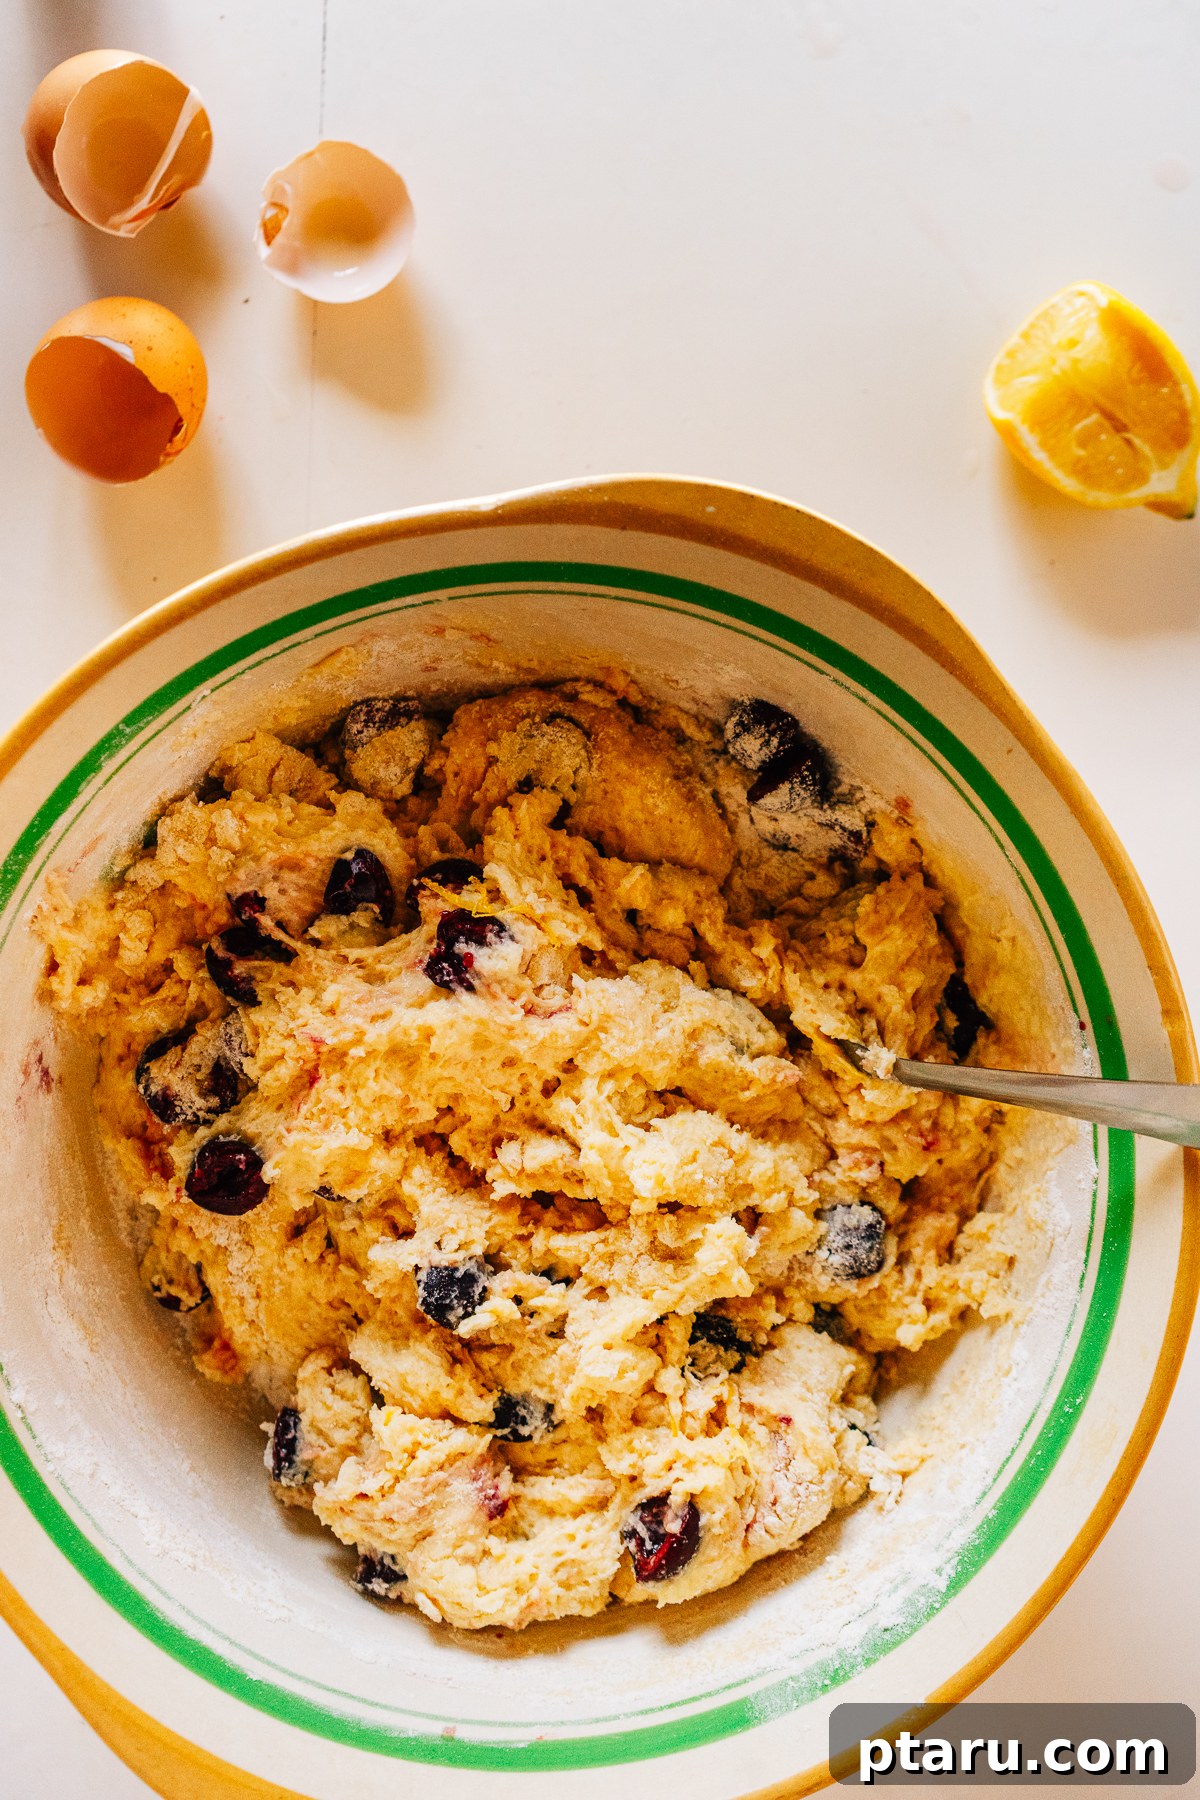
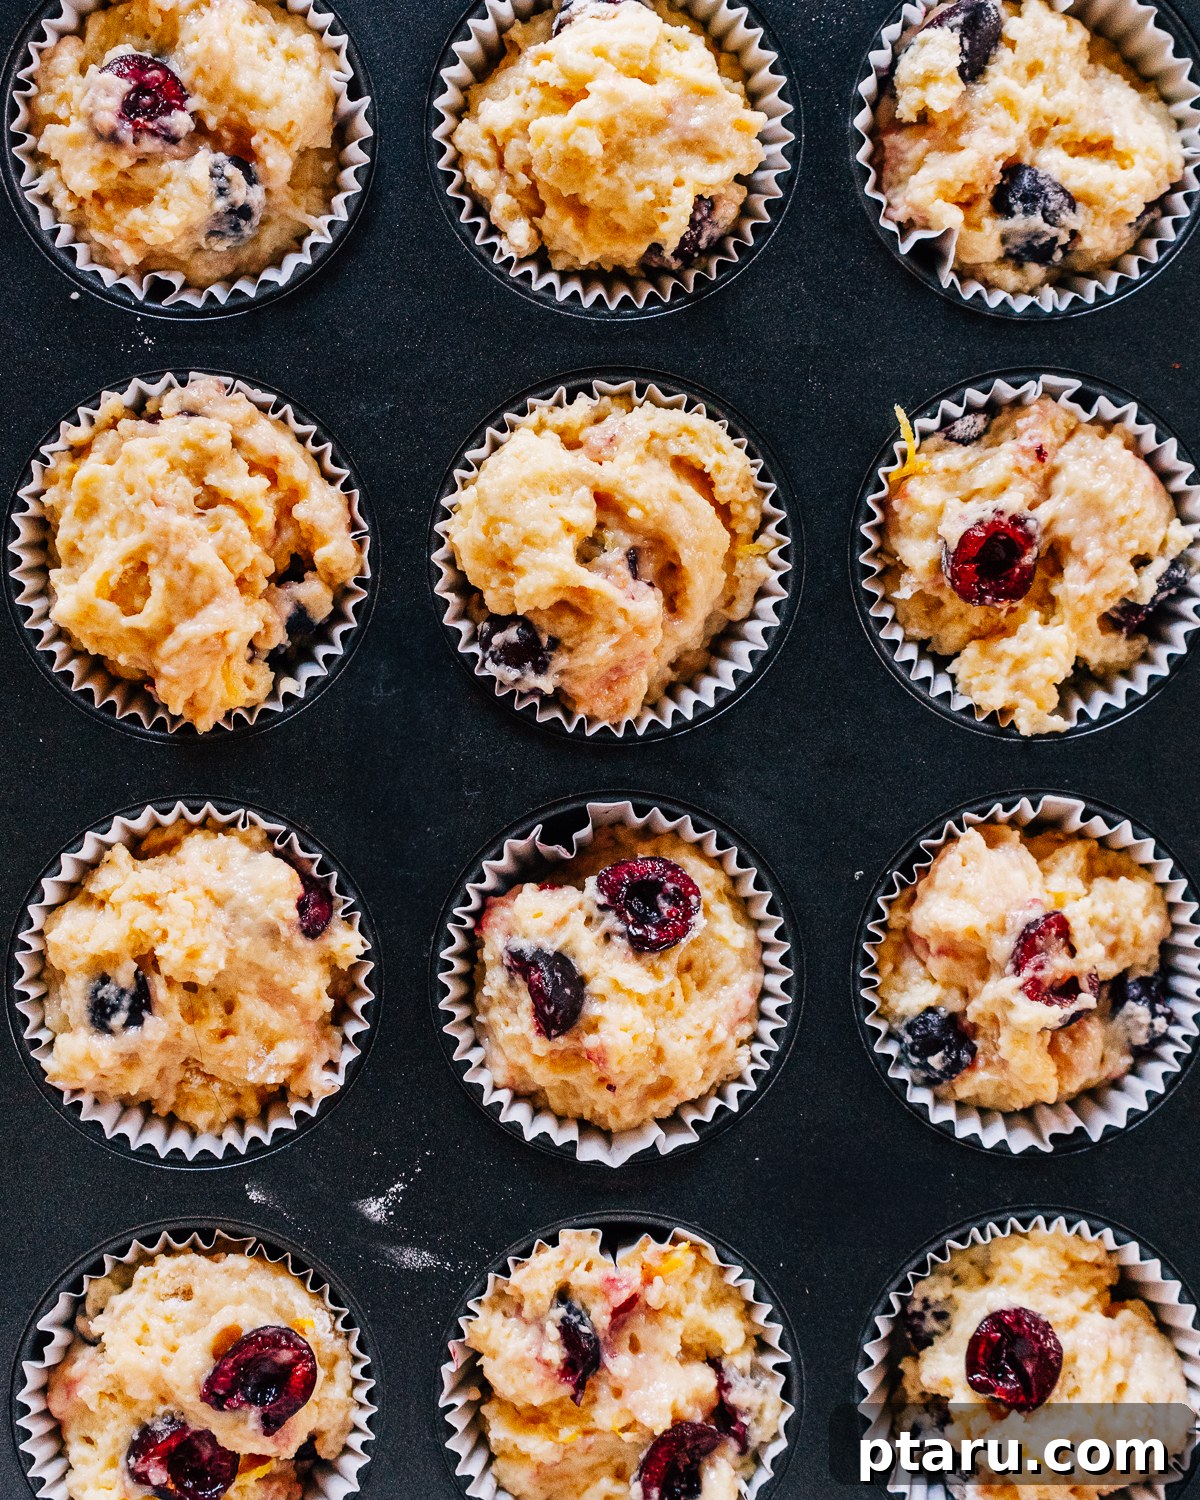
Step 1: Prepare Your Oven and Muffin Tins
Preheat your oven to a steady 375°F (190°C). This ensures your muffins start baking immediately upon entering the oven, promoting a good rise. Line two standard 12-cup muffin tins with paper liners for easy removal and cleanup, or generously grease each cup with butter or non-stick cooking spray.
Step 2: Combine the Dry Ingredients
In a large mixing bowl, whisk together the all-purpose flour, granulated sugar, baking soda, baking powder, and salt. Whisking ensures these dry ingredients are thoroughly combined and evenly distributed, which is key for a consistent texture in your finished muffins.
Step 3: Mix the Wet Ingredients
In a separate, medium-sized bowl, whisk together the slightly cooled melted butter, sour cream, milk, eggs, fresh lemon zest, and lemon juice until the mixture is smooth and well combined. This liquid mixture will provide the necessary moisture and flavor for your fluffy muffins.
Step 4: Bring the Batter Together
Pour the combined wet ingredients into the bowl containing the dry ingredients. Using a rubber spatula, gently stir the mixture until just combined. It’s crucial not to overmix the batter at this stage; a few lumps are perfectly fine and even desirable for tender muffins. Overmixing develops gluten, leading to a tough texture. Finally, gently fold in your pitted cherries, distributing them evenly throughout the batter.
Step 5: Fill and Bake Your Muffins
Using an ice cream scoop or a large spoon, portion the batter evenly into your prepared muffin cups, filling each approximately ¾ full. This allows room for the muffins to rise without overflowing, resulting in those desirable domed tops. Bake for 18 to 22 minutes, or until the tops are beautifully golden brown and spring back gently when lightly pressed. A toothpick inserted into the center should come out with moist crumbs, not wet batter.
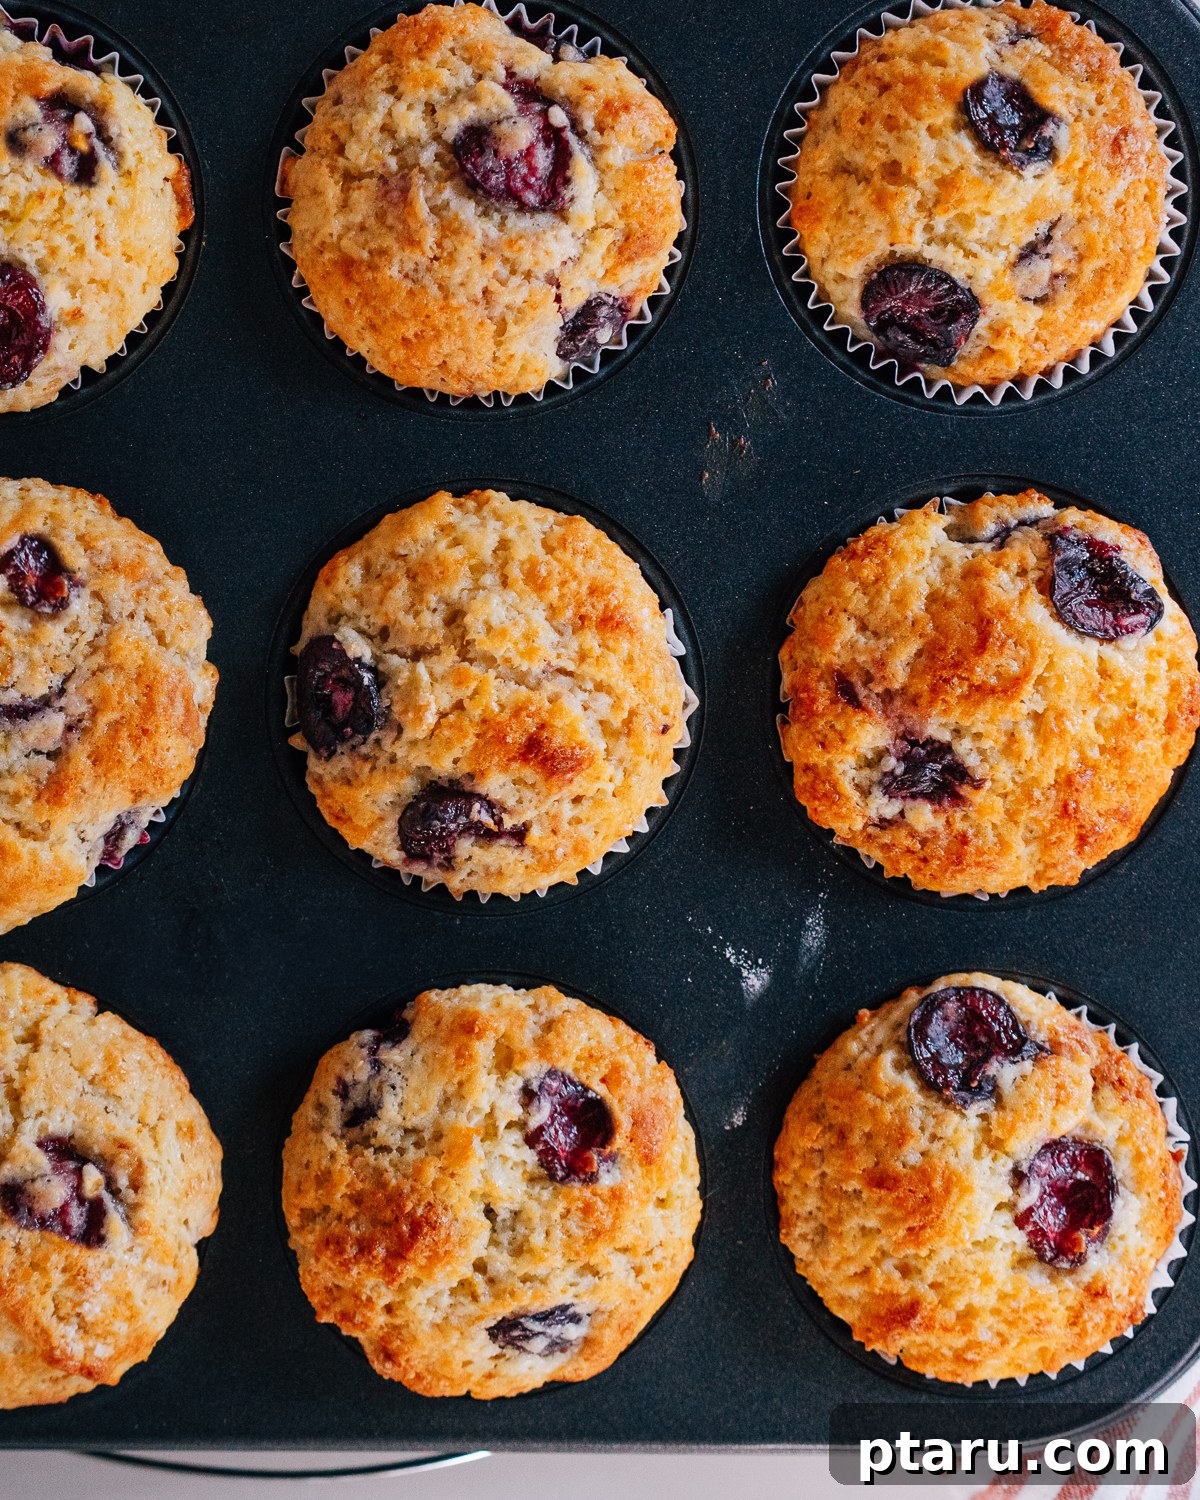
3 Common Mistakes to Avoid for Perfect Cherry Muffins
As a food scientist and an avid home baker, I’ve seen (and made!) my share of baking blunders. Here are the top three pitfalls to avoid when making cherry muffins to ensure your batch is consistently perfect:
- Overmixing the Batter: This is arguably the most common muffin mistake. Once the wet and dry ingredients are combined, resist the urge to keep stirring. Overmixing develops the gluten in the flour, leading to dense, chewy, and tough muffins instead of the light, fluffy texture we crave. Mix just until the flour streaks disappear – lumps are a good sign!
- Incorrectly Filling Muffin Cups: Both overfilling and underfilling can lead to less-than-ideal results. Overfilling causes batter to overflow, creating messy “mushroom top” muffins and potentially sticking to the tin. Underfilling, on the other hand, results in flat, squat muffins that lack that appealing bakery-style dome. Aim for each cup to be about ¾ full to achieve beautiful, domed tops.
- Baking at the Wrong Temperature: Oven temperature plays a critical role. An oven that’s too hot can brown the muffin tops too quickly, leaving the centers undercooked and gooey. Conversely, an oven that’s too cool will cause the muffins to spread rather than rise, leading to a dry texture. Always preheat your oven fully before placing muffins inside, and if you suspect your oven’s temperature is inaccurate, consider using an oven thermometer for precise baking.
Make-Ahead and Storage Tips for Your Cherry Muffins
These fluffy cherry muffins are just as delicious the next day, making them perfect for meal prepping or enjoying throughout the week. Here’s how to best store and enjoy them:
Storing Baked Muffins
- Once your muffins have cooled completely to room temperature, store them in an airtight container. They will remain wonderfully fresh and tender for up to 3 days at room temperature.
- Important: Do NOT refrigerate muffins. The cool, dry air of a refrigerator can quickly cause baked goods like muffins to become hard, dry, and stale.
Freezing Cherry Muffins
- Cherry Muffins freeze exceptionally well, allowing you to enjoy fresh-tasting muffins anytime! Ensure they are completely cool before freezing.
- For best results, wrap each individual muffin tightly in plastic wrap or aluminum foil, then place them in a freezer-safe bag or an airtight container.
- They can be frozen for up to 3 months. When ready to enjoy, simply thaw them at room temperature or warm them slightly before serving.
Reheating for “Just-Baked” Freshness
- To bring back that delightful “just-baked” texture and fresh flavor, warm individual muffins in the microwave for about 15-20 seconds.
- Alternatively, you can place them in a preheated 300°F (150°C) oven for 8-10 minutes, or until they are heated through.
This simple reheating step will make your muffins taste as if they just came out of the oven!
FAQs About Cherry Muffins
Got a quick question about making these delicious cherry muffins? Here are answers to some of the most common queries:
Do I need to thaw frozen cherries before adding them to the batter?
No, there’s no need to thaw frozen cherries! You can add them directly from the freezer to the batter. Thawing them first can release excess moisture, which might affect the texture of your muffins. Adding them frozen helps maintain the batter’s consistency and prevents the cherries from sinking.
Why are my muffins dense or rubbery, rather than light and fluffy?
The most frequent reason for dense or rubbery muffins is overmixing the batter. Once you combine the wet and dry ingredients, stir only until they are just incorporated and no dry streaks of flour remain. A few lumps in the batter are perfectly normal and actually contribute to a tender muffin texture!
How can I achieve tall, beautifully domed muffin tops?
For those bakery-style domed tops, ensure your oven is fully preheated to the specified temperature before baking. Avoid opening the oven door during the first 10-12 minutes of baking, as this can cause a drop in temperature and hinder the rise. Additionally, filling muffin cups about ¾ full and allowing the batter to rest for 10-15 minutes before baking can also help promote a better rise.
Can I convert this recipe to make mini muffins?
Absolutely! This recipe works perfectly for mini muffins. Simply use a mini muffin tin and adjust the baking time. Mini muffins typically bake much faster, usually around 10-13 minutes. Keep a close eye on them to prevent overbaking – they should be golden brown and spring back when gently pressed.
What kind of cherries are best for these muffins?
Both sweet cherries (like Bing or Rainier) and sour cherries (like Montmorency) work beautifully. Sweet cherries offer a classic, universally appealing flavor, while sour cherries create a more vibrant, tangy muffin, often referred to as sour cherry muffins, which many enthusiasts adore. Feel free to use whichever variety you prefer or have on hand!
Other Cherry Recipe Favorites
If you’re still craving more delightful cherry desserts, explore these other fantastic recipes:
- No-Bake Cherry Cheesecake Bars
- White Chocolate Cherry Cake (aka White Forest Cake)
- Sour Cherry Almond Torte
- Cherry Cheesecake Popsicles

Fluffy Cherry Muffins (Delicious as Sour Cherry Muffins, too!)
Jennifer Pallian BSc, RD
10
22
32
24
muffins
Ingredients
-
4
cups
all-purpose flour -
1 ½
cup
granulated sugar -
1
tsp
baking soda -
1
tbsp
baking powder -
¼
tsp
salt -
1
cup
melted butter (cooled) -
1¼
cup
sour cream -
¾
cup
milk (whole or low-fat) -
2
large eggs -
4
tsp
lemon zest (from about 2-3 lemons) -
½
cup
fresh lemon juice (from about 2-3 lemons) -
2
cup
pitted cherries
(fresh sweet or sour, or frozen pitted cherries)
Instructions
-
Preheat your oven to 375°F (190°C). Line two 12-cup muffin tins with paper liners, or thoroughly grease each cup with butter or non-stick spray.
-
In a large bowl, whisk together the flour, sugar, baking soda, baking powder, and salt until well combined and lump-free.
-
In a separate medium bowl, whisk together the melted butter (ensuring it’s slightly cooled), sour cream, milk, eggs, lemon zest, and lemon juice until the mixture is smooth.
-
Pour the wet ingredients into the bowl with the dry ingredients. Gently stir with a rubber spatula until just incorporated. Be careful not to overmix; a few lumps are fine. Fold in the pitted cherries until evenly distributed.
-
Spoon the batter evenly into the prepared muffin cups, filling each approximately ¾ full. Bake for 18-22 minutes, or until the tops are golden brown and spring back when lightly pressed. A toothpick inserted into the center should come out with moist crumbs.
-
Allow the muffins to cool in the pan for a few minutes before transferring them to a wire rack to cool completely.
Notes
For even muffins: Use a cookie or ice cream scoop to portion the batter evenly into the muffin tins. This ensures uniform size and consistent baking.
Cherries, fresh or frozen: This recipe works wonderfully with both fresh sweet or sour cherries. If using frozen cherries, there’s no need to thaw them first – add them directly to the batter. If using jarred sour cherries, make sure they are very well-drained to avoid excess moisture in your batter.
Don’t skip the lemon zest: The zest adds a vibrant, fresh citrusy brightness that beautifully complements the tartness of the cherries and elevates the overall flavor of your muffins.
Avoid overmixing: This is key for light and fluffy muffins! Stir just until the flour disappears and the ingredients are barely combined. Overmixing will develop gluten, leading to dense, tough muffins.
Nutrition
Calories:
246
kcal
|
Carbohydrates:
34
g
|
Protein:
3
g
|
Fat:
11
g
|
Saturated Fat:
6
g
|
Polyunsaturated Fat:
1
g
|
Monounsaturated Fat:
3
g
|
Trans Fat:
0.3
g
|
Cholesterol:
42
mg
|
Sodium:
197
mg
|
Potassium:
89
mg
|
Fiber:
1
g
|
Sugar:
17
g
|
Vitamin A:
356
IU
|
Vitamin C:
3
mg
|
Calcium:
61
mg
|
Iron:
1
mg
Nutrition information is automatically calculated and should only be used as an approximation.
Tried this recipe? Leave a comment and share your experience!