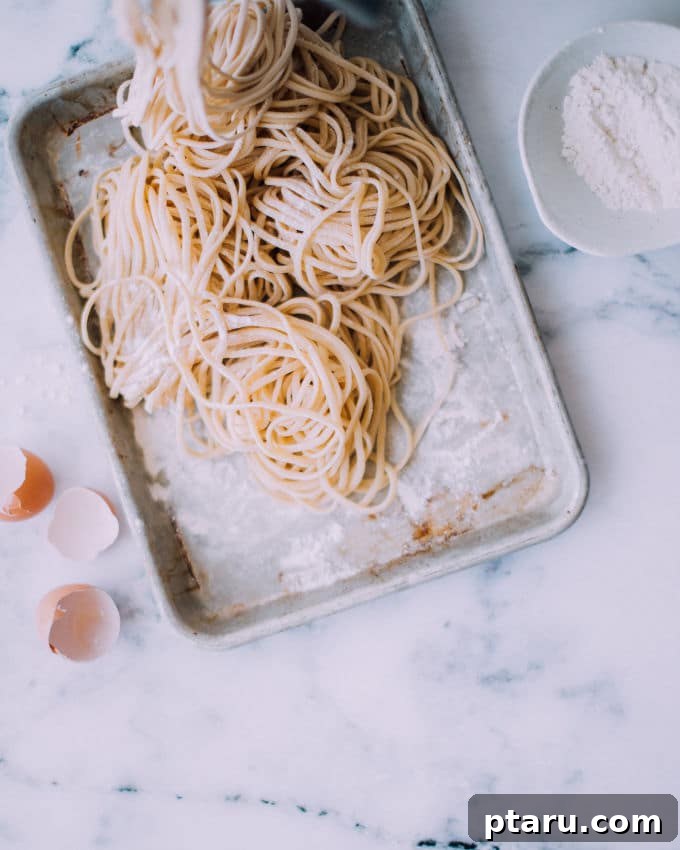
There’s an unparalleled joy and satisfaction that comes from creating something truly special with your own hands, and making **homemade pasta from scratch** is certainly one of those experiences. Forget the notion that fresh pasta is complicated or reserved for professional chefs. This guide will show you just how straightforward, quick, and incredibly rewarding it is to craft your own pasta dough with just two basic ingredients. The result? A remarkably tender, flavorful pasta that will elevate any dish and impress your taste buds, tasting infinitely better than anything you can buy dried.
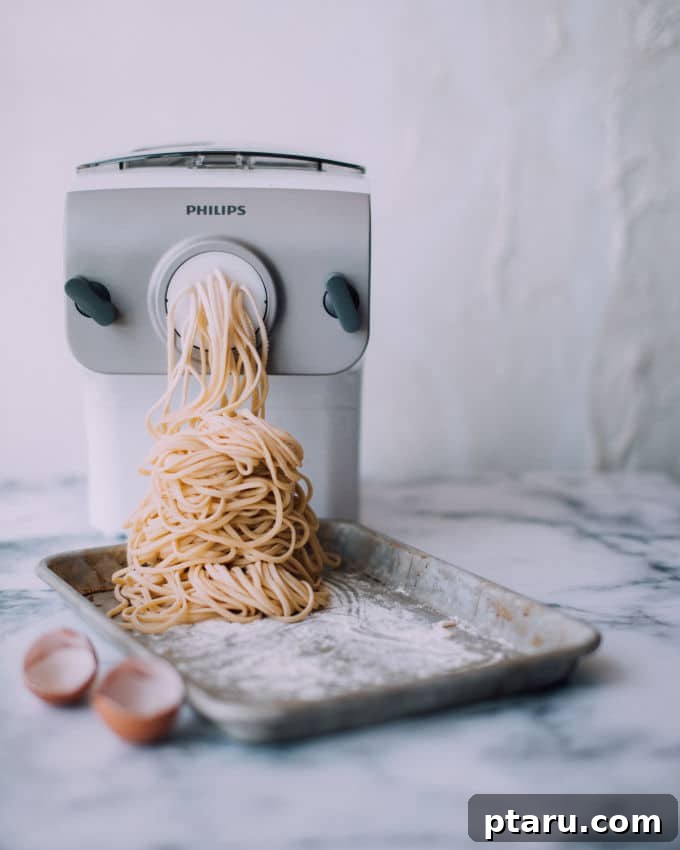
The taste and texture of freshly made pasta are simply incomparable. It possesses a delicate chewiness and a rich, eggy flavor that dried pasta can’t replicate. Beyond the culinary delight, the process itself is wonderfully therapeutic and fun. It’s an excellent activity for a quiet afternoon, a weekend project, or even a unique idea for a dinner party. Imagine gathering friends and family, kneading a batch of dough, and letting everyone participate in rolling it out and shaping their favorite types of pasta.
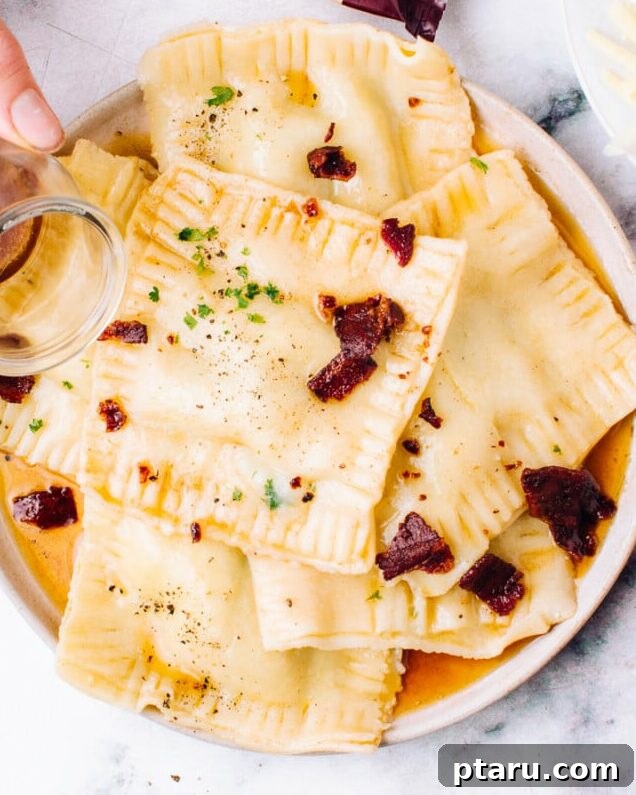
For a truly interactive experience, you could prepare a selection of delicious fillings, perhaps a sweet onion and ricotta, a wild mushroom with mozzarella, or a creamy squash with mascarpone. Then, offer a live ravioli-making demonstration, guiding your guests through the art of creating perfectly plump pockets of flavor. With a pot of salted water gently simmering on the stove and a vibrant marinara sauce bubbling nearby, everyone can create and cook their own pasta masterpieces while enjoying lively conversation. It transforms a simple meal into an unforgettable event.
How to Make Pasta From Scratch: A Simple Guide
If you’ve never ventured into the world of **homemade pasta**, you might be surprised to learn just how incredibly straightforward and quick the preparation truly is. The basic recipe requires only two humble ingredients: a mound of flour on a clean counter and a few fresh eggs cracked directly into its center. That’s genuinely it – the foundation for exceptional pasta. While the ingredient list is minimal, the magic happens in the kneading.
Ingredients for Perfect Pasta Dough
For our classic, versatile pasta dough, you’ll need:
- **All-purpose flour:** While specialized “00” flour is traditionally used for a silkier texture, standard all-purpose flour works beautifully and is readily available. For a richer, nuttier flavor and a slightly firmer bite, you can experiment with replacing a portion of the all-purpose flour with fine semolina flour.
- **Large eggs:** Fresh, good-quality eggs are crucial. They provide moisture, flavor, color, and act as a binding agent for the dough. The general rule of thumb is about one large egg per 100g of flour, but this can vary slightly based on the size of your eggs and humidity.
Mixing Your Dough: The Traditional Well Method
- **Create a flour well:** Pour your measured flour directly onto a clean, dry work surface (a large wooden board or clean countertop works best). Use your hands or a spoon to form a neat mound, then create a deep well in the center, ensuring the walls are thick enough to hold the liquid without breaking.
- **Add the eggs:** Crack the fresh eggs directly into the well. You can add a pinch of salt at this stage if desired, though many prefer to salt the cooking water later.
- **Incorporate the flour:** Using a fork, gently whisk the eggs in the well, gradually drawing in small amounts of flour from the inner walls of the well. Continue until the eggs are fully mixed and the mixture starts to thicken into a shaggy dough.
- **Bring it together:** Once the mixture is too thick for a fork, scrape any remaining loose flour towards the center and use your hands to gently gather everything into a cohesive ball. If the dough feels too dry and crumbly, add a tiny bit of water (a teaspoon at a time) and continue working it until it comes together. Conversely, if it’s too sticky, dust with a little more flour.
Kneading: The Heart of Homemade Pasta
Kneading is undeniably the most physically demanding part of the process, as this is a relatively stiff dough. It requires a bit of effort – you’ll definitely work up a sweat, which certainly counts as a mini-workout! The goal is to develop the gluten in the flour, which gives the pasta its elasticity and characteristic chew. Push, pull, fold, and turn the dough vigorously for about ten minutes. You’ll know it’s ready when the dough transforms from a rough, shaggy mass into a smooth, satiny, and very elastic ball that springs back when gently poked.
After your intense kneading session, the dough (and likely you!) will need a rest. Wrap the dough tightly in plastic wrap or cover it with a damp cloth to prevent it from drying out, then let it rest at room temperature for at least 30 minutes, or even up to an hour. This crucial resting period allows the gluten to relax, making the dough much easier to roll out evenly without it continuously springing back on itself. This step is non-negotiable for achieving wonderfully thin and workable pasta sheets.
Rolling Your Pasta: Tools and Techniques
While mastering the art of rolling pasta by hand with a rolling pin is possible and incredibly satisfying, it demands significant strength and practice to achieve the desired thinness. For most home cooks, a pasta machine is an invaluable tool that makes the process much more efficient and ensures consistently thin sheets.
Using a Manual Pasta Roller
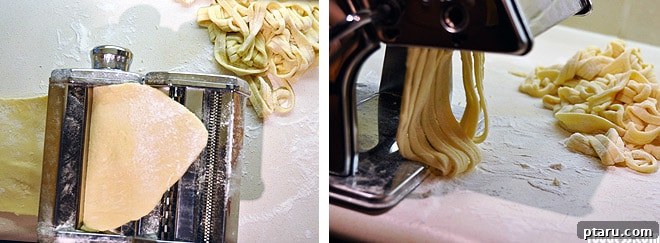
For a fantastic balance of tradition and efficiency, I highly recommend a clamp-on pasta roller that you crank by hand. These machines are relatively inexpensive, durable, and offer precise control over your pasta’s thickness. Here’s how to use one:
- **Flatten a dough portion:** Take a small lump of your rested pasta dough (about the size of a lemon) and flatten it into an oval or rectangle with your hands or a rolling pin. Lightly dust it with flour to prevent sticking.
- **Widest setting first:** Set your pasta machine’s rollers to the widest setting. Pass the flattened dough through the rollers.
- **Fold and repeat:** Fold the dough into thirds, like a letter, and pass it through the widest setting again. Repeat this step two to three times, dusting lightly with flour if needed, until the dough becomes smooth, even, and rectangular. This helps to further develop the gluten and create a perfect sheet.
- **Gradual thinning:** Once you have a smooth sheet, reduce the roller setting by one notch (making the gap slightly narrower). Pass the dough through again without folding. Continue reducing the setting one notch at a time, passing the dough through after each adjustment, until you reach your desired thickness.
- **Desired Thickness:** For most ribbon pastas like fettuccine or linguine, aim for a thickness of about 1/32 inch (often the second or third to last setting). For filled pastas like ravioli or tortellini, you’ll want it paper-thin, typically the thinnest setting, so it’s delicate and doesn’t overpower the filling.
If you’re considering a more permanent kitchen addition, a stand mixer attachment pasta maker (often electric) is a bit more of an investment but a totally worthwhile addition to your kitchen if you have the storage space. It frees up your hands, making the rolling process even easier.
Cutting and Shaping Your Fresh Pasta
Once your pasta sheets are rolled to the desired thickness, it’s time to shape them:
- **Ribbon Pastas:** Most pasta machines come with attachments to cut the sheets into classic shapes like fettuccine (medium-wide ribbons) or linguine (thinner ribbons). Simply feed your rolled pasta sheets through the cutting attachment.
- **Hand-Cut Shapes:** For other shapes, you can cut the pasta by hand.
- **Tagliatelle/Fettuccine:** Lightly flour a sheet, then carefully fold it loosely into a scroll. With a sharp knife, cut across the scroll to create your desired width of ribbon. Unroll gently.
- **Lasagna Sheets:** Simply cut your large pasta sheets into rectangles suitable for your lasagna pan.
- **Ravioli/Tortellini:** Use a ravioli stamp, cutter, or simply a knife to cut squares or circles for filled pasta. Ensure your filling is well-sealed to prevent leakage during cooking.
- **Pappardelle:** Cut wide, flat ribbons from your pasta sheets.
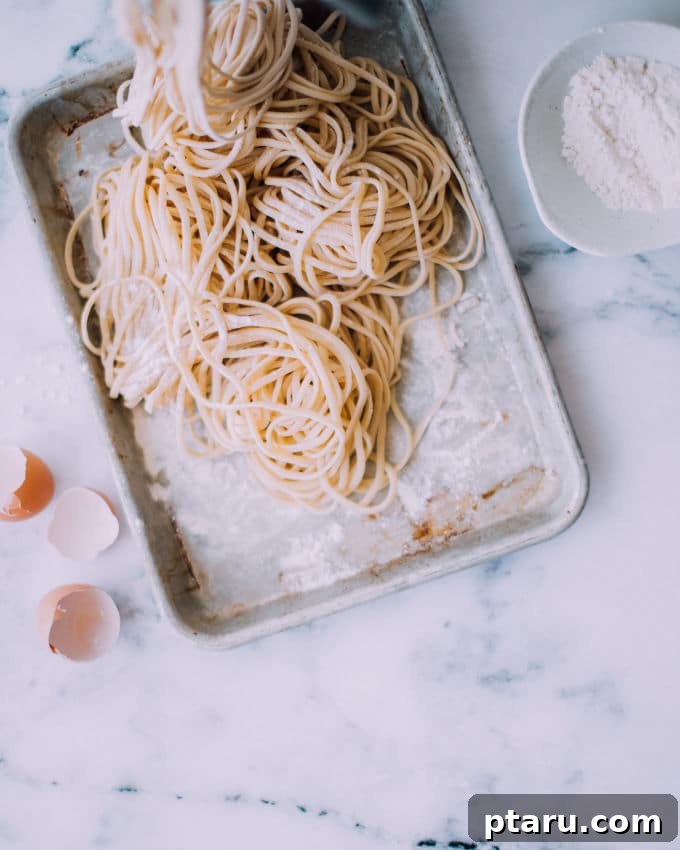
As you cut and shape your pasta, lay it on a lightly floured surface or a baking sheet dusted with semolina flour to prevent sticking. If you’re not cooking immediately, you can let it air dry slightly, or coil it into nests for easier handling.
Cooking Your Homemade Pasta to Perfection
Cooking fresh pasta is much quicker than dried pasta, so pay close attention to ensure it reaches that perfect al dente texture.
- **Large Pot, Plenty of Water:** Always use a large pot with plenty of water. Fresh pasta expands as it cooks and needs ample space to move freely without clumping.
- **Salt Generously:** Salt your pasta water generously! It should taste like the ocean. This is your only chance to season the pasta itself, adding flavor from within.
- **Boiling Rapidly:** Bring the salted water to a rolling boil before adding your pasta.
- **Add Pasta:** Gently add the fresh pasta to the boiling water. If you have a lot, cook it in batches to avoid overcrowding the pot, which can lower the water temperature and lead to gummy pasta.
- **Cook Briefly:** Fresh pasta cooks incredibly fast. Depending on its thickness and shape, it typically takes anywhere from **2 to 4 minutes**. Ribbon pastas like fettuccine might take 2-3 minutes, while thicker lasagna sheets or filled ravioli might need 3-4 minutes.
- **Test for Doneness:** Start testing a minute or two after adding the pasta. It should be tender but still have a slight bite (al dente).
- **Drain and Sauce Immediately:** Use a spider strainer or tongs to lift the pasta directly from the pot and transfer it to your prepared sauce. Avoid rinsing fresh pasta, as this washes away the starches that help the sauce cling. If needed, reserve a cup of pasta water to help thin the sauce and bind it to the pasta.
Storing Your Fresh Pasta
While fresh pasta is best cooked immediately, you can store it for later use:
- **Refrigerate:** Lightly flour individual portions or nests of pasta, then place them in an airtight container or zip-top bag. It will keep in the refrigerator for 1-2 days.
- **Freeze:** Arrange individual portions or nests on a floured baking sheet and freeze until solid (about 30 minutes). Once frozen, transfer to a freezer-safe bag or container. Fresh pasta can be frozen for up to 1 month. Cook directly from frozen in boiling water; it might take an extra minute or two.
- **Dry (for longer storage):** For a traditional approach, hang your pasta strands on a pasta drying rack until completely dry (several hours or overnight, depending on humidity). Once brittle, store in an airtight container at room temperature for several weeks.
Honestly – once you’ve succeeded in making your own fresh pasta, you’ll be scratching your noodle (haha – I’m so pun-ny!) wondering why you never tried it sooner. It’s a culinary skill that truly pays dividends in flavor and pure enjoyment.
Next reading: Pasta vs Noodles (Substitution Tips + Crucial Differences)
Favorite Pasta Recipes
Now that you’ve mastered the art of making fresh pasta, explore these incredible recipes designed to highlight its exquisite taste and texture:
- How Long to Cook Fresh Ravioli
- Lobster Ravioli Sauce
- Seafood Pasta with Cream Sauce
- Beet Pasta Sauce
- The Best Meat Sauce
- Asiago Tortelloni Alfredo with Grilled Chicken
- Mushroom Pappardelle
Pin
How to Make Pasta From Scratch (2-Ingredient, Easy Recipe)
Ingredients
- 3 ½ cups all-purpose flour
- 5 large eggs
Instructions
-
Pour flour onto a clean counter, shape into a mound, and make a well in the center.
-
Crack the eggs into the well, and beat lightly with a fork, drawing in some flour as you go, until the eggs are mixed and slightly thickened. Use your hands to blend into a smooth dough. If it feels crumbly, add water as needed.
-
Knead the dough until satiny and very elastic, about ten minutes. Cover and let rest for 30 minutes before rolling it out.
-
Set pasta machine’s rollers to the widest setting. Pinch off a piece of dough, lightly flour it, and pass it through the rollers several times, folding it over on itself each time and dusting with flour as needed to prevent sticking.
-
Set the rollers one notch closer and repeat the process two to three times, until the dough goes from lumpy and/or holey to smooth and satiny.
-
Continue to notch the rollers closer together and roll the pasta to desired thickness, 1/32 inch for ribbon pastas such as fettuccine, and paper-thin for filled shapes.
Notes
Nutrition
Carbohydrates: 52g |
Protein: 12g |
Fat: 6g |
Saturated Fat: 1g |
Polyunsaturated Fat: 1g |
Monounsaturated Fat: 2g |
Trans Fat: 0.01g |
Cholesterol: 136mg |
Sodium: 52mg |
Potassium: 51mg |
Fiber: 7g |
Sugar: 3g |
Vitamin A: 198IU |
Calcium: 68mg |
Iron: 3mg
Nutrition information is automatically calculated, so should only be used as an approximation.
Tried this recipe? Leave a comment!