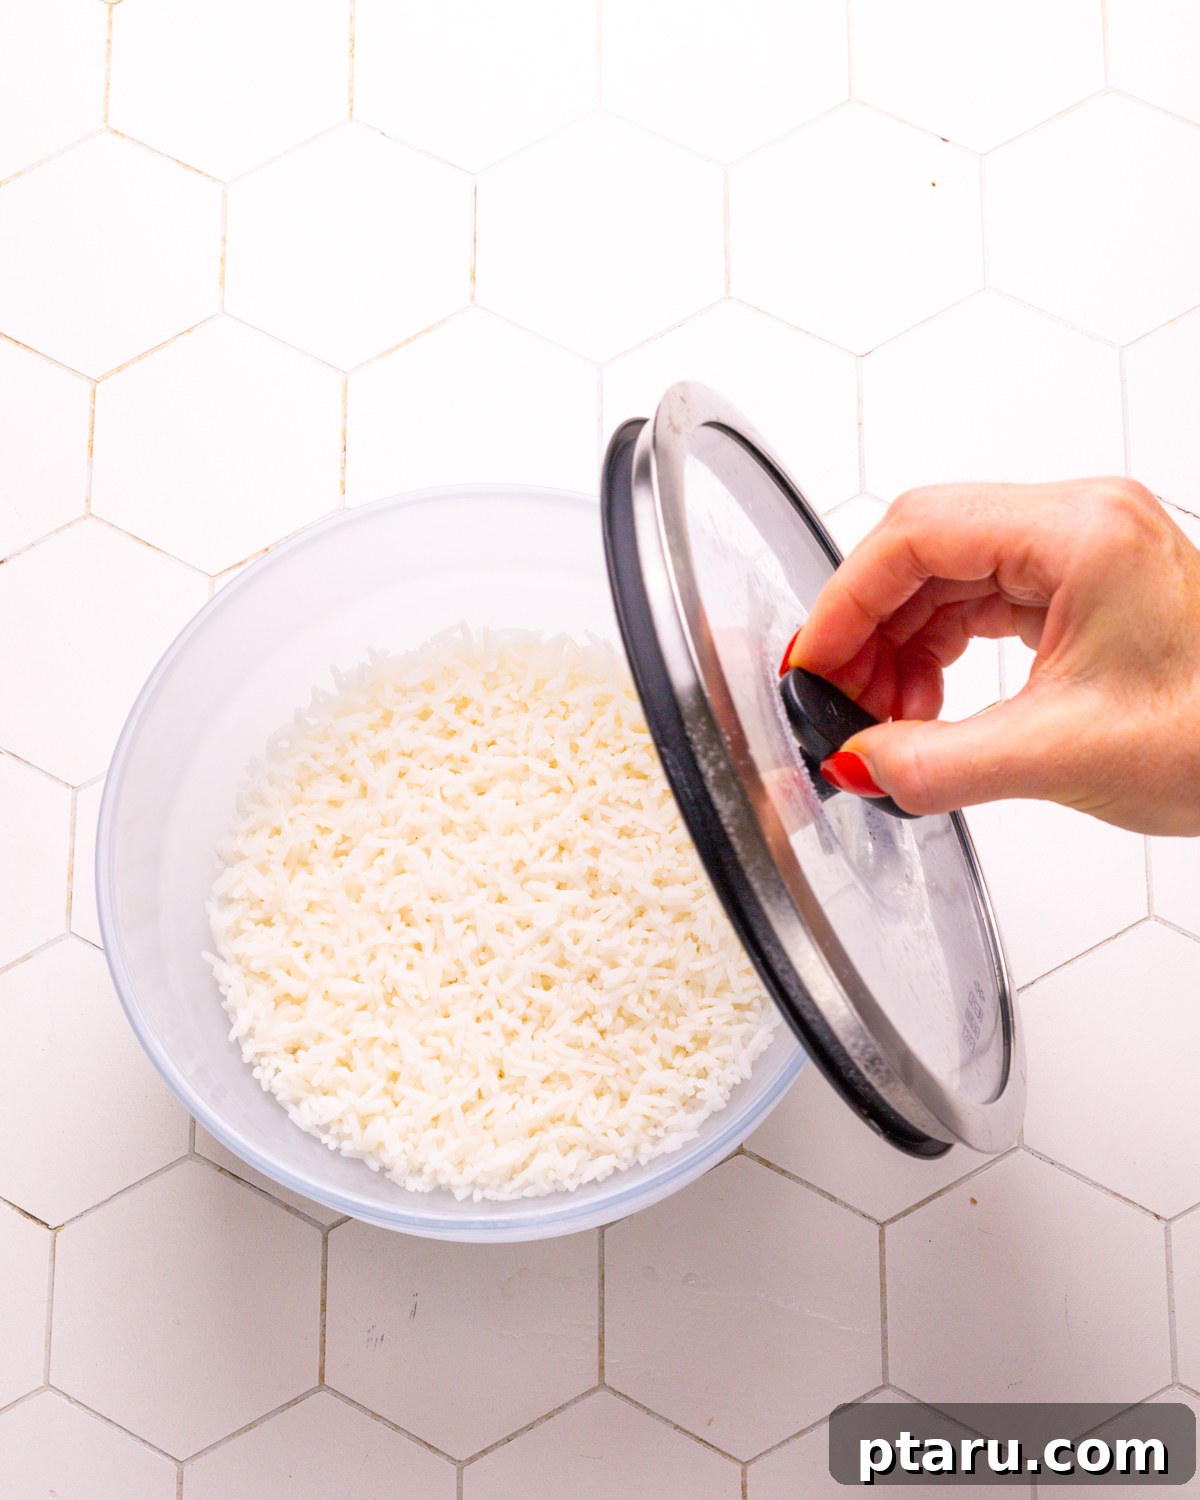
Perfect Fluffy Microwave Rice: Your Ultimate Guide to Easy, Quick Cooking
Tired of gummy, undercooked, or burnt rice? This comprehensive guide to making Microwave Rice reveals a tested-till-perfect, low-mess method that consistently yields fluffy, distinct grains. It’s the ideal solution for hectic weeknights, when your stovetop burners are occupied, or simply when you crave a hassle-free cooking experience. Say goodbye to guesswork and hello to consistently delicious rice, ready to complement any meal.
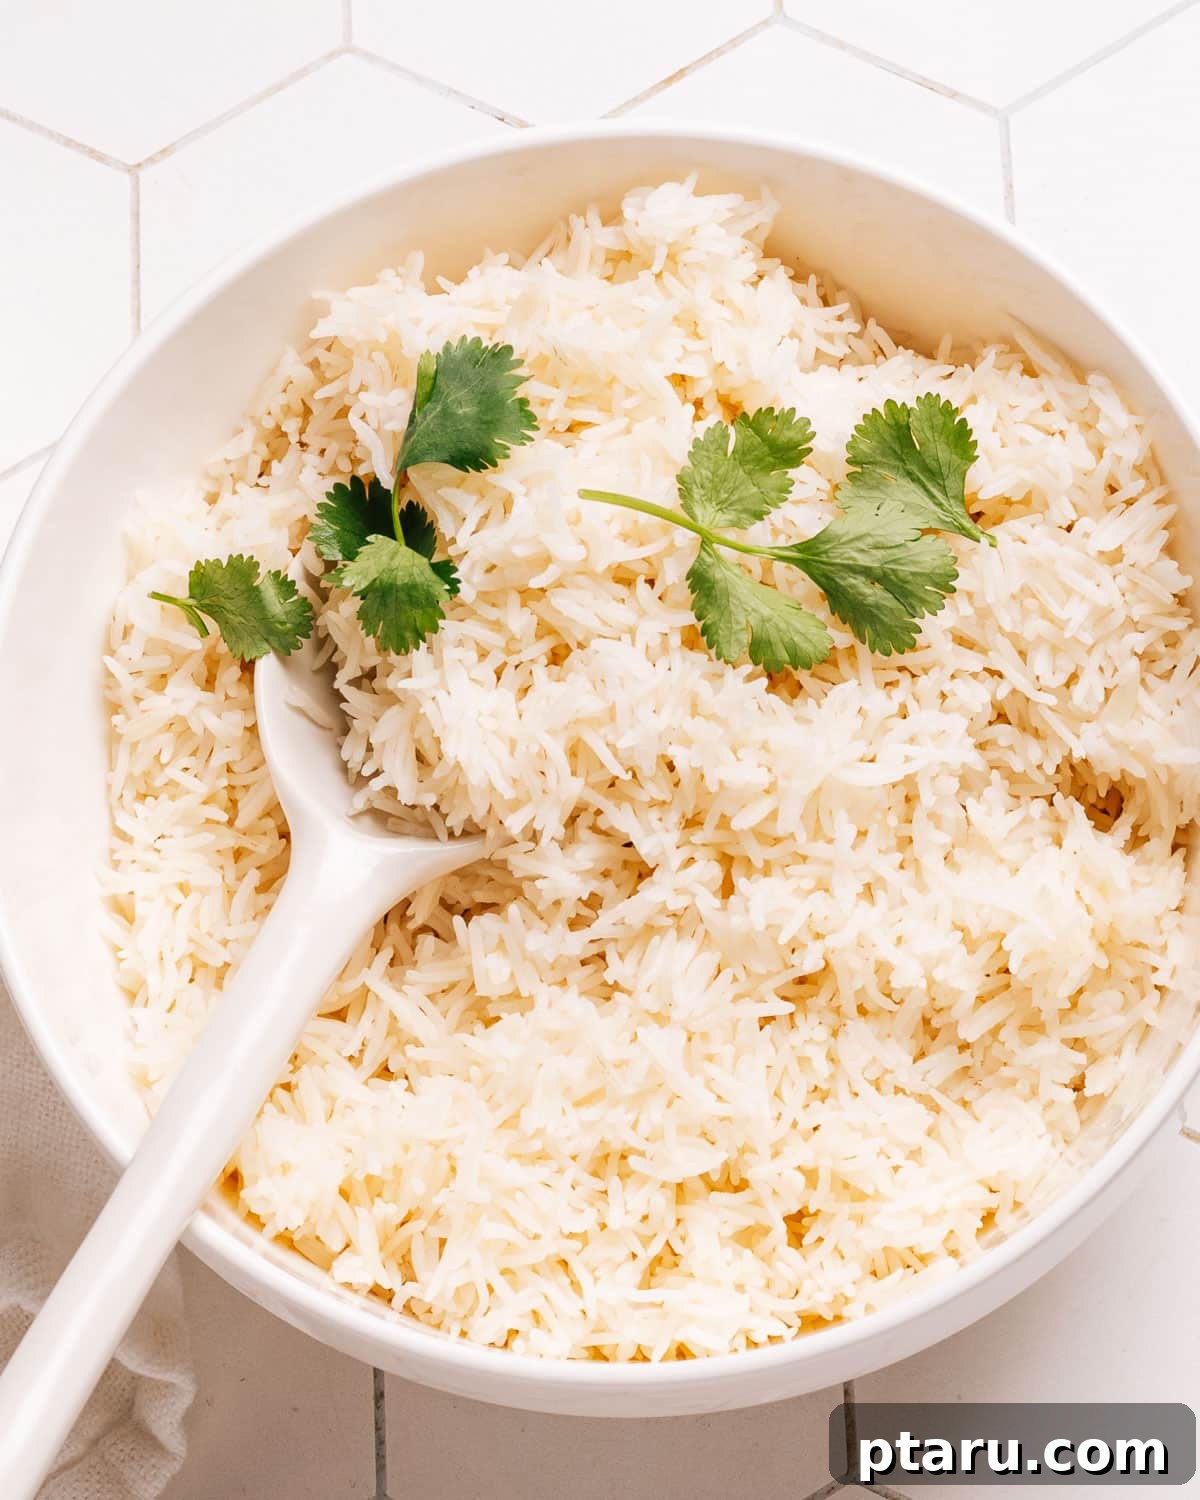
Why Master Microwave Rice? The Secret to Flawless Grains
Many attempts at cooking rice in the microwave result in frustration – either the rice is a sticky mess or stubbornly crunchy. This often stems from imprecise water ratios and uneven heat distribution. Our method, however, addresses these common pitfalls head-on, ensuring a flawless outcome every time.
- Precision Perfected: Through extensive testing, we’ve fine-tuned the exact water-to-rice ratio, optimal cooking duration, and crucial resting period, eliminating common microwave rice failures.
- Effortless Convenience: Forget constant monitoring and stirring. This hands-off technique frees you up to focus on other parts of your meal, making it a lifesaver on busy evenings.
- Stovetop Freedom: Ideal for compact kitchens, dorm rooms, or when all your stovetop burners are in use. Your microwave becomes your dedicated rice cooker.
Beyond this foolproof microwave technique, I’ve explored various methods to achieve perfect rice, including my Indian mother-in-law’s “pasta method” for cooking basmati rice and my reliable Instant Pot rice recipe. Each offers unique advantages, but for sheer simplicity and speed, the microwave truly stands out.
Essential Ingredients for Your Microwave Rice Recipe
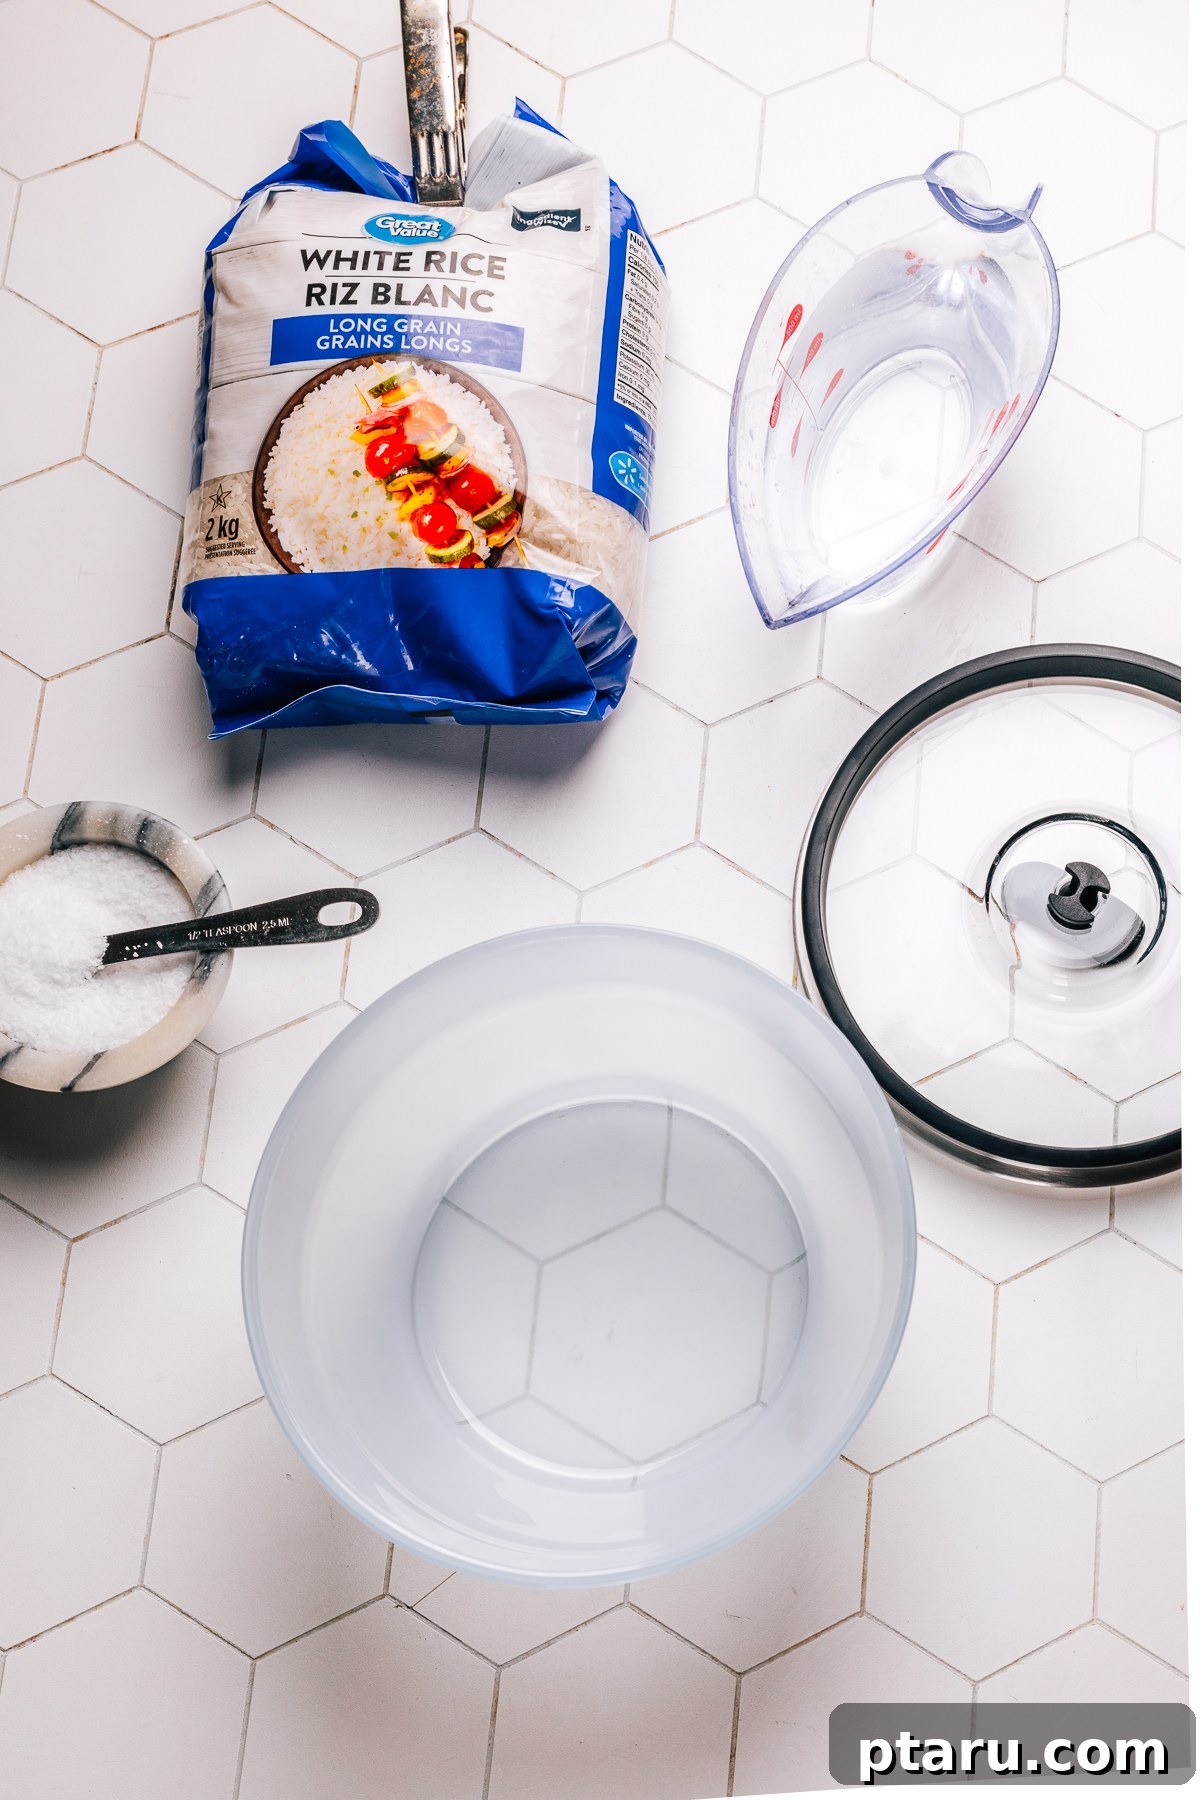
Simple Pantry Staples for Perfect Rice
You don’t need a specialized rice cooker or fancy gadgets to achieve beautifully fluffy, separate grains. Just a few basic ingredients are all it takes.
- Long or Medium-Grain White Rice: For optimal fluffiness and distinct grains, choose varieties like jasmine or basmati rice. Their lower starch content helps prevent sticking. It’s crucial to avoid instant rice, sticky rice, or sushi rice with this method, as their unique characteristics can lead to burning or an undesirable texture.
- Important Note: The recipe’s measurements are for dry (raw) rice. For guidance on how much rice to prepare per serving, consult our article on how much rice per person.
- Water: The liquid-to-rice ratio is paramount for perfect results. Too much water will result in mushy rice, while too little will leave you with hard, uncooked grains. Our carefully calibrated ratio ensures ideal absorption and tenderness.
- Salt (Optional, but Recommended): A pinch of salt enhances the natural flavor of the rice, seasoning it from the inside out. If your accompanying dish is already quite salty, feel free to omit it.
- Oil or Butter (Optional): Adding a small amount of oil or butter helps to reduce excessive bubbling and foaming in the microwave, preventing boil-overs. It also contributes a subtle richness and a slightly silkier texture to the cooked grains.
You’ll find precise ingredient quantities detailed in the full recipe card at the conclusion of this article.
Variations and Smart Substitutions for Any Rice Type
This microwave method is remarkably adaptable. Here’s how to modify it based on the type of rice you have on hand or specific dietary preferences.
- For Short-Grain White Rice: These varieties absorb less moisture. Adjust the ratio to 1½ cups of water per cup of short-grain rice to prevent it from becoming overly soft or sticky.
- For Brown Rice: Brown rice requires more liquid and a longer cooking time due to its intact bran layer. Use 2¼ cups of water per cup of brown rice. Increase the second cooking phase to 15 minutes at 50% power, followed by a crucial 10-minute steaming period.
- Omitting Salt or Fat: The recipe remains effective without salt or oil/butter. The oil primarily serves to minimize bubbling and adds a hint of richness, but it’s not essential for cooking.
- Doubling the Recipe: This method scales up beautifully. For two cups of rice, simply use a larger microwave-safe bowl (at least 3 quarts) and extend the second cooking step (at 50% power) by an additional 2 minutes.
- Avoiding Halving the Recipe: For optimal results, it’s generally best not to reduce the recipe by half or more. A smaller volume of water may not heat evenly, potentially leading to burnt spots or unevenly cooked grains. The larger mass of water in the recommended ratios helps maintain a consistent cooking environment.
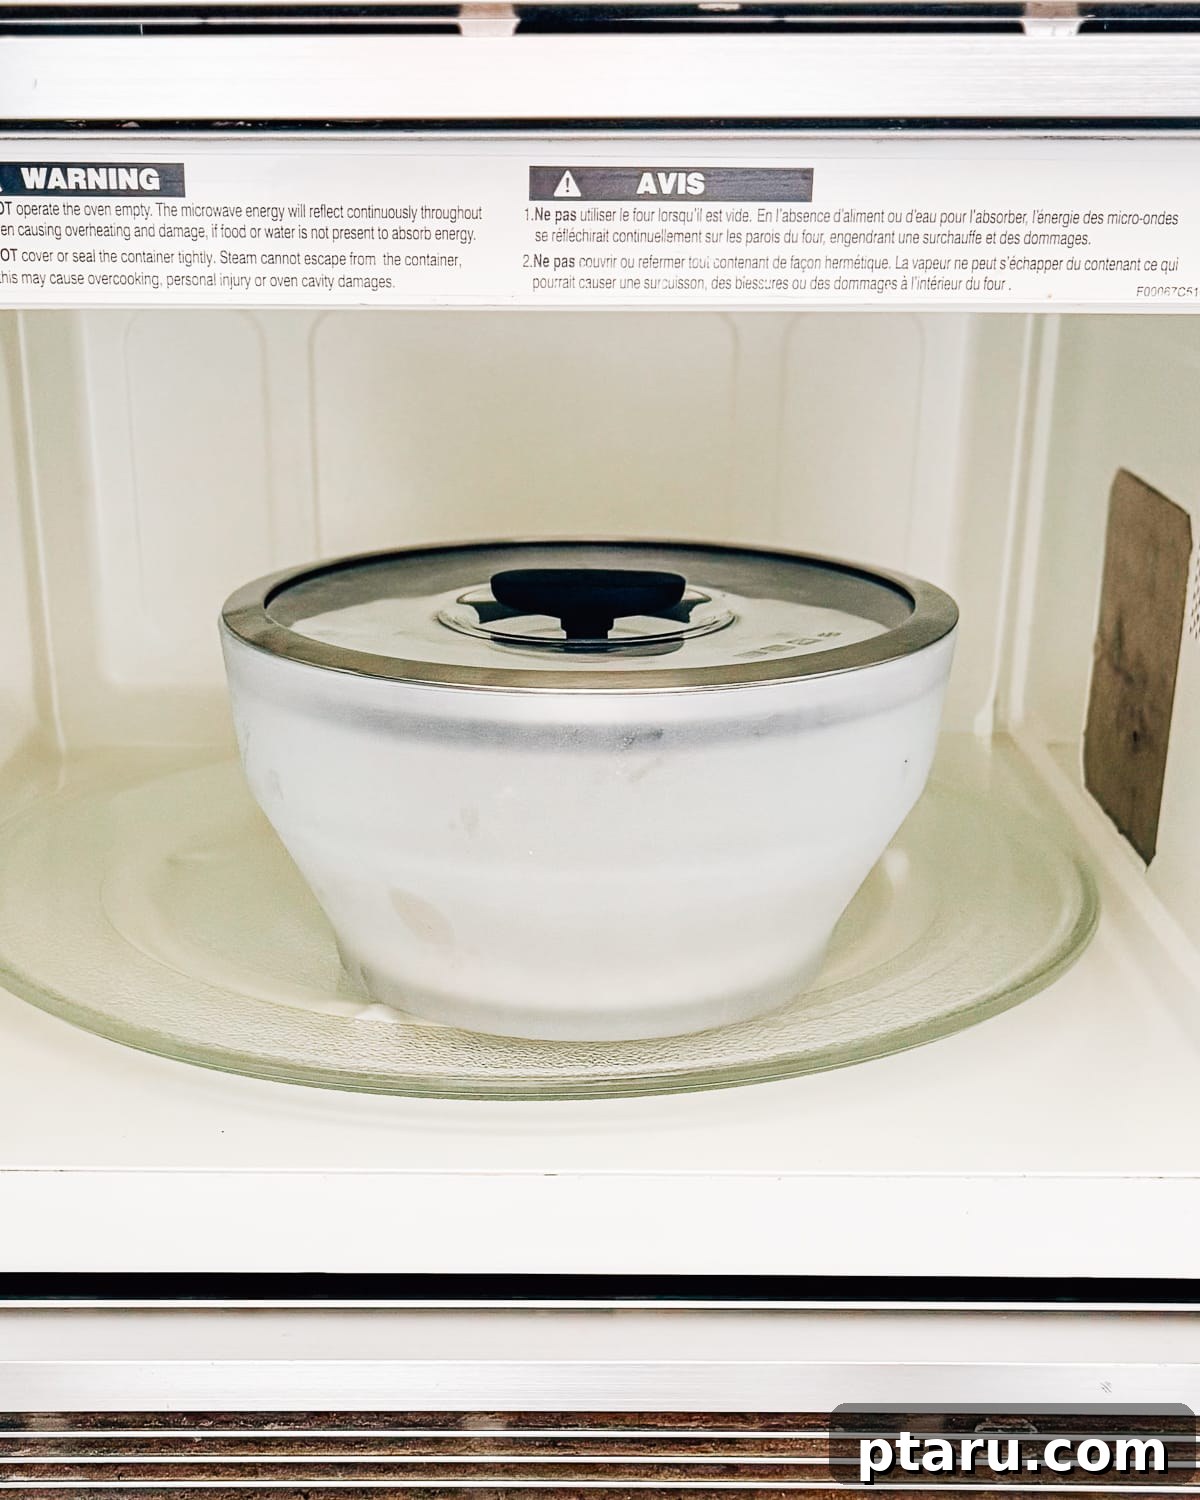
Essential Tools for Microwave Rice Success
Forget the need for a dedicated rice cooker or taking up valuable stovetop space. This simple microwave method relies on just a few common kitchen items you likely already own.
- Large Microwave-Safe Bowl: This is arguably the most critical tool. Opt for a bowl that is significantly larger than you think you’ll need – a 2.5 to 3-quart capacity for one cup of rice is ideal. This extra space allows the rice to bubble and expand without boiling over, preventing a messy microwave. Pyrex or CorningWare containers are excellent choices.
- Fine-Mesh Strainer: Essential for rinsing your rice. This step removes excess surface starch, which is key to achieving separate, non-sticky grains.
- Microwave-Safe Plate or Loose-Fitting Lid: A lid that sits loosely on top is important. It traps steam to cook the rice effectively while still allowing enough pressure to escape, preventing dangerous build-up. You can also use plastic wrap, but ensure you leave a small vent. Avoid anything airtight. Some specialized microwave lids come with built-in vents.
- Fork: For gently fluffing the cooked rice after its resting period, separating the grains beautifully.
How to Make Microwave Rice: Your Easy Step-by-Step Guide
Follow these precise steps, and you’ll achieve perfectly light, fluffy rice every time, free from gummy clumps or uncooked spots. Each stage is designed for optimal results.
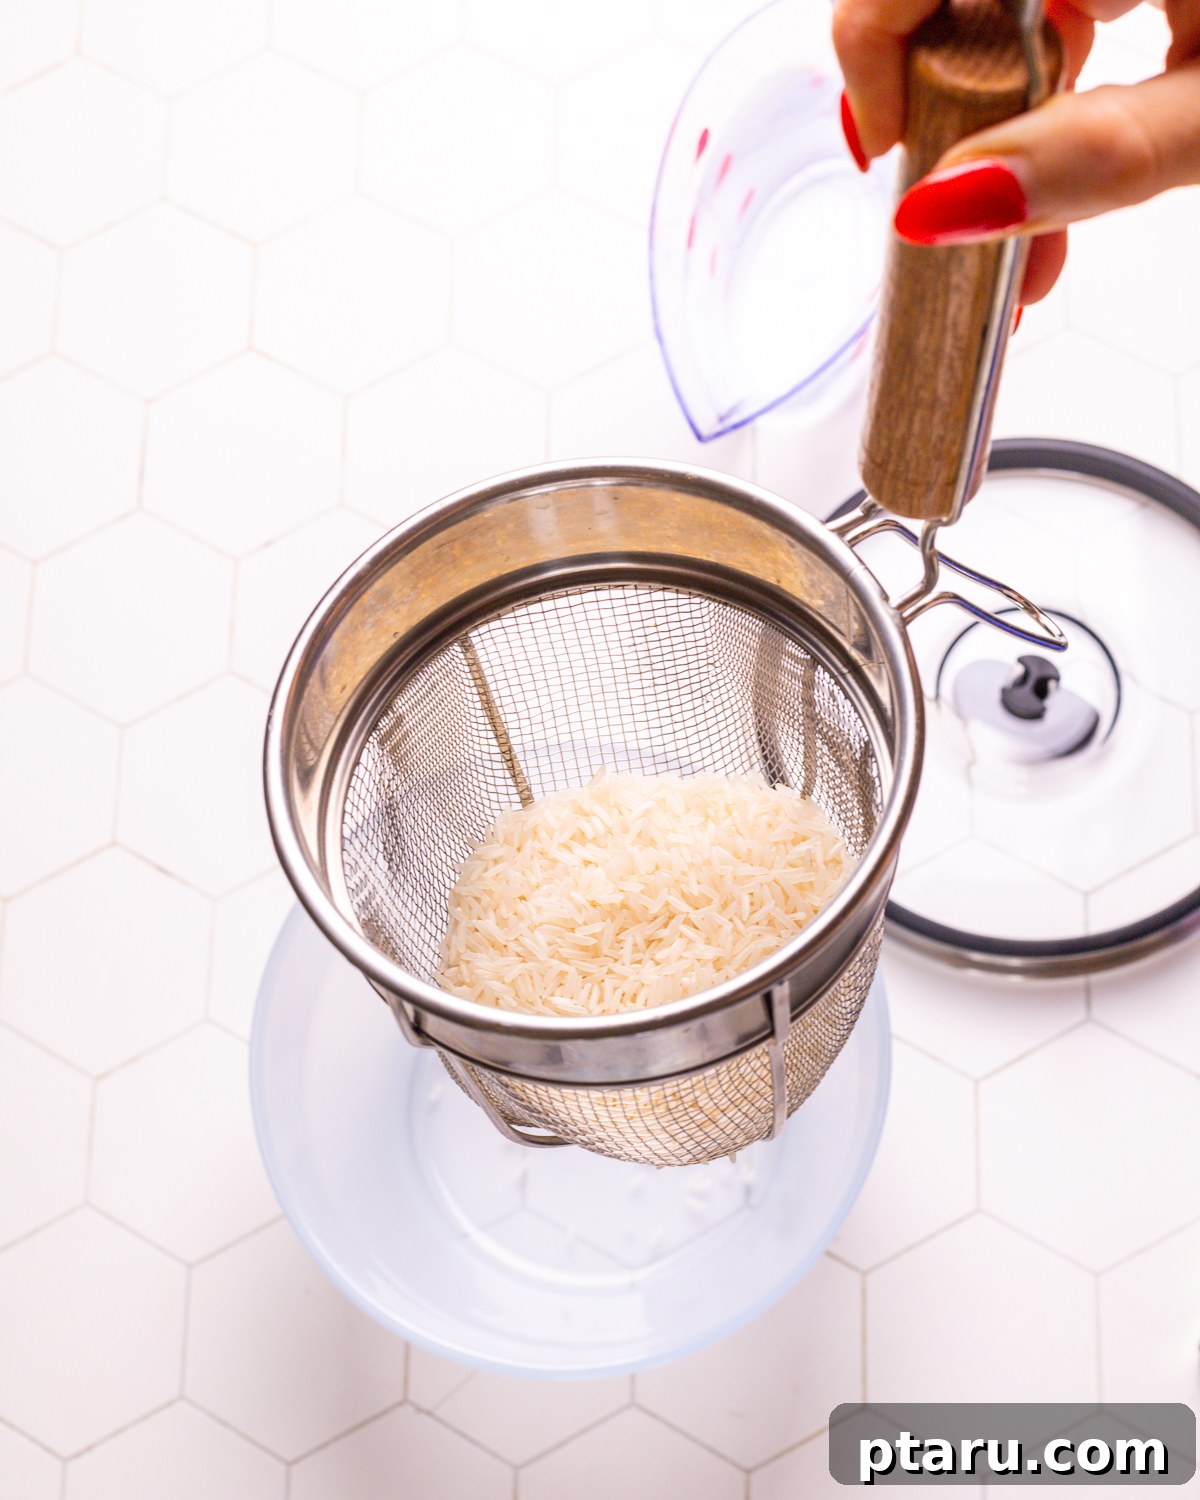
Step 1: Rinse the Rice Thoroughly
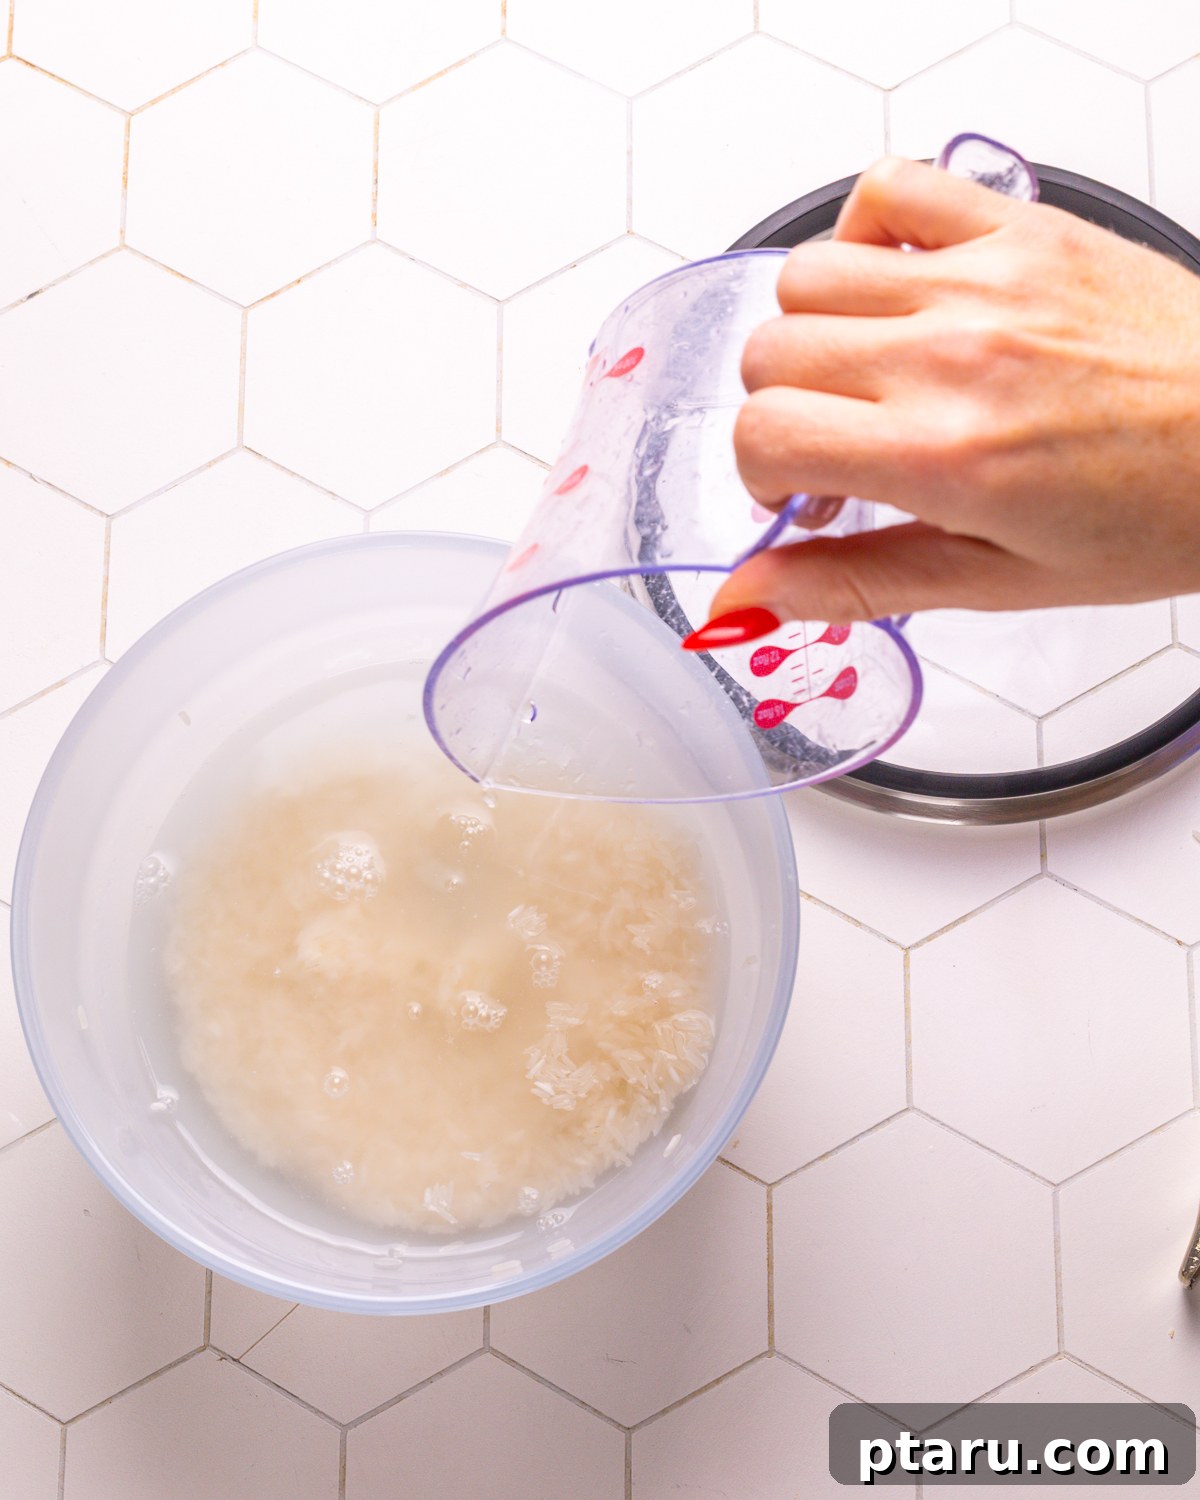
Place your chosen rice in a fine-mesh strainer and rinse it under cold running water. Continue rinsing until the water runs completely clear. This crucial step removes excess surface starch, which is the primary culprit behind sticky or clumpy rice.
Step 2: Combine Ingredients in a Large Microwave-Safe Bowl
Transfer the rinsed rice to a large microwave-safe bowl. Remember, bigger is better here; aim for at least a 2.5-quart capacity to allow for expansion and prevent boil-overs. Pour in the measured water, salt (if using), and a teaspoon of oil or butter (if using). Gently stir once to combine. Cover the bowl loosely with a microwave-safe lid or plate, ensuring steam can escape.
Step 3: Initial High-Power Cook
Place the covered bowl in the microwave and cook on high power (usually 100%) for 10 minutes. During this phase, the water will come to a rapid boil, beginning the cooking process. Resist the urge to stir or uncover the bowl; just let it bubble and work its magic.
Step 4: Gentle Cooking at 50% Power
Without removing the lid, reduce your microwave’s power setting to 50%. Continue cooking for an additional 5 minutes. This lower power setting allows the rice to finish cooking gently and evenly, ensuring the water is fully absorbed without overcooking the grains.
Step 5: The Essential Resting Period
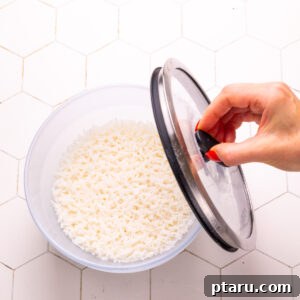
Once the cooking is complete, leave the bowl covered and let the rice rest inside the microwave (or on your countertop) for 5 to 10 minutes. This resting period is vital: the residual steam continues to cook the rice to perfection, allowing the grains to fully plump up and achieve an even, tender texture. Do not lift the lid during this time.
Step 6: Fluff and Serve Immediately
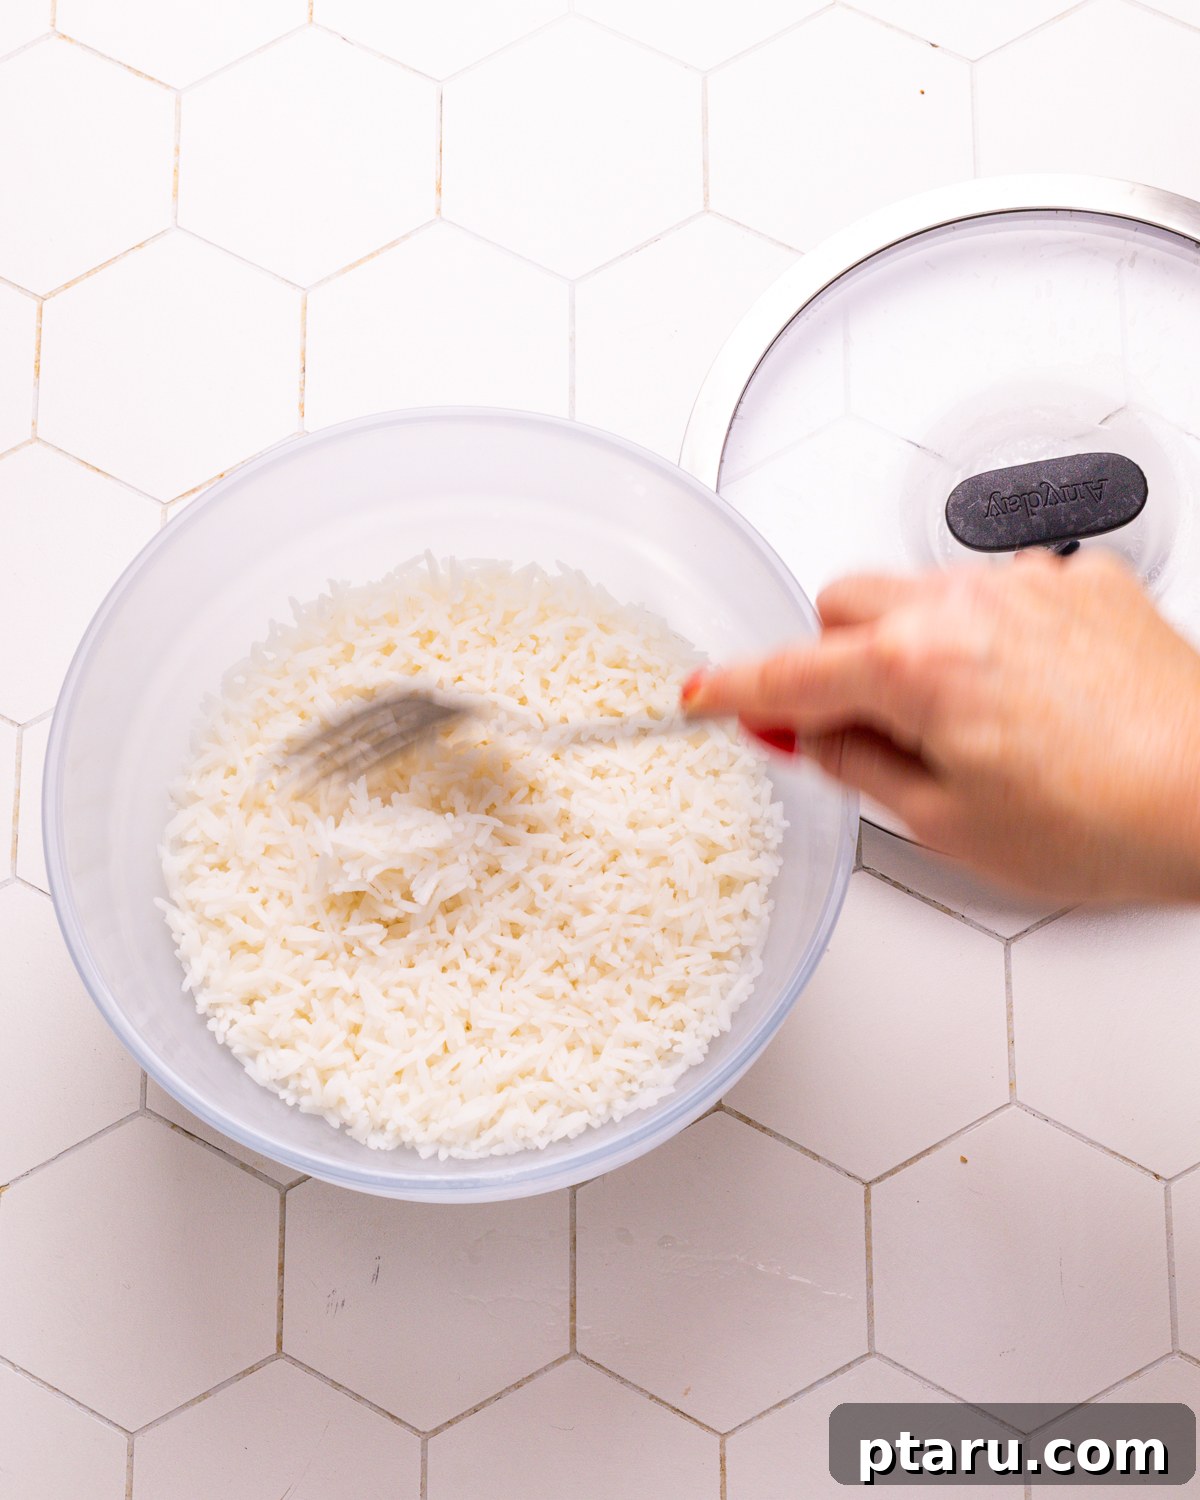
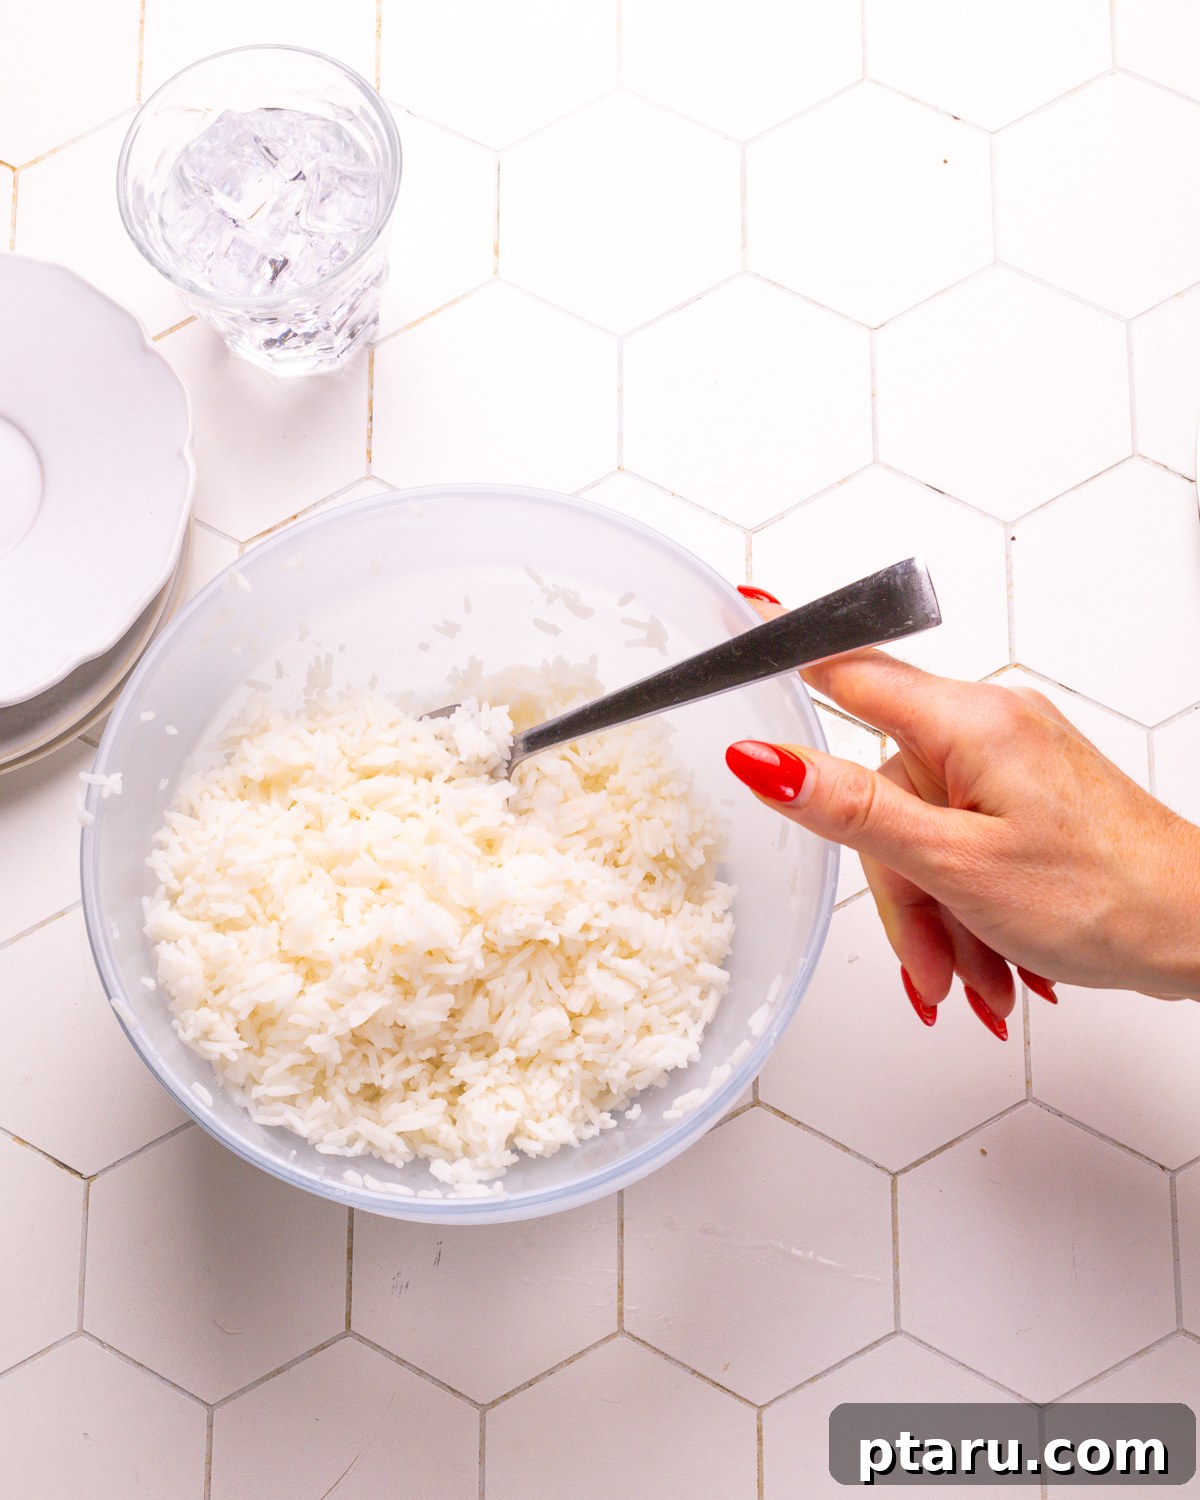
Carefully uncover the bowl. Using a fork, gently fluff the rice to separate the grains and release any remaining steam. Serve your perfectly cooked microwave rice as a delicious side dish or as the foundation for your favorite main courses.
Beyond Rice: More Microwave Recipes & Kitchen Hacks
The microwave is a powerful tool for more than just reheating leftovers. Explore these other clever microwave hacks to simplify your cooking routine:
- Baked Potato in Microwave (achieve perfect tenderness every time!)
- How to Boil Eggs in the Microwave (a quick and foolproof technique)
- How to Poach Eggs in the Microwave (effortlessly perfect poached eggs)
- How To Defrost Steak In The Microwave (the safe and effective way)
Make Ahead & Storage Tips for Microwave Rice
One of the best advantages of this microwave rice recipe is how well it stores and reheats without losing its fluffy texture. It’s an excellent candidate for meal prepping throughout the week.
Storing Cooked Microwave Rice
- Refrigeration: Once cooled, transfer your rice to an airtight container. It will keep beautifully in the refrigerator for up to 4 days.
- Rapid Cooling: To prevent soggy or clumpy leftovers, and to ensure food safety, spread the cooked rice on a plate or baking sheet to cool down quickly before sealing it in a container. This allows steam to escape efficiently.
Freezing Cooked Rice for Later
- Freezer-Friendly: Cooked rice freezes exceptionally well. Portion the rice into freezer-safe bags or containers. For faster thawing and more efficient storage, press it flat in the bags.
- Labeling: Always label your frozen rice with the date. For the best texture and flavor, aim to use it within 2 months.
Reheating Your Microwave Rice
- Microwave Method: To reheat, transfer the desired portion of rice to a microwave-safe bowl. Add a tiny splash (about a tablespoon per cup of rice) of water, cover loosely, and heat in 30-second intervals, fluffing with a fork between each burst until heated through.
- For Fried Rice: Day-old, refrigerated rice is absolutely perfect for stir-frying. Its slightly drier texture crisps up beautifully in a hot pan, making it ideal for creating delicious homemade fried rice.
How to Serve This Versatile Microwave Rice Recipe
This microwave method delivers pristine, separate grains of rice without ever needing to touch a stovetop burner. Its speed and ease make it an indispensable base for countless dinners, meal prep components, or any dish that traditionally calls for a pot of perfectly cooked rice.
Delicious Add-Ins and Flavor Boosters
Elevate your simple microwave rice with these quick additions:
- Fresh Herbs: For a burst of freshness and color, stir in finely chopped parsley, cilantro, or chives immediately after cooking and fluffing.
- Vibrant Vegetables: Toss in frozen peas, edamame, or finely diced bell peppers right after the rice finishes cooking. The residual heat will gently warm them, adding texture and nutrients.
- Simple Seasonings: Enhance the flavor profile with a dash of soy sauce, a squeeze of fresh lemon juice, or an extra pat of butter, depending on your meal and personal preference.
Perfect Pairings: Dishes to Serve with Microwave Rice
This versatile rice pairs wonderfully with a wide array of cuisines and dishes:
- Hearty Curries: Jasmine rice is an ideal accompaniment to saucy Thai creations like red curry chicken. Basmati rice, with its fragrant aroma, is superb alongside my renowned Butter Chicken recipe, a creamy chicken curry with coconut milk, or savory Jamaican curry shrimp.
- Comforting Casseroles and Soups: The microwave rice method is incredibly convenient when you need perfectly cooked rice for baked casseroles, such as my comforting cheesy chicken broccoli and rice casserole, or to bulk up nourishing soups like my aromatic pumpkin soup with ginger rice.
- Flavorful Stir-fries and Tofu: This fluffy rice provides the ideal canvas for wok-fried, Asian-inspired recipes. Serve it with my satisfying ground beef stir fry, classic beef teriyaki, tender chicken and broccoli, or this delicious bok choy recipe with chicken.
- Wholesome Bowl Meals: Use this rice as a foundational component for popular bowl meals like my speedy 15-minute egg roll in a bowl, as the base for a customizable teriyaki bowl, or in any grain bowl featuring your favorite protein, fresh greens, and a quick, flavorful sauce.
This method is a game-changer for anyone looking to bypass instant rice or microwave pouch options that often compromise on texture and flavor control. Once you master this simple technique in your own kitchen, you might find yourself saying goodbye to other rice cooking methods for good.
Explore More Delicious Rice Recipes
If you enjoy the versatility of rice, be sure to check out these other beloved recipes:
- Instant Pot Mexican Rice: A flavorful and easy one-pot meal.
- Dutch Oven Chicken Thighs and Rice: A hearty and comforting baked dish.
- The TikTok Viral Sushi Bake: A fun and deconstructed sushi experience.
- Salmon Sushi Muffins: Creative and portable sushi-inspired bites.
Microwave Rice (Perfect Every Time!)
Ingredients
- 1 cup long-grain white rice (like jasmine or basmati rice)
- 1¾ cups water
- ½ tsp salt (optional)
- 1 tsp oil or butter (optional)
Instructions
-
Rinse the rice in a fine-mesh strainer under cool water until it runs clear. This removes surface starch and prevents stickiness.
-
Transfer to a large, microwave-safe bowl (big enough to allow bubbling without overflow—at least 2.5 quarts).
-
Add water, salt, and oil or butter, if using.
-
Cover with a microwave-safe lid or plate that’s not airtight (steam needs to escape).
-
Microwave on high for 10 minutes. Do not stir.
-
Reduce power to 50% and microwave for 5 more minutes.
-
Let sit, covered, for 10 minutes. This step finishes the cooking with gentle steam.
-
Fluff with a fork and serve.
Notes
Do not skip the resting time. This is part of the total cook time and if you skip it, the rice will not be cooked through.
Doubling the recipe? Use a bigger bowl, and add 2 extra minutes at 50% power.
Don’t halve or otherwise reduce the recipe. The smaller water volume doesn’t hold heat evenly and can lead to burnt or crunchy grains.
Skip the oil if you prefer. It just helps reduce bubbling out of the bowl and makes the rice a bit silkier.
Nutrition
Nutrition information is automatically calculated, so should only be used as an approximation.
Tried this recipe? Leave a comment!