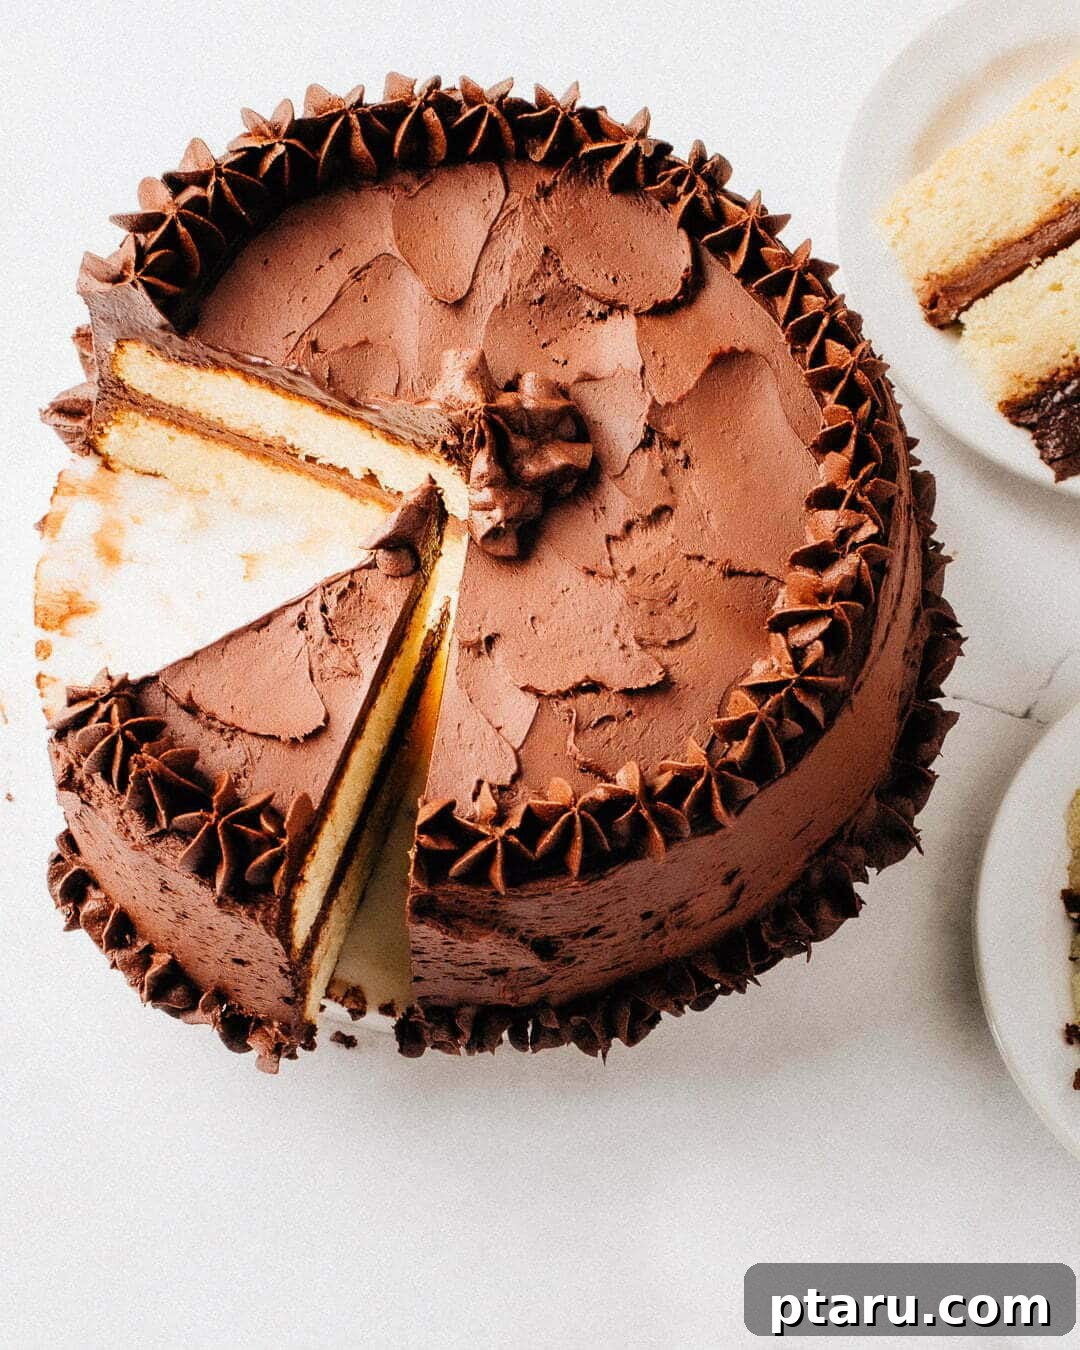
For years, I’ve been on a quest to perfect the **ultimate fluffy, moist vanilla cake recipe**. My dream cake features a wonderfully lofty, bouncy rise and a velvety-soft, tender crumb that melts in your mouth. After countless tests and refinements, I am thrilled to share what I truly believe is the **Best-Ever Vanilla Cake recipe**, a masterpiece ideal for birthdays, anniversaries, or any cherished celebration. This isn’t just another cake; it’s the culmination of a lifelong pursuit for vanilla perfection.
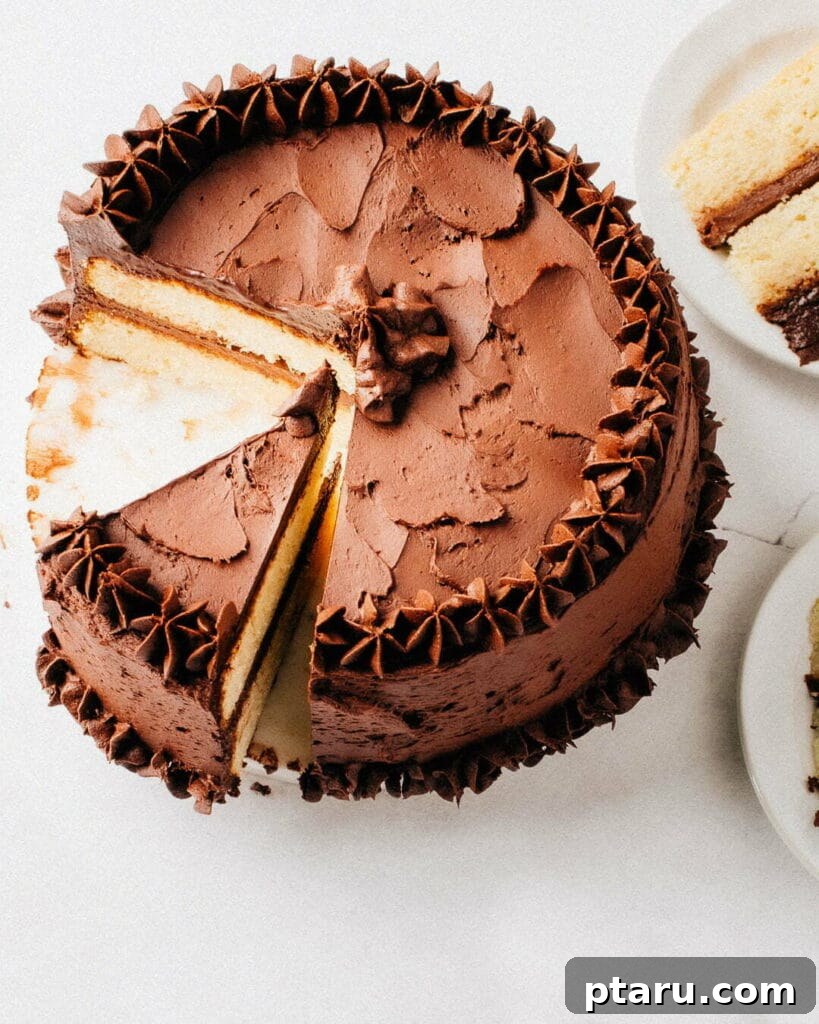
Unveiling the Best Vanilla Cake Recipe: Perfectly Soft, Luxuriously Moist, and Exceptionally Fluffy
The journey to create this **perfect fluffy, moist vanilla cake** has been a passion project, driven by a desire for a cake with an impressive height, delicate bounce, and an undeniably soft and tender crumb. Many vanilla cake recipes often fall short; some end up with a dense, coarse texture, while others achieve a beautiful rise only to be disappointingly dry. These common frustrations fueled my determination. Through dozens, and I mean *dozens*, of rigorous and repeated tests, meticulously adjusting every ingredient and technique, I finally arrived at what I proudly present as my **Best-Ever Vanilla Cake recipe**. This recipe consistently delivers perfect cake layers, bursting with a rich, warm vanilla flavor that will elevate any occasion. Once you master this cake, simply frost it with the fluffiest vanilla buttercream frosting, and you’ll become the legendary hero of all future birthday celebrations.
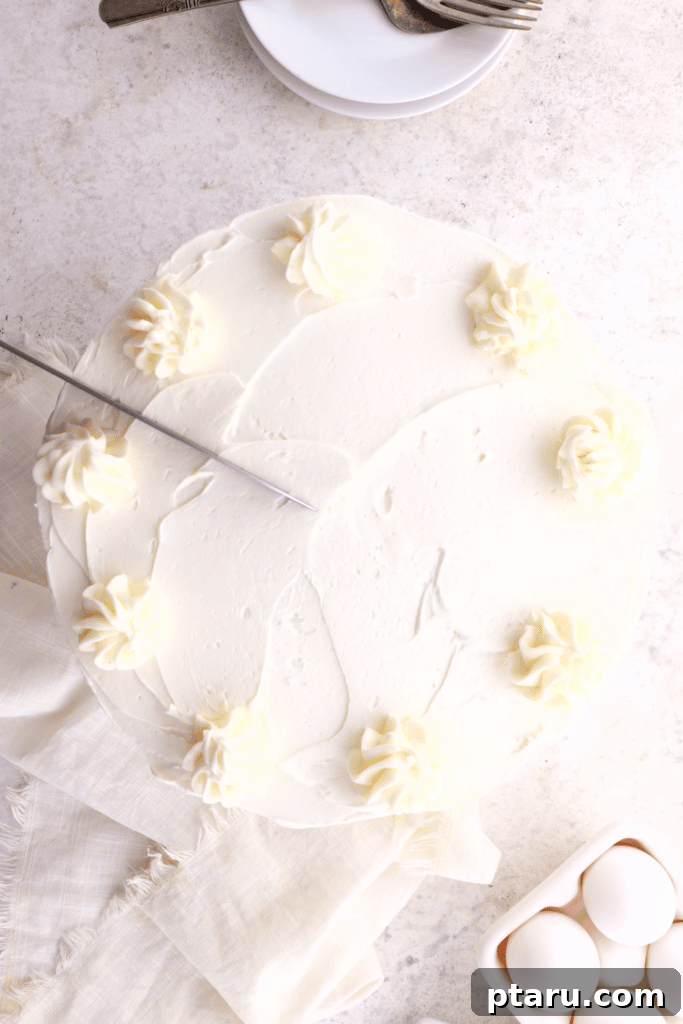
Every element within this recipe, from the precise ingredient measurements to the exact baking times, is meticulously anchored in sound baking science. Each step has been thoroughly reasoned and tested to ensure optimal results. The outcome, I am confident you will agree, is a truly foolproof and remarkably simple recipe destined to become your new go-to for every conceivable vanilla cake occasion. It’s a recipe designed not just to bake a cake, but to create a memorable experience, guaranteeing a consistent level of excellence that will impress even the most discerning palates. Say goodbye to dry, crumbly cakes and hello to bakery-quality indulgence right from your own kitchen.
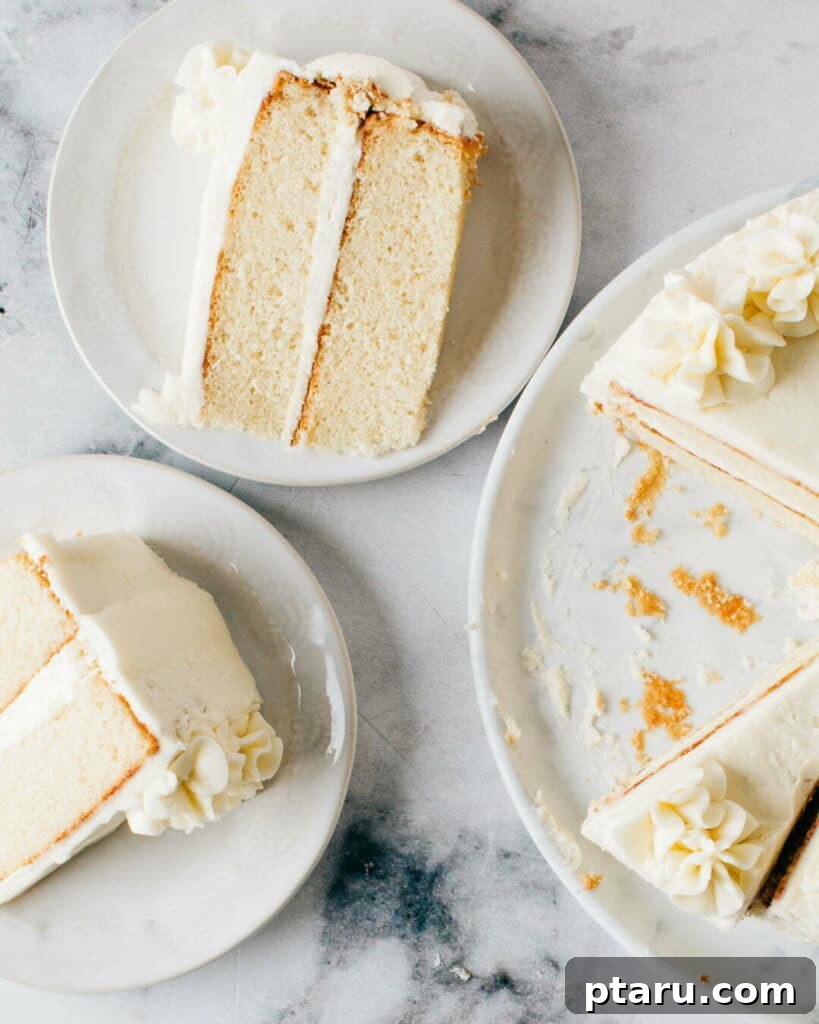
Crafting Your Masterpiece: Essential Ingredients for the Perfect Vanilla Cake
Achieving a truly outstanding vanilla cake begins with understanding the role of each ingredient. Here’s a closer look at the key components that make this recipe shine:
- Cake Flour: The Secret to a Tender Crumb
We specifically call for **cake flour** (often labeled as Cake & Pastry flour in Canada). The magic of cake flour lies in its lower protein content compared to all-purpose flour. Proteins are responsible for forming gluten, which, while essential for bread, can lead to tough, chewy cakes. By using cake flour, we significantly reduce gluten development, resulting in cakes with an exquisitely fine texture and an incredibly soft, delicate crumb. Furthermore, cake flour undergoes a unique secondary bleaching process that allows it to absorb more liquid. This enhanced absorption contributes to a higher rise and, consequently, a taller, even fluffier cake, ensuring a light and airy structure that’s simply irresistible. - The Power of Dual Fats: Butter and Vegetable Oil
This recipe employs **two distinct types of fat** to achieve its superior texture: room-temperature **unsalted butter** and a neutral-tasting **vegetable oil**. Butter is initially blended with the dry ingredients, utilizing what I call the “shortbread method” (explained in detail below). Butter is indispensable for its rich, complex flavor, contributing significantly to the cake’s delicious taste. Its presence also helps to coat the flour particles, further inhibiting gluten formation. On the other hand, vegetable oil, being liquid at room temperature, plays a crucial role in maintaining moisture. Unlike butter, which solidifies when cooled, oil remains liquid, ensuring that the cooled cake retains its softness and moistness for longer. This strategic combination delivers both unparalleled flavor and lasting moisture. For tips on quickly bringing ingredients to room temperature, check out this guide. - Beaten Egg Whites: The Key to a Lofty, Bouncy Rise
The inclusion of **beaten egg whites** is absolutely critical for creating the characteristic lofty, fluffy rise that defines this cake, while simultaneously contributing to its moist, velvety crumb. I know, separating and beating egg whites can seem like an extra, annoying step. You might be tempted to skip it, but please don’t hit that browser back button! I assure you, I’ve tried every conceivable alternative, and the results with properly whipped egg whites are 100% worth the minimal extra effort. They incorporate air into the batter, providing structure and lightness that no other ingredient can replicate, transforming a good cake into a truly great one. - A Harmonious Blend of Dairy: Whole Milk and Sour Cream
Our dairy combination of **whole milk** and **sour cream** strikes a perfect balance, imparting both fluffiness and richness. Whole milk contributes to the cake’s overall moisture and tenderness. Sour cream, however, is a game-changer. It adds a beautiful depth of flavor, a subtle tang that complements the vanilla, and crucially, it creates an incredibly soft, moist crumb. Its higher fat content and acidic nature contribute to the cake’s luxurious texture and extended freshness. - Dynamic Duo of Leaveners: Baking Soda and Baking Powder
This recipe strategically uses **both baking soda and baking powder**. While baking powder and the whipped egg whites are the primary leaveners responsible for the cake’s impressive rise, baking soda serves a specific, vital purpose. It is added primarily to neutralize the tanginess of the sour cream, resulting in a perfectly subtle, creamy dairy flavor without an overwhelming sour note. The acid present in the sour cream reacts with the alkaline baking soda, which does contribute some leavening, but there isn’t sufficient acid in the recipe for baking soda to be the *sole* leavening agent. This balanced approach ensures both optimal rise and balanced flavor. - Pure Vanilla Extract: The Soul of the Cake
As this is a vanilla cake, **pure vanilla extract** is paramount. Use a high-quality extract for the best flavor. It provides the warm, aromatic, and comforting notes that define this classic dessert. An optional hint of almond extract can be added for a subtle complexity that some find reminiscent of classic bakery white cakes.
Mastering the Ultimate Moist Vanilla Cake: 4 Essential Expert Tips
Transform your baking from good to extraordinary with these four crucial tips, meticulously honed through extensive testing to guarantee a truly remarkable **moist vanilla cake**:
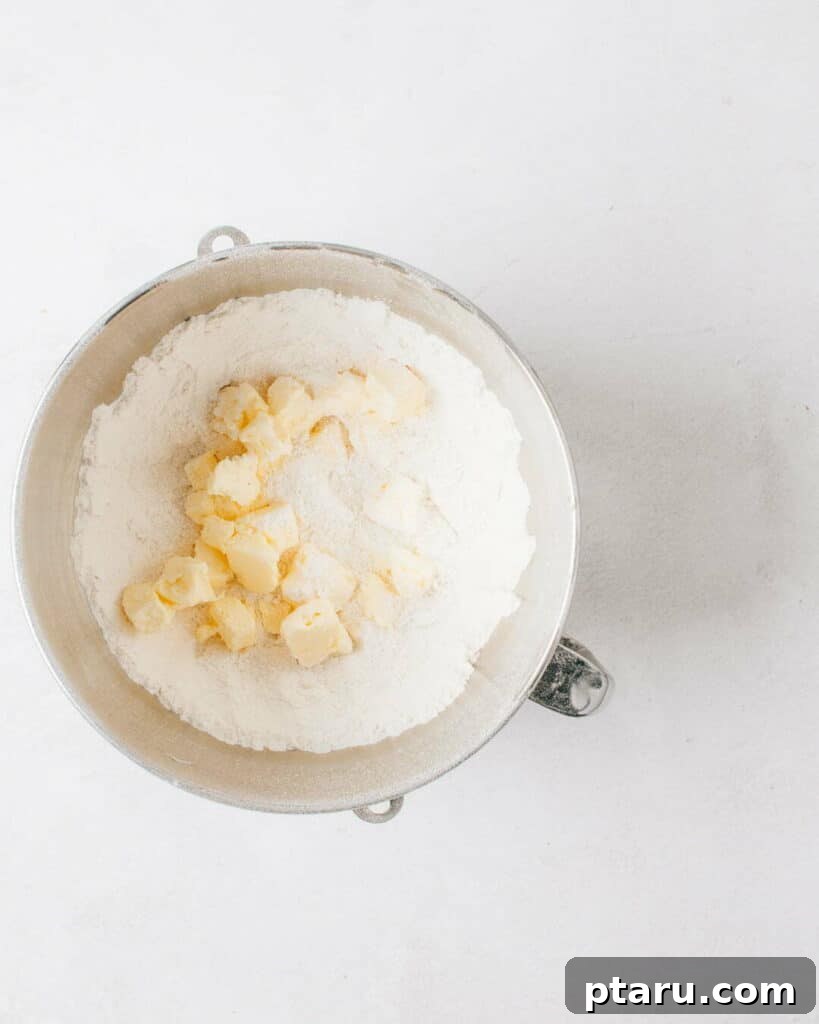
- Embrace the GAME-CHANGING Shortbread Method: This technique is a significant departure from traditional cake-making. Instead of creaming butter and sugar together as a first step to aerate the mixture, we begin by **incorporating the softened butter directly into all the dry ingredients**. Blending the flour with butter coats many of the flour particles in fat. This crucial action inhibits gluten formation, which is the key to creating the most velvety, melt-in-your-mouth crumb you’ve ever experienced. In this recipe, after beating the butter into the flour mixture, it will resemble sandy crumbs. We are not “creaming” in the sense of incorporating air, which is why I refer to it as a “shortbread method” rather than “reverse creaming” (a technique I employ in my Fluffy, Moist Vanilla Cupcakes recipe). This method truly sets this cake apart, yielding an unparalleled tenderness.
- Maximize Volume with Whipped Egg Whites: To give this **moist vanilla cake** its supremely bouncy and fluffy rise, we rely on the delicate yet powerful action of folding whipped egg whites into the batter just before baking. Egg whites, when whipped to stiff peaks, trap air, which expands in the oven, creating a light and airy structure. The gentle folding process is vital to retain this trapped air. This step, though it adds a moment to your prep, is absolutely essential for achieving that cloud-like texture and impressive height that defines a truly exceptional vanilla cake. Don’t underestimate its impact on the final result!
- WEIGH Your Ingredients for Unmatched Accuracy: North America’s persistent reliance on volumetric measurements (cups) for dry ingredients in baking is, frankly, baffling. The density of flour can vary significantly depending on how it’s scooped, settled, or whether it’s sifted. One cup of flour can weigh differently from batch to batch, and from baker to baker. This variability becomes even more critical when working with cake flour, which has a silky texture and can compact more easily than all-purpose flour. For consistent, perfect results that truly reward your effort, weighing ingredients with a kitchen scale is paramount. It eliminates guesswork and ensures you’re using the exact quantities intended by the recipe creator. If you don’t own one, a simple, inexpensive kitchen scale is a worthy investment. This $10 scale is the exact model I’ve relied on for over a decade.
- Minimize Beating Once Liquid is Added: The development of batter-toughening gluten only begins once liquid is introduced to flour, and its strength increases with every stir. While our innovative shortbread method provides an excellent failsafe against over-mixing, it’s still crucial to be mindful. Once you add the liquid ingredients, mix the batter on medium speed (never higher) and only until it is just uniform. It doesn’t need to be perfectly smooth; a slightly curdled appearance is entirely normal and expected. Over-beating at this stage can quickly lead to a dense, tough cake, counteracting all the efforts made to ensure a tender crumb. Stir gently and efficiently to maintain that delicate balance.
A Step-by-Step Guide: How to Bake the Best Vanilla Cake
Baking this perfect vanilla cake is a straightforward process when you follow these carefully designed steps. Each stage builds upon the last, ensuring a flawless result every time.
- Prepare Ingredients to Room Temperature: Begin by bringing your eggs, butter, and dairy products (milk, sour cream) to room temperature. This is a vital first step, as room-temperature ingredients emulsify more effectively, creating a smoother, more uniform batter and a finer-textured cake. For a speedy method, I often warm them together in one large baking pan using this tried-and-true technique.
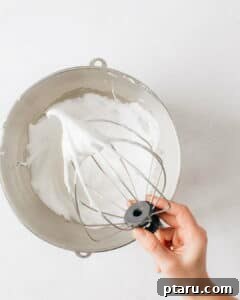
- Whip Egg Whites: While your oven preheats and you prepare your baking pans and gather the remaining ingredients, whip the egg whites. Using a stand mixer with a whisk attachment, beat the egg whites on medium-high speed until they form soft, ethereal peaks. Gradually add about ¼ cup (50g) of the granulated sugar, then increase the speed to high and continue beating until they form glossy, stiff peaks. Gently scrape the whipped whites into a separate bowl and set them aside. Give your mixer bowl a quick rinse and dry it – no need for a thorough wash, but the towel will need to go into the laundry due to raw egg residue.
- Combine Dry Ingredients: Now, place your mixer bowl back on the scale. Measure the remaining granulated sugar, cake flour, baking powder, baking soda, and fine sea salt directly into the bowl. This saves you from using multiple measuring cups. Switch to the paddle attachment and beat these dry ingredients on medium-low speed for precisely one minute. This effectively aerates and thoroughly combines them, eliminating the need for sifting.
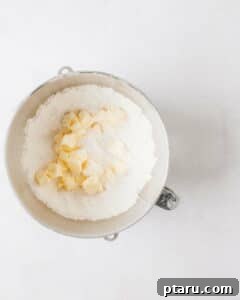
- Incorporate Butter (The Shortbread Method): Add the softened butter, cut into chunks, to the dry ingredient mixture. Begin beating on low speed. The mixture will start with visible lumps of butter, gradually transforming into an even, uniform dry sand texture. Be cautious not to increase the mixer speed too quickly while the butter chunks are large, as flour may fly. You can gradually increase the speed as the butter incorporates and the chunks become smaller. This shortbread method is crucial for developing that tender crumb.
- Whisk Wet Ingredients: In a separate bowl, whisk together the egg yolks (reserved from step 2), whole milk, vegetable oil, sour cream, pure vanilla extract, and the optional almond extract. Ensure these are also at room temperature for optimal incorporation.
- Add Wet to Dry Mixture: Reduce your mixer speed to low. Slowly drizzle in half of the whisked milk mixture into the butter-flour blend. After just a few seconds, scrape down the sides of the bowl and the paddle to ensure everything is evenly incorporated. Increase the speed to medium (no higher) and beat until the mixture is smooth, which should take approximately 15 seconds. Then, reduce the speed back to low and drizzle in the remaining milk mixture. Gradually increase the speed to medium again, beating only until the batter is evenly combined. It’s perfectly normal for the batter to appear slightly curdled at this stage; don’t worry, this doesn’t affect the final cake.
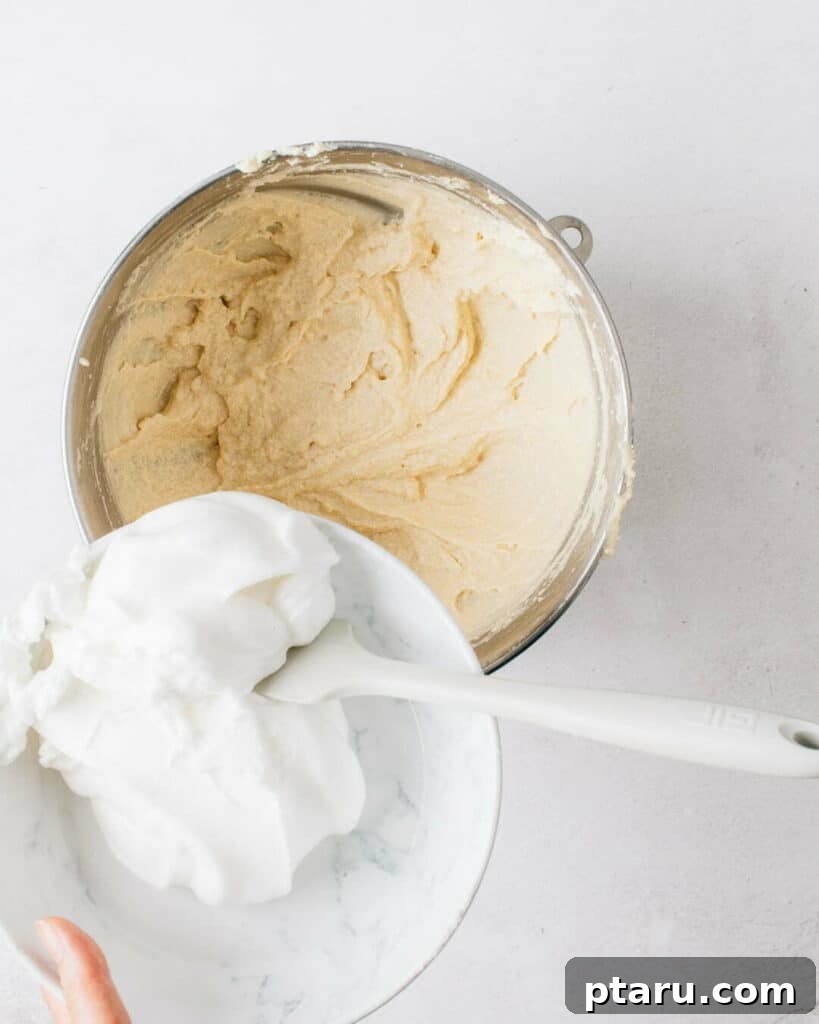
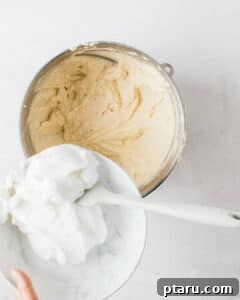
- Fold in Egg Whites: Remove the bowl from the stand mixer. Using a large rubber spatula, gently fold half of the beaten egg whites into the batter. Continue folding until they are mostly incorporated, but some white streaks still remain. This initial fold lightens the batter, making it easier to gently incorporate the remaining egg whites without deflating them. Then, carefully fold in the rest of the egg whites until no white streaks are visible. Remember, the goal is to preserve as much of the air as possible for a truly fluffy cake.
- Bake to Perfection: Divide the batter evenly between your two prepared 9×2-inch round cake pans. For consistent baking, I recommend placing the pans back on the scale to ensure they both hold the exact same amount of batter. Smooth the tops gently.
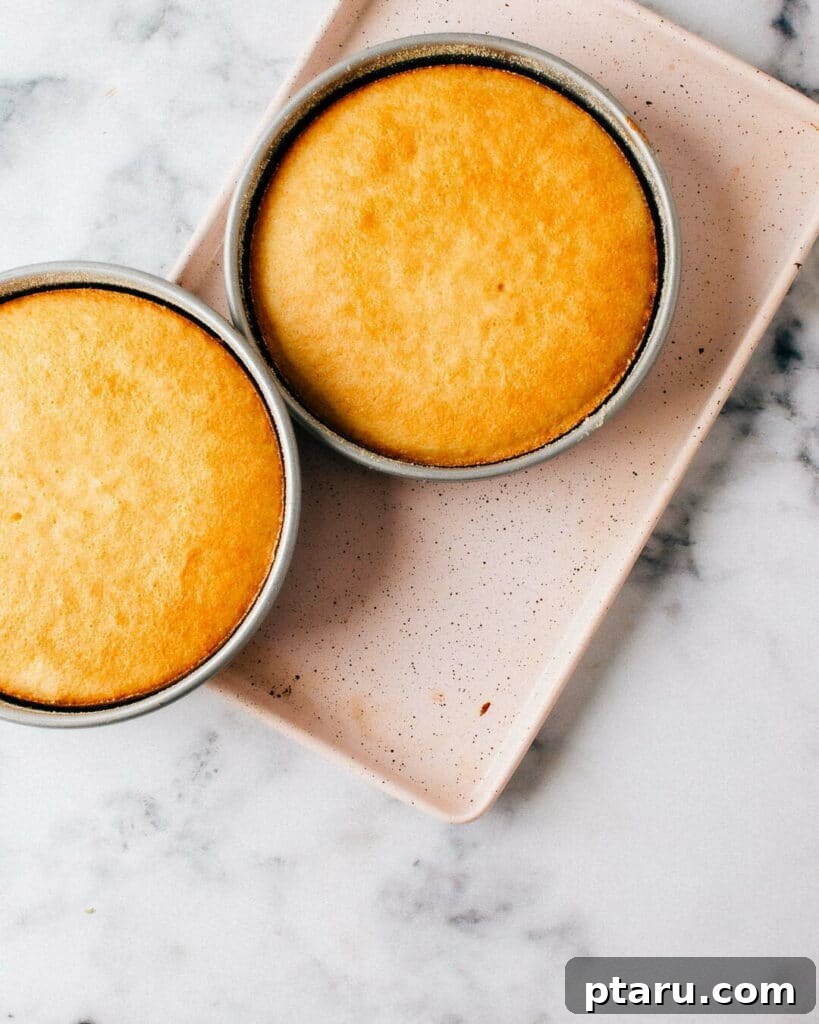
- Baking Time and Doneness: Bake the cakes for approximately 35-45 minutes at 350ºF (175ºC). If you have a large oven, position the rack in the middle. If your oven is smaller, use racks at the top and bottom third positions to ensure the pans don’t touch the oven sides or each other. Swap the position of the cake pans halfway through baking to encourage even cooking. The cakes are done when an internal temperature of 190ºF (88ºC) is registered in the center with a cooking thermometer.
- Cooling Process: Allow the cakes to cool in their pans on wire cooling racks for 10 minutes. This allows them to set slightly before removal. After 10 minutes, carefully run a knife around the edges of each cake to loosen them, then invert them onto parchment-lined cooling racks. Using parchment paper prevents the moist cake from sticking to the racks. It is absolutely crucial to cool the cakes completely before attempting to fill or frost them. Attempting to frost a warm cake will result in melted frosting and a messy situation.
Ensuring Perfect Doneness: How to Tell When Your Cake is Baked
Determining when your vanilla cake is perfectly baked is crucial for achieving that ideal moist and fluffy texture. While visual cues are helpful, internal temperature is the most reliable indicator.
- The Gentle Press Test: First, gently press on the center of the cake’s top with your finger. If your finger leaves a deep, squishy fingerprint, the cake needs more time. Close the oven door and wait another 2 minutes before retesting.
- The Thermometer Test (Most Reliable): If your finger meets a slight, bouncy resistance, it’s time to pull out your cooking thermometer. Insert it into the very center of the cake. The ideal internal temperature should register precisely 190ºF (88ºC). It should definitely not be lower, and ideally not much higher. At this temperature, the starches in the cake are perfectly set, ensuring a deliciously moist cake. If the temperature is lower, return the cake to the oven for another 1-2 minutes. As the temperature rises towards 212ºF (100ºC), which is the boiling point of water, moisture rapidly converts to steam and escapes, leading to a drier cake.
- Visual Cues – Edges and Browning: The cake may not achieve an evenly golden-brown top, as this can vary significantly based on your specific oven. For instance, my gas oven produces less browning by the time the cake is fully cooked. However, a reliable visual cue is that the cake will begin to pull away slightly from the edges of the pan when it’s done.
- Why the Toothpick Test Can Be Misleading: While commonly recommended, the toothpick tester is often unreliable for moist cakes. You might find moist crumbs clinging to the toothpick even when the cake is perfectly done – after all, it’s designed to be a moist cake! Conversely, I’ve had instances where a toothpick came out clean even when the cake was still slightly underbaked, simply because the wet batter was pulled away by the browned crust as the toothpick was removed. For consistent perfection, always rely on the internal temperature.
- IMPORTANT: Factors Affecting Baking Time: The suggested baking time in any recipe is always an estimate because several variables can influence it significantly:
- Oven Temperature Accuracy: Ovens often vary from their set temperature. Calibrate yours if possible.
- Baking Pan Material: Different pan materials (e.g., dark metal vs. light aluminum) conduct heat at varying rates.
- Oven Door Openings: Each time you open the oven door, the internal temperature drops, extending baking time.
- Ingredient Temperature: If your ingredients are colder than room temperature, it will take longer for the cake to bake through.
- Batter Distribution: If one pan contains more batter than the other, it will naturally require a longer baking period.
Using a reliable cooking thermometer every single time is the simplest and most effective way to eliminate stress and guesswork, ensuring your cake is baked to perfection.
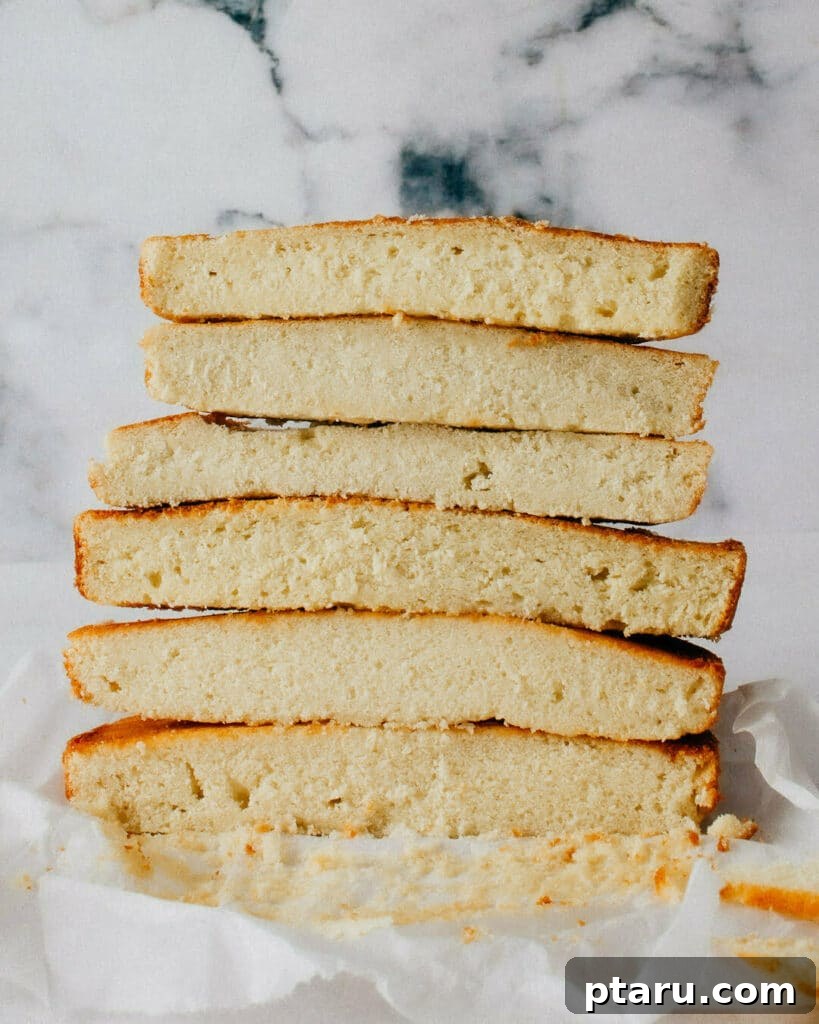
The photograph above showcases a mere fraction of one week’s testing. Imagine multiplying that by several weeks, and you begin to grasp the sheer number of test batches I meticulously baked and evaluated. The undisputed winner, the one that embodies both incredible moisture and delightful fluffiness, is the fourth cake from the top. That’s the one we’re recreating here!
Serving, Storage, and Variations for Your Perfect Vanilla Cake
Serving Suggestions & Ideal Pairings
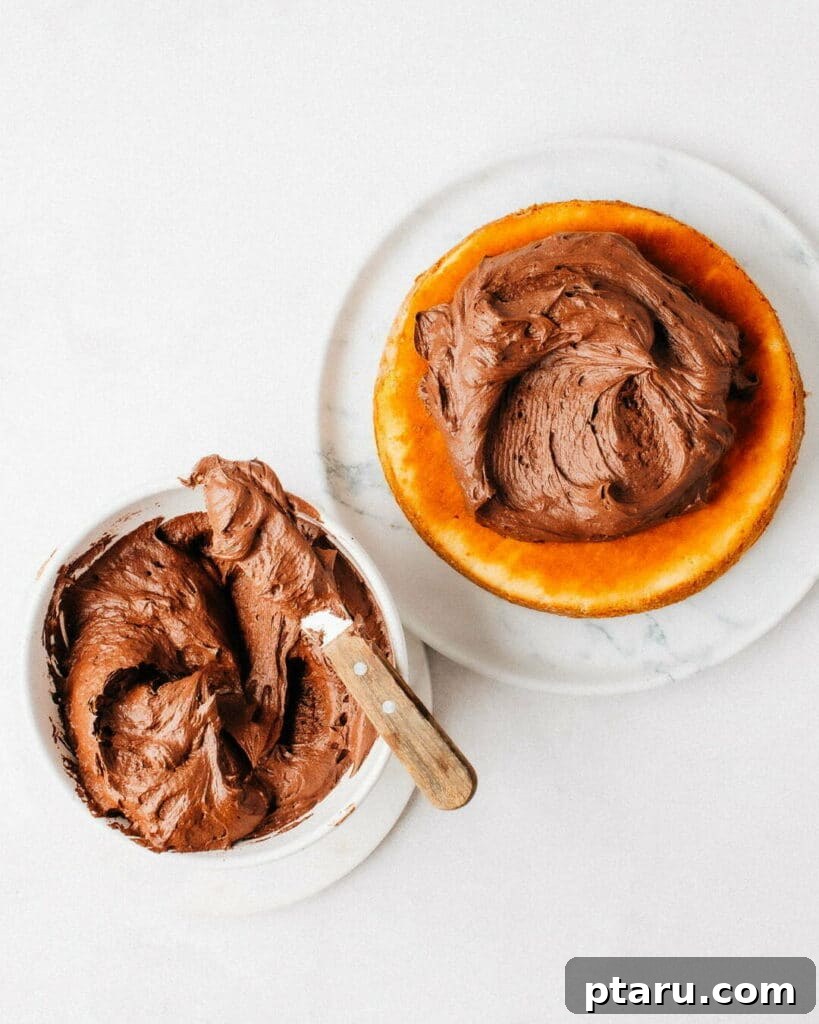
This **Ultimate Fluffy and Moist Vanilla Cake** is a versatile masterpiece, perfect on its own or adorned with your favorite toppings. For a classic pairing, smother it with my favourite Easy 5-Minute Fluffy Vanilla Frosting. If you’re a chocolate lover, it also pairs beautifully with my go-to Fluffy Chocolate Frosting, creating a delightful contrast. Beyond frosting, consider fresh berries, a light fruit compote, or a drizzle of caramel sauce for an elevated experience. It’s perfect for birthday parties, holiday gatherings, or simply a comforting treat on a quiet afternoon. Each slice promises a moment of pure bliss.
How to Store Your Cake for Optimal Freshness
To ensure your **moist vanilla cake** remains fresh and delicious, proper storage is key. If unfrosted, wrap individual cake layers tightly in plastic wrap and store them at room temperature for up to 2 days, or in the refrigerator for up to 5 days. For longer storage, you can freeze unfrosted layers for up to 2 months. Make sure they are double-wrapped in plastic wrap and then aluminum foil to prevent freezer burn. Thaw them overnight in the refrigerator before frosting. Once frosted, store the cake in an airtight cake carrier at room temperature for 2-3 days, or in the refrigerator for up to a week. Always bring refrigerated cake to room temperature for about an hour before serving to fully appreciate its soft texture and rich flavor.
Troubleshooting Common Vanilla Cake Problems
Even with a foolproof recipe, baking can sometimes present challenges. Here are solutions to common issues:
- Cake is Dry: This is often due to overbaking. Always use a thermometer to check for 190°F (88°C) internal temperature. Ensure ingredients, especially dairy, are at room temperature for proper emulsification.
- Cake is Dense/Heavy: Overmixing after adding liquid can develop too much gluten, making the cake tough. Mix only until just combined. Also, make sure your leavening agents (baking powder/soda) are fresh. Forgetting to whip egg whites to stiff peaks, or deflating them during folding, can also lead to a dense texture.
- Cake Sinks in the Middle: This usually indicates the cake is underbaked. It might look done on the outside, but the center hasn’t fully set. Refer to the thermometer test. Opening the oven door too frequently or uneven oven temperature can also contribute.
- Cake Crumbles Too Easily: While this cake is designed to be tender, excessive crumbling can occur if too much flour was used (highlighting the importance of weighing ingredients), or if it was overbaked.
Frequently Asked Questions (FAQ)
Here are answers to some common questions about this **Best-Ever Moist Vanilla Cake** recipe:
- Can I use all-purpose flour instead of cake flour? While cake flour is highly recommended for the best texture, you can substitute it with all-purpose flour by removing 2 tablespoons of all-purpose flour per cup and replacing it with 2 tablespoons of cornstarch, then sifting well. However, expect a slightly less tender crumb.
- Can I make this into cupcakes? Absolutely! This recipe is fantastic for cupcakes. You can find my specific Moist Vanilla Cupcakes recipe here, which uses a slightly different reverse creaming method for optimal cupcake texture.
- Can I double the recipe? Yes, you can double the recipe. However, it’s best to bake in separate batches or ensure your oven is large enough to accommodate all pans without overcrowding, which can affect baking time and evenness.
- How far in advance can I make this cake? You can bake the cake layers up to 2-3 days in advance and store them, well-wrapped, at room temperature or in the refrigerator. Freeze for longer storage. Frost the cake closer to serving time for the freshest look and taste.
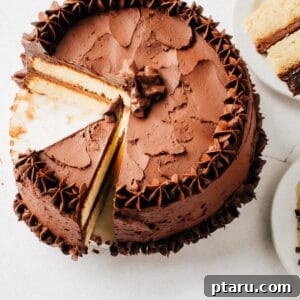
The Ultimate Fluffy and Moist Vanilla Cake
Video
Ingredients
- 4 large eggs separated, room temperature
- 455 g granulated sugar (16 oz or 2 1/3 cups divided use)
- 397 g cake flour (14 oz or 3 1/3 cups well-fluffed or sifted flour, lightly spooned into a cup and levelled off)
- 2 ¼ tsp baking powder
- ¼ tsp baking soda
- 1 tsp fine sea salt
- 226 g unsalted butter, softened (16 tbsp/8 oz or 1 cup)
- 1 ½ cups whole milk room temperature
- ½ cup vegetable oil (Canola, sunflower, safflower or grapeseed – any oil as long as it’s neutral tasting)
- 6 tbsp sour cream (85 g) room temperature
- 2 tsp pure vanilla extract
- ⅛ tsp almond extract OPTIONAL
Instructions
For Cake:
-
Preheat oven to 350ºF (175ºC). Position oven rack in the middle if you have a large oven, or use racks at the top and bottom third positions if the oven is too small to comfortably fit two 9″ pans without touching sides or each other. Grease and flour two 9×2″ round cake pans and line bottoms with circles of parchment paper. Set aside.
-
Place egg whites in stand mixer with whisk attachment and beat on medium-high speed until soft peaks form. Gradually pour in 1/4 cup (50 g) of the granulated sugar, then increase speed to high and continue beating until glossy stiff peaks form. Scrape the beaten whites into a bowl and set aside. Give mixer a rinse and dry.

-
Measure remaining sugar, flour, baking powder, baking soda, and salt into the mixer bowl (quick and easy if you put the bowl right on the scale). Switch to paddle attachment and beat the dry ingredients on medium-low speed for 1 minute (this replaces sifting to aerate and thoroughly combine).
-
Toss in the chunks of soft butter and beat, starting on low until the mixture goes from lumps of butter to even small crumbs. The flour will fly if the mixer speed is too high while butter chunks are large, but you can increase it as they get smaller.
-
Meanwhile, whisk together the yolks with the milk, oil, sour cream, vanilla, and almond (if using) extract.
-
Reduce mixer speed to low and drizzle in 1/2 of the milk mixture. Scrape down the sides of bowl and paddle after just a few seconds, then beat on medium (no higher) until smooth, about 15 seconds. Reduce speed to low and drizzle in remaining milk mixture then gradually increase speed to medium until evenly combined. The batter may look a bit curdled, not smooth, and that’s normal.
-
Remove bowl from stand mixer and use a large rubber spatula to fold 1/2 of the beaten egg whites into the batter until mostly incorporated but still streaky. (This lightens the batter making it easier to gently incorporate the rest.) Gently fold in remaining egg whites until no white streaks remain.
-
Divide batter evenly between the two prepared baking pans and smooth the tops. (I put the pans back on the scale to ensure they both have the same amount of batter for consistency in baking time).
-
Bake cakes for approximately 35-45 minutes, swapping position of cake pans halfway through. The cake is done when internal temperature in the centre of the cake registers 190ºF (88ºC) with a cooking thermometer.
**NOTE: See further doneness-testing details in blog post. Baking time is given as a wide-range estimate as ovens vary in temperature accuracy, baking pans vary in heat conduction, opening the oven can add minutes, and if your ingredients are not room temperature, this also adds to baking time. Also if one pan has more batter than the other, it will take longer. Mine took 34-36 minutes, but some readers have reported back that the full 45 minutes were needed. Use a thermometer for accuracy.
-
Let cool 10 minutes in pans placed on cooling racks before running a knife around the cake edges and flipping them onto parchment-lined cooling racks (use parchment so the moist cake doesn’t get stuck to the rack). Cool completely before filling and frosting.
Notes
Here’s my favouriteEasy 5-Minute Fluffy Vanilla Frosting recipe or my go-to Fluffy Chocolate Frosting.
Nutrition
Nutrition information is automatically calculated, so should only be used as an approximation.