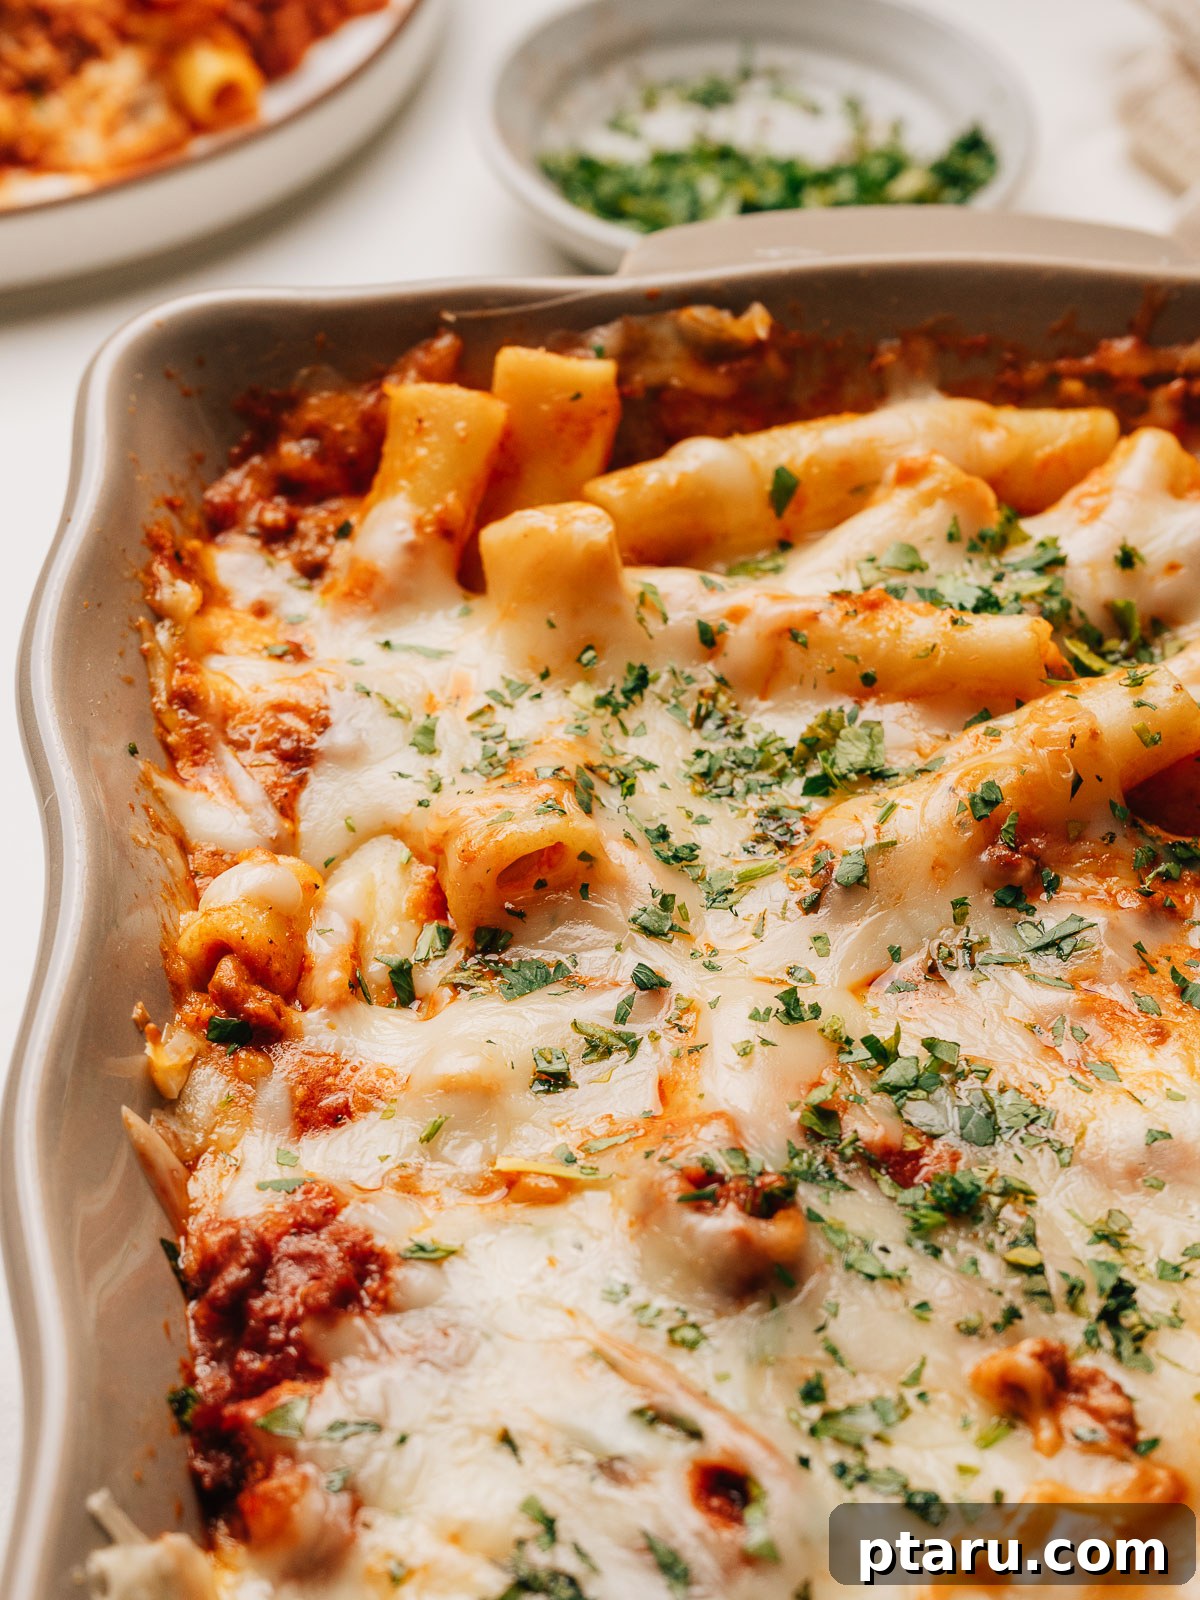
Indulge in the heartwarming embrace of this classic Baked Ziti with Ricotta. This iconic Italian-American dish features tender, al dente ziti pasta, generously coated in a slow-simmered, savory beef sauce, layered with a cloud-like, creamy ricotta mixture, and crowned with a golden, bubbling blanket of mozzarella cheese. It’s the quintessential comfort food, perfect for family dinners, potlucks, or any occasion that calls for a truly satisfying meal. Every forkful promises a harmonious blend of rich flavors and varied textures, making it an instant favorite.
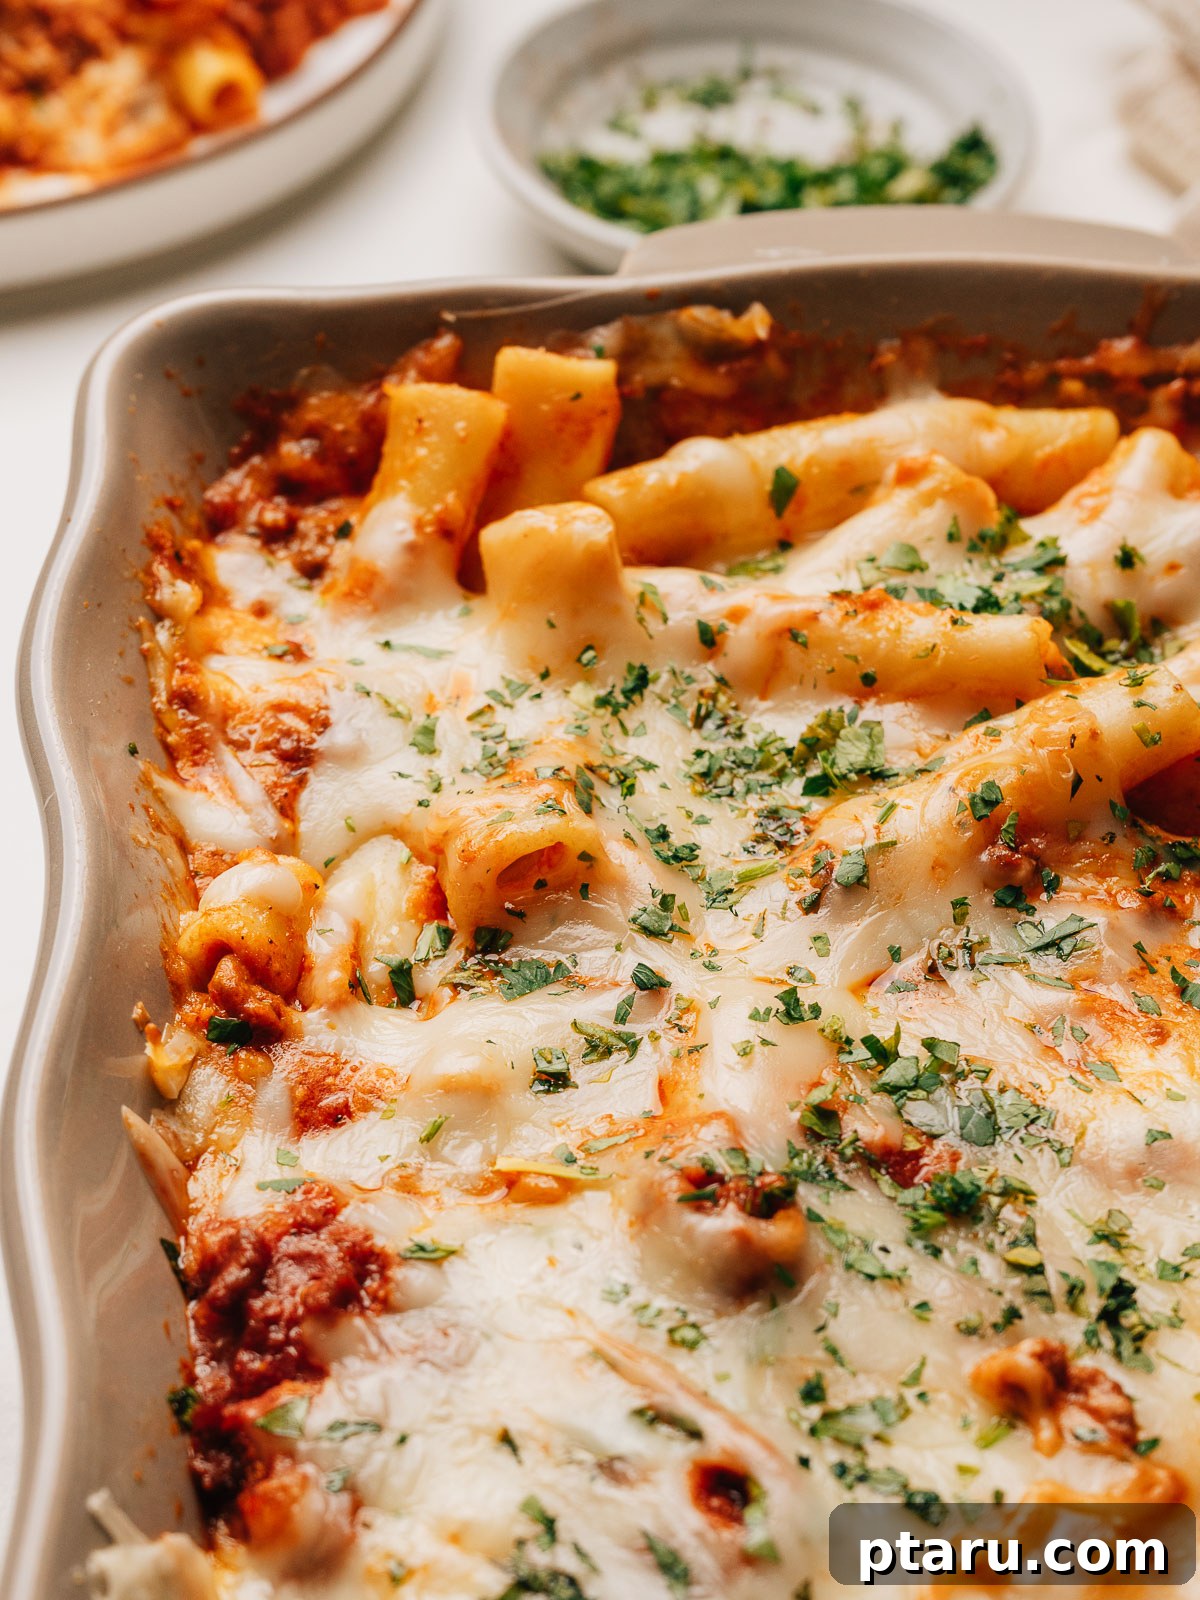
The secret to achieving baked ziti perfection, often overlooked by many home cooks, lies in a crucial step: undercooking the pasta on purpose. Ziti pasta is designed to absorb the delicious flavors of the sauce as it finishes cooking in the oven during baking. If you boil the pasta until it’s already perfectly tender before baking, it will inevitably turn soft and mushy in the hot oven, leading to a less than ideal texture. By cooking it just shy of al dente – typically 2-3 minutes less than package directions – you ensure that your baked ziti remains delightfully toothsome, holding its shape and texture even after its journey through the oven.
Looking for more quick and delicious pasta ideas? Explore my 3-ingredient lazy lasagna for an unbelievably simple weeknight meal, or try the incredibly convenient one-pot pasta recipe where everything cooks together in one pan. For even more comforting pasta bake inspiration, dive into my comprehensive chicken and pasta bake collection, offering a variety of flavors and techniques to satisfy every craving.
Essential Ingredients for Perfect Baked Ziti with Ricotta
Crafting the perfect baked ziti requires a selection of high-quality ingredients, each playing a vital role in building the dish’s incredible flavor and texture. Here’s a detailed look at the core components:
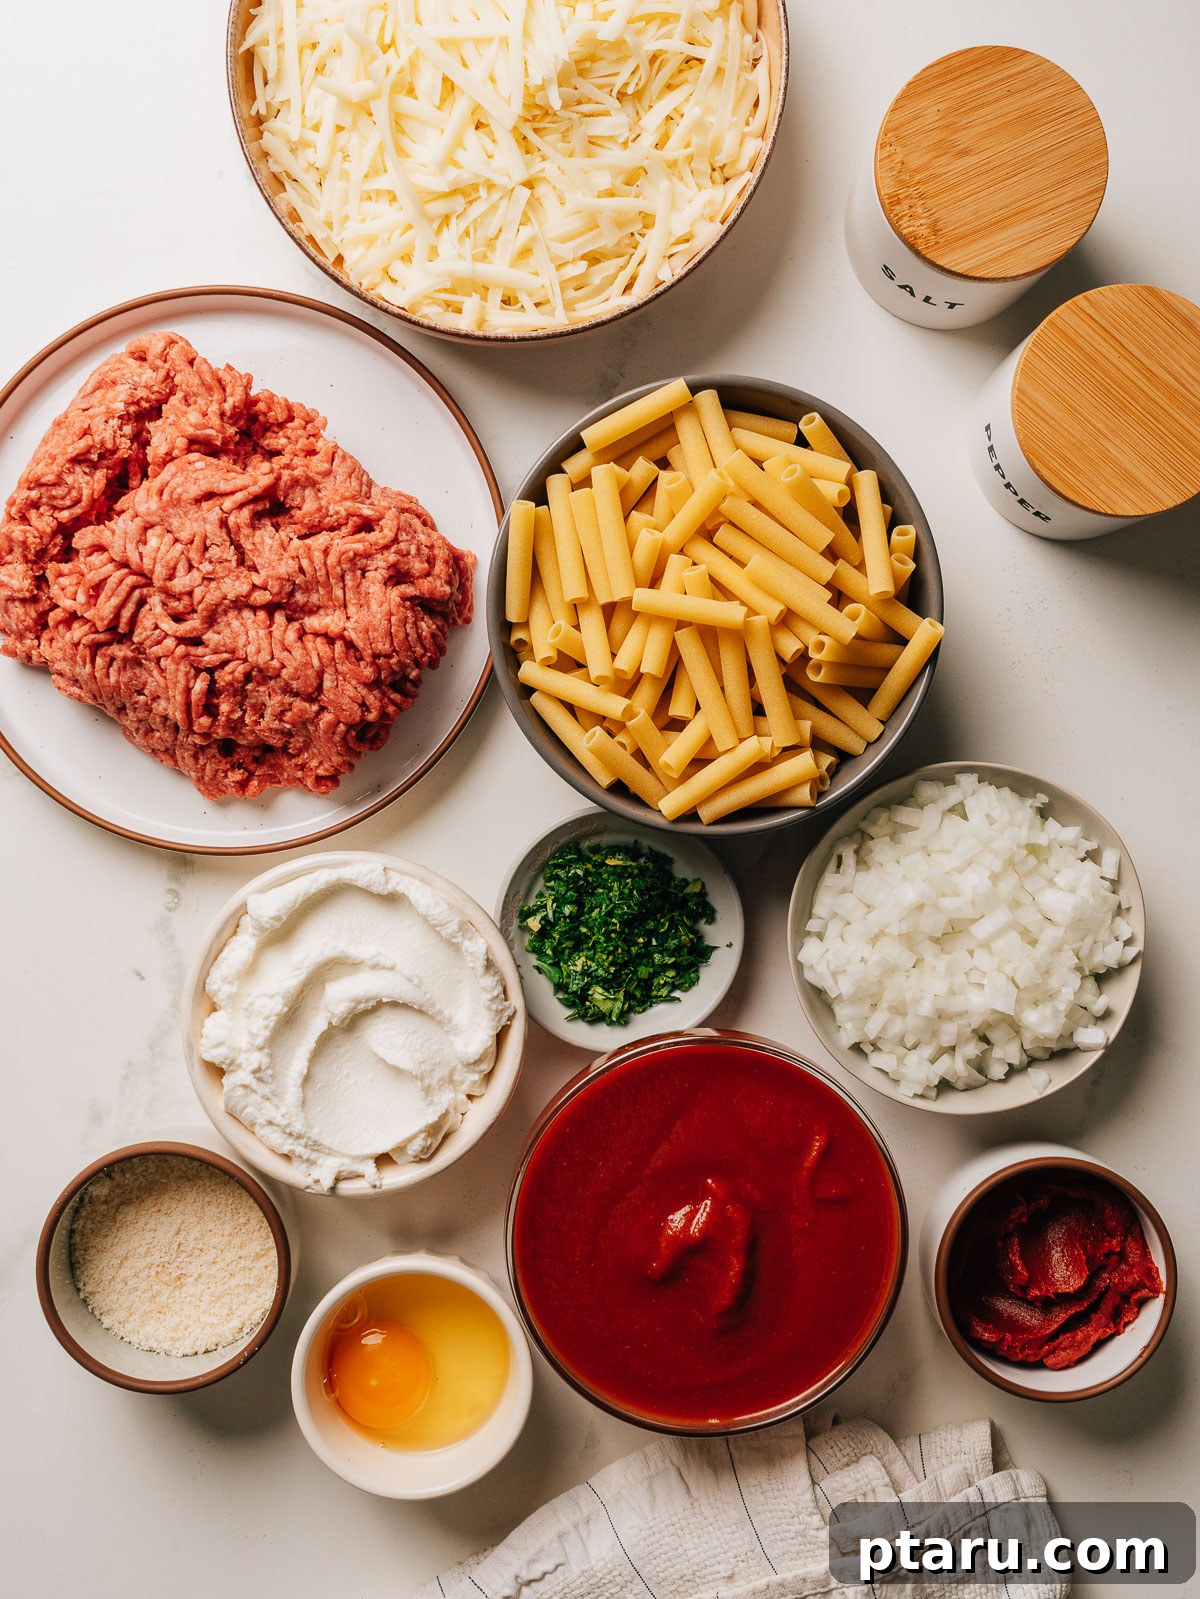
- Ziti Pasta: One pound of dry ziti pasta is ideal. Remember to cook it very al dente, about 2 minutes shy of the package instructions. This ensures it finishes cooking in the sauce without becoming mushy. Other short, tubular pasta shapes like penne or rigatoni can also be used.
- Ground Beef: A cornerstone of the rich meat sauce. Opt for ground beef with a moderate fat content (e.g., 80/20) for flavor, but be sure to drain excess fat. Ground Italian sausage or a combination of both can also elevate the taste.
- Onion and Garlic: These aromatic vegetables form the flavor foundation of the sauce. Finely minced onion and garlic, properly sautéed, release their sweet and pungent notes, adding depth to every bite.
- Tomato Paste: This concentrated tomato product is essential for a deeply flavored sauce. Caramelizing the tomato paste in a hot pan before adding other liquids enhances its sweetness and umami, preventing a raw tomato taste.
- Crushed Tomatoes: The body of your sauce. High-quality crushed tomatoes provide a robust, fresh tomato flavor. Strained tomatoes or passata can also be excellent choices for a smoother sauce.
- Italian Seasoning, Red Pepper Flakes, Salt, and Pepper: These seasonings bring the sauce to life. Italian seasoning offers a classic herb blend, while red pepper flakes add a subtle warmth. Adjust salt and freshly cracked black pepper to taste for perfect balance.
- Ricotta Cheese: The heart of the creamy layer. Whole milk ricotta is highly recommended for its rich, smooth texture and superior flavor. It creates delightful pockets of creaminess throughout the dish.
- Egg: A single large egg is mixed into the ricotta. This acts as a binder, helping the ricotta mixture set and maintain its pillowy texture during baking, preventing it from completely melting into the sauce.
- Parmesan Cheese: Freshly grated Parmesan adds a salty, nutty, and sharp dimension to the ricotta layer, complementing the other flavors beautifully.
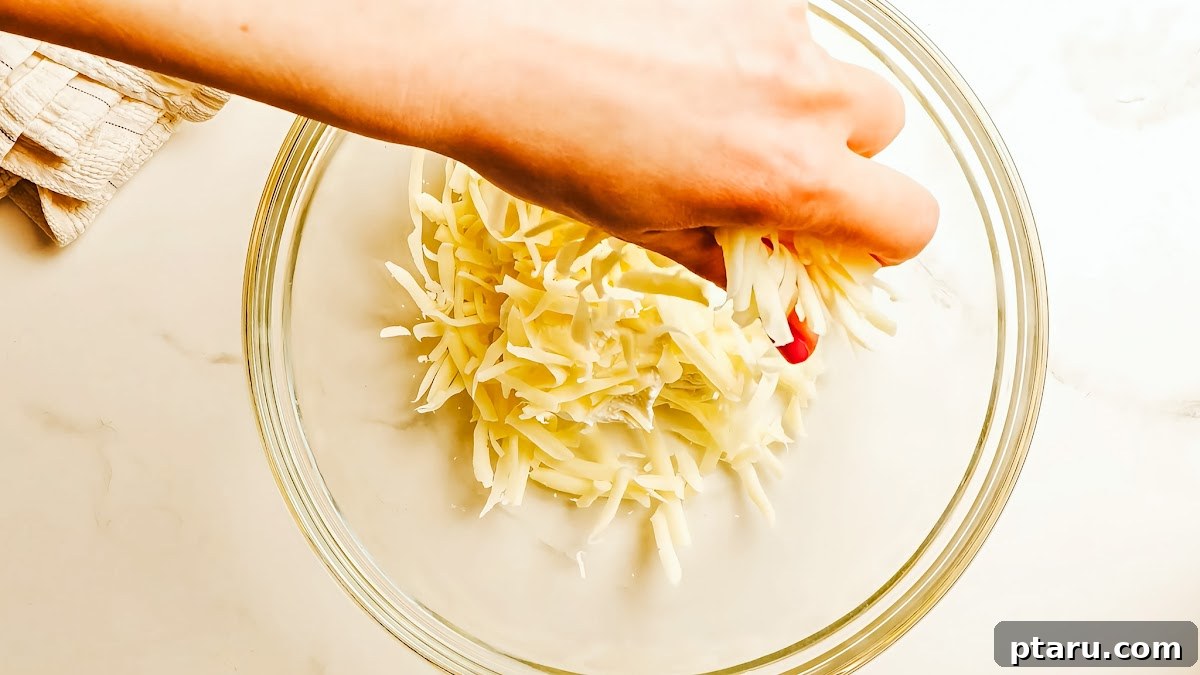
- Mozzarella Cheese: Divided into layers and for the topping, freshly grated low-moisture mozzarella is key for that iconic gooey, stretchy, and golden-brown crust. Avoid pre-shredded mozzarella as it often contains anti-caking agents that hinder optimal melting.
For precise measurements and full ingredient quantities, please refer to the detailed recipe card located at the very end of this article.
Delicious Variations and Smart Substitutions
This classic baked ziti recipe is wonderfully versatile, allowing for easy customization to suit your taste preferences or available ingredients. Don’t hesitate to experiment with these delicious variations:
- Beef and Sausage Blend: For an even richer and more complex flavor profile, try using a mix of half ground beef and half Italian sausage (sweet or spicy, depending on your preference). The fennel notes from the sausage add incredible depth without any extra effort.
- Lighter Protein Option: If you’re looking to reduce the fat content, swap the ground beef entirely for ground turkey or chicken. For best results, use a lean ground turkey (93/7) and ensure you brown it well to build flavor. You can find more healthy ground turkey recipes here.
- Cottage Cheese Swap: No ricotta on hand? No problem! Cottage cheese can be used as a substitute. For a smoother texture, blend the cottage cheese briefly in a food processor before mixing it with the egg and Parmesan. The result will be slightly different but still wonderfully creamy and delicious.
- Alternative Short Pasta Shapes: While ziti is traditional, other short, tubular pasta varieties work just as well. Feel free to use penne, rigatoni, or even cavatappi. The key is to choose a pasta shape that can hold the sauce and retain its bite after baking.
- Boost with Veggies: Enhance the nutritional value and add extra texture by incorporating vegetables into your meat sauce. Fresh spinach can be stirred in at the end of the sauce’s simmer, or sautéed mushrooms, bell peppers, or zucchini can be cooked alongside the onion and garlic.
- Hearty Vegetarian Version: To transform this into a meat-free masterpiece, simply omit the ground beef. Double the ricotta mixture to ensure a substantial, satisfying vegetarian dish. You can also add extra vegetables like eggplant, zucchini, or lentils to the sauce for more body and flavor.
- Time-Saving Shortcut Sauce: On busy weeknights, a high-quality jarred marinara sauce can be a lifesaver. Use 4-5 cups of your favorite store-bought sauce, and you can skip the seasoning and simmering steps for the beef sauce. Be sure to taste and adjust any additional seasonings needed.
Essential Kitchen Tools You’ll Need
This recipe doesn’t require any fancy gadgets, just standard kitchen equipment to make the process smooth and enjoyable. Here’s a list of tools that will come in handy:
- Large Dutch Oven or Heavy-Bottomed Pot: Ideal for browning the ground beef thoroughly and simmering the rich meat sauce. Its even heat distribution prevents scorching and promotes flavor development.
- 9×13 Inch Baking Dish: This standard casserole dish size is perfect for layering all the components of your baked ziti, ensuring even cooking and a beautiful presentation.
- Large Mixing Bowl: You’ll need this for effortlessly combining the ricotta filling ingredients until smooth and well incorporated.
- Colander: An indispensable tool for draining the very al dente pasta after boiling, preparing it for its flavorful journey into the casserole.
- Aluminum Foil: Essential for covering the baking dish during the initial phase of baking. This traps steam, allowing the cheese to melt evenly and the pasta to cook through without the top browning too quickly.
How to Make Baked Ziti with Ricotta: A Step-by-Step Easy Guide
Creating this delicious baked ziti is a straightforward process that comes together in under an hour of active cooking time. The key is to pay attention to the details, especially the browning of the meat sauce, which builds foundational flavor. Follow these simple steps for a perfect result:
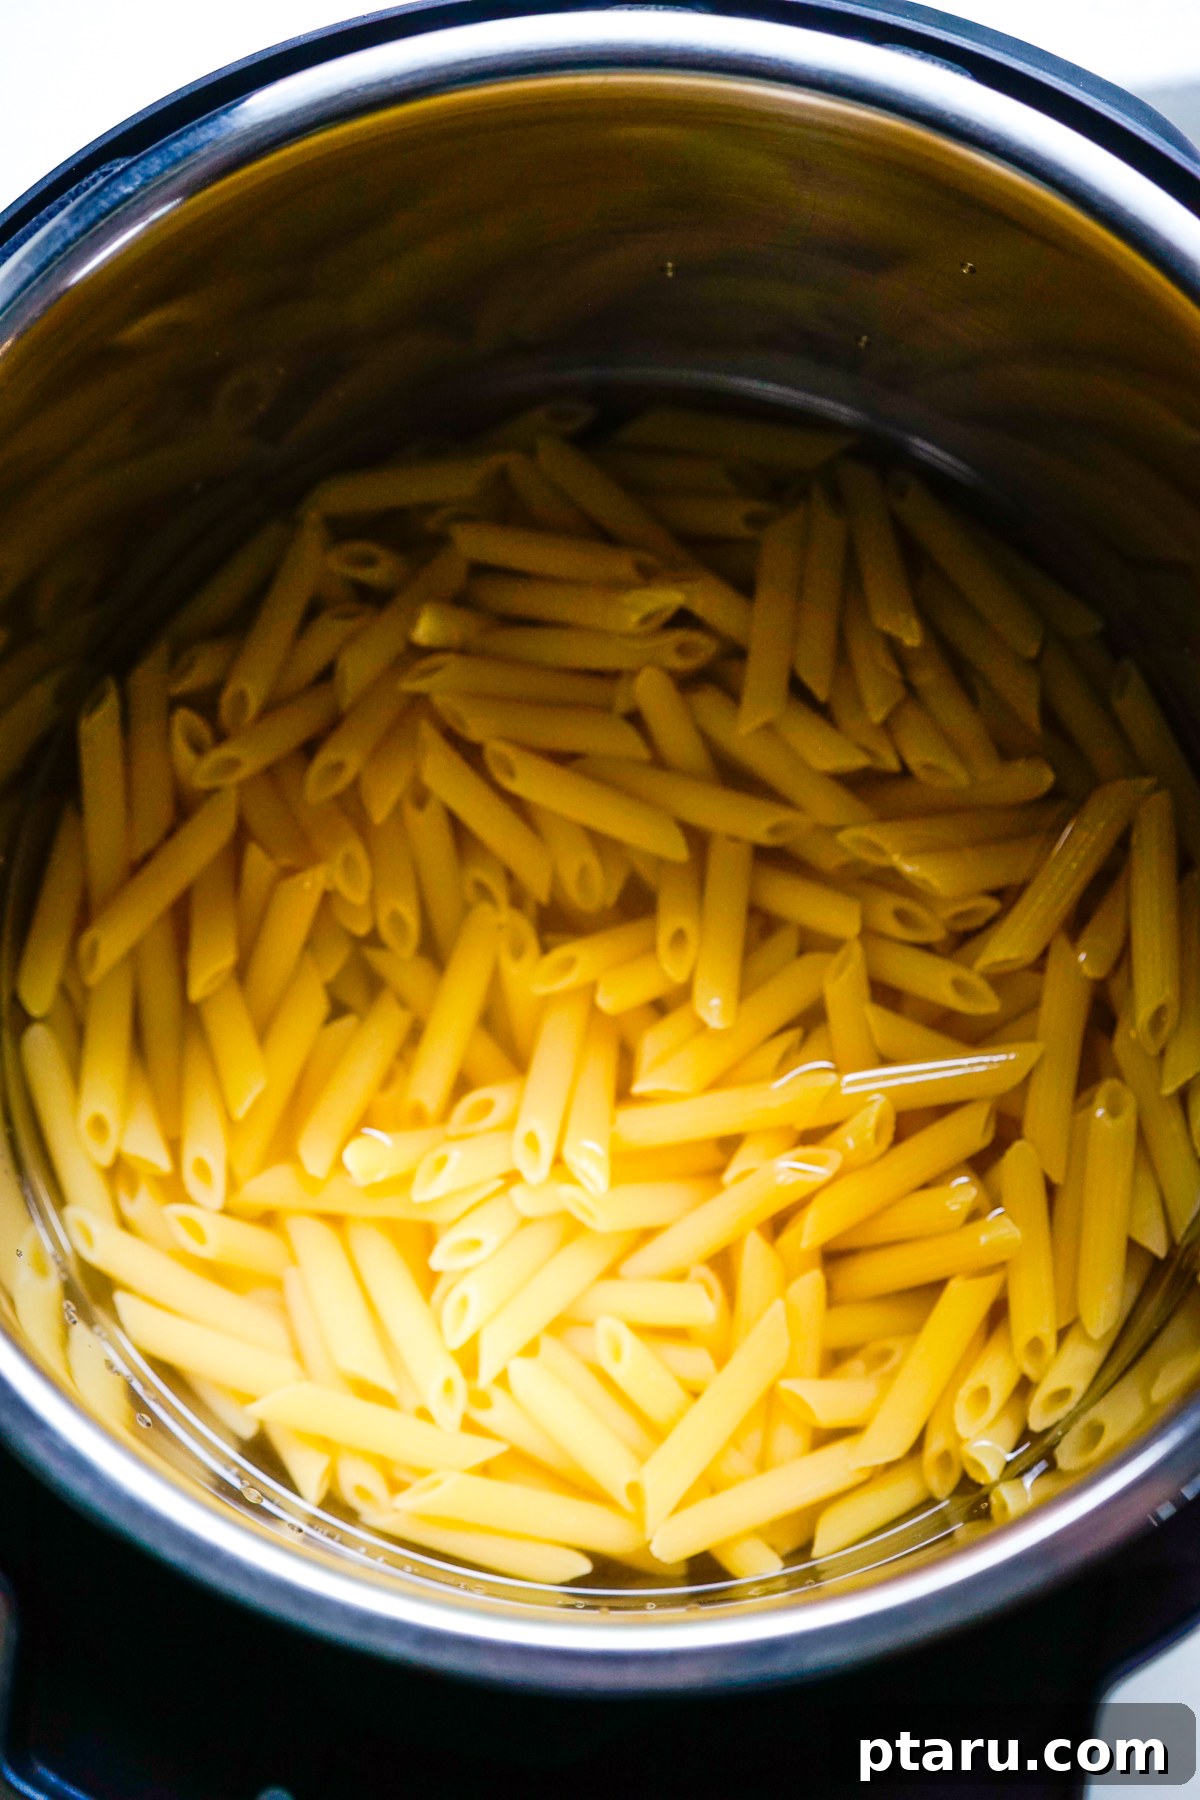
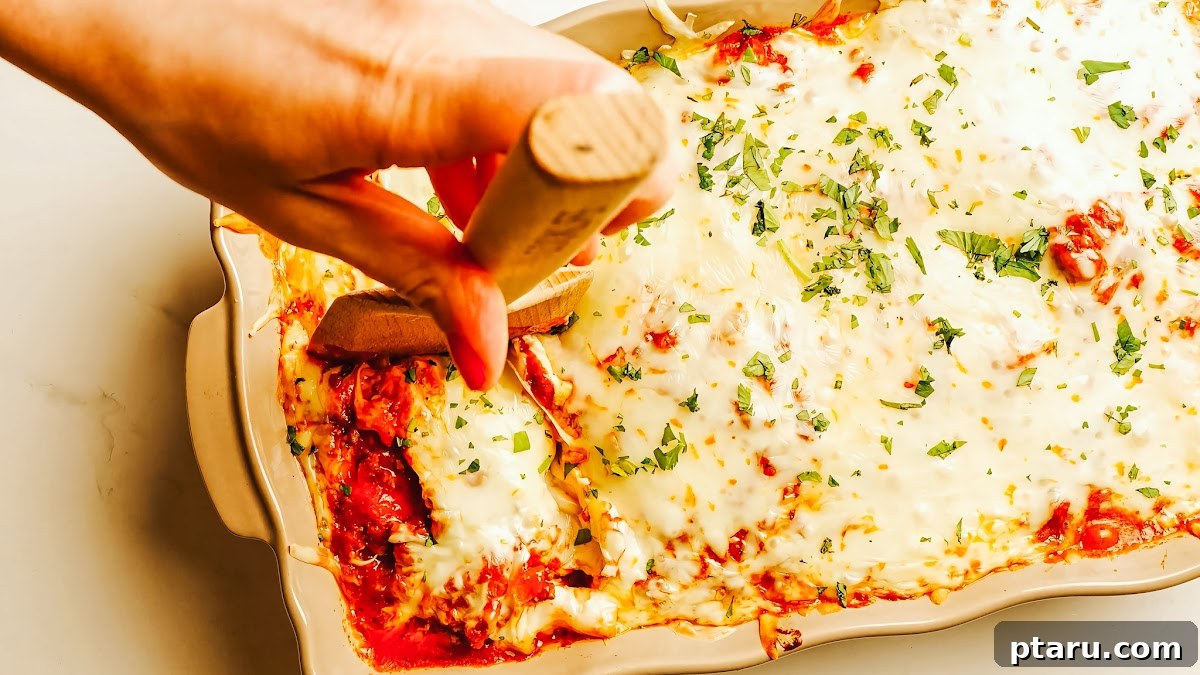
1. Boil the Pasta to Perfection (or Near Perfection!)
Begin by preheating your oven to 375°F (190°C). Bring a large pot of generously salted water to a rolling boil. Add your ziti pasta and cook for approximately 2 minutes less than the package directions specify. This crucial step ensures the pasta remains very al dente, allowing it to absorb flavor and finish cooking in the oven without becoming soft or mushy. Drain the pasta thoroughly using a colander and set it aside while you prepare the flavorful meat sauce.
2. Expertly Brown the Meat
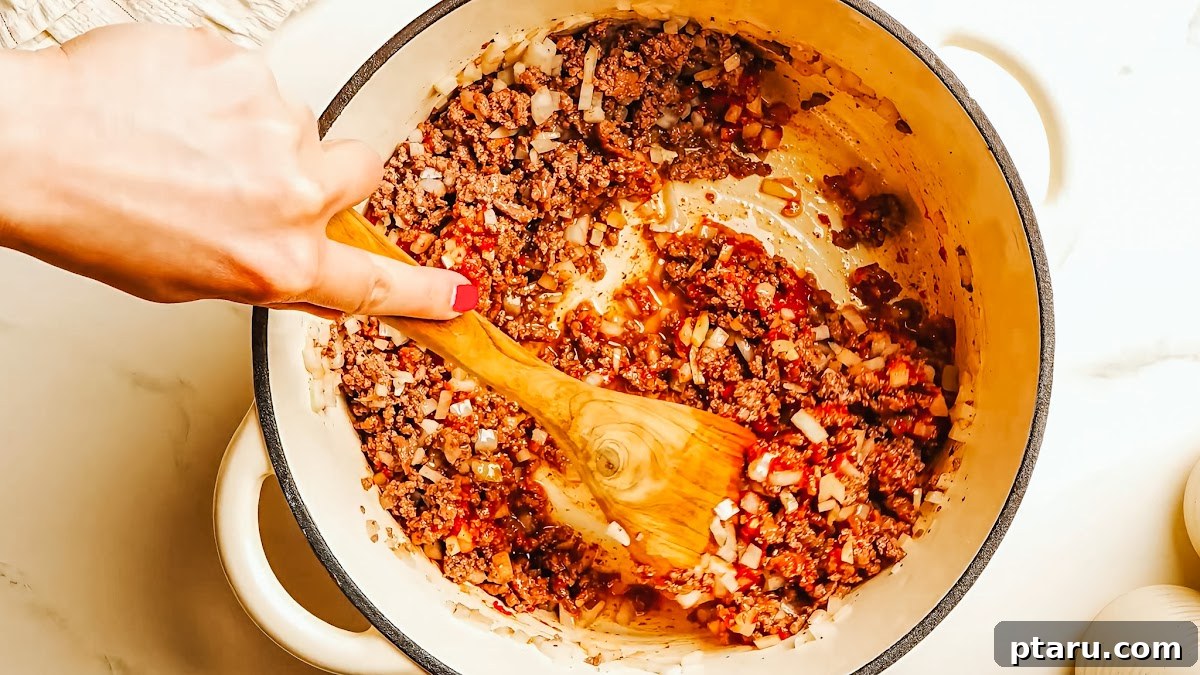
Heat a large Dutch oven or heavy-bottomed pot over medium-high heat for 3-4 minutes to ensure it’s properly hot. Add a tablespoon or two of olive oil, letting it shimmer. Then, add the ground beef (or a combination of beef and sausage) in an even layer. Resist the urge to stir immediately; allow the meat to sear undisturbed for about 5 minutes until a deep brown, caramelized crust forms on the bottom. Break up the meat with a spoon and continue cooking, stirring occasionally, until it’s deeply browned all over, which should take another 3-5 minutes. This browning is critical for developing rich, savory flavors. Drain off any excess fat from the pot, leaving behind about 2 tablespoons of drippings to carry the flavor into the next steps.
3. Soften the Aromatic Vegetables
To the same pot with the reserved drippings, add the minced onion. Cook over medium heat for approximately 4-5 minutes, stirring occasionally, until the onion softens and becomes translucent, releasing its sweet aroma. Next, stir in the minced garlic and cook for just 30 seconds more, until it becomes wonderfully fragrant. Be careful not to burn the garlic, as it can turn bitter quickly.
4. Caramelize the Tomato Paste for Depth
Push the meat and vegetables to one side of the pot, creating a clear spot on the bottom. Add the tomato paste directly to this hot, clear section. Cook the tomato paste for 2 to 3 minutes, stirring constantly, until it darkens in color and begins to lightly stick to the bottom of the pan. This caramelization process intensifies the tomato’s natural sweetness and acidity, adding a profound depth of flavor to your sauce. Once darkened, stir the tomato paste into the meat and vegetable mixture, combining everything thoroughly.
5. Build and Simmer the Savory Sauce
Pour in the crushed tomatoes (or passata). Stir in the Italian seasoning, red pepper flakes, salt, and freshly ground black pepper. Bring the sauce to a gentle simmer, then reduce the heat to low and let it cook uncovered for 10 to 15 minutes. This simmering time allows all the flavors to meld and deepen beautifully. Taste the sauce towards the end of the simmering period and adjust the seasonings as needed; you might want a little more salt, pepper, or a pinch of sugar to balance the acidity of the tomatoes.
6. Prepare the Creamy Ricotta Filling
While the sauce simmers, prepare your ricotta filling. In a large mixing bowl, combine the whole milk ricotta cheese, large egg, grated Parmesan cheese, and 1 teaspoon of salt. Stir everything together until the mixture is smooth and well incorporated. The egg acts as a binder, ensuring that the ricotta layer sets into delicate, pillowy pockets during baking rather than completely melting and running into the meat sauce, providing a distinct and delightful contrast in texture.
7. Layer the Casserole with Care
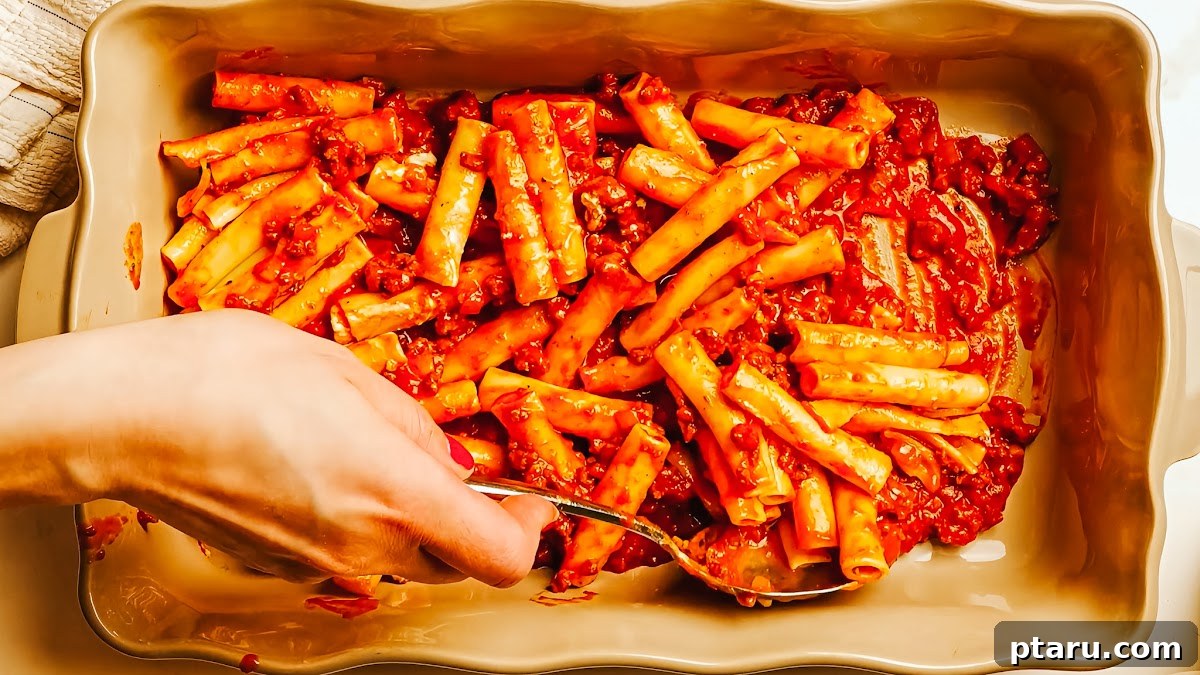
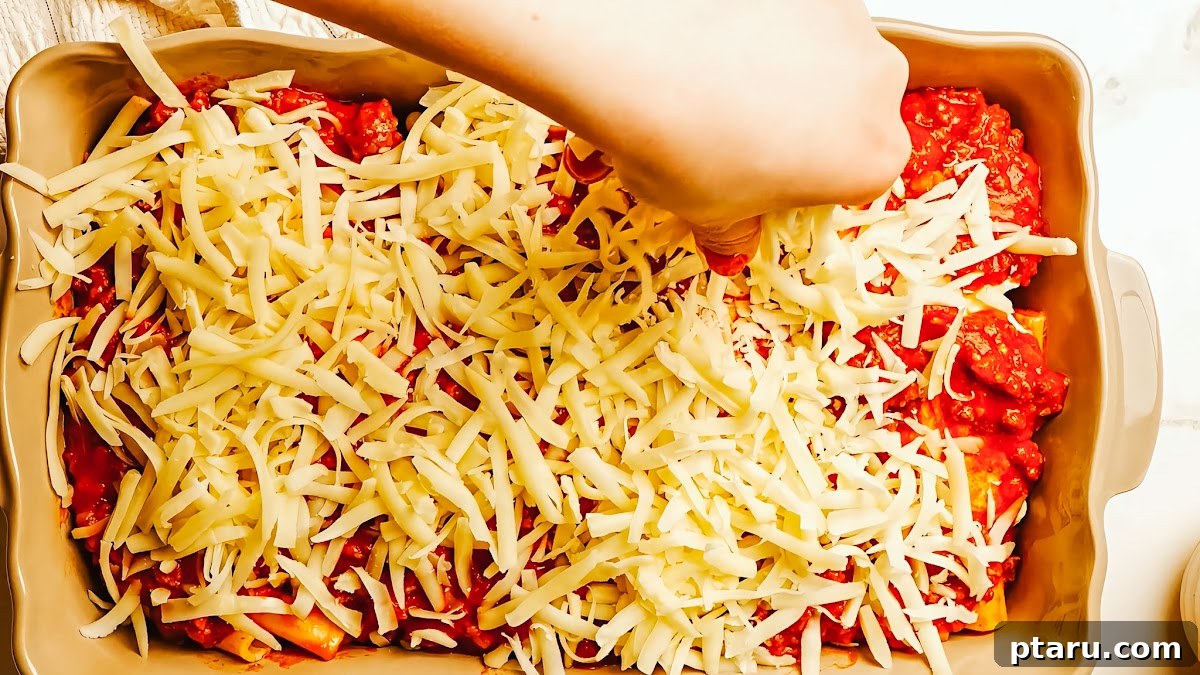
Now, it’s time to assemble your baked ziti masterpiece. Spread a thin layer of the meat sauce on the bottom of your prepared 9×13 inch baking dish. This prevents the pasta from sticking and adds flavor to the base. Next, add half of the cooked ziti pasta over the sauce, spreading it evenly. Follow with half of the remaining meat sauce, then dollop all of the creamy ricotta mixture over the sauce. Sprinkle 2 cups of the freshly grated mozzarella cheese over the ricotta. Repeat the layering process: add the rest of the ziti, followed by the remaining meat sauce, and finally, top with the last 2 cups of mozzarella cheese. This double-layering technique ensures a balanced distribution of all components in every single bite.
8. Bake to Golden, Bubbly Perfection
Cover the baking dish loosely with aluminum foil. This step is crucial as it traps steam, allowing the cheese to melt evenly and preventing the top from browning too quickly before the casserole is heated through. Bake in the preheated oven at 375°F (190°C) for 20 minutes. After 20 minutes, remove the foil and continue to bake for an additional 15 to 20 minutes, or until the cheese topping is gloriously golden brown and bubbling enthusiastically at the edges. Once out of the oven, let the baked ziti rest uncovered for at least 10 minutes before slicing and serving. This resting period allows the layers to set properly, ensuring cleaner, more defined slices.
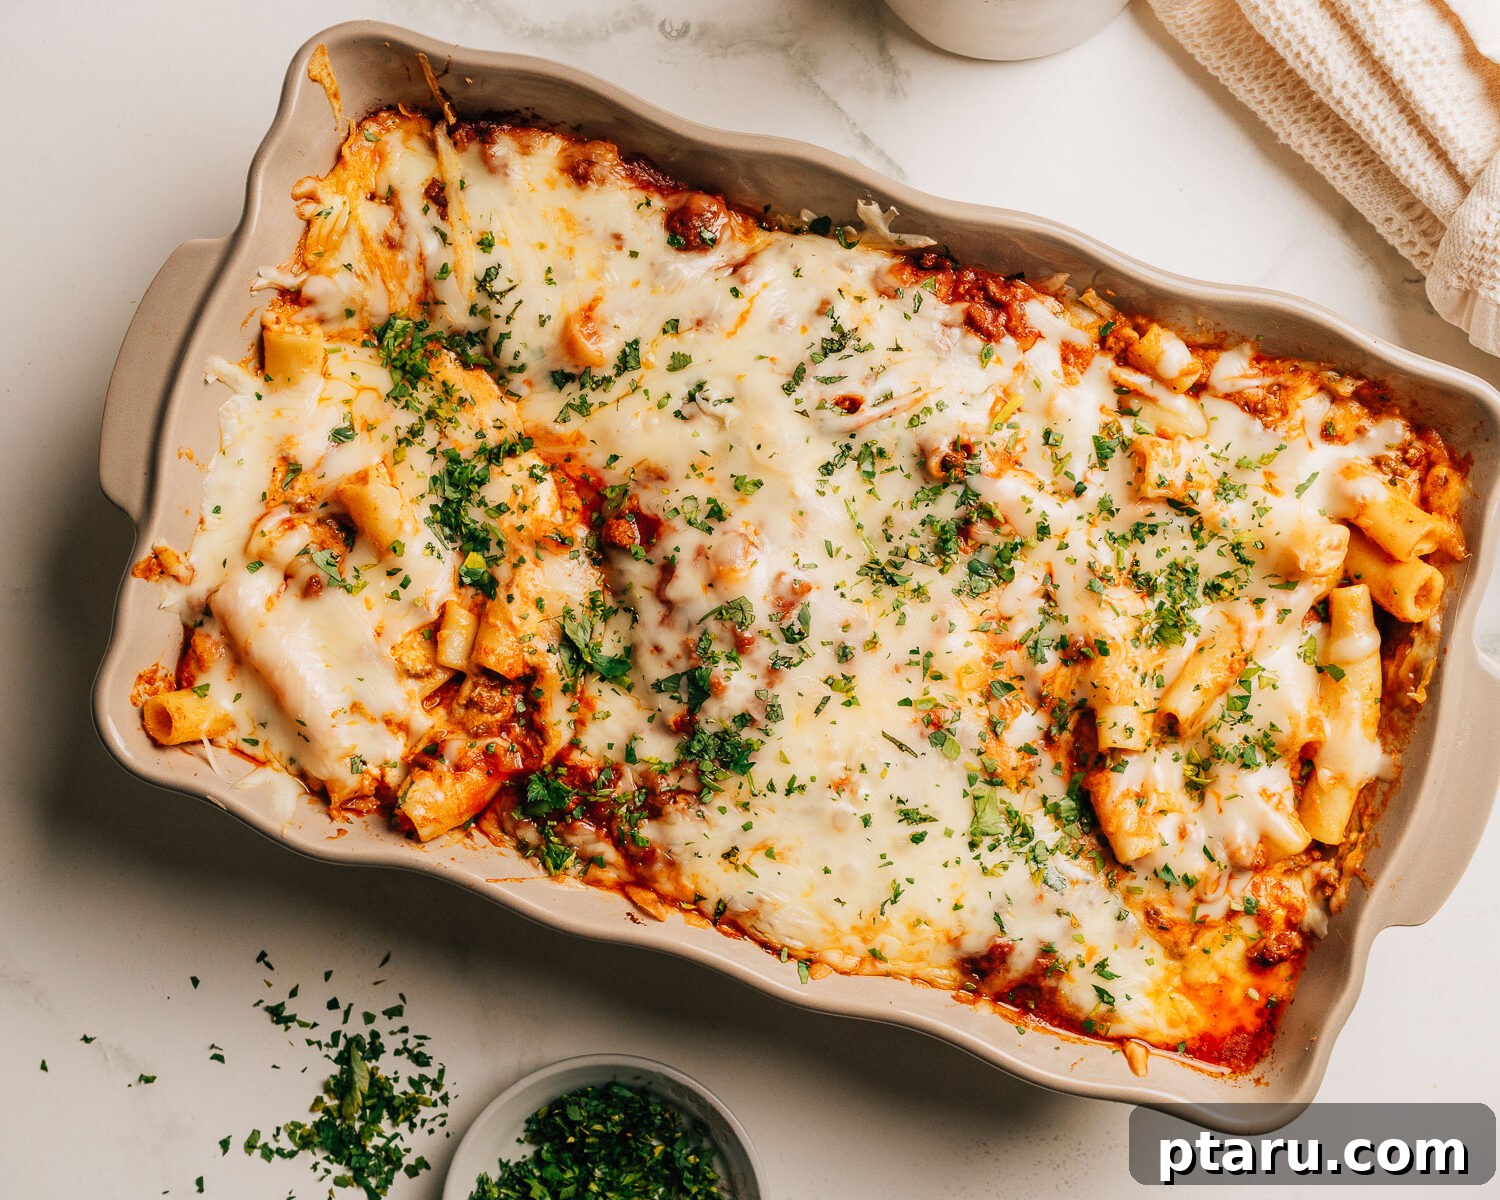
5 Common Mistakes to Avoid for the Best Baked Ziti with Ricotta
Even seasoned cooks can sometimes make simple errors that prevent baked ziti from reaching its full potential. By understanding and avoiding these frequent mix-ups, you can ensure your casserole is consistently delicious:
- Overcooking the Pasta Before Baking: This is arguably the most common mistake. If your ziti is tender at the boil, it will inevitably become mushy and lose its texture in the oven. Always cook your pasta 2 to 3 minutes less than the package directions, ensuring it’s very al dente. It will finish cooking in the flavorful sauce as it bakes.
- Skipping the Tomato Paste Caramelization Step: Adding tomato paste directly to your sauce without first caramelizing it can result in a less complex, sometimes raw-tasting tomato flavor. Taking just two to three minutes to darken the tomato paste in a hot pan before integrating it builds incredible savory depth and a richer color in your sauce.
- Slicing and Serving Too Soon: The temptation to dig into a hot, bubbling baked ziti straight from the oven is strong, but yielding to it will lead to disappointment. Cutting into the casserole immediately means the layers haven’t had a chance to set, causing everything to slide apart. Allow the dish to rest for a minimum of 10-15 minutes after baking; this allows the cheese and ricotta to firm up slightly, ensuring clean, beautiful slices.
- Using Cold Dairy Ingredients: Incorporating cold ricotta and mozzarella directly from the refrigerator into your casserole can prolong the baking time and sometimes lead to uneven melting. For best results, allow your ricotta and mozzarella to sit at room temperature for about 30 minutes while you prepare the sauce. This helps them melt more evenly and contributes to a creamier texture.
- Forgetting to Cover the Dish with Foil: Baking ziti uncovered for the entire duration can lead to a dry, scorched cheese topping before the pasta and sauce inside are fully heated through. Covering the dish with aluminum foil for the first half of the baking process traps steam, ensuring the cheese melts beautifully and the internal temperature rises evenly. Removing the foil for the last 15-20 minutes then allows the top to achieve that irresistible golden, bubbly crust.
Make-Ahead and Storage Tips for Baked Ziti
Baked ziti is a true make-ahead champion, making it an excellent choice for meal prep, busy weeknights, or feeding a crowd. Here’s how to properly store, freeze, and reheat this delicious casserole:
Storing Leftovers
- Cool Completely First: Before storing, allow the baked ziti casserole to cool down to room temperature. This prevents condensation from forming inside the container, which can lead to soggy pasta.
- Airtight Container: Transfer any leftover baked ziti into an airtight container. It will keep beautifully in the refrigerator for up to 4 days.
- Assemble Ahead: For ultimate convenience, you can assemble the entire casserole the night before you plan to bake it. Simply cover the unbaked dish tightly with plastic wrap or aluminum foil and refrigerate. When ready to bake, add an extra 30 to 40 minutes to the bake time, as it will be starting from a cold temperature. The flavors often meld and deepen overnight, making it even more delicious!
Freezing Baked Ziti
Baked ziti freezes exceptionally well, whether baked or unbaked, making it perfect for future meals.
- Freezer-Safe Dish: Assemble the casserole in a freezer-safe baking dish, such as a foil pan or a sturdy glass dish designed for freezing.
- Wrap Tightly: To prevent freezer burn and drying out, wrap the dish tightly first with a layer of plastic wrap, then an additional layer of heavy-duty aluminum foil. Label with the date.
- Storage Duration: Baked ziti can be stored frozen for up to 3 months.
- Baking from Frozen: If baking from frozen, remove the plastic wrap but keep the foil cover. Bake at 350°F (175°C) for approximately 1 hour and 15 minutes, or until heated through. Remove the foil for the last 15-20 minutes to allow the cheese to brown and bubble.
Reheating Baked Ziti Portions
- Oven Method (for larger portions): For the best quality, cover individual portions or a larger piece with aluminum foil and reheat in a preheated oven at 350°F (175°C) for about 20 minutes, or until warmed through.
- Microwave Method (for single servings): Place an individual portion on a microwave-safe plate. Heat in 1-minute bursts, stirring gently between intervals, until thoroughly warmed.
- Add a Splash of Water: If the pasta appears a bit dry when reheating, add a tiny splash (about a tablespoon) of water or chicken broth to the plate or dish before warming. This helps create some steam and prevents the pasta from drying out.
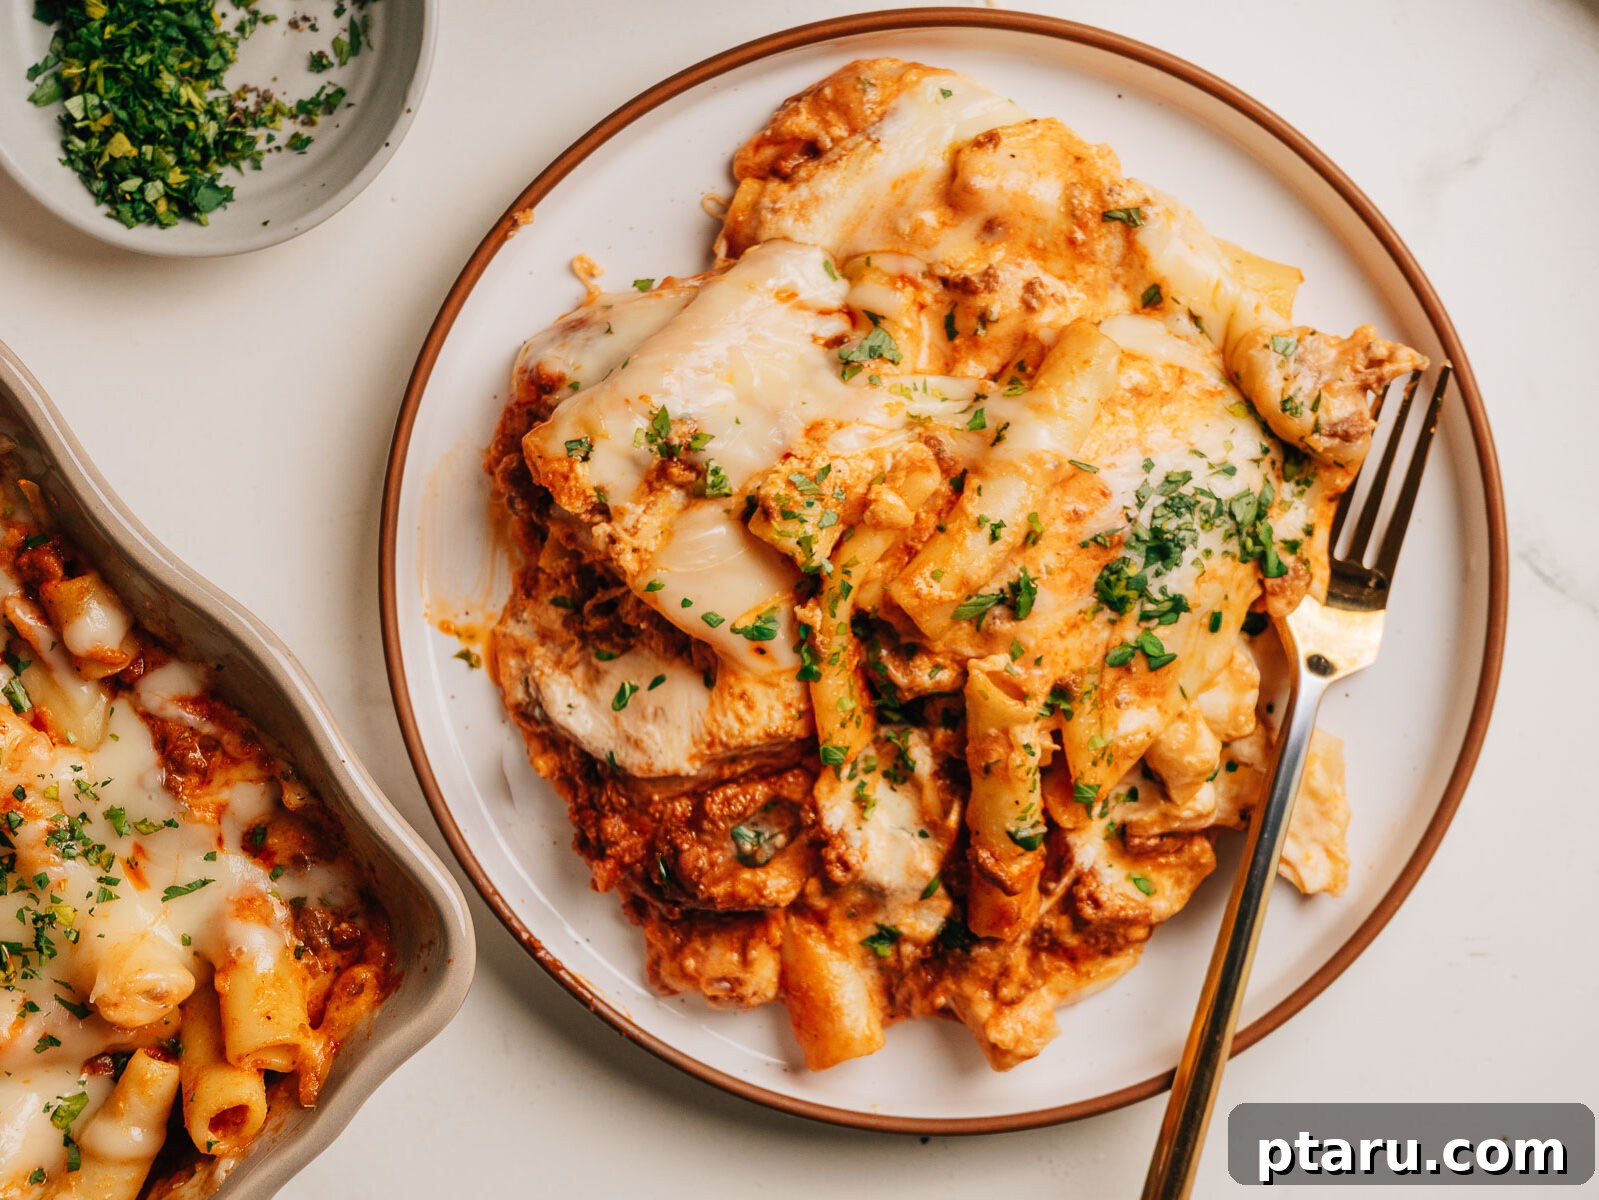
How to Serve Your Delicious Baked Ziti Recipe
Baked ziti is a wonderfully hearty and complete meal on its own, but pairing it with the right accompaniments can elevate the entire dining experience. For more extensive ideas, refer to my comprehensive guide to good sides for pasta.
Delectable Toppings for Baked Ziti
A few simple garnishes can add a fresh burst of flavor and a touch of elegance to your baked ziti:
- Fresh Basil: Tear fresh basil leaves and scatter them over the top of the ziti just before serving. The vibrant green and aromatic sweetness of basil perfectly complement the rich tomato sauce and creamy cheese.
- Extra Parmesan: A generous shower of freshly grated Parmesan or Pecorino Romano cheese adds an irresistible salty, nutty finish. I personally believe you can never have too much!
- Red Pepper Flakes: For those who enjoy a little extra kick, a sprinkle of red pepper flakes offers a pleasant warmth that enhances the savory notes of the dish.
- Cracked Black Pepper: A final grinding of fresh black pepper adds a subtle spice and aroma that rounds out the flavors beautifully.
- Fresh Parsley: Minced fresh parsley provides a bright, herbaceous note and a pop of color, making the dish visually appealing.
Perfect Side Dishes to Complement Baked Ziti
While baked ziti is substantial, a thoughtfully chosen side dish can complete the meal:
- Garlic Bread: The quintessential pairing! My homemade garlic bread is the classic choice for soaking up any extra sauce and adding a savory crunch.
- Cheesy Pull-Apart Bread: For a crowd-pleasing alternative, try my no-knead cheesy garlic bread fingers. They’re fun, flavorful, and perfect for sharing.
- Simple Italian Salad: A crisp, refreshing green salad with a light vinaigrette cuts through the richness of the ziti. A classic choice is a simple mix of romaine lettuce, cherry tomatoes, and cucumber dressed with my homemade Italian dressing.
- Another Pasta Salad: For the ultimate pasta lover, a light and tangy pasta salad served cold on the side offers a contrasting texture and temperature.
- Steamed or Roasted Vegetables: Broccoli, green beans, or asparagus, lightly steamed or roasted with a touch of olive oil and garlic, make a healthy and delicious complement.
How to Make the Best Baked Ziti: Final Notes & Expert Secrets
Achieving truly outstanding baked ziti goes beyond just following a recipe; it’s about understanding the subtle nuances that elevate a good dish to a great one. Keep these expert tips and secrets in mind as you cook to ensure your baked ziti is always a showstopper:
- Undercook the Pasta on Purpose: This cannot be stressed enough. Cook your ziti pasta for 2 to 3 minutes less than the package instructions. It should be noticeably firm. The pasta will finish cooking in the oven, absorbing the rich flavors of the sauce and retaining a perfect, toothsome texture. Overcooked pasta turns to mush, ruining the integrity of the dish.
- Embrace Two-Stage Browning: Flavor development is key. First, sear the ground meat hard until it develops a deep brown, caramelized crust – this is the Maillard reaction at work, creating savory depth. Second, caramelize the tomato paste in the hot pan until it darkens significantly. Both these steps build layers of intense, complex flavor in your sauce that simply cannot be achieved by quick sautéing.
- Always Add Egg to the Ricotta: The egg is not just an optional ingredient; it’s a structural secret. When mixed with the ricotta and Parmesan, the egg helps the cheese mixture set beautifully during baking, creating distinct, pillowy pockets of creamy goodness. Without it, the ricotta is more likely to melt and blend seamlessly into the sauce, losing its delightful textural contrast.
- Master the Double Layer: For a perfectly balanced casserole where every bite offers a medley of flavors and textures, always layer your baked ziti twice. This means two layers of pasta, two layers of meat sauce, two layers of ricotta mixture, and two layers of mozzarella. This technique ensures a harmonious distribution, preventing any single component from overwhelming the others.
- The Foil First, Uncovered Finish Method: This two-stage baking approach is crucial for optimal results. Covering the dish with foil for the initial baking period traps steam, allowing the pasta to cook through and the cheeses to melt evenly without drying out or burning. Removing the foil for the final 15-20 minutes then provides the necessary exposure for the mozzarella topping to develop that irresistible golden-brown, bubbly crust.
- The Importance of Resting: Patience is a virtue, especially with baked casseroles. After pulling your baked ziti from the oven, resist the urge to slice it immediately. Allow it to rest, uncovered, for at least 10-15 minutes. This crucial resting period allows the hot layers to settle and firm up, ensuring cleaner, more defined slices and preventing the entire dish from collapsing when served.
- Consider Making it the Day Before: Like many pasta dishes, baked ziti often tastes even better on the second day. Assembling the casserole a day in advance and letting it chill in the refrigerator allows the flavors to meld and deepen overnight. When you bake it the next day, you’ll be rewarded with an even more flavorful and cohesive dish. Just remember to add extra baking time for a cold casserole.
Frequently Asked Questions About Baked Ziti with Ricotta
Here are quick, concise answers to some of the most commonly asked questions regarding this delicious baked ziti recipe. Whether you’re a beginner or looking for a quick tip, you’ll find what you need here.
Yes, cottage cheese can be an excellent substitute for ricotta, offering a similar creamy texture and mild flavor. For a smoother consistency closer to ricotta, you might want to blend the cottage cheese briefly in a food processor before mixing it with the egg and Parmesan. The final dish will still be delicious, though with a slightly different textural nuance.
To prevent the cheese from burning, cover the casserole dish loosely with aluminum foil for the first 20-30 minutes of baking. This traps moisture and ensures the pasta heats through and the cheese melts evenly without over-browning. Remove the foil for the last 15-20 minutes to allow the cheese to turn golden and bubbly. If you notice it browning too quickly even after uncovering, simply place the foil back on loosely for the remainder of the baking time.
Absolutely! To create a delicious vegetarian baked ziti, simply omit the ground meat entirely. For a hearty and satisfying meat-free alternative, consider doubling the ricotta mixture to ensure a substantial cheesy layer. You can also enhance the sauce by adding sautéed vegetables like mushrooms, bell peppers, zucchini, or fresh spinach for extra body and flavor.
While ziti is the traditional choice and gives the dish its name, other short, tubular, or ridged pasta shapes work equally well. Excellent alternatives include rigatoni, penne, or even cavatappi. These shapes are ideal because they effectively hold onto the rich meat sauce and the creamy ricotta, ensuring a flavorful bite every time. Avoid very small pasta shapes like ditalini, as they can get lost in the casserole.
Leftover baked ziti is fantastic and can be safely stored in an airtight container in the refrigerator for up to 4 days. When reheating, cover individual portions with foil and warm in a 350°F (175°C) oven for about 20 minutes until heated through, or use the microwave for quicker single servings, heating in 1-minute bursts until piping hot.
Yes, using a good quality jarred marinara or meat sauce is a fantastic time-saving shortcut. You’ll need approximately 4 to 5 cups of sauce. The recipe will still turn out wonderfully flavorful and comforting. If using a pre-seasoned jarred sauce, you may want to reduce or skip the additional seasonings mentioned in the recipe to avoid over-seasoning. Always taste and adjust.
Yes, it is generally recommended to drain off most of the excess fat after browning the ground meat. This prevents the finished sauce from becoming overly greasy. However, don’t drain every last drop; leave about 1-2 tablespoons of the flavorful drippings in the pan. This remaining fat will be used to sauté the onion and garlic, carrying over the delicious browned-meat flavor into the sauce base.
Absolutely, baked ziti is an excellent make-ahead meal! You can assemble the entire casserole up to 24 hours in advance. Cover it tightly with plastic wrap or foil and refrigerate until you’re ready to bake. When baking a cold casserole, add an extra 30 to 40 minutes to the total bake time. Starting with a cold dish allows the flavors to meld beautifully overnight, often resulting in an even more delicious final product.
More Irresistible Pasta Bake Recipes You’ll Love
If you’re a fan of comforting, cheesy pasta bakes, you’re in the right place! Explore these other fantastic recipes that offer similar hearty satisfaction and ease of preparation:
- Lazy Lasagna (Just 3 Ingredients!): An incredibly simple yet delicious lasagna that comes together with minimal effort, perfect for busy evenings.
- Stovetop Skillet Lasagna: All the flavors of lasagna, cooked in a single skillet on your stovetop for an easy, quick meal with less cleanup.
- Crockpot Slow Cooker Lasagna: Let your slow cooker do all the work to create a tender, cheesy, and deeply flavored lasagna with minimal hands-on time.
- Ridiculously Easy Hamburger Casserole: A family-friendly classic, this comforting casserole features ground beef and pasta in a savory sauce, perfect for a no-fuss dinner.
- Collection of Chicken and Pasta Bake Recipes: A diverse selection of delicious baked pasta dishes featuring tender chicken, ideal for exploring new flavors and textures.
- The Best Homemade Meat Sauce: Learn how to craft a rich, savory meat sauce from scratch that can be used in a multitude of pasta dishes, including this baked ziti.
Pin
Baked Ziti with Ricotta
Jennifer Pallian BSc, RD
25 minutes
50 minutes
1 hour
15 minutes
8
servings
Video
Ingredients
-
1
lb
dry ziti pasta -
kosher salt
for pasta water
For the Beef Sauce
-
2
tbsp
olive oil -
1 ¾
lb
ground beef -
1
large onion
minced -
1 ¾
tsp
kosher salt -
½
tsp
black pepper -
2
tbsp
minced garlic -
1
6 oz can tomato paste -
2
28 oz cans strained tomatoes or passata -
¼
tsp
baking soda
see notes
For the Ricotta Layer
-
15
oz
whole milk ricotta -
1
large egg -
½
cup
grated Parmesan cheese -
1
tsp
dried parsley
or 1 tbsp fresh -
1
cup
freshly-grated mozzarella cheese
For Topping
-
2 ½
cups
freshly-grated mozzarella cheese
Instructions
-
Preheat your oven to 375°F (190°C). Bring a large pot of well-salted water to a boil. Add the ziti pasta and cook for 1 minute less than the package directions (it should be very al dente). Drain thoroughly and set aside.
-
Heat a large Dutch oven or heavy pot over medium-high heat for 3 to 4 minutes until hot. Add 2 tablespoons of olive oil and let it heat until shimmering, about 30 to 60 seconds. Add the ground beef in an even layer. Break it up slightly, then allow it to sear undisturbed for about 5 minutes to form a caramelized crust on the bottom. Stir and continue browning until the beef is deeply colored and cooked through, about 8 minutes total. Drain off any excess fat, leaving about 2 tablespoons in the pan.
-
Add the minced onion, 1 ¾ tsp kosher salt, and ½ tsp black pepper to the pot. Cook, stirring occasionally, until the onion has softened and turned translucent, about 5 minutes. Stir in the minced garlic and cook for an additional 30 seconds until fragrant, being careful not to burn it.
-
Push the meat and vegetables to one side of the pot to create a clear spot. Add the 6 oz can of tomato paste directly to this hot spot. Cook, stirring frequently, for 3 to 4 minutes until the tomato paste darkens in color and begins to stick to the bottom of the pot. This step significantly deepens the flavor of the sauce. Once darkened, stir the tomato paste into the meat mixture.
-
Pour in both 28 oz cans of strained tomatoes or passata. Add ¼ tsp of baking soda (this helps neutralize the acidity of the tomatoes). Bring the sauce to a gentle simmer, then reduce the heat to low and cook for 15 to 20 minutes, stirring occasionally, until the sauce has slightly thickened but remains saucy. Taste the sauce and adjust salt or pepper if needed.
-
In a large bowl, combine the 15 oz whole milk ricotta, 1 large egg, ½ cup grated Parmesan cheese, and 1 cup of freshly-grated mozzarella cheese. Stir until the mixture is smooth and well combined.
-
In a separate large bowl, combine the cooked ziti pasta with about three-quarters of the prepared beef sauce. Toss gently until the pasta is generously coated and looks slightly saucy.
-
Spread a thin layer of the remaining meat sauce on the bottom of a 9×13 inch baking dish. Evenly spread half of the pasta mixture over this sauce layer. Then, dollop half of the ricotta mixture over the pasta, followed by a sprinkle of 1 cup of mozzarella cheese (from the topping amount). Repeat with the remaining pasta mixture, the rest of the ricotta, and then spoon the rest of the meat sauce over the top.
-
Sprinkle the remaining 2 ½ cups of mozzarella cheese evenly over the surface of the casserole. Cover the dish loosely with aluminum foil.
-
Bake the covered dish in the preheated oven for 30 minutes. Remove the foil and continue to bake for an additional 15 to 20 minutes, or until the cheese topping is golden brown and bubbling enthusiastically at the edges.
-
Once out of the oven, let the baked ziti rest for 15 minutes before slicing and serving. This allows the layers to set properly, ensuring cleaner cuts. Garnish with fresh minced parsley or basil before enjoying.
Nutrition
Nutrition information is automatically calculated, so should only be used as an approximation.
Tried this recipe? Share your experience in the comments below!