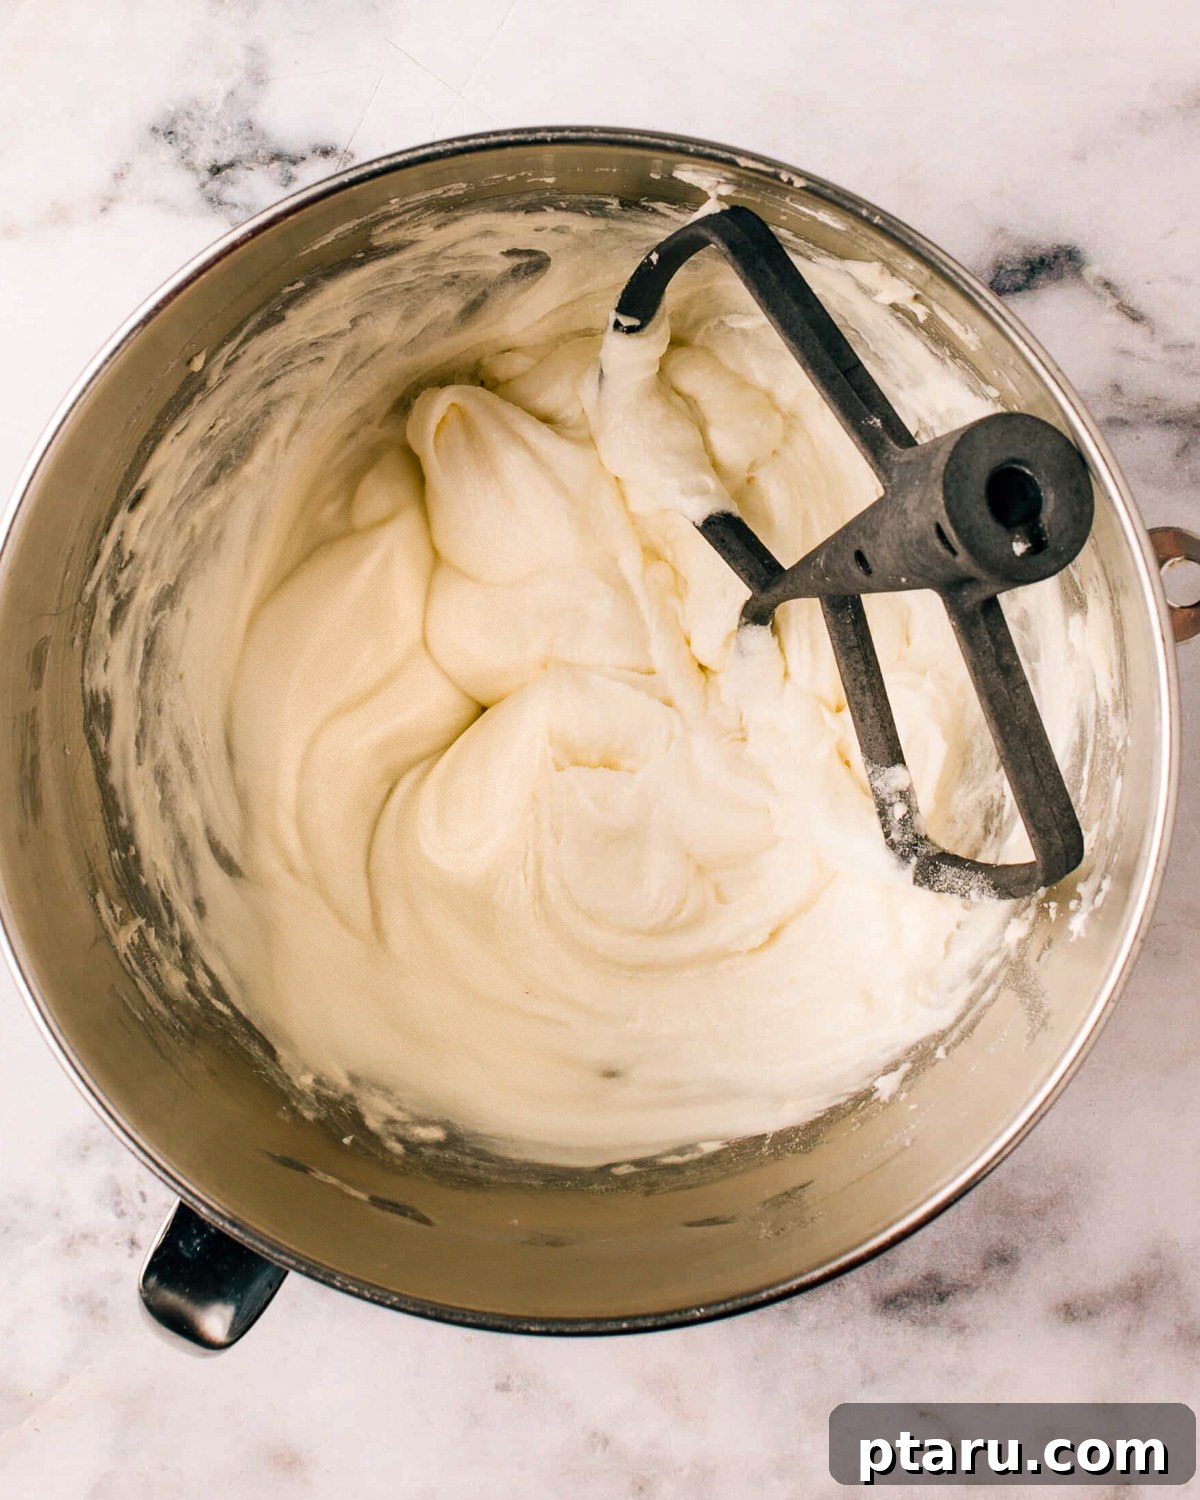
Welcome to the ultimate guide for crafting the most heavenly, fluffy, and incredibly smooth Cream Cheese Icing. This recipe is your secret weapon for transforming any dessert into a bakery-quality masterpiece. With just five simple ingredients and a few easy steps, you’ll achieve a velvety frosting that’s perfect for everything from classic carrot cakes to warm cinnamon rolls. Forget runny, lumpy, or overly sweet frostings – this is the only cream cheese frosting recipe you’ll ever need, guaranteed to deliver satiny perfection every time.
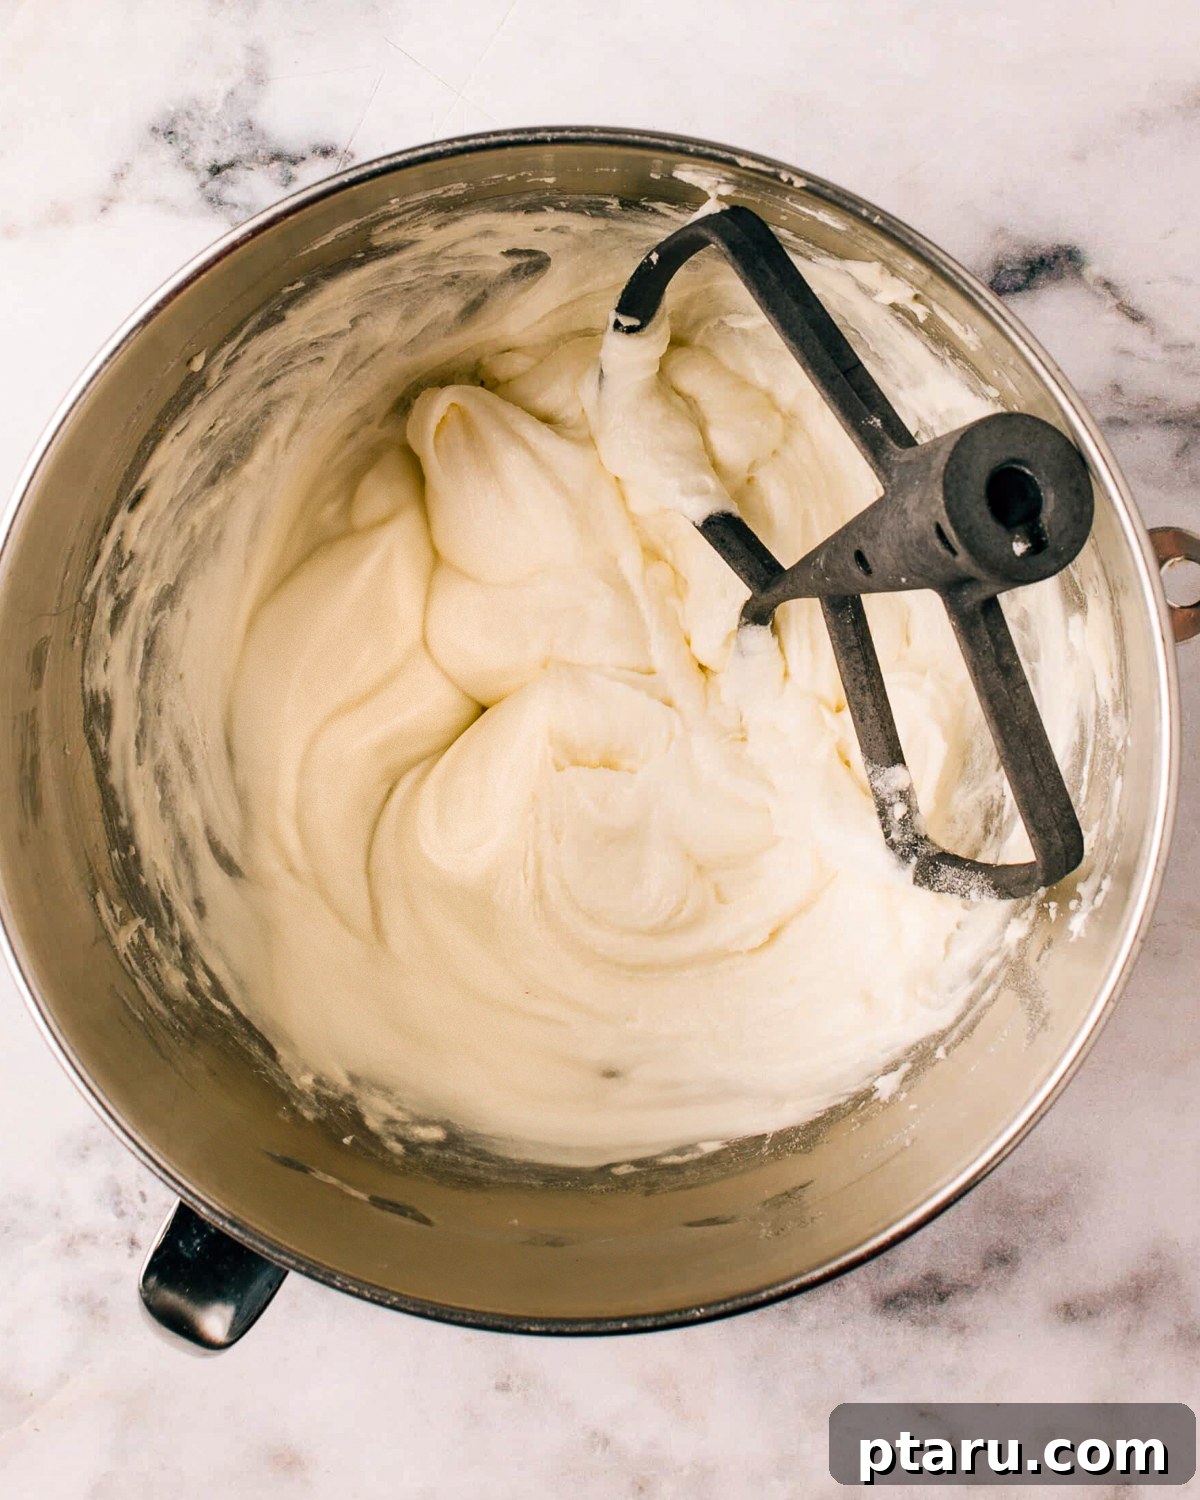
Essential Ingredients and Tools for Perfect Cream Cheese Icing
Creating this delightful cream cheese icing is surprisingly simple, requiring only a handful of common pantry staples and basic kitchen equipment. The key to its signature smooth and fluffy texture lies in using the right ingredients and ensuring they are at the correct temperature. Let’s gather what you’ll need to whip up a batch of this irresistible frosting, perfect for topping big, soft, old-fashioned cinnamon rolls or any other sweet treat.
Key Cream Cheese Icing Ingredients
For the smoothest, silkiest result, it is absolutely crucial that all your ingredients are at room temperature. This helps them combine seamlessly, preventing lumps and ensuring a beautifully emulsified frosting.
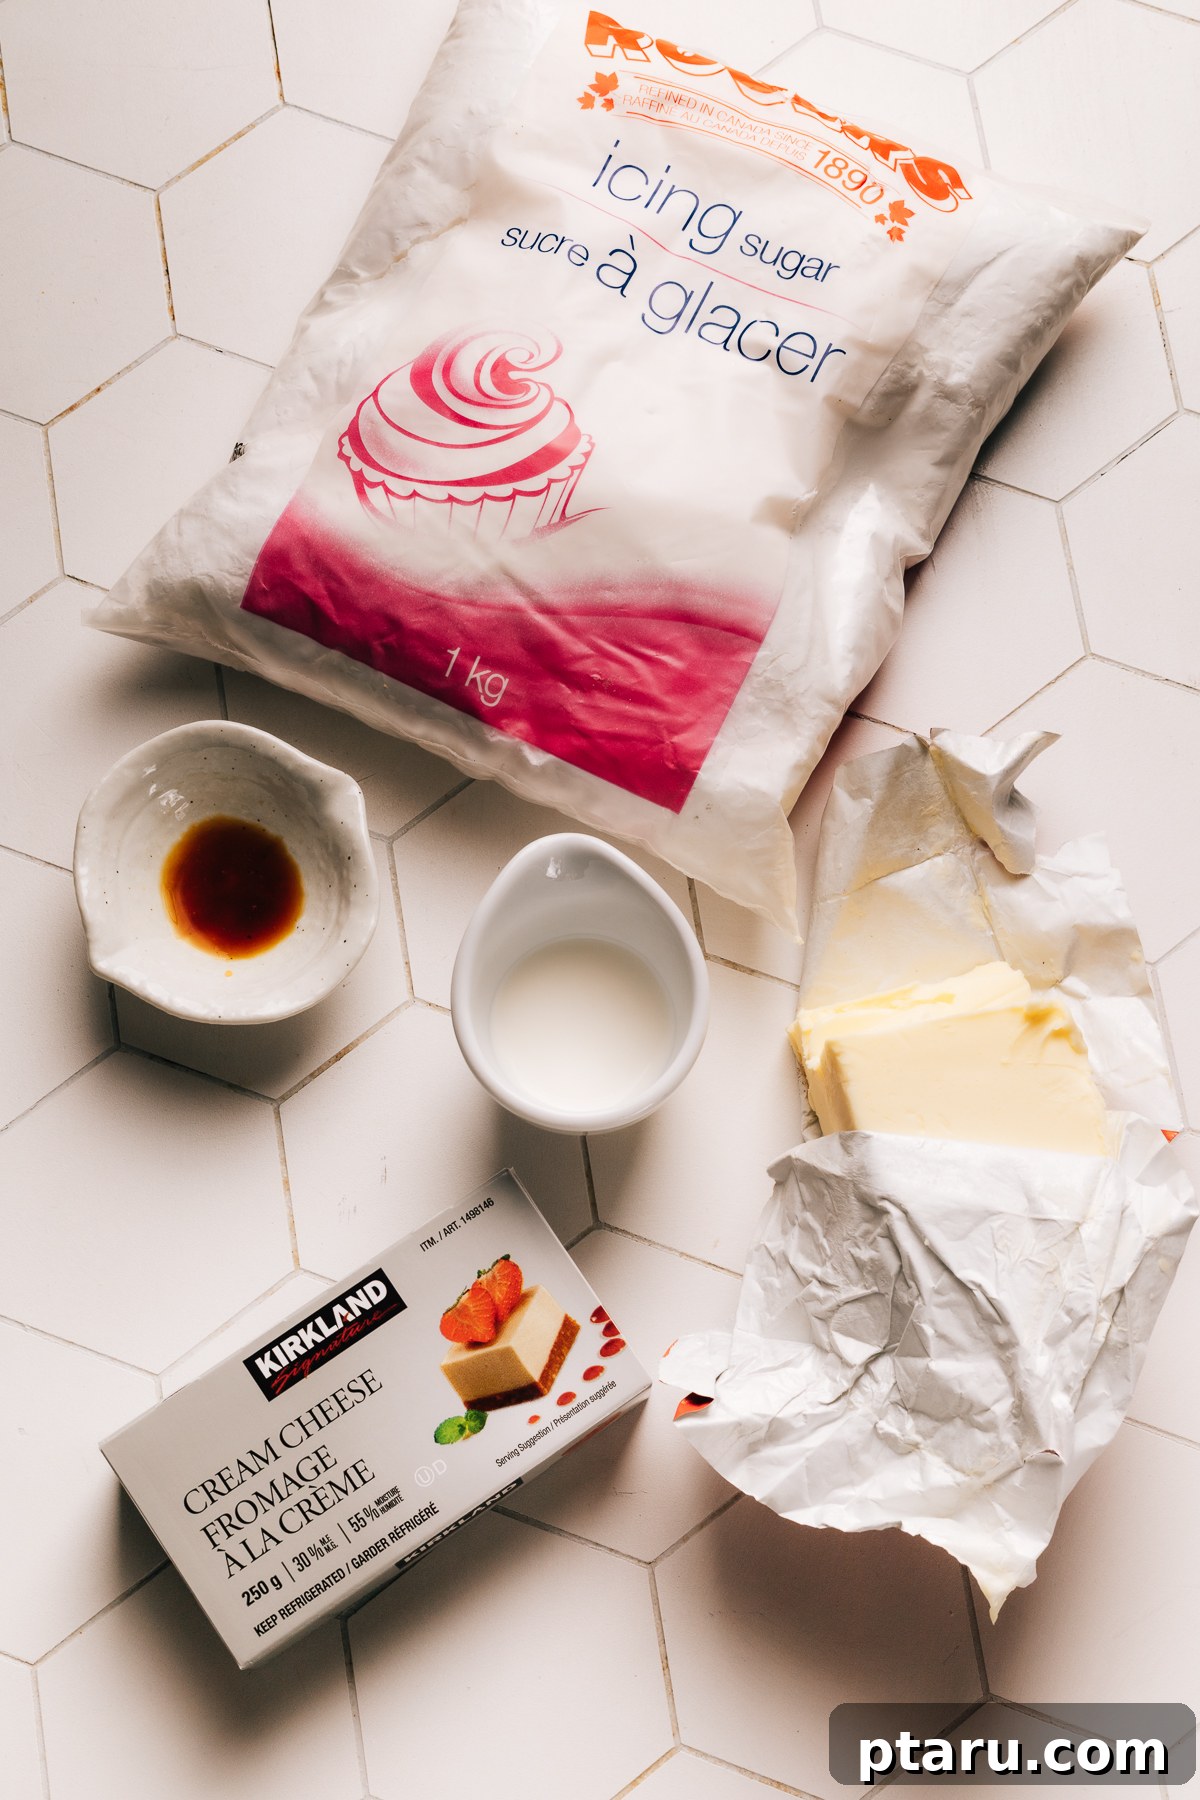
- Full-Fat Cream Cheese: This is arguably the most critical ingredient. Always opt for full-fat, brick-style cream cheese, not the spreadable or whipped varieties. Brick cream cheese has a lower water content, which is essential for a frosting that holds its shape and won’t turn runny. Ensure it’s softened to room temperature so it blends effortlessly with the butter, preventing any unwanted lumps.
- Unsalted Butter: Like the cream cheese, unsalted butter should be at room temperature. This allows it to cream properly, contributing to the icing’s light and airy consistency. Unsalted butter gives you control over the final saltiness of your frosting.
- Powdered Sugar: Also widely known as confectioners’ sugar or icing sugar. This finely milled sugar dissolves easily, creating a smooth texture without any grittiness. Sifting it before use can help prevent lumps, though vigorous beating usually takes care of it.
- Vanilla Extract: A splash of good quality vanilla extract adds a comforting, classic flavor that complements the tang of the cream cheese beautifully. For an elevated taste, consider using pure vanilla extract.
- Milk or Cream (Optional): A small amount of milk or cream can be added gradually to achieve a thinner, pourable consistency if desired for glazes or drizzles.
Exact ingredient quantities are provided in the detailed recipe card below.
Essential Tools to Grab
- Stand Mixer with Paddle Attachment: This is my preferred tool for effortless mixing and achieving the fluffiest results. The paddle attachment ensures thorough incorporation without over-aerating.
- Electric Hand Mixer: A great alternative if you don’t have a stand mixer. It gets the job done efficiently and effectively.
- Large Mixing Bowl: Necessary for either mixer type to contain your ingredients as they blend.
- Rubber Spatula: Indispensable for scraping down the sides of the bowl, ensuring all ingredients are fully incorporated and preventing unmixed pockets.
How to Make the Best Cream Cheese Icing: A Simple Step-by-Step Guide
Follow these straightforward steps to create a luscious, smooth, and fluffy cream cheese icing that will elevate any dessert. Remember, patience with ingredient temperatures is key!
Step 1: Cream the Cream Cheese and Butter
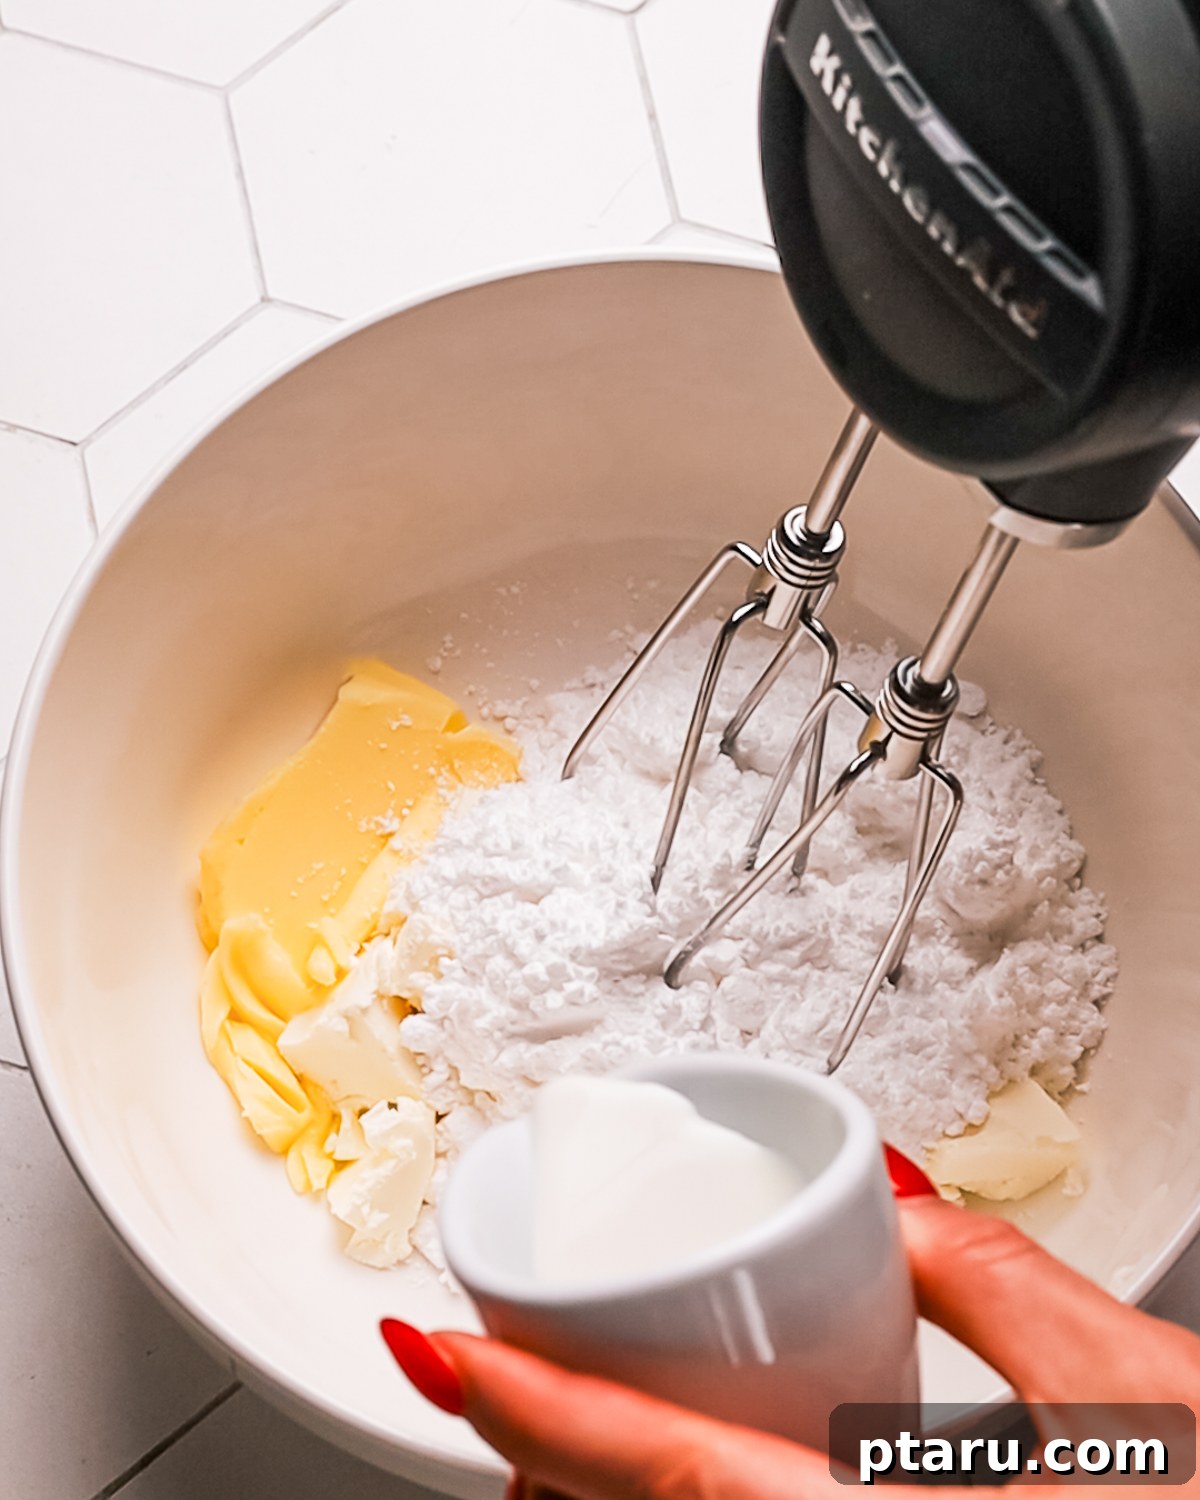
- In a medium mixing bowl (or the bowl of a stand mixer fitted with the paddle attachment), combine the softened full-fat cream cheese and room-temperature unsalted butter.
- Beat them together on medium speed until the mixture is completely smooth, light, and well-blended. This usually takes 2-3 minutes. Make sure there are no lumps of cream cheese or butter remaining. Scrape down the sides of the bowl frequently with a rubber spatula to ensure even mixing. This initial creaming step is vital for a lump-free frosting.
Step 2: Incorporate Sugar and Vanilla
- Once the cream cheese and butter are perfectly smooth, gradually add the powdered sugar, one cup at a time, beating well after each addition until fully incorporated. Starting on low speed will prevent a cloud of sugar from forming!
- Pour in the vanilla extract.
- Increase the mixer speed to medium-high and beat the mixture for an additional 2-3 minutes until it becomes wonderfully creamy, light, and noticeably fluffy. The longer you beat it at this stage, the lighter and airier your frosting will be. Again, don’t forget to scrape down the sides of the bowl to ensure everything is evenly mixed.
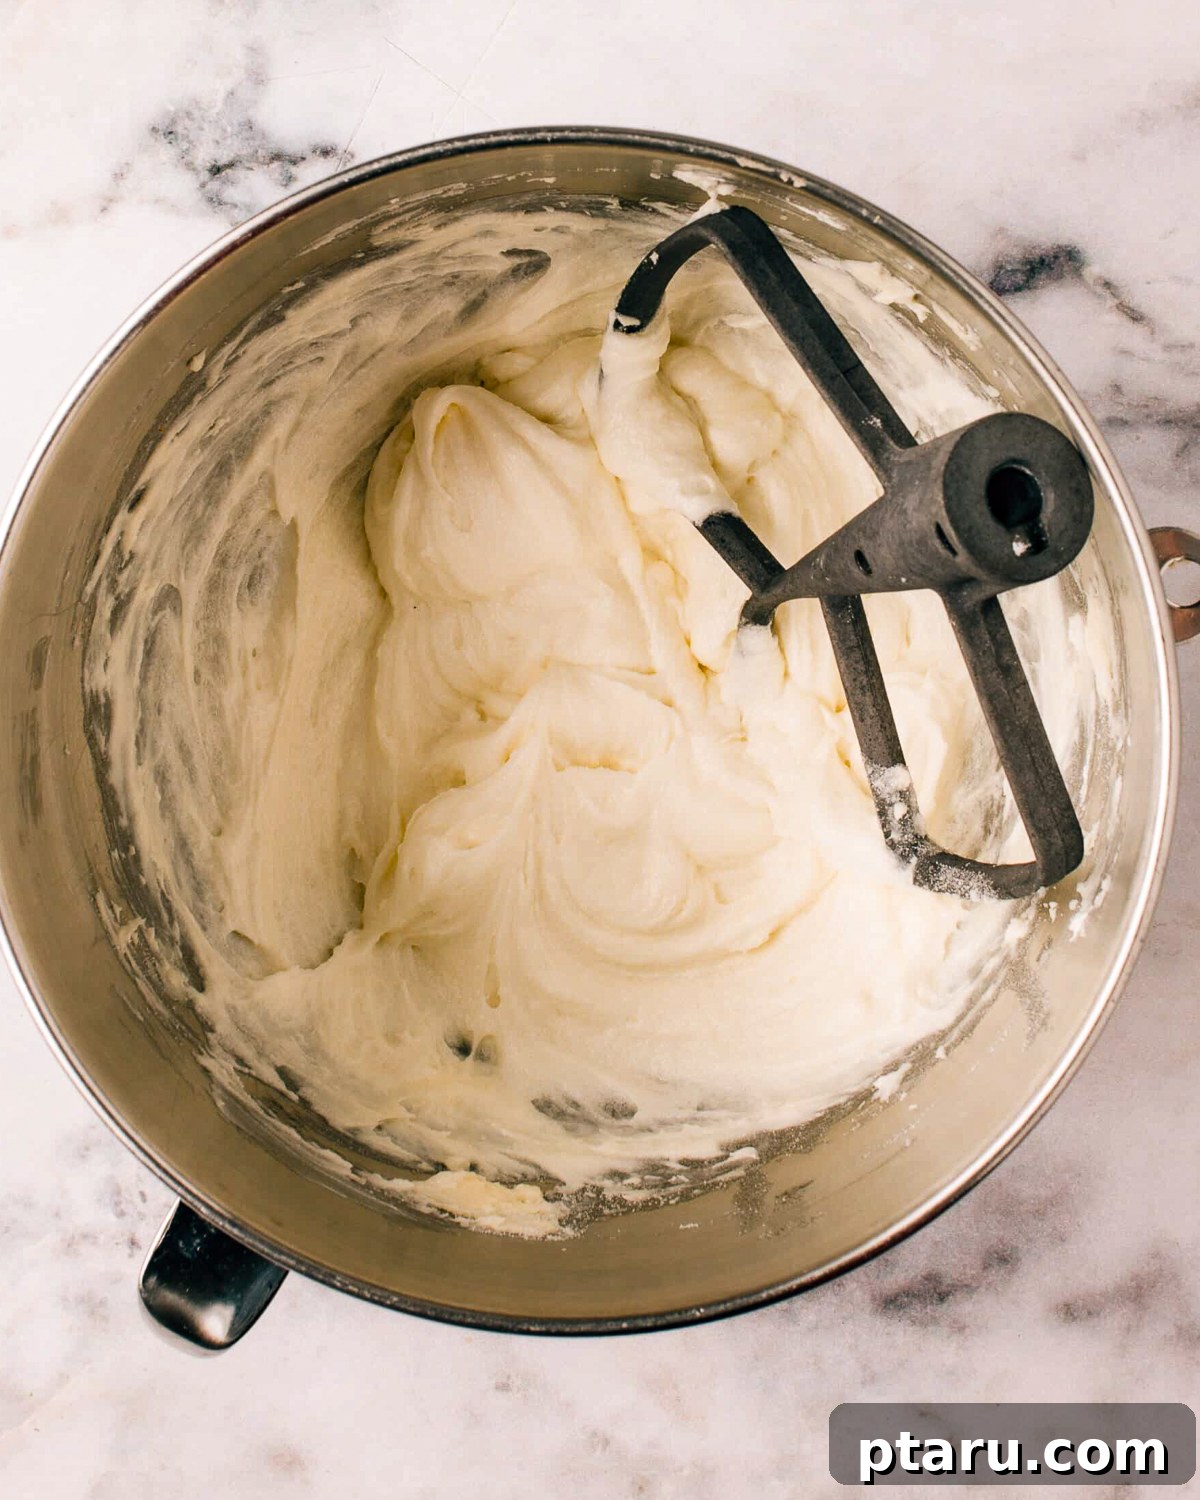
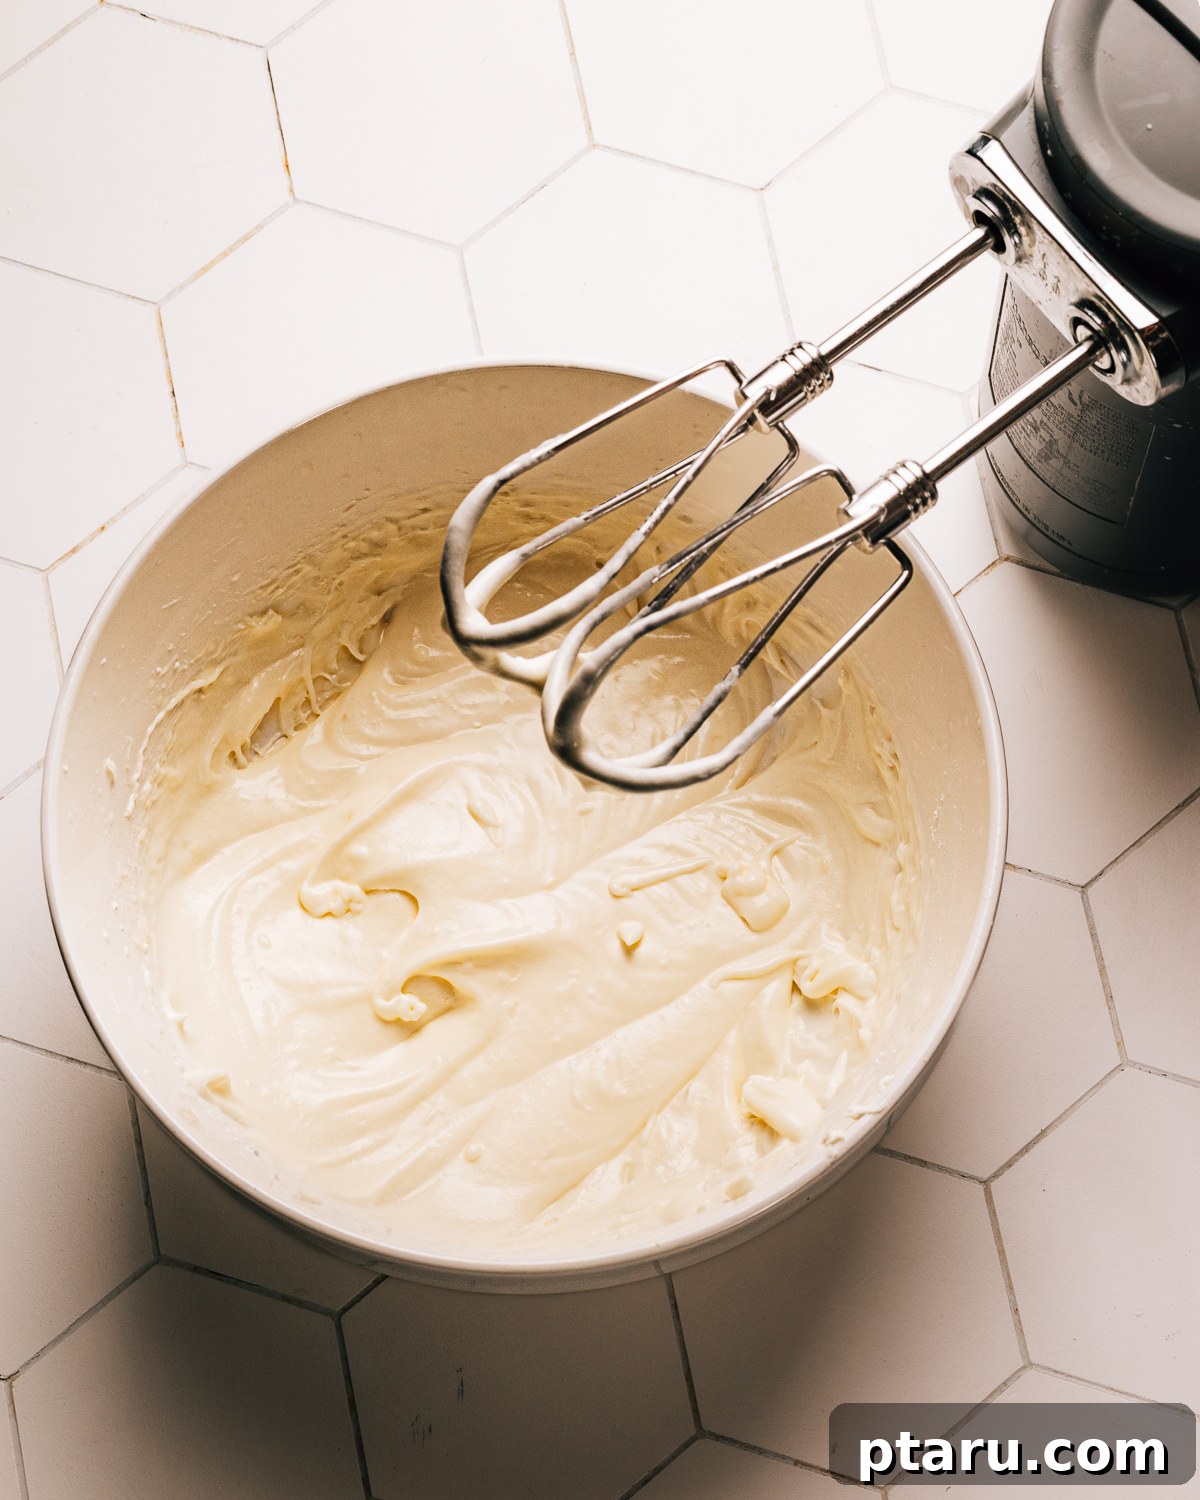
Step 3: Adjust Texture and Add Optional Flavors
- At this point, your cream cheese icing should be thick and perfect for frosting cakes or piping onto cupcakes. If you desire a thinner consistency, perhaps to drizzle over Cinnamon Raisin Rolls or a Peach Pound Cake, gradually beat in a little milk or cream. Add just a splash at a time (1 teaspoon to 1 tablespoon increments) until you achieve your desired pourable consistency. Be careful not to add too much liquid too quickly!
- This is also the perfect moment to experiment with additional flavors! Consider a hint of lemon zest for a brighter profile, or a touch of espresso powder for a mocha twist. See our “Variations” section for more ideas.
Avoid These Common Mistakes for Flawless Cream Cheese Icing
Even the simplest recipes can have pitfalls. Understanding common mistakes can help you achieve perfect results every time. These are the three typical issues people encounter when making cream cheese icing, along with how to avoid them:
- Using Cold Ingredients: This is the most frequent culprit behind lumpy, unblendable icing. If your cream cheese and butter aren’t properly softened to room temperature, they won’t emulsify smoothly. Instead, you’ll end up with stubborn chunks that refuse to incorporate, leaving your frosting with an undesirable texture. Always plan ahead and allow them to sit out for at least 30-60 minutes before mixing. They should be soft enough to make a slight indentation with your finger but still cool to the touch, not greasy or melted.
- Adding Too Much Liquid Too Quickly: If you’re aiming for a thinner drizzle, it’s tempting to pour in milk or cream all at once. However, doing so can quickly make your icing runny and thin beyond repair. The consistency can change dramatically with just a small amount of liquid. Always add any thinning liquid gradually, a little splash (about ½ to 1 teaspoon) at a time, beating after each addition until you reach your perfect consistency. You can always add more, but you can’t easily take it away!
- Using the Wrong Type of Cream Cheese: Not all cream cheese is created equal for frosting. Light (low-fat), whipped, or spreadable cream cheese contains a higher water content and often stabilizers that can make your frosting significantly thinner and less stable. For a classic, firm, and creamy icing that holds its shape beautifully, always use full-fat cream cheese that comes in a solid brick-shaped package. This type provides the necessary richness and structure.
Make-Ahead and Storage Tips for Your Cream Cheese Icing
One of the many benefits of this homemade cream cheese icing is its versatility when it comes to preparation and storage. You can easily make it in advance, saving precious time on your baking day. Proper storage also ensures your delicious frosting remains fresh and ready to use whenever a craving strikes.
- This cream cheese icing recipe can be fully made up to 2 days in advance. This is perfect for busy bakers who want to get a head start on their dessert preparations.
- After making, simply transfer the icing to an airtight container.
- Store it in the refrigerator until you’re ready to use it.
- Before frosting, bring the chilled icing back to room temperature (this might take 30-60 minutes) and re-whip it with your mixer for a minute or two until it’s light, fluffy, and perfectly smooth again. This step is crucial for restoring its ideal consistency.
Storing Leftover Icing
- Always keep any leftover cream cheese icing in an airtight container or tub. This maintains its freshness, prevents it from drying out, and protects it from absorbing unwanted odors from other foods in your fridge.
- Store it in the refrigerator for up to 3 days.
- Just like with make-ahead icing, allow it to come to room temperature and give it a quick whisking or beating before applying it to cakes or other desserts. This revives its texture beautifully.
- Remember that desserts frosted with cream cheese icing should generally be refrigerated to prevent bacterial growth, especially in warmer environments.
Freezing Cream Cheese Icing
- Yes, you can freeze cream cheese icing! This is a fantastic option for long-term storage or if you’ve made a large batch.
- Place the icing in a freezer-safe, airtight container or a heavy-duty freezer bag, pressing out any excess air.
- It can be frozen for up to 2 months.
- To use, thaw the frozen icing overnight in the refrigerator. Once thawed, let it come to room temperature on the counter.
- Before using, give it a good beating with an electric mixer to restore its creamy texture and fluffiness, as it may appear a bit stiff or separated after thawing.
Serving My Best Cream Cheese Frosting Recipe: Versatility in Every Spoonful
The beauty of this easy cream cheese icing recipe lies in its incredible versatility. Whether you need a thick, pipeable frosting for an elegant cake or a delicate drizzle for breakfast pastries, you can easily adjust its texture by adding a little milk or cream. This makes it a perfect complement for a wide array of sweet treats.
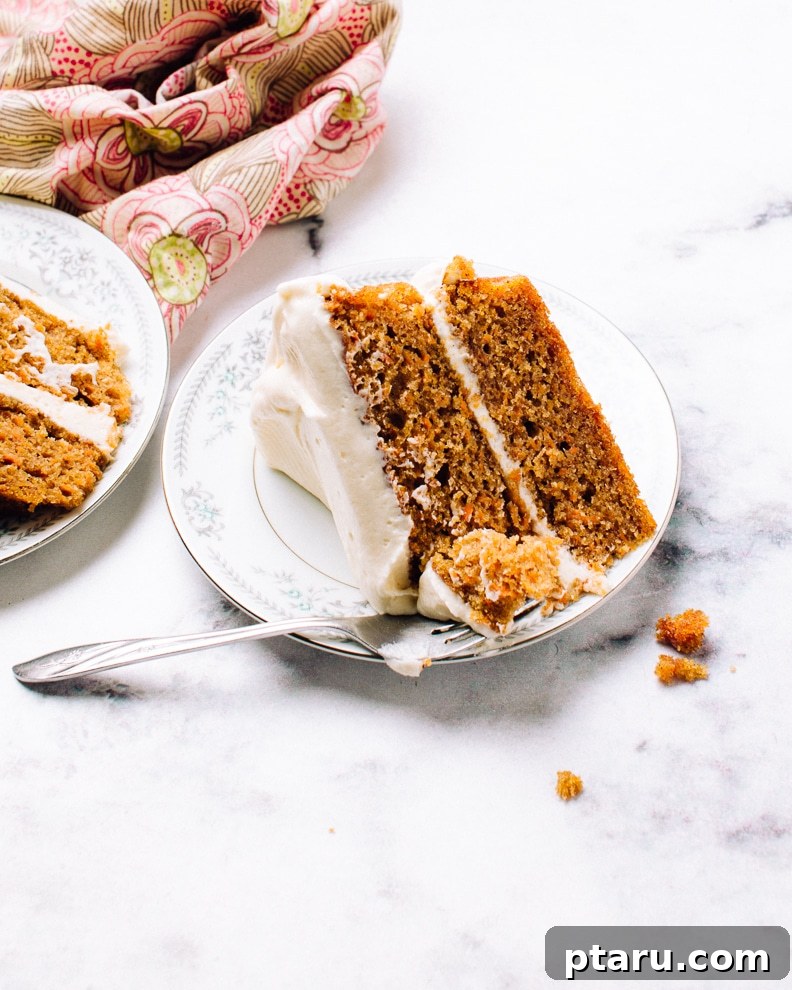

There are countless delicious ways to enjoy this homemade cream cheese icing. Here are some of my favorite applications:
- For Cakes: Use it as a thick, fluffy frosting to adorn and fill layers of my incredibly moist Carrot Cake with Buttermilk, a rich Red Velvet Cake, or my famous Moist Chocolate Cake recipe. Its creamy texture provides the perfect balance to rich cake flavors.
- For Rolls & Buns: Thin it out slightly to create a dreamy, pourable glaze for warm, freshly baked treats like Biscuit Cinnamon Rolls, sticky buns, or fruit rolls.
As an Icing for Cookies
- Drizzle or spread a thin layer over spiced cookies like Chewy Ginger Cookies for an extra layer of flavor and moisture.
- It pairs wonderfully with hearty Oatmeal Cookies with Dried Fruit, adding a creamy contrast.
- Enhance the seasonal delight of Soft Pumpkin Cookies with a generous dollop of this spiced cream cheese frosting.
Perfect for Loaves and Quick Breads
- Transform a simple Banana Loaf into a decadent dessert by spreading this icing on top.
- Elevate the comforting flavors of Moist Pumpkin Bread with a creamy layer.
- Even a wholesome Zucchini Bread becomes an indulgent treat with this delightful topping.
Magnificent on Muffins and Cupcakes
- Crown Sweet Potato Cupcakes with a sweet, tangy finish.
- A must-have topping for fluffy Pumpkin Cupcakes, bringing out their warm spice notes.
- Turn everyday Apple Cinnamon Muffins into a special treat.
- It’s the ideal classic pairing for Moist Vanilla Cupcakes, offering a rich and creamy counterpoint.
- Add a delightful layer to Moist Pumpkin Zucchini Muffins for an extra touch of indulgence.
Whether you’re frosting a grand layer cake or simply adding a sweet swirl to a batch of homemade muffins, this cream cheese icing recipe is your go-to for bakery-level results at home.
Frequently Asked Questions About Cream Cheese Icing
Here are some key takeaways and common questions to ensure your cream cheese icing experience is a resounding success:
Absolutely! Cream cheese icing is excellent for meal prep. You can make it a day or two in advance and store it in an airtight container in the refrigerator. Before using, simply bring it to room temperature (about 30-60 minutes) and re-whip it with an electric mixer until it’s light, fluffy, and smooth again. This restores its perfect consistency.
If your icing becomes too thin, don’t fret! You have a couple of options. Gradually add more powdered sugar, about 1-2 tablespoons at a time, beating after each addition until the desired thickness is achieved. Alternatively, you can chill the icing in the refrigerator for 20-30 minutes. Cold cream cheese firms up, which can help thicken the frosting. If it’s still too runny, ensure you used full-fat, brick-style cream cheese in the first place, as low-fat or spreadable versions contain more water and can lead to a runny consistency.
While you technically *can* use low-fat cream cheese, it’s not recommended for the best results. Full-fat cream cheese provides a superior flavor, richness, and, most importantly, a firmer, creamier texture that holds its shape beautifully. Low-fat versions have a higher water content, which often results in a thinner, less stable, and less creamy icing that can be prone to running or not setting properly. For a truly professional-looking and tasting frosting, stick with full-fat, brick-style cream cheese.
Lumps in cream cheese frosting are almost always due to cold ingredients. If the cream cheese or butter aren’t sufficiently softened to room temperature, they won’t blend smoothly, leaving unsightly chunks. Ensure both ingredients are soft before you begin mixing. You should be able to press a finger into them easily. If lumps still persist, try beating the mixture for a few extra minutes, scraping down the bowl regularly, or warming the bowl slightly (e.g., placing it over a warm water bath for a minute) to help melt stubborn pieces.
This recipe, as written, yields approximately 2 cups of luscious cream cheese icing. This amount is generally sufficient to generously frost and fill an 8-inch or 9-inch layer cake, or to beautifully swirl onto about 12 standard-sized cupcakes. If you’re planning to frost a single batch of cinnamon rolls, I usually recommend halving the recipe, as a little goes a long way for a glaze.
Other Irresistible Icing Recipes You’ll Love
Once you master this versatile cream cheese icing, you might be inspired to explore other delicious frosting options for your baking adventures. Here are some of my other go-to recipes that are sure to become new favorites:
- Easy 5-Minute Fluffy Vanilla Frosting (my absolute favorite for classic vanilla buttercream)
- Rich Whipped Chocolate Frosting
- Simple and Elegant Royal Icing
- Bright and Zesty Lemon Glaze
Whip Up Perfection with This Cream Cheese Icing
From tangy carrot cakes to sweet cinnamon rolls, a perfectly crafted cream cheese icing elevates any baked good from good to absolutely unforgettable. With this foolproof, 5-ingredient recipe, you now have all the tools and knowledge to create a consistently fluffy, smooth, and utterly delicious frosting every single time. Say goodbye to store-bought tubs and hello to homemade perfection. So go ahead, gather your ingredients, follow these simple steps, and prepare to impress everyone with your delectable creations. Happy baking!
Fluffy Cream Cheese Icing Recipe (in 5 Minutes!)
Jennifer Pallian BSc, RD
5 minutes
0 minutes
5 minutes
12 Servings (approx. 2 cups)
Ingredients
- 8 oz full-fat brick cream cheese (softened to room temperature)
- 8 tbsp unsalted butter (1/2 cup, softened to room temperature)
- 3 cups powdered sugar
- 1 tsp vanilla extract
For Thinner Icing (Optional)
- 2-4 tbsp milk or cream (start with 1 tbsp and add gradually)
Instructions
-
Add the softened cream cheese and butter to the bowl of a stand mixer fitted with the paddle attachment (or use an electric hand mixer). Beat together on medium speed until the mixture is completely smooth, light, and well-blended, about 2-3 minutes. Scrape down the sides of the bowl as needed to ensure even mixing and prevent lumps.
-
Gradually add the powdered sugar, one cup at a time, starting on low speed to avoid a sugar cloud. Once all the sugar is incorporated, add the vanilla extract. Increase the mixer speed to medium-high and beat for an additional 2-3 minutes until the icing becomes wonderfully creamy, fluffy, and light. Scrape down the bowl one last time.
-
For frosting a cake or piping onto cupcakes, the icing is ready to use as is!
For Thinner Icing (Optional)
-
If you prefer a thinner icing for drizzling over cinnamon rolls or glazing cookies, gradually beat in milk or cream, a little splash (about 1 teaspoon) at a time, until your desired pourable consistency is reached. Mix well after each addition to check the texture.
Notes
- This recipe yields approximately 2 cups of icing, enough to frost and fill an 8- or 9-inch cake or to generously frost 12 cupcakes. For a single batch of cinnamon rolls, I often halve the recipe for a lighter glaze.
- Always use full-fat brick cream cheese for the best taste, texture, and stability. Low-fat or spreadable varieties will result in a runny icing.
- Ensure both cream cheese and unsalted butter are at room temperature before mixing. They should be soft enough to indent with a finger but still cool, not melted or greasy. This is critical for a smooth, lump-free frosting.
- To make the icing thinner for drizzling, add milk or cream incrementally, just a teaspoon at a time, until the desired consistency is achieved. Avoid adding too much liquid at once.
- Storage: Store leftover icing in an airtight container in the fridge for up to 3 days. Bring to room temperature and re-whip before using to restore its smooth, fluffy texture.
- Freezing: Cream cheese icing can be frozen for up to 2 months. Thaw overnight in the fridge, then bring to room temperature and beat well to restore creaminess before use.
- Avoid overmixing once the powdered sugar is fully incorporated, especially if you’re not trying to thin it. Overmixing can sometimes make the icing too soft or runny.
- Refrigeration for frosted items: Any cakes or desserts frosted with cream cheese icing should be refrigerated, especially if left out for more than 2 hours, to prevent bacterial growth and maintain freshness.
Nutrition (per Serving)
Calories: 252kcal
|
Carbohydrates: 31g
|
Protein: 1g
|
Fat: 14g
|
Saturated Fat: 9g
|
Polyunsaturated Fat: 1g
|
Monounsaturated Fat: 4g
|
Trans Fat: 0.3g
|
Cholesterol: 39mg
|
Sodium: 61mg
|
Potassium: 28mg
|
Sugar: 31g
|
Vitamin A: 487IU
|
Calcium: 21mg
|
Iron: 0.04mg
Nutrition information is automatically calculated and should only be used as an approximation. It may vary based on specific ingredients and preparation methods.