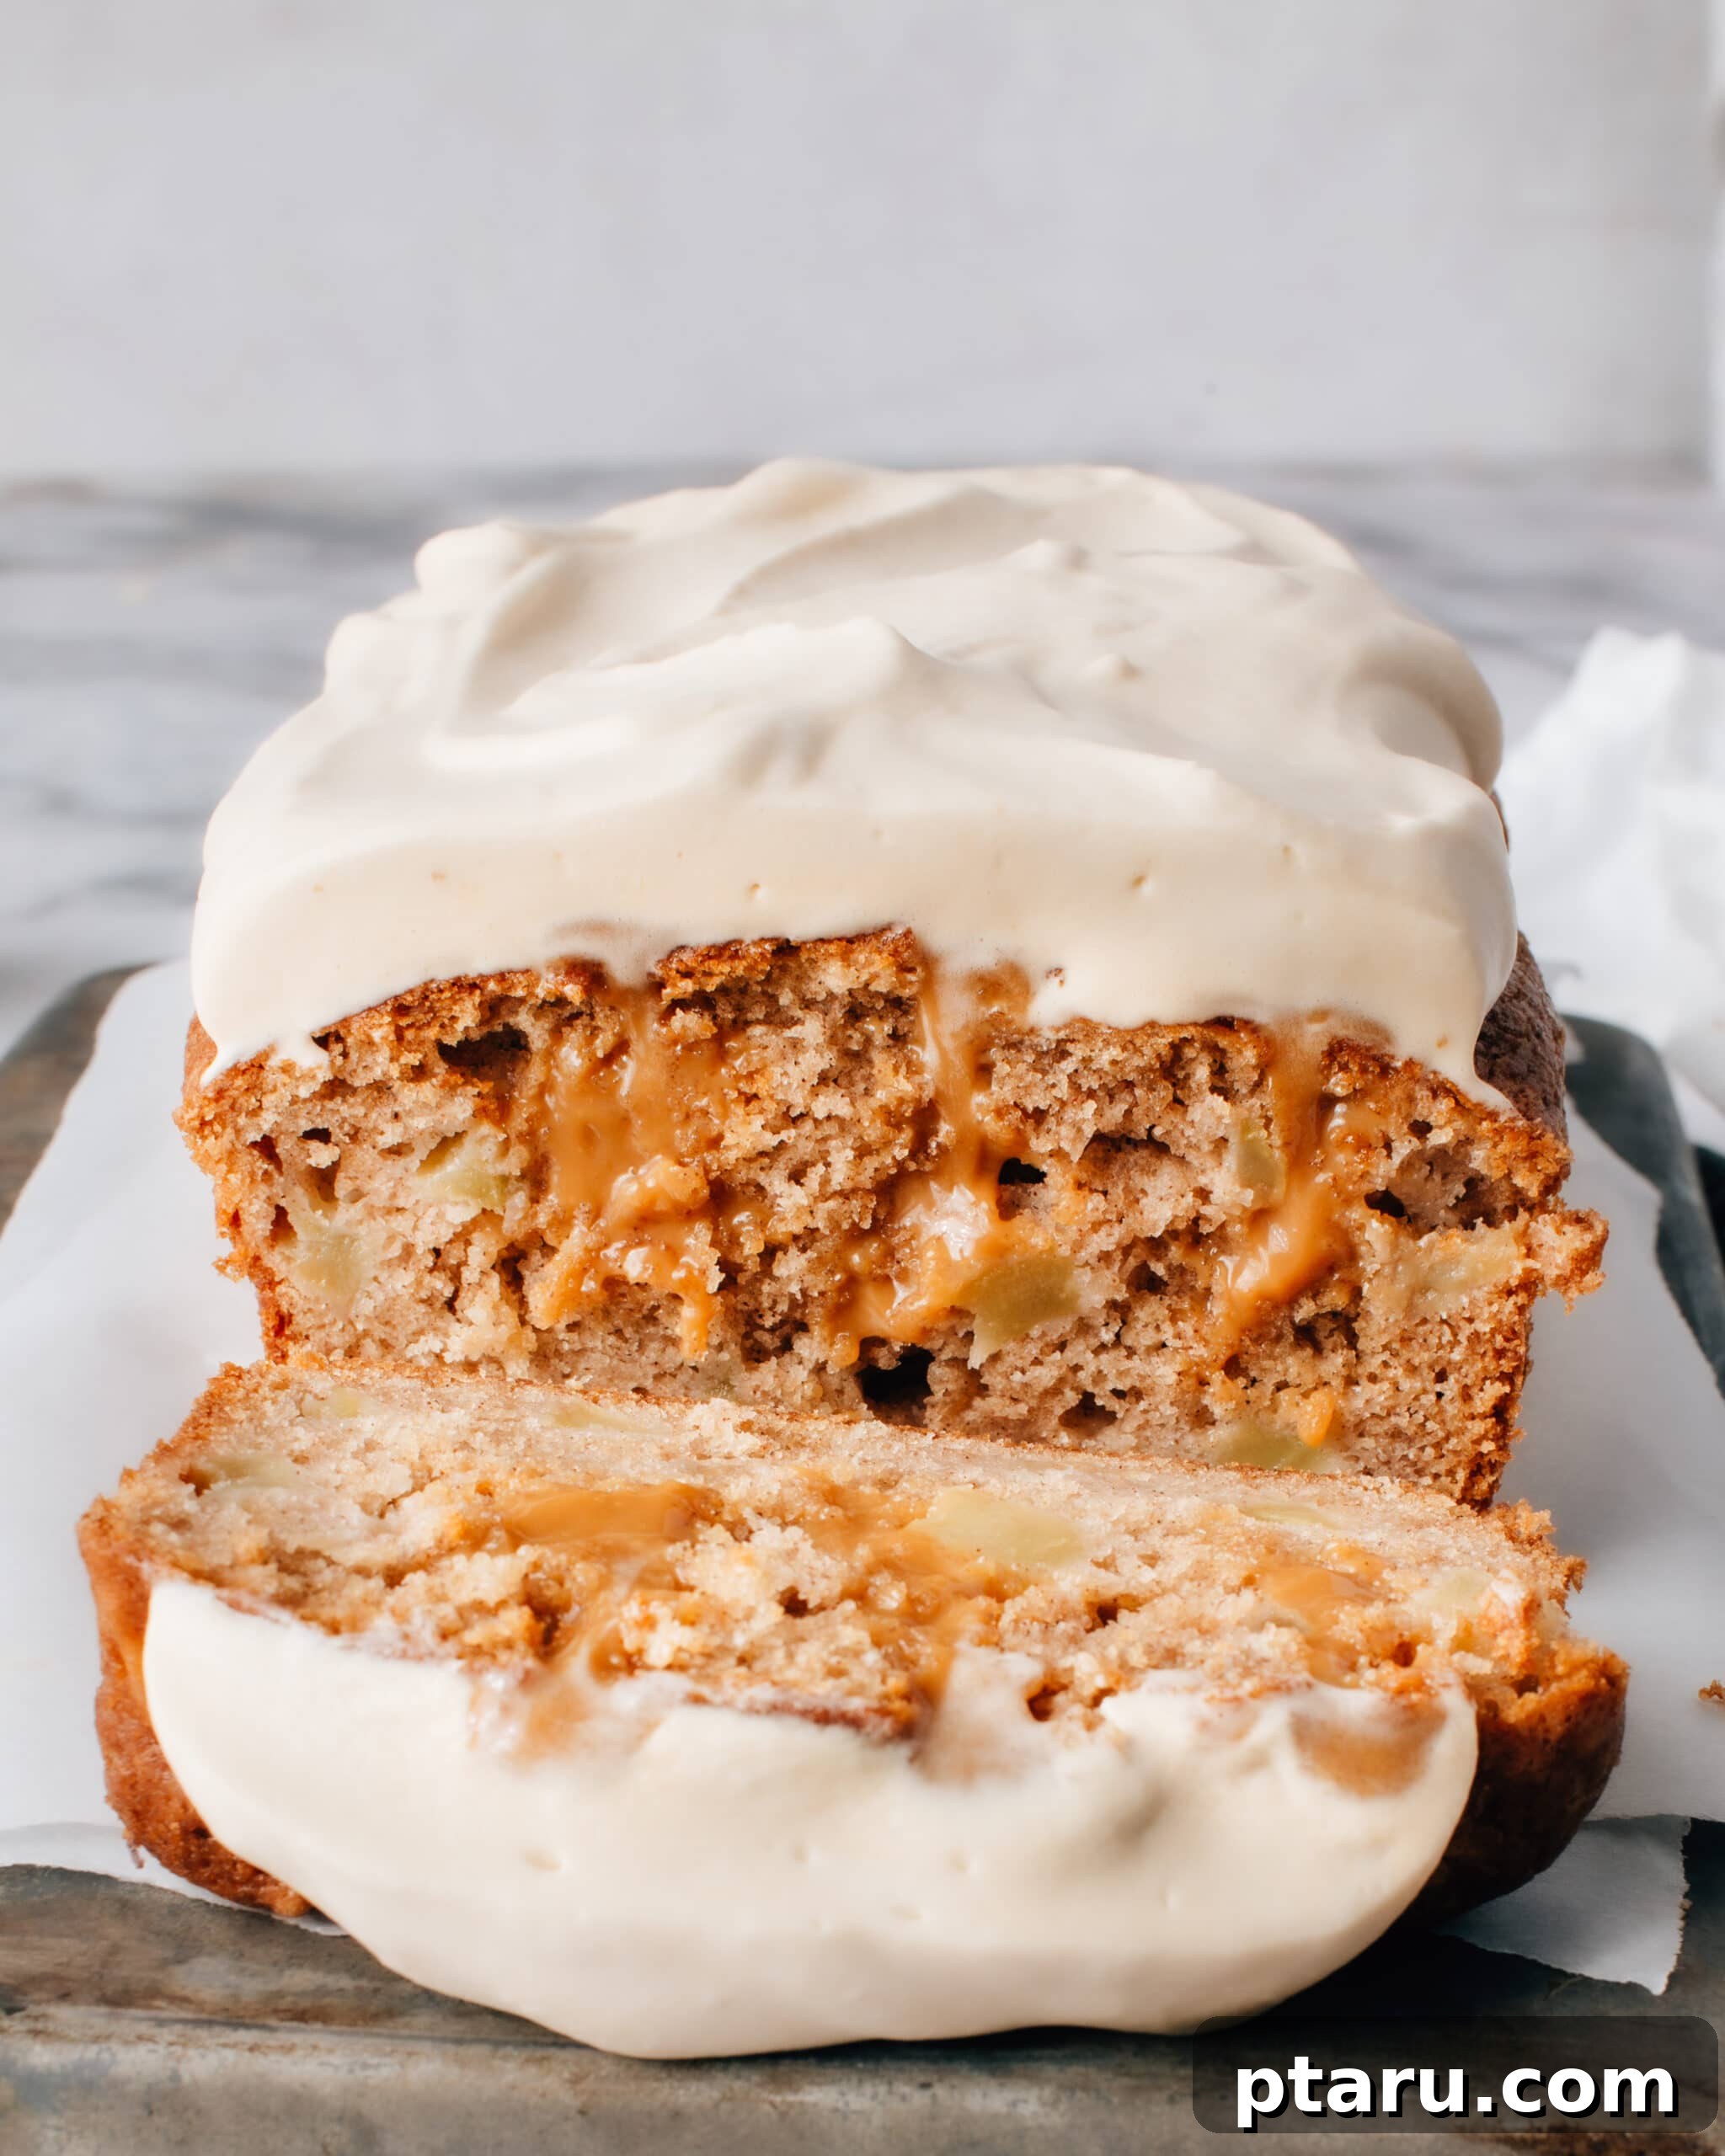
Prepare to be enchanted by the **Caramel Apple Cake** of your dreams – a truly magical creation that perfectly captures the essence of autumn. This isn’t just any apple cake; it’s a soft, tender, and warmly-spiced masterpiece, generously rippled with a sticky, gooey caramel center, and crowned with an airy, decadent caramel whipped cream. Each bite offers a symphony of flavors and textures, making it an unforgettable treat for any occasion.
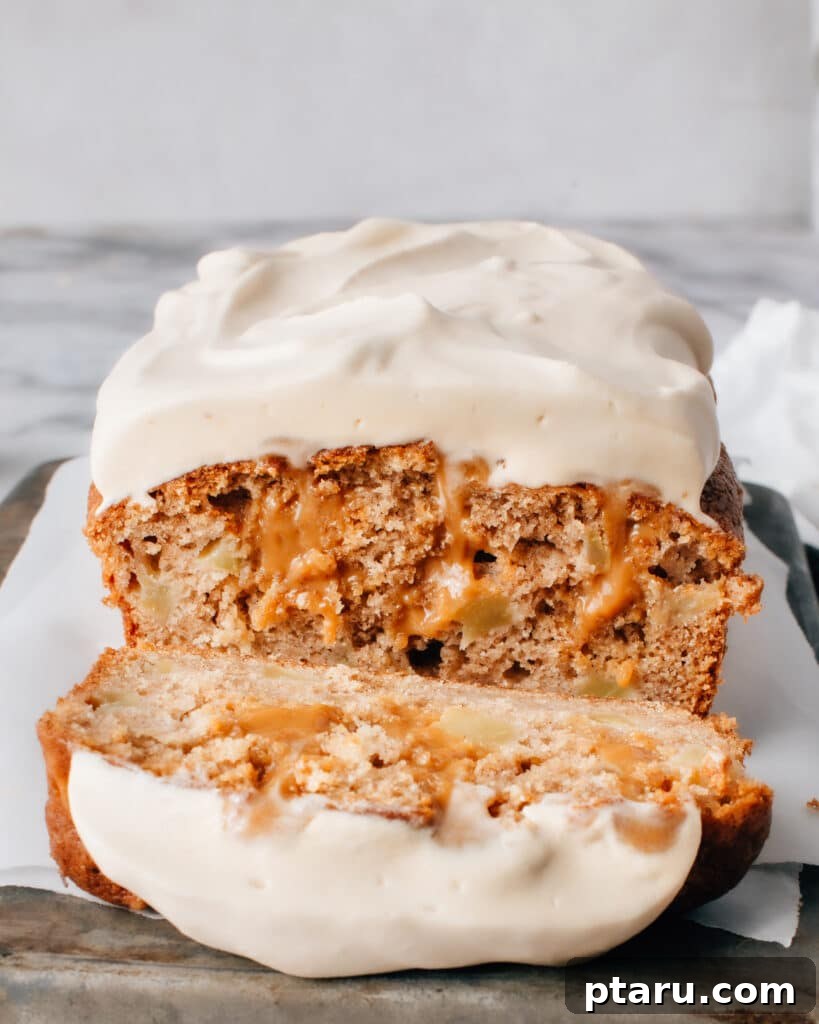
This **caramel apple cake recipe** elevates a classic fall dessert to new heights of indulgence. While it boasts a sophisticated appearance that makes it ideal for holiday gatherings, dinner parties, or special celebrations, its preparation is surprisingly straightforward. Forget complicated techniques; we’re using a simplified method that ensures success even for novice bakers. It’s the kind of dessert that impresses guests while secretly being incredibly easy to whip up in your own kitchen.
How to Make the Best Caramel Apple Cake
My recipe is designed for simplicity without compromising on flavor or texture. We embrace the “muffin method” of mixing, a technique revered for its ease and ability to produce incredibly tender, moist cakes. This means no lengthy creaming of butter and sugar, and no need for a stand mixer. All you require are two bowls – one for your dry ingredients and another for your wet components. A gentle combination of the two, and your luscious cake batter is ready to bake. This streamlined process ensures a light, airy crumb every single time, making it a fantastic choice for busy bakers who still want to create something spectacular.
Crafting the Perfect Cake Batter
Creating a truly magnificent cake begins with meticulous attention to detail, especially when it comes to the batter. Follow these steps for an effortlessly perfect **spiced apple cake** base:
- Precision in Flour Measurement: The secret to a tender, moist cake lies in accurate flour measurement. Using a kitchen scale is highly recommended to avoid over-measuring, which can lead to a dry, dense cake. Too much flour is a common pitfall, so weighing ensures you get the exact amount needed for optimal texture. If you don’t have one, level your cup measurements carefully.
- Harmonizing Dry Ingredients: In a large bowl, thoroughly whisk together your all-purpose flour, granulated sugar, baking powder, baking soda, fine sea salt, fragrant cinnamon, and a hint of nutmeg. This step is crucial for distributing the leavening agents and spices evenly throughout the batter, guaranteeing a uniform rise and consistent flavor in every slice of your **fall dessert**.
- The Liquid Foundation: In a separate, medium-sized bowl, whisk together the wet ingredients: a neutral oil (such as avocado or vegetable oil, which contributes incredible moisture without imparting strong flavor), rich sour cream (for tenderness and a subtle tang), whole milk (for hydration and richness), and a large egg (for structure and binding). Ensure all these ingredients are at room temperature for seamless emulsification and better rise.
- Gentle Integration is Key: Now for the magic! Pour the wet mixture into the dry ingredients. Using a large rubber spatula, gently fold the two together. The key here is minimal strokes. A large spatula covers more surface area, reducing the number of folds required to combine, which in turn minimizes gluten development. Less gluten means a wonderfully tender cake crumb.
- The 80% Rule for Perfection: Stop mixing the batter when you still see a few floury streaks – it should be about 80% combined. At this point, gently fold in your finely diced apple pieces. As you incorporate the apples, you’ll naturally finish mixing the remaining dry patches without over-mixing the entire batter. This technique prevents a tough cake and ensures the apples are perfectly distributed.
- Bake Until Golden: Pour your beautifully mixed batter into a prepared loaf pan and bake. My preferred method for checking doneness is an instant-read thermometer. The cake crumb will be perfectly set yet wonderfully moist when the center reaches an internal temperature of 190ºF (88ºC). Alternatively, a toothpick inserted into the center should come out with moist crumbs, not wet batter.
Infusing the Cake with Luscious Caramel Ripple
The signature caramel ripple is what truly distinguishes this apple cake. It’s a simple yet elegant technique that creates pockets of sticky, golden caramel throughout the cake, ensuring a burst of sweetness with every bite. Once your **easy apple cake** has completely cooled, it’s time to work your magic:
- Creating Channels: Gently poke holes all over the cooled cake using a chopstick or the handle of a wooden spoon. Aim for holes about ¾ inch apart, extending deep into the cake but not through the bottom.
- Expanding the Space: Once poked, gently wiggle the chopstick or spoon handle back and forth slightly in each hole. This widens the channels just enough to allow the thick caramel to seep in and create those beautiful internal ripples.
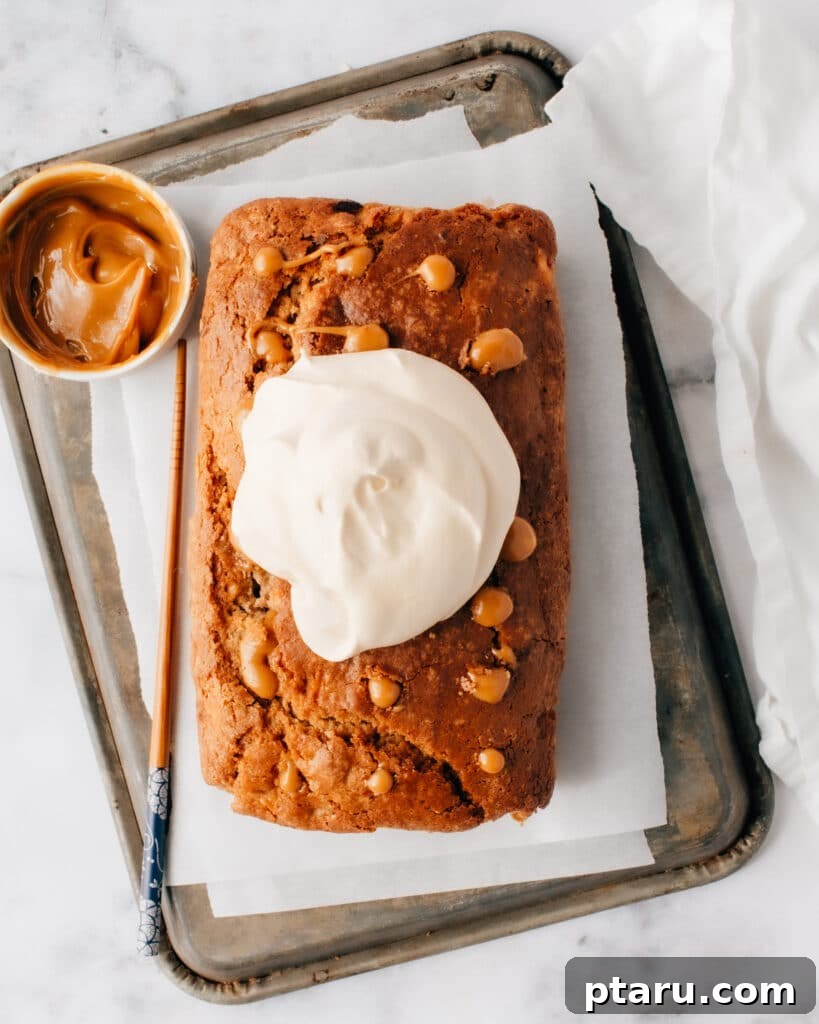
- Piping the Liquid Gold: Fill a pastry bag fitted with a round tip with your prepared caramel sauce or dulce de leche. Carefully pipe the caramel into each hole, slightly overfilling them. This allows the caramel to expand and naturally spread into the surrounding cake crumb, creating a truly spectacular marble effect. If you don’t have a pastry bag, you can spoon the caramel over the holes and use the chopstick to help push it down, though the ripple might not be as pronounced. This method is similar to how you would fill classic jelly donuts, ensuring an even and delicious distribution of filling.
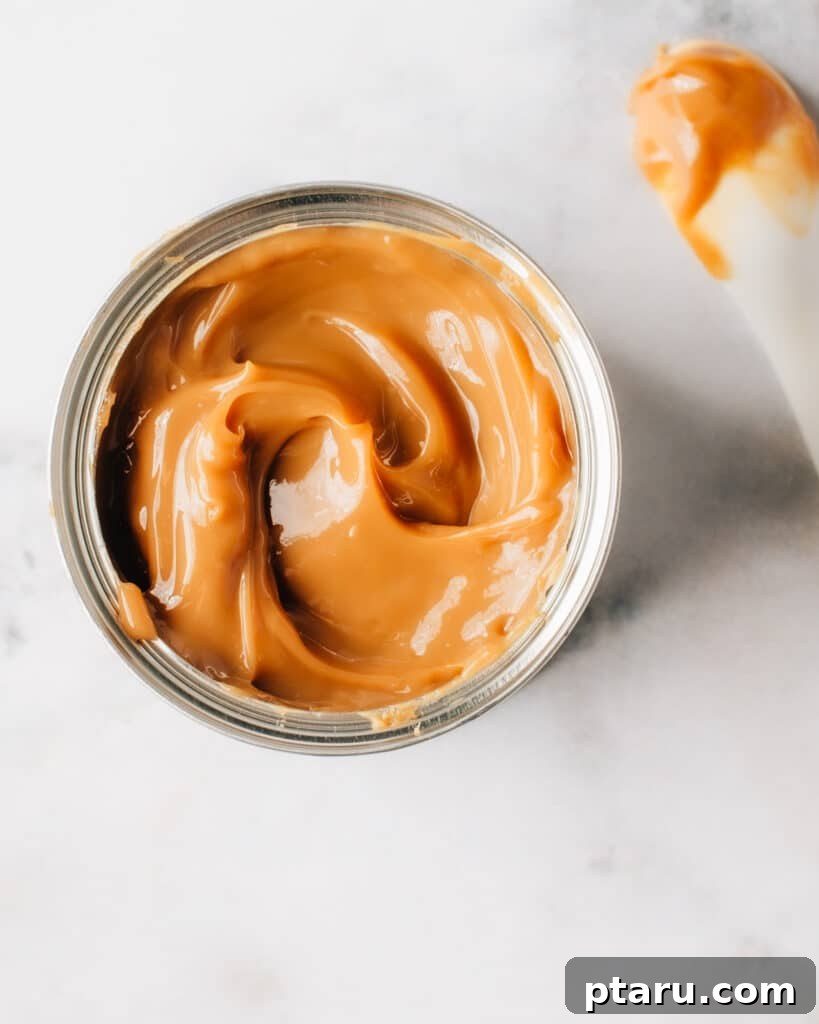
How to Make Your Own Dulce de Leche Caramel Sauce
While high-quality jarred caramel or dulce de leche works beautifully, making your own from a can of sweetened condensed milk is surprisingly easy and incredibly rewarding. This method yields a rich, milky caramel sauce known as dulce de leche, which is perfect for this cake. It’s a fantastic way to elevate your **homemade caramel apple cake** with minimal effort.
To prepare your **homemade caramel sauce**, simply remove the label from a can of sweetened condensed milk. Place the unopened can in a deep pot and cover it with water, ensuring the water level is at least two inches above the can. Bring the water to a boil, then reduce the heat to a simmer and let it cook for 2 to 3 hours. It is absolutely crucial to keep an eye on the water level and replenish it as needed to ensure the can is always fully submerged. Allowing the can to run dry could cause it to explode, which is dangerous. Once the simmering time is complete, carefully remove the can from the water using tongs and let it cool completely on a wire rack before opening. This cooling process is essential for safety and for the caramel to set properly. Once cool, open the can to reveal a glorious, thick, and deeply flavored dulce de leche.
I highly recommend preparing this caramel sauce the day before you plan to bake. It’s a wonderfully hands-off process that allows you to multitask; I often have it simmering while I’m preparing dinner or doing other chores around the house. Have you ever tried making your own dulce de leche this way? It’s astonishingly simple! The simmering time directly influences the color and depth of flavor. A shorter simmer, around two hours, will result in a lighter, golden caramel, while a longer three-hour simmer will produce a darker, more intensely flavored caramel. My batch, simmered for just over two hours, turned out a perfect golden hue, striking a lovely balance between sweetness and richness.
Other Irresistible Apple & Caramel Treats
If you’re as passionate about the combination of apples and caramel as we are, explore these other delightful recipes:
- Apple Pie Cake: A delightful fusion of two classic desserts.
- Apple Muffins: Perfect for breakfast or a light snack, bursting with apple flavor.
- Caramel Apple Cheesecake: A rich and creamy cheesecake layered with apples and caramel.
- Caramel Apple Cookies: Soft, chewy cookies with hints of apple and sweet caramel.
- Homemade Caramel Apples: The quintessential fall treat, perfect for making at home.
- Chai Apple Cake: An aromatic apple cake with exotic chai spices and a creamy mascarpone frosting.
Essential Ingredient Insights for a Flawless Cake
Understanding the role of each ingredient is key to consistently baking a delicious cake. Here’s a closer look at some critical components in this **Caramel Apple Cake** recipe:
- The Dynamic Dairy Duo: Whole Milk and Sour Cream: This carefully chosen combination of dairy products is fundamental to achieving the perfect balance of fluffiness and richness in your cake. The whole milk provides essential moisture and a tender crumb, while the sour cream plays a crucial role in adding a beautiful depth of flavor. Its acidity also works wonders in creating an exceptionally soft, moist, and delicate crumb that melts in your mouth.
- Dual Leavening Power: Baking Soda and Baking Powder: We use both baking powder and baking soda in this recipe, each serving a distinct purpose. Baking powder, along with the egg whites, acts as the primary leavener, contributing significantly to the cake’s rise and light texture. Baking soda, on the other hand, is added primarily to neutralize the natural tang of the sour cream, ensuring a perfectly subtle and balanced dairy flavor rather than an overly tart one. The alkaline baking soda reacts with the acid in the sour cream, creating carbon dioxide gas which aids in leavening. However, since the acidity from the sour cream alone isn’t sufficient for the desired rise, baking powder steps in to provide additional lift, ensuring a beautifully airy and lofty cake.
As with many baking recipes, maintaining consistent ingredient temperatures is vital. Always remember that room-temperature eggs, milk, and sour cream integrate more uniformly into the batter and contribute to a more even bake and superior rise in the oven. For practical tips on quickly bringing your ingredients to the ideal temperature, you can refer to my comprehensive guide on how to quickly bring ingredients to room temperature.
Caramel Ripple Apple Cake
By: Jennifer Pallian BSc, RD
The Caramel Apple Cake of your dreams. A soft, warmly-spiced apple cake rippled with sticky dulce de leche caramel sauce, topped with caramel whipped cream – a perfect **fall dessert**.
Servings: 8
Ingredients
For the Cake:
- 1 ¾ cup + 2 tbsp all-purpose flour (230g, highly recommended to weigh)
- 1 cup granulated sugar
- 1 ½ tsp baking powder
- ½ tsp baking soda
- ½ tsp fine sea salt
- 2 tsp cinnamon
- ¼ tsp nutmeg
- ½ cup oil (such as avocado oil or vegetable oil)
- ½ cup sour cream, at room temperature
- ½ cup whole milk, at room temperature
- 1 large egg, at room temperature
- 1 ½ cups peeled and finely diced apple (about 2 medium apples, e.g., Honeycrisp, Fuji, Granny Smith)
For the Caramel Ripple & Whipped Cream:
- 1 cup jarred caramel or homemade dulce de leche (see instructions above)
- ½ cup + 1 tbsp heavy whipping cream, divided use
- 3 tbsp additional cooled caramel (for whipped cream)
Instructions
- Prepare for Baking: Preheat your oven to 350ºF (175ºC). Line a 6-cup loaf pan (typically 8-1/2 x 4-1/2 inches or 9 x 5 inches) with parchment paper, leaving a 2-inch overhang on the longer sides to easily lift the cake out after baking.
- Combine Dry Ingredients: In a large mixing bowl, thoroughly whisk together the measured flour, granulated sugar, baking powder, baking soda, fine sea salt, cinnamon, and nutmeg until well combined and lump-free.
- Whisk Wet Ingredients: In a separate medium bowl, whisk together the oil, sour cream, whole milk, and egg until the mixture is smooth and uniform.
- Form the Batter: Pour the wet ingredient mixture into the dry ingredients. Using a large rubber spatula, gently fold the ingredients together until they are about 80% combined, with a few streaks of flour still visible. Then, add the finely diced apple pieces and continue to gently fold until the apples are evenly distributed and no dry flour streaks remain. Be careful not to over-mix, as this can lead to a tough cake.
- Bake the Cake: Scrape the prepared batter into your lined loaf pan, spreading it evenly. Bake for 60-70 minutes, or until the top is golden brown, springs back lightly when touched, and an instant-read thermometer inserted into the center registers 190ºF (88ºC).
- Cooling: Once baked, transfer the loaf pan to a wire rack and allow the cake to cool completely before proceeding to the assembly steps. This is crucial for the caramel ripple technique.
To Assemble the Caramel Ripple Cake:
- Create Caramel Pockets: Once the cake is completely cool, use a chopstick or the handle of a wooden spoon to poke holes about ¾ inch apart all over the top of the cake. Gently wiggle the chopstick back and forth in each hole to create a slightly larger channel for the caramel.
- Prepare Caramel for Filling: In a small bowl, whisk together ½ cup of your chosen caramel or dulce de leche with 1 tablespoon of heavy whipping cream. This thins the caramel slightly, making it easier to pipe.
- Fill with Caramel: Transfer the thinned caramel mixture into a piping bag fitted with a small round tip. Carefully pipe the caramel into each hole, slightly overfilling them. The caramel will naturally spread into the cake, creating a beautiful ripple effect. (If you don’t have a piping bag, you can spoon the caramel over the holes and use the chopstick to help push it in, but the ripple won’t be as defined.)
- Prepare Caramel Whipped Cream: In a clean bowl, whip the remaining ½ cup heavy whipping cream until soft peaks form. Gently fold in 3 tablespoons of cooled caramel until just combined. Be careful not to overmix.
- Serve: Spread the caramel whipped cream over the top of the cake just before serving. Enjoy your spectacular **Caramel Apple Cake**!
Notes
- Flour Accuracy: For the most precise measurement of flour, especially if you have a kitchen scale, I highly recommend weighing the flour in grams rather than using cup measurements. This significantly improves baking accuracy and cake texture.
- Caramel Storage: Any leftover homemade dulce de leche or unused jarred caramel can be transferred to an airtight container and stored in the refrigerator for up to two weeks, ready for your next sweet craving.
- Serving Suggestions: This cake is exquisite on its own, but also pairs wonderfully with a scoop of vanilla bean ice cream or an extra drizzle of caramel sauce for an even richer experience.
Nutrition
Nutrition information is automatically calculated and should be used as an approximation. Per serving (based on 8 servings):
- Calories: 274 kcal
- Carbohydrates: 28 g
- Protein: 2 g
- Fat: 18 g
- Saturated Fat: 3 g
- Polyunsaturated Fat: 4 g
- Monounsaturated Fat: 10 g
- Trans Fat: 0.1 g
- Cholesterol: 31 mg
- Sodium: 321 mg
- Potassium: 50 mg
- Fiber: 0.01 g
- Sugar: 27 g
- Vitamin A: 146 IU
- Vitamin C: 0.1 mg
- Calcium: 81 mg
- Iron: 0.2 mg
Tried this recipe? Share your experience!
We’d love to hear how your Caramel Apple Cake turned out. Leave a comment below and let us know your thoughts!