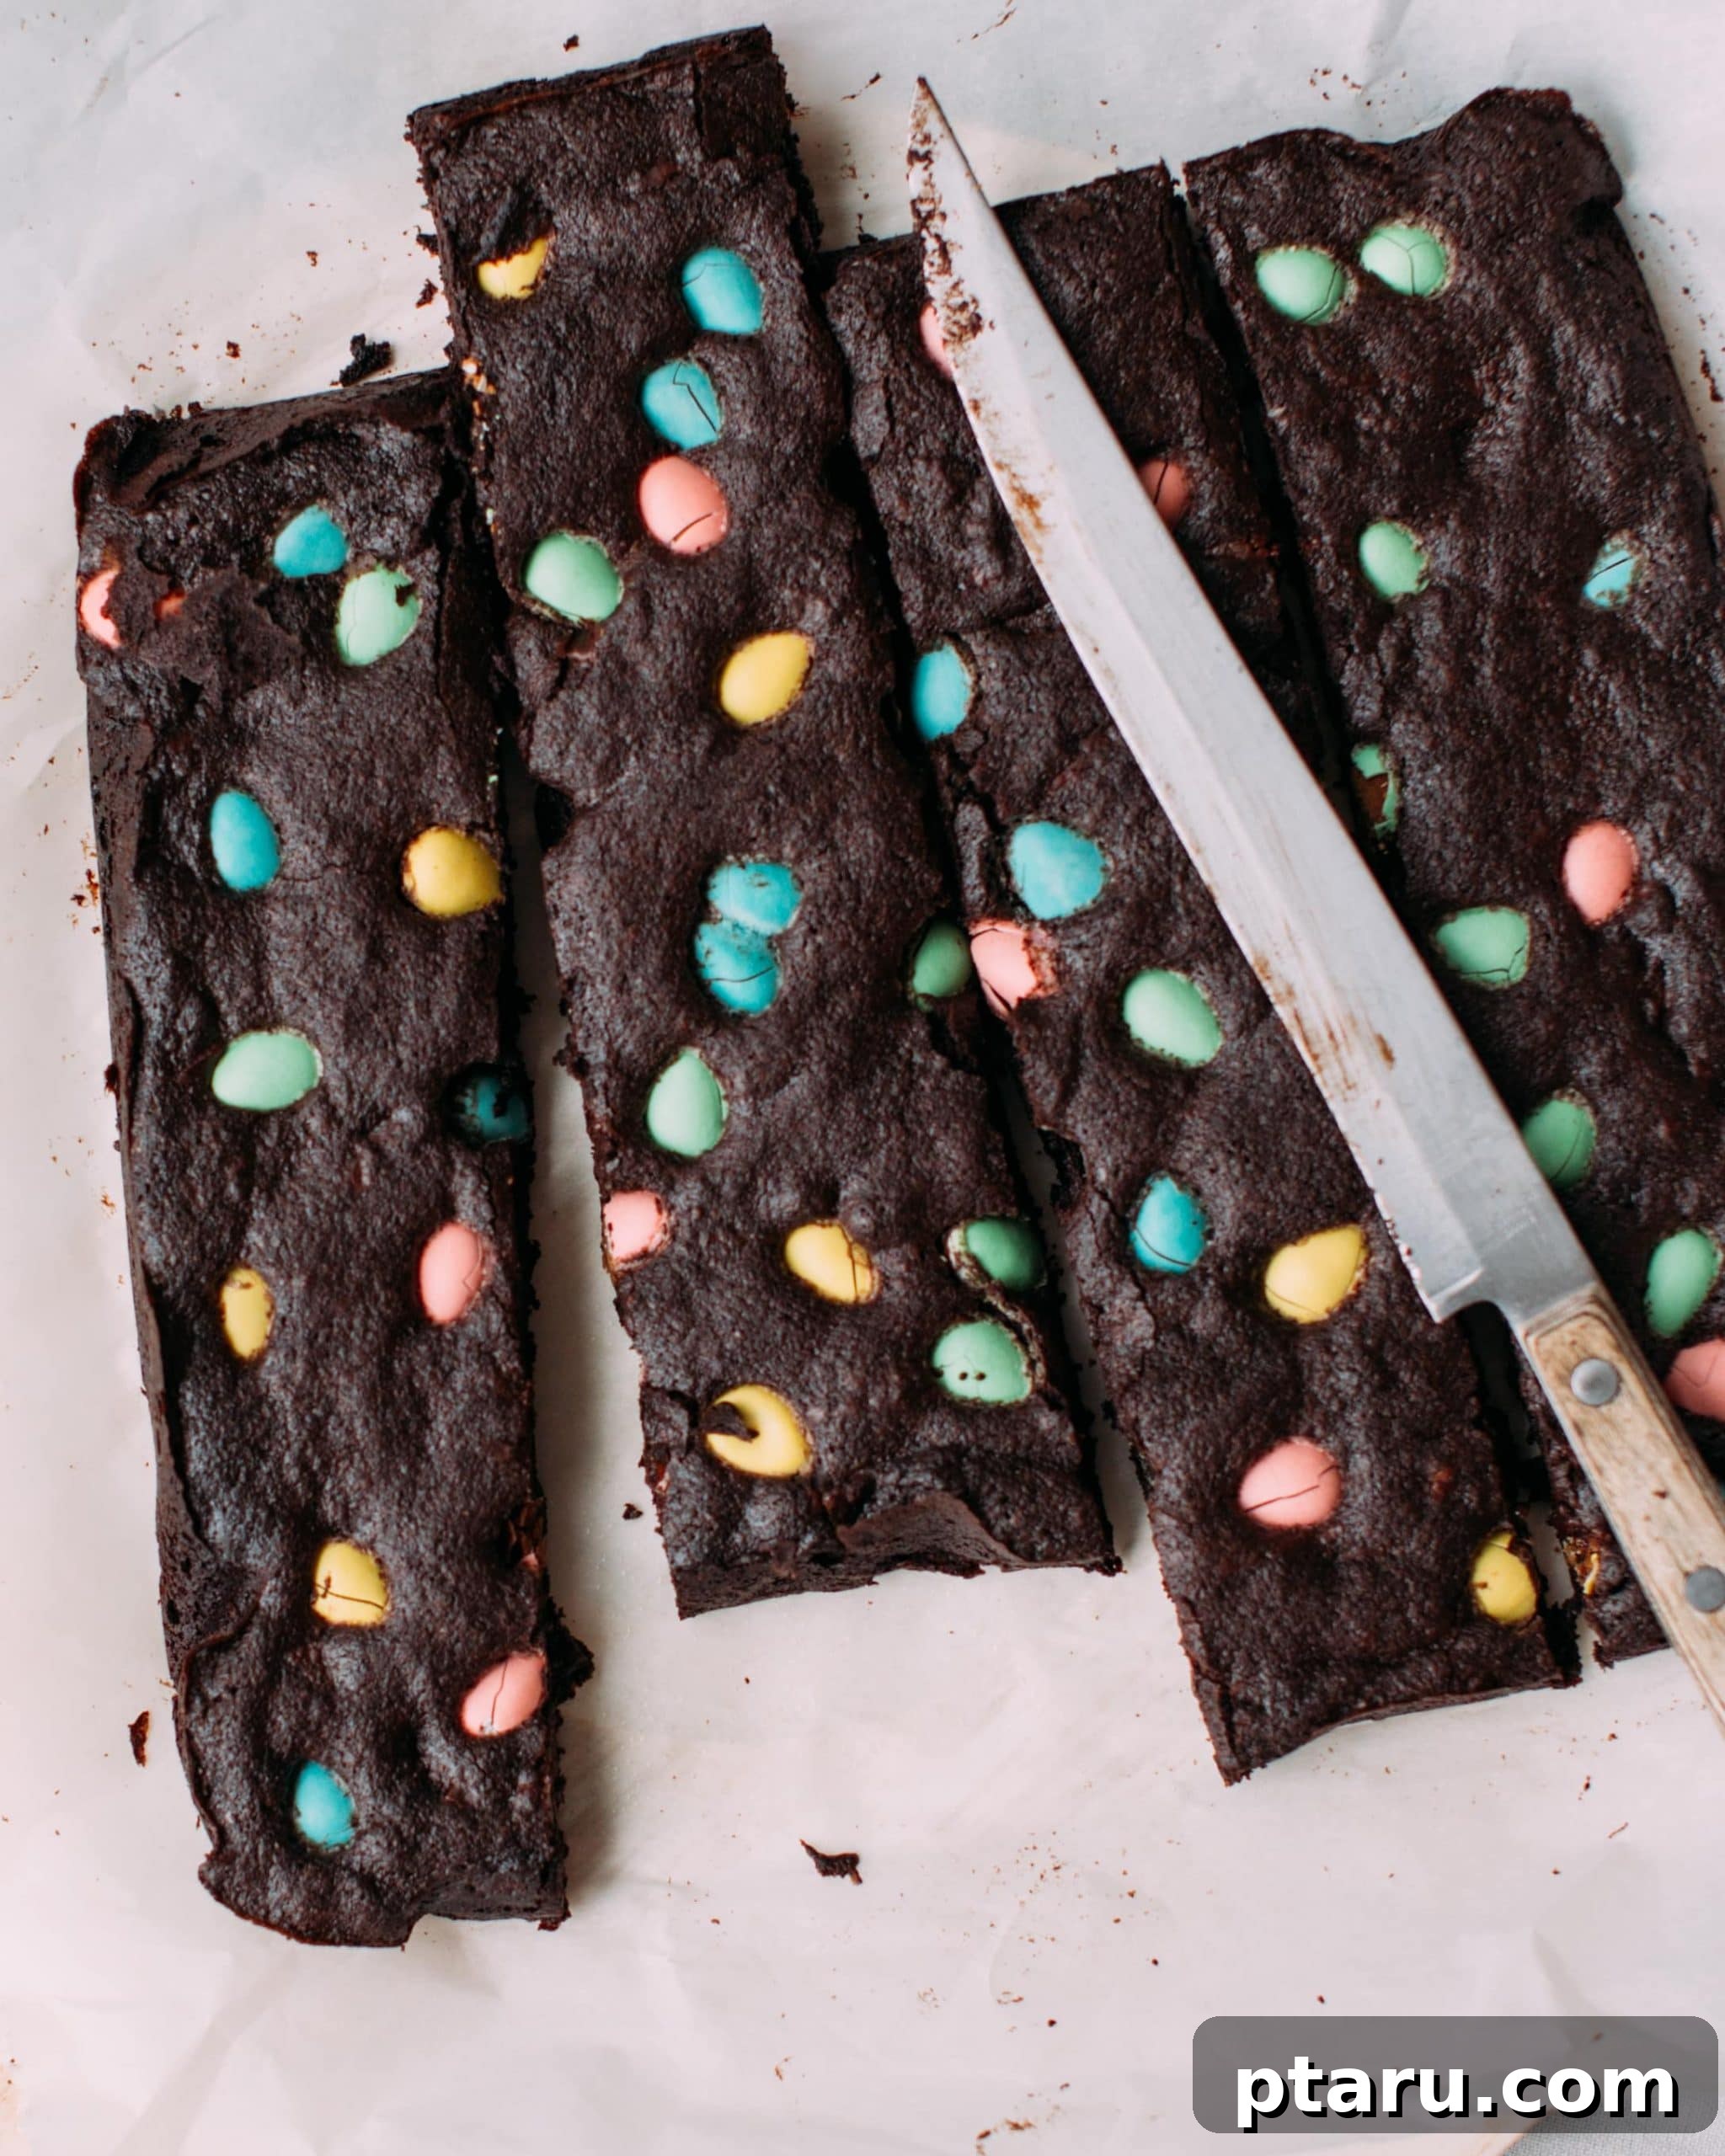
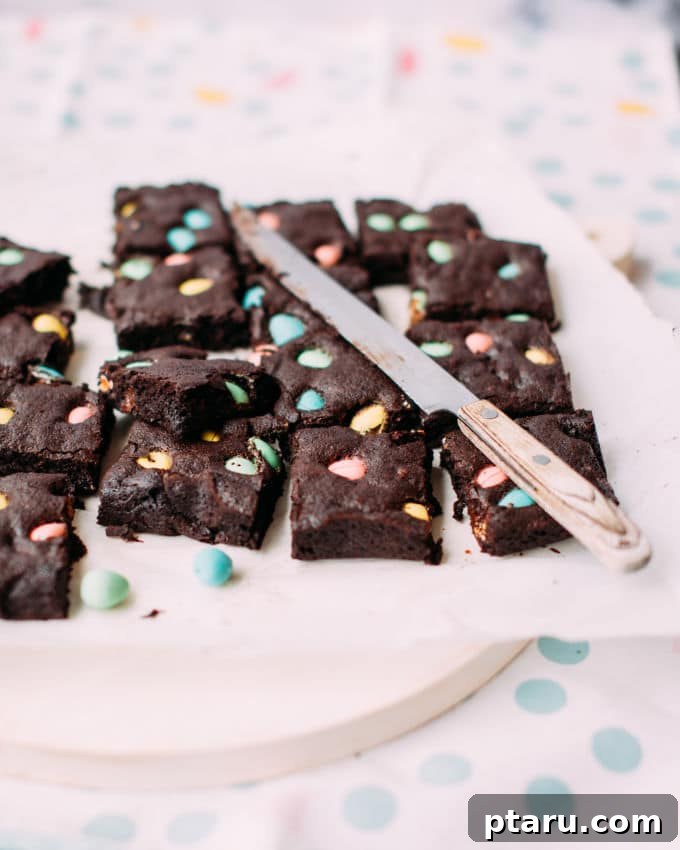
Prepare to fall in love with these absolutely irresistible Easter Brownies! Imagine a batch of perfectly chewy, deeply chocolatey brownies, studded with pockets of melted chocolate, and crowned with colorful mini Easter eggs. This isn’t just a dessert; it’s a celebration in every bite, and remarkably, it’s a one-bowl, 5-minute recipe that promises minimal fuss and maximum flavor. You’ll be amazed at how quickly you can whip up these decadent treats, making them ideal for last-minute Easter gatherings or a delightful spring baking project with the family.
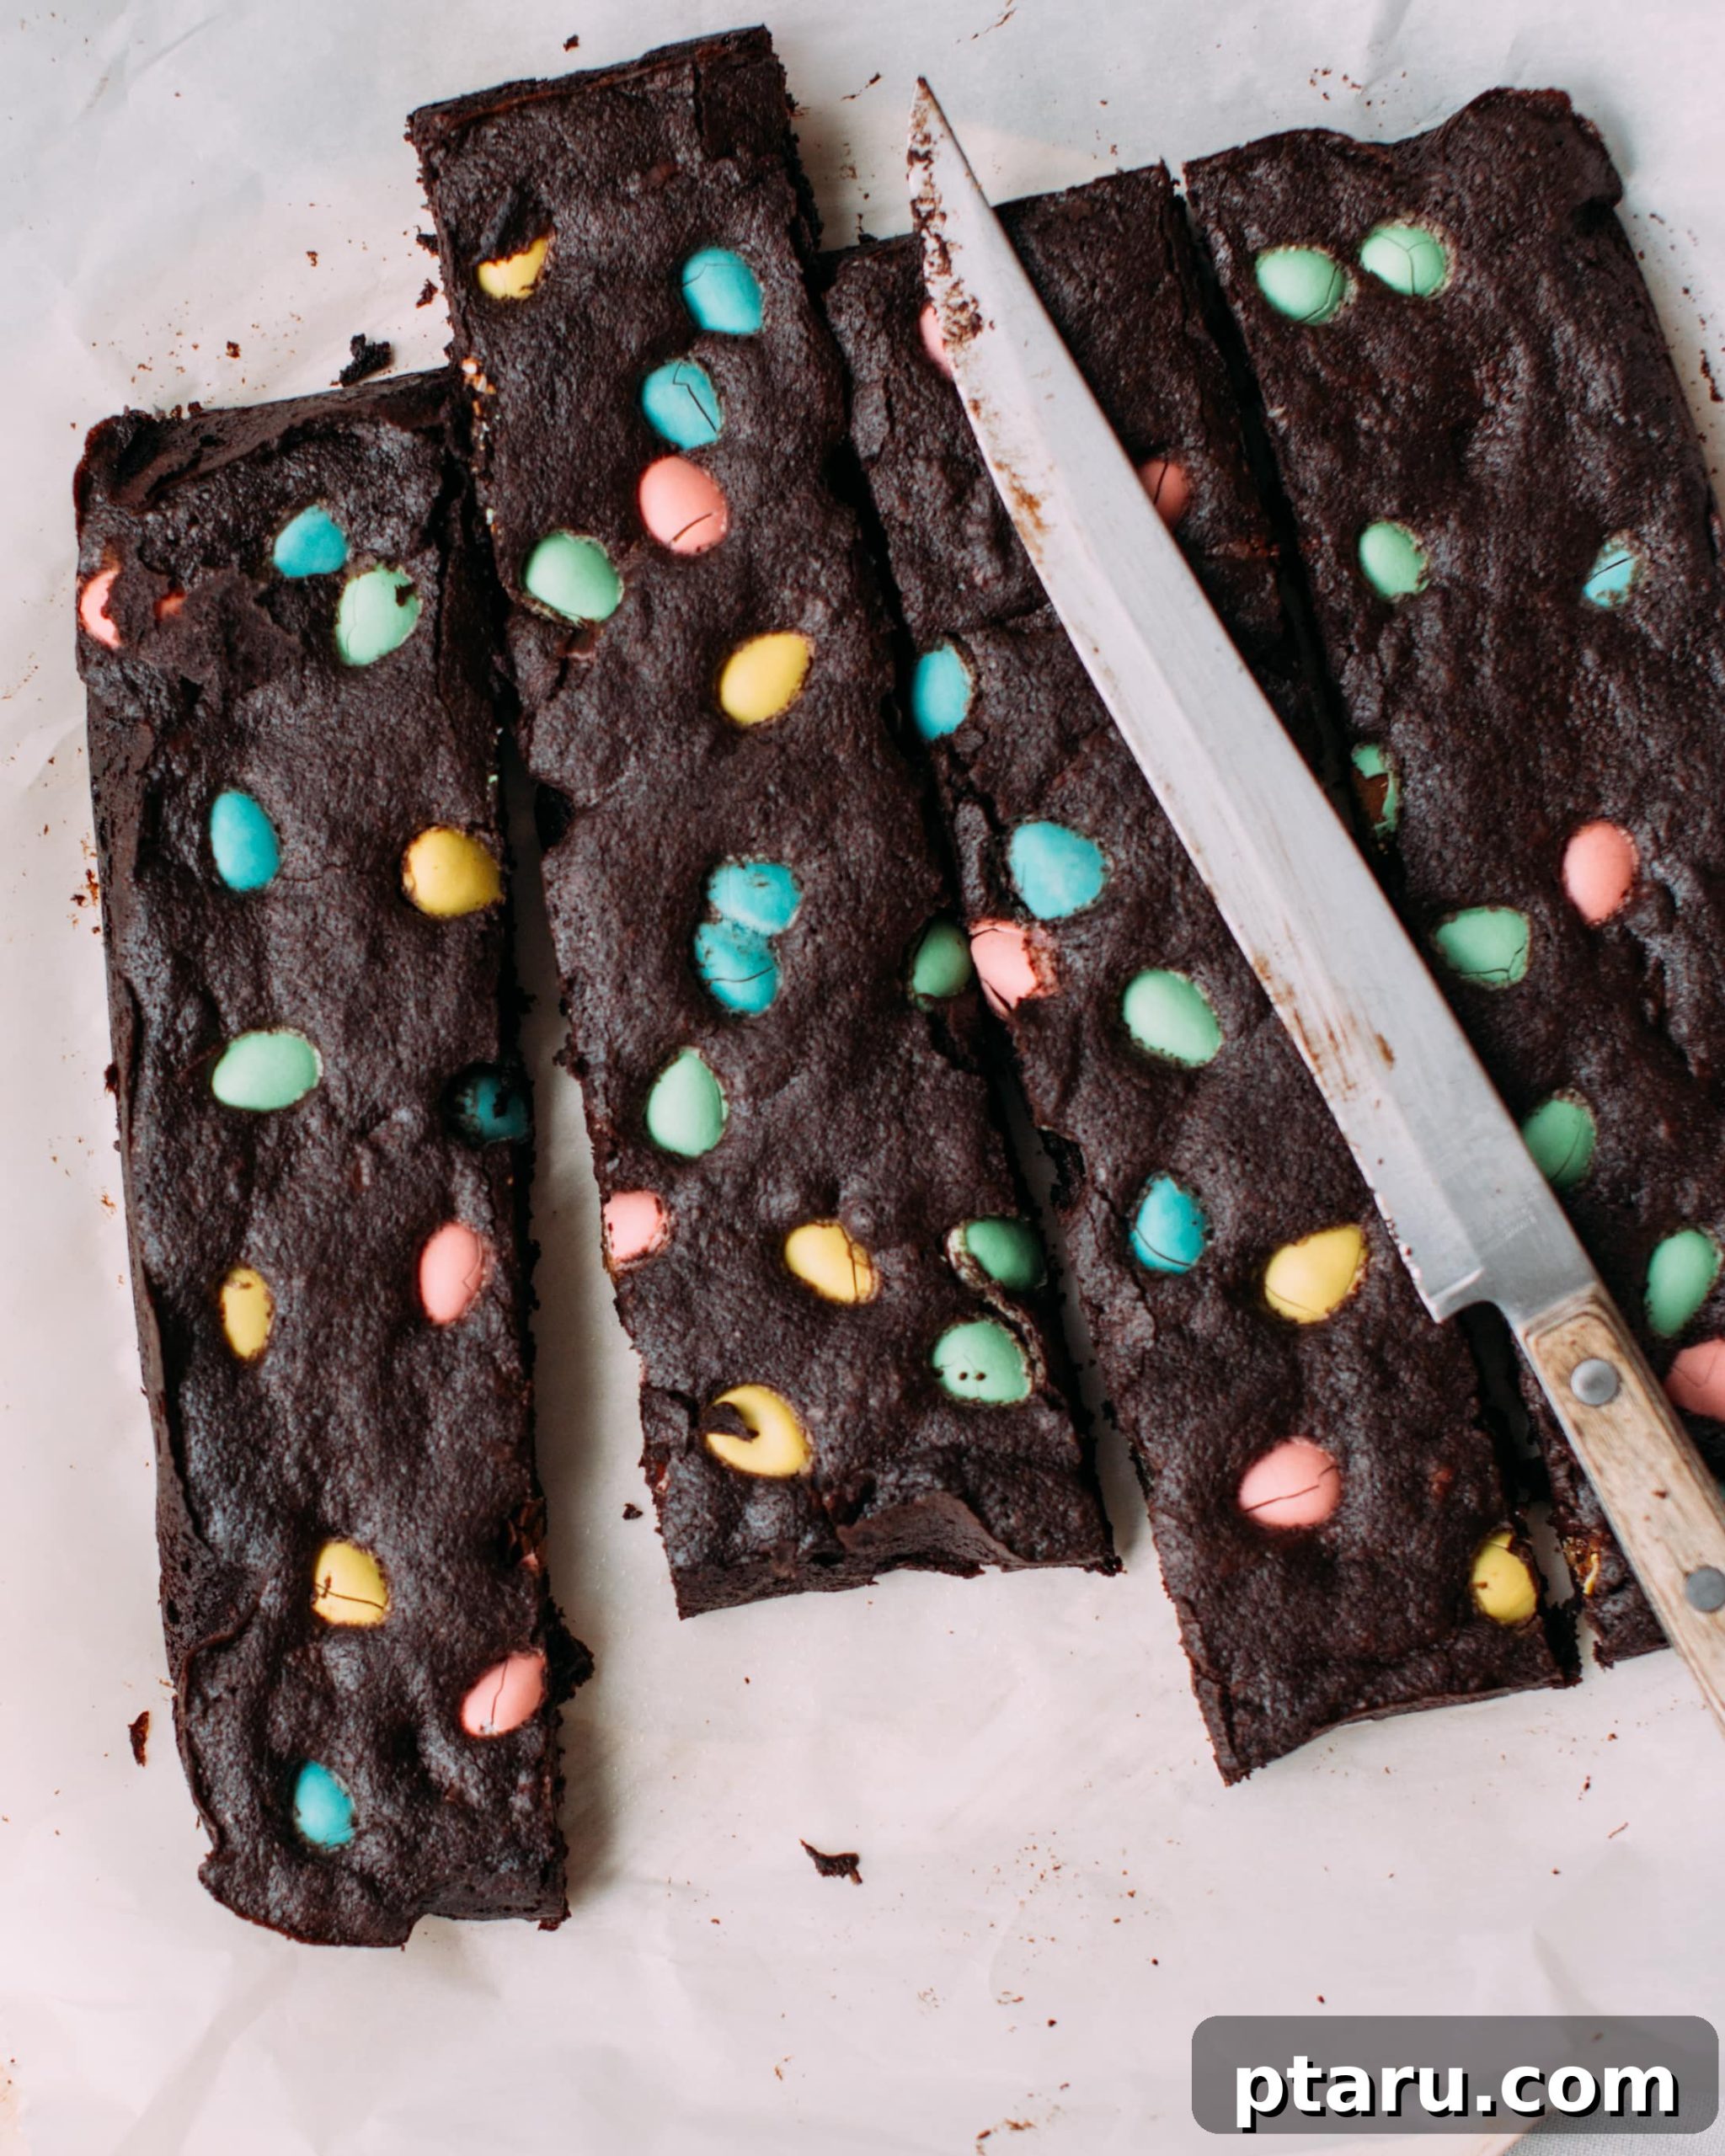
The Ultimate Chewy Easter Brownies: Your New Favorite Spring Dessert!
What makes this Easter Brownie recipe truly stand out from the rest? It begins with my tried-and-true base for chewy chocolate brownies – a foundation known for its rich flavor and perfect texture. The real magic, however, lies in its incredible simplicity. This isn’t one of those recipes that requires a mountain of dirty dishes or endless steps. In fact, you’ll only need one bowl and about 5 minutes of active preparation time to get the batter ready for the oven. Yes, it’s almost *too* easy, making it wonderfully accessible for bakers of all skill levels, even those who might feel intimidated by more complex recipes.
But the ease doesn’t compromise on flavor or festive charm. These brownies are designed to be a showstopper on your Easter dessert table. Here’s why they’re destined to become your go-to spring treat:
- The Unrivaled Charm of Cadbury Mini Eggs: For many, Cadbury Mini Eggs are the quintessential Easter treat. Their pastel shells and solid milk chocolate interiors add a delightful crunch and a burst of seasonal color to these brownies. They transform a classic chocolate brownie into an instant festive delight, making this mini egg brownie recipe a springtime obsession. Beyond brownies, I adore these mini eggs in soft and chewy Cadbury Mini Egg Cookies and this light, no-bake Easter Egg Cheesecake, too.
- A Decadent Triple Dose of Chocolate: Prepare for a truly intense chocolate experience. This delightful Easter dessert boasts chocolate in three fantastic forms:
- Rich Cocoa Powder: Provides a deep, sophisticated chocolate flavor that forms the heart of the brownie batter, ensuring every bite is profoundly chocolatey.
- Melted Chocolate Chunks or Chips: Incorporated into the batter, these create irresistible pockets of gooey, molten chocolate that enhance the chewy texture. You can choose dark, semi-sweet, or even milk chocolate chips to customize the sweetness.
- Festive Chocolate Eggs: Sprinkled generously on top, these not only add a beautiful visual appeal but also introduce a satisfying textural contrast with their crisp candy shells and creamy chocolate centers.
- Perfect for Any Occasion: While designed for Easter, these brownies are so delicious and easy that you’ll find yourself making them throughout the spring season. They’re fantastic for school parties, potlucks, or simply as a special treat for your family.
Need more inspiration for your holiday meal? Explore my Easy Ideas for Easter Dinner for a complete festive spread!
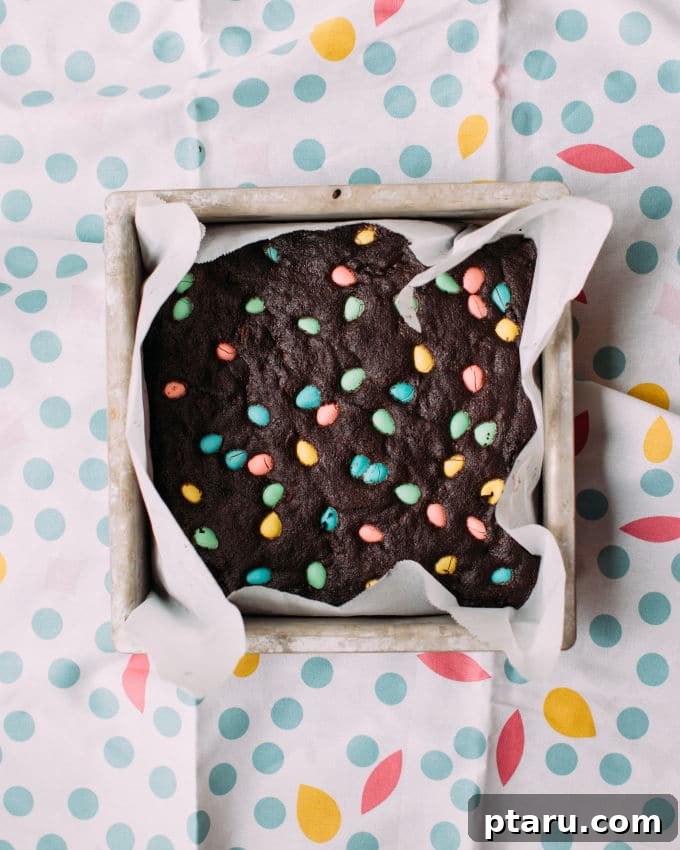
Unlock Perfection: Expert Tips for Baking the Best Easter Brownies
Achieving that coveted chewy texture and rich flavor in your homemade brownies is an art, but with these expert tips, you’ll consistently bake perfect batches. Pay attention to these small details, and your Easter brownies will be legendary:
- The Golden Rule: Don’t Overbake! This is perhaps the most crucial tip for chewy brownies. Overbaking is the enemy of fudgy texture, leading to dry, cake-like results. Start checking your brownies a few minutes before the recommended baking time. A toothpick inserted into the center should come out with a few moist crumbs clinging to it, not wet batter. If it comes out completely clean, they’re likely overbaked. A slightly underbaked brownie is always better than an overbaked one for that perfect chewy interior.
- For Precision, Use a Thermometer: If you want to take the guesswork out of baking, an instant-read thermometer is your best friend. Brownies are typically done when their internal temperature reaches around 180ºF (82ºC) in the center. This temperature ensures they are cooked through but still retain their moist, fudgy consistency.
- Choose Your Pan Wisely: Opt for Metal if Possible. The material of your baking pan significantly affects baking time and outcome. Metal pans conduct heat more efficiently and evenly, leading to a more consistent bake. Glass or ceramic pans, while beautiful, start baking more slowly, but then retain heat for much longer after being removed from the oven. This can cause the edges of your brownies to overcook and become hard or dry while the center finishes baking. If using a glass or ceramic pan, reduce the oven temperature by 25°F (15°C) and add a few minutes to the baking time, keeping a close eye on them.
- Gentle Touch: Press Mini Eggs in Gently. To ensure your colorful Cadbury Mini Eggs remain beautifully visible on the surface of your brownies and don’t sink to the bottom, gently press them into the top of the batter after spreading it into the pan. This slight indentation helps them adhere and stay in place during baking, ensuring a stunning presentation.
- For Picture-Perfect Slices: Use a Hot Knife. Achieving clean, crisp cuts is key for an elegant presentation. Before slicing, run a sharp knife under very hot water for a few seconds, then wipe it completely dry. The warm blade will glide through the brownies, preventing sticking and crumbling, especially important when cutting through chocolate chunks and mini eggs. Repeat this process for each slice for the best results.
- Patience is a Virtue: Cool Completely Before Storing. It’s tempting to dig into warm brownies, but for optimal texture and storage, let them cool completely in the pan on a wire rack. Warm brownies can trap steam when stored, leading to a sticky, gummy texture and potentially causing them to spoil faster. Cooling allows them to set properly, resulting in that delightful chewiness you crave.
Step-by-Step Guide: How to Make These Amazing Easter Brownies
You’ll be delighted by how straightforward it is to create these incredible Easter brownies. The beauty of this recipe is its simplicity, often requiring just one pot or bowl. Here’s a detailed walkthrough of the process:
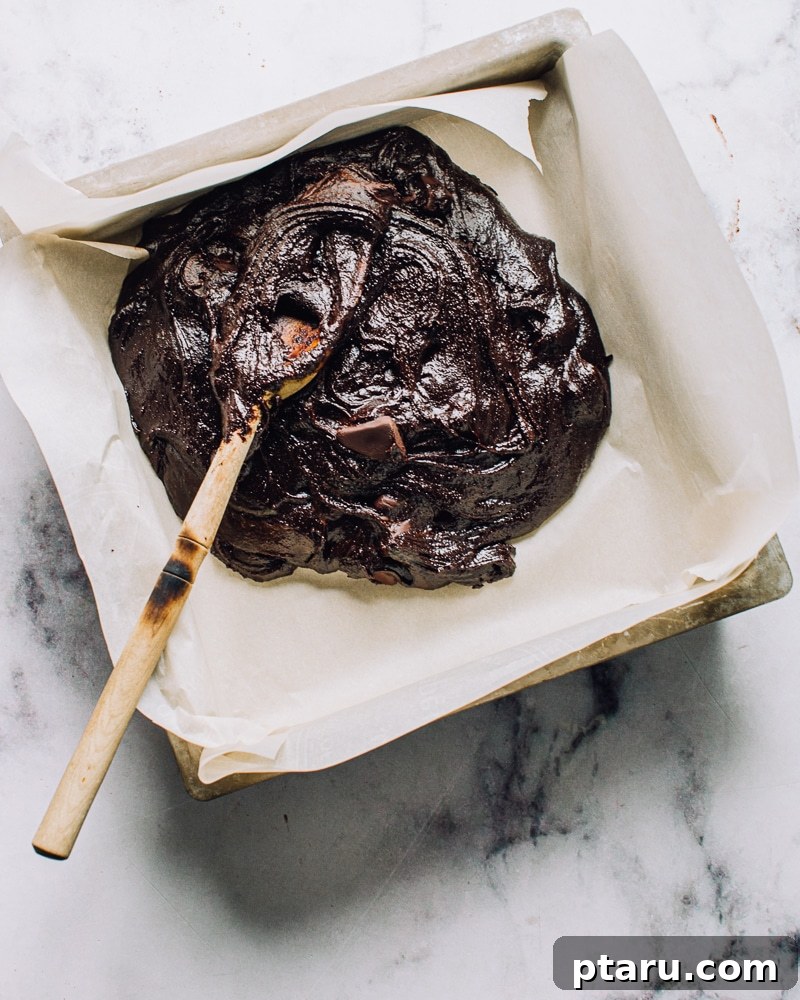
- Prepare Your Workspace: First, preheat your oven to 325ºF (160ºC). Line an 8×8-inch baking dish with parchment paper, allowing a slight overhang on the sides. This parchment “sling” makes it incredibly easy to lift the baked brownies out of the pan for cooling and slicing. You can also lightly grease the pan with cooking spray if you don’t have parchment.
- Melt and Mix in One Go: The magic begins! In a large, microwave-safe bowl (or a medium saucepan on the stove over low heat), melt the butter. Once melted, stir in the unsweetened cocoa powder until it’s completely blended and smooth. This step ensures an even distribution of cocoa for a consistent chocolate flavor. Next, using a fork or whisk, incorporate the granulated sugar, eggs, vanilla extract, and salt. Mix until just combined; overmixing can lead to a tougher brownie. Finally, fold in your chosen chocolate chips or chopped dark chocolate.
- Spread the Batter Evenly: Once your rich, glossy brownie batter is ready, transfer it to your prepared parchment-lined baking dish. The batter will be quite thick and stiff. Use a stiff spatula, or even dip your spatula in a little water, to help spread the chocolate mixture evenly into all the corners of the pan. A uniform layer ensures even baking.
- Decorate with Easter Cheer: Now for the festive touch! Generously sprinkle your Cadbury Mini Eggs (or Eggies, or your other favorite chocolate Easter candies) evenly over the top of the brownie batter. Gently press them down slightly so they adhere to the surface and don’t roll off during baking. This creates a beautiful, colorful crust that promises a delightful crunch.
- Bake to Perfection and Cool: Place the baking dish in your preheated oven and bake for approximately 30 minutes. Keep a close eye on them, as oven temperatures can vary. The brownies are done when the center appears firm but still has a slight give when gently pressed. Remember our expert tip: a toothpick inserted should come out with moist crumbs, not wet batter. Once baked, remove the pan from the oven and let the brownies cool on a wire rack for at least 10 minutes *in the pan*. This initial cooling period allows them to set. After 10 minutes, you can lift the brownies out by the parchment paper, transfer them to the wire rack, and let them cool completely before slicing (if you can resist!).
It’s truly easy peasy! No stand mixer required, no complex steps – just pure, chocolatey bliss. A little *too* easy, in fact, for such a phenomenal result!
Essential Ingredients for Your Easter Egg Brownies
The beauty of this recipe lies in its use of simple, everyday ingredients that come together to create something truly extraordinary. Each component plays a vital role in achieving that perfect chewy texture and rich chocolate flavor. Here’s what you’ll need for your batch of delightful Easter egg brownies:
- Butter: You’ll need ½ cup of butter, either unsalted or salted. Both work beautifully in this recipe. If using salted butter, you might consider slightly reducing the added salt, though ½ tsp typically balances the sweetness well. Butter contributes to the fudgy texture and rich flavor.
- Unsweetened Cocoa Powder: ¾ cup of unsweetened cocoa powder is essential for that deep, intense chocolate flavor. Whether you choose Dutch-process (which is darker and less acidic) or natural cocoa powder, both will yield delicious results. Dutch-process tends to produce a darker, milder chocolate flavor, while natural cocoa is fruitier and more intense.
- Granulated Sugar: 1 ⅛ cups of granulated sugar not only provides sweetness but also helps create the signature shiny, crackly top and contributes to the chewy texture of the brownies.
- Eggs: Two large eggs are crucial in this recipe. Since there is no baking powder, eggs provide all of the leavening, giving the brownies their structure and richness. They also act as an emulsifier, binding the ingredients together for a smooth batter.
- Vanilla Extract: 1 teaspoon of pure vanilla extract enhances the chocolate flavor and adds a beautiful aromatic depth to the brownies. Don’t skip it!
- Salt: ½ teaspoon of kosher salt is vital for balancing the sweetness and intensifying the chocolate notes. Salt is a flavor enhancer that makes all the other ingredients pop.
- All-Purpose Flour: You’ll need ½ cup of all-purpose flour. This provides the necessary structure to the brownies without making them cakey. Just enough to hold everything together.
- Chopped Dark Chocolate or Chocolate Chips: ½ cup of chopped dark chocolate (semi-sweet chocolate works wonderfully) or chocolate chips. These melt into luscious pockets throughout the brownies, adding another layer of chocolatey goodness and enhancing the fudgy texture. For a fun twist, you could even swap in white chocolate chunks!
- Cadbury Mini Eggs or Your Favorite Chocolate Easter Eggs: Approximately ½ cup of these festive candies are used for sprinkling on top. They are the star of the show, adding color, crunch, and that unmistakable Easter spirit.
Storing Your Delightful Easter Brownies: Freshness Tips
Once your irresistible Easter brownies have cooled completely, you’ll want to store them properly to maintain their freshness and perfect chewy texture. Here are the best ways to keep them delicious:
- Room Temperature is Best: Cut these cooled brownies into squares or bars and store them in an airtight container at room temperature. They will remain wonderfully fresh and chewy for up to 3 days. Do not refrigerate them; the cold temperature can alter their texture, making them drier and firmer. Brownies actually stay fresh longer and retain their ideal consistency when kept on the counter.
- Freezing for Extended Enjoyment: If you’ve baked a large batch or want to prepare them ahead of time, these mini egg brownies freeze exceptionally well. Place the cooled, uncut slab or individual squares in a single layer in a freezer-safe bag or airtight container, separated by parchment paper if stacking. They can be frozen for up to 3 months. To enjoy, simply thaw them at room temperature for a few hours. (Yeah right, they’ll never last that long once discovered!)

Best-Ever Easter Brownies Recipe (Easy, One-Bowl!)
By: Jennifer Pallian BSc, RD
Easy, chewy Easter brownie recipe. One-bowl, 5-minute cocoa-y brownies with Easter mini eggs and chocolate chunks. The perfect Easter baking project for kids.
5 minutes
30 minutes
35 minutes
16
Ingredients
- ½ cup unsalted butter (or salted)
- ¾ cup unsweetened cocoa powder (Dutch process or natural)
- 1 ⅛ cups granulated sugar
- 2 large eggs
- 1 tsp pure vanilla extract
- ½ tsp kosher salt
- ½ cup all-purpose flour
- ½ cup chocolate chips or chopped dark chocolate (semi-sweet)
- ½ cup chocolate mini eggs (e.g., Cadbury Mini Eggs, Eggies)
Instructions
- Preheat oven to 325ºF (160ºC). Line an 8×8-inch baking dish with parchment paper, leaving a bit of overhang at the sides for easy removal.
- In a large microwave-safe bowl (or saucepan on the stove), melt the butter in the microwave on high power for about a minute. Using a fork or whisk, stir in the cocoa powder until completely blended. Then, whisk in the sugar, eggs, vanilla, and salt until just combined. Stir in the chopped chocolate until evenly distributed.
- Use a spoon or stiff spatula to spread the thick batter evenly into the parchment-lined baking dish, ensuring it reaches all corners. Sprinkle the mini eggs evenly over the top of the batter, gently pressing them in.
- Bake for about 30 minutes, or until the center is firm but still has a slight give when gently touched. A toothpick inserted should come out with a few moist crumbs, not wet batter. Let the brownies cool in the pan for at least 10 minutes before lifting them out by the parchment paper. Transfer to a wire rack and let cool completely before slicing and serving.
Nutrition
Nutrition information is automatically calculated, so should only be used as an approximation. Per serving (1 of 16):
- Calories: 194kcal
- Carbohydrates: 27g
- Protein: 2g
- Fat: 10g
- Saturated Fat: 6g
- Polyunsaturated Fat: 0.4g
- Monounsaturated Fat: 2g
- Trans Fat: 0.2g
- Cholesterol: 36mg
- Sodium: 82mg
- Potassium: 105mg
- Fiber: 2g
- Sugar: 21g
- Vitamin A: 210IU
- Calcium: 21mg
- Iron: 1mg
Tried this recipe? We’d love to hear from you! Leave a comment below and share your experience. Your feedback helps us improve and inspires other home bakers.