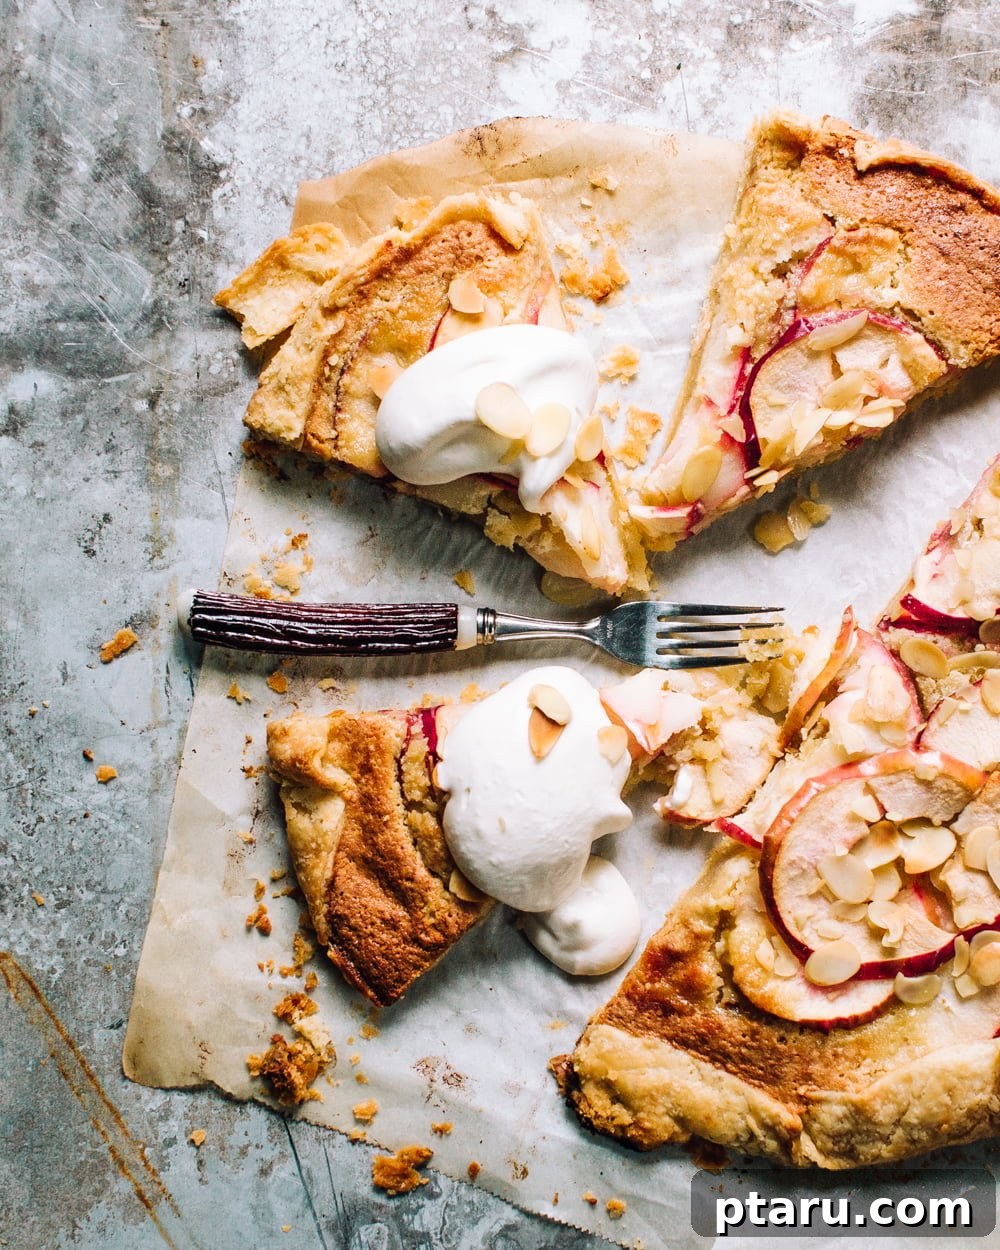
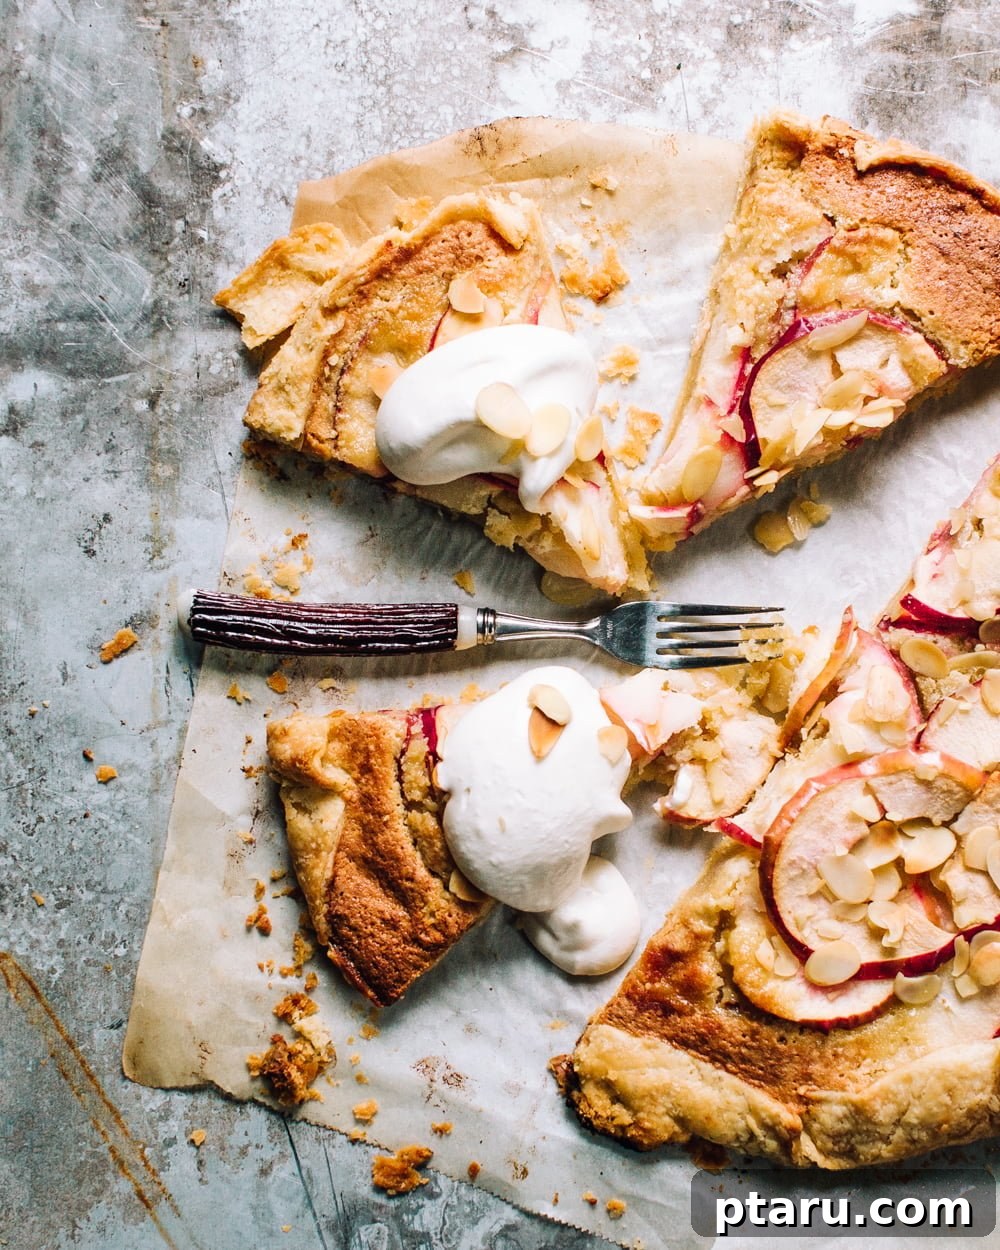
Indulge in the rustic charm of a flaky apple tart, elegantly crafted in the style of a freeform galette. This dessert boasts a rich, incredibly delicious, and surprisingly easy almond cream filling nestled within a perfectly flaky, all-butter crust. It’s the ideal blend of sophistication and simplicity, making it a favorite for any occasion.
The Endearing Simplicity of a Rustic Apple Galette
When we talk about “rustic” in the culinary world, it evokes images of warmth, authenticity, and endearing imperfection. This apple tart, designed as a freeform galette, perfectly embodies that spirit. It’s unapologetically homemade, with an unpretentious beauty that outshines any perfectly sculpted pastry. The magic of a galette lies in its relaxed nature; unlike a traditional tart that demands meticulous crimping and shaping, a galette welcomes a laid-back approach. You simply roll out the dough, pile on the filling, and fold the edges over. Whatever shape it naturally takes is exactly right, celebrating the art of handmade baking.
This recipe starts with the foundation of any great tart: an easy-to-make, all-butter crust. The secret to achieving that irresistible flakiness lies in using meticulously chilled ingredients. Cold butter, cut into precise chunks, and ice water are crucial for preventing the butter from fully incorporating into the flour, thus creating pockets of steam that result in those coveted flaky layers.
Mastering the Flaky Crust: Why Chilling Your Dough is Essential
Many home bakers might be tempted to rush the process, but patience, particularly during the chilling phase, is a virtue when making pie or tart crusts. Refrigerating your dough isn’t just a suggestion; it’s a critical step that serves multiple vital purposes, directly contributing to the texture, stability, and overall success of your apple galette.
-
Restores Butter Firmness for Optimal Flakiness: After handling the dough – mixing, pressing, and forming it into a disc – the butter, even if it started cold, will inevitably soften. Chilling the dough solidifies the butter once more. This ensures that when the tart bakes, the cold butter melts slowly, releasing steam that pushes apart the layers of dough, creating those desirable flaky strata rather than a dense, crumbly mess. It also helps the butter maintain its structure until the dough sets in the oven, preventing it from melting too quickly.
-
Relaxes Gluten for a Tender Texture: Gluten, formed when wheat proteins in flour combine with water, acts like the muscle of your dough. The more you work the dough, the more gluten develops, leading to a tough, chewy crust. Allowing the dough to rest in the refrigerator gives these tight gluten strands an opportunity to relax. This relaxation is key to achieving a tender, melt-in-your-mouth crust that’s easy to slice and delightful to eat. Skipping this step often results in a resilient, difficult-to-roll dough and a less appealing final texture.
-
Ensures Full Flour Hydration for Smooth Rolling: Chilling also allows the moisture in the dough to fully and evenly hydrate the flour. This process is essential for creating a smooth, pliable dough that rolls out easily without cracking or tearing. Proper hydration contributes to a more uniform texture throughout the crust, preventing dry spots and ensuring consistency. A well-hydrated, rested dough is a pleasure to work with, making the assembly of your galette a breeze.
Given these crucial benefits, consider chill time an indispensable part of your baking routine for a truly tender, perfectly shaped, and effortlessly flaky crust. Do not be tempted to skip it!
Streamlined Baking: The Food Processor Advantage
Embrace efficiency in your kitchen by utilizing your food processor for both the apple tart dough and the decadent almond frangipane filling. One of the most significant advantages? Minimal cleanup! You can prepare the dough first, then move directly to the frangipane without needing to wash the bowl in between, saving you precious time and effort.
The precision blades of a food processor are invaluable when making pastry dough. They efficiently cut the cold butter into small, even pieces without imparting unwanted warmth from your hands. This meticulous cutting action is fundamental to achieving that coveted flaky crust, ensuring the butter remains distinct from the flour until it hits the hot oven. For those interested, I personally recommend the KitchenAid 7-cup food processor; its ease of assembly and intuitive use have made it a favorite in my kitchen.
Crafting the rich frangipane almond cream filling is equally simple with a food processor. Just combine blanched almonds, granulated sugar, eggs, melted butter, and a splash of pure vanilla extract. A few pulses will transform these ingredients into a silky-smooth, aromatic paste. For an extra layer of almond flavor, a few drops of pure almond extract are a welcome addition, though it’s perfectly optional. No need to purchase a bottle if you won’t use it in other recipes.
If you prefer a more traditional approach, the pastry can certainly be made by hand using a pastry cutter, and a blender can easily whip up the frangipane. Both methods yield excellent results, allowing you to choose what best suits your comfort and equipment.
The Art of Assembling Your Apple Galette
Once your dough has been properly chilled and rested, and your frangipane is ready, it’s time for the creative part: assembly! Lightly flour a surface and roll out your dough into a roughly circular or oval shape that will fit comfortably on your baking sheet. Don’t worry about perfection here; the freeform nature is part of its charm. Use a knife or pastry wheel to gently trim the edges, creating a neater, albeit still rustic, border.
Carefully transfer your rolled-out dough to a baking sheet lined with parchment paper. This simple step prevents sticking and makes cleanup incredibly easy. Now, spoon the luscious almond frangipane onto the center of the dough, ensuring you leave a generous 2-inch border all around. This border will become your crust, beautifully folding over to cradle the filling.
Next, arrange thin slices of your favorite apples (firm, tart varieties like Granny Smith or Honeycrisp work wonderfully) over the frangipane. Overlap them slightly to create an appealing visual pattern. A squeeze of fresh lemon juice over the apples not only adds a bright, zesty counterpoint to the sweetness of the frangipane but also prevents the apple slices from browning too quickly. To finish, gently fold the pastry edges up and over the outer perimeter of the apple slices, creating a beautiful, slightly ruffled border that holds all the delicious fillings in place.
As this rustic tart bakes in the oven, a truly magical transformation occurs. The almond cream puffs up, its rich, nutty aroma filling your kitchen, and peeks out enticingly between the tender apple slices, forming a delicious, caramelized crust. The inherent richness and sweetness of the frangipane filling are so perfectly balanced that there’s absolutely no need to add extra sugar to the apple topping itself. The result is a dessert that is both stunning to look at and incredibly satisfying to eat.
This apple tart, with its unpretentious elegance and unforgettable flavor, stands as a totally worthy and perhaps even more impressive alternative to elaborate, fancy pies at any holiday dinner or special gathering. It delivers on all fronts: impressive presentation, delicious taste, and deceptive ease of preparation. It is, in essence, everything you could possibly want in a special homemade dessert.

Print Recipe
Apple Tart with Almond Frangipane
Jennifer Pallian BSc, RD
30
40
1 10
Ingredients
For pastry
- 6 oz 1 1/3 cups all-purpose flour
- ¼ tsp coarse salt
- 5 oz 10 tbsp or 1/2 cup + 2 tbsp cold butter, cut in 1/2″ chunks
- ¼ cup ice water
For frangipane
- 1 ½ cups 6 oz sliced, blanched almonds divided use
- ⅔ cup 5 oz granulated sugar
- 2 large eggs
- 2 tbsp melted butter
- 1 tsp pure vanilla extract
- ¼ tsp pure almond extract OPTIONAL
- pinch of salt
To assemble tart
- 2 medium apples cored and spiralized or thinly sliced
- squeeze of lemon juice
- 2 tbsp sliced, blanched almonds
Instructions
-
Place flour and salt in a food processor and pulse briefly to combine. Add the cold butter pieces and pulse until the mixture resembles coarse crumbs, with pieces about half the size of a lentil.
-
Dump the mixture onto a piece of parchment paper and sprinkle the ice water over the top. Use your hands or a bench scraper to gently toss the ingredients together. Then, carefully fold and press the mixture until it comes together to form a cohesive dough. (Folding and pressing with the parchment paper can help avoid a sticky mess.) Form the dough into a disc, wrap it tightly in the parchment paper, and refrigerate for at least one hour (or up to 3 days, or freeze for up to 3 months).
To make frangipane:
-
In the same food processor (no need to wash!), combine the blanched almonds, granulated sugar, eggs, melted butter, vanilla extract (and optional almond extract), and a pinch of salt. Blend until the mixture is completely smooth and creamy.
-
Allow the chilled dough to soften slightly on the counter for 10-15 minutes before rolling it out. Roll the dough between two sheets of parchment paper to your desired shape, ensuring it’s large enough for your baking pan. Trim the edges for a neater appearance, then line your baking pan with fresh parchment and carefully transfer the rolled dough onto it.
-
Spoon the frangipane onto the pastry dough, leaving a generous 2-inch border around the perimeter. Arrange the thinly sliced apples attractively over the frangipane, and give them a light squeeze of lemon juice to prevent browning and add a touch of brightness. Sprinkle with the reserved 2 tablespoons of sliced almonds. Gently fold the edges of the pastry up and over the outer apples, creating a rustic border. Place the entire tart in the freezer for 30 minutes while you preheat your oven to 350ºF (175ºC).
-
Bake the tart for approximately 50 minutes, or until the crust is deeply golden brown, the apples are tender when pierced with a knife, and the frangipane filling is beautifully puffed and caramelized. Let cool slightly before serving.
Tried this recipe? Share your thoughts in the comments below!