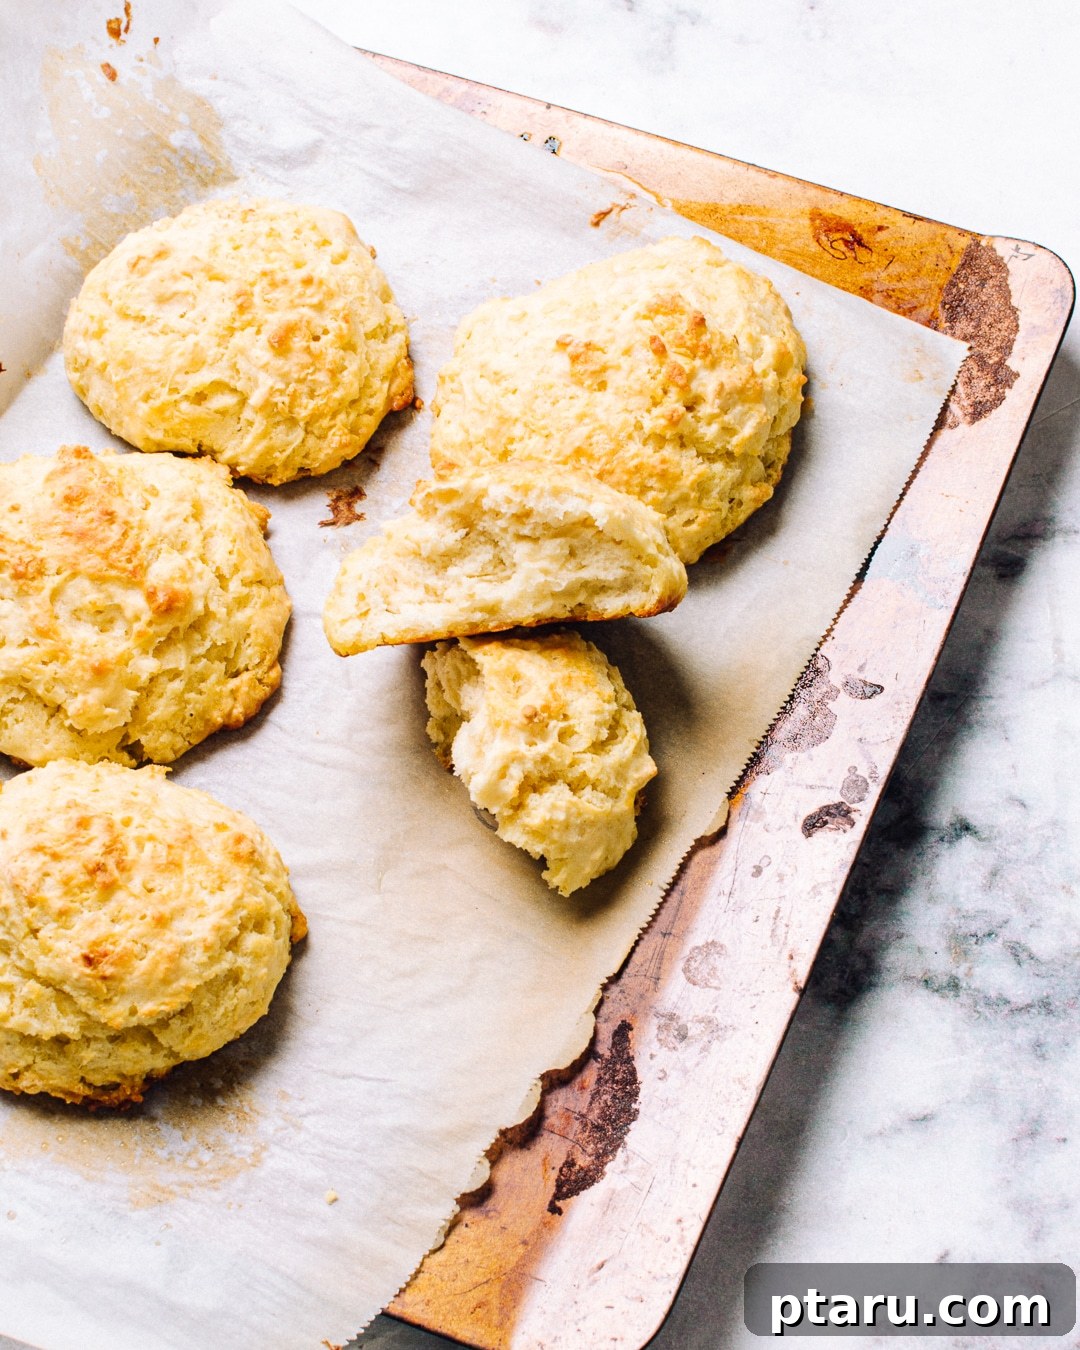
The Ultimate Guide to Incredibly Fluffy Buttermilk Drop Biscuits
For years, this has been my go-to, tried-and-true buttermilk drop biscuit recipe. It’s a true kitchen staple, relying on just five simple ingredients that are almost always stocked in any home pantry. What truly sets this recipe apart is its incredible ease; it’s a one-bowl wonder that comes together in mere minutes, promising warm, golden biscuits without the fuss and mess often associated with traditional biscuit making.
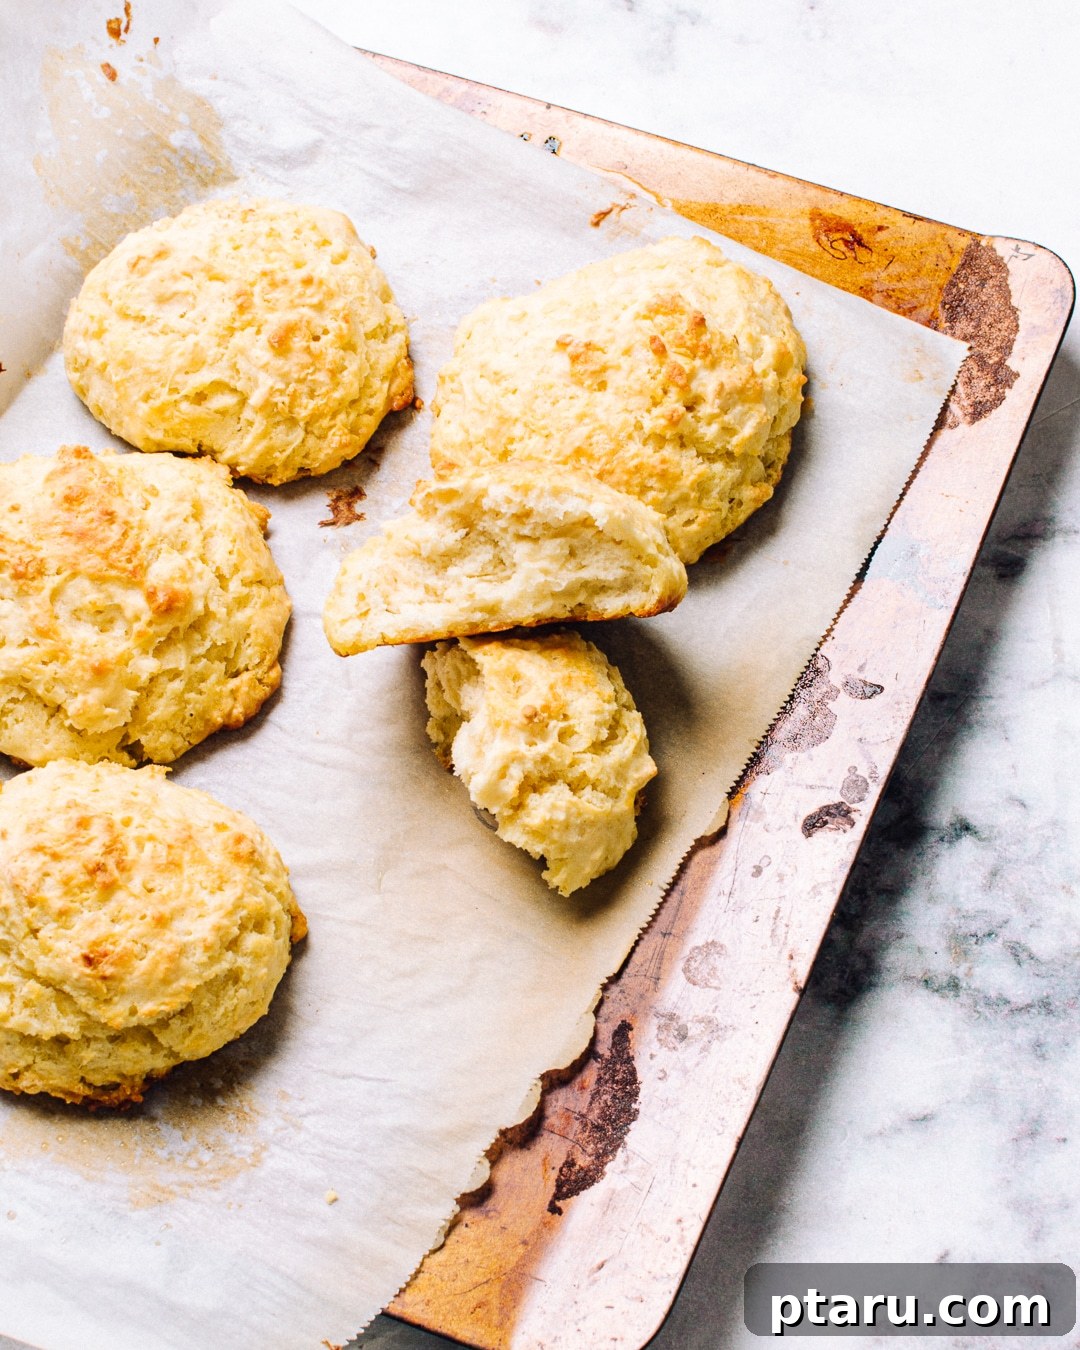
The result? Biscuits that are consistently the fluffiest, softest, and most tender you’ll ever bake. This recipe boasts a high moisture content, which makes it exceptionally forgiving – a blessing for both novice and experienced bakers. Small inaccuracies in flour measurement or handling won’t derail your success, ensuring a perfect batch every time. I’ve reached a point where I can whip these up without even glancing at a measuring cup, but for your benefit, I’ve meticulously triple-tested the exact measurements to guarantee flawless results. So, grab your apron, because biscuits for breakfast, lunch, or dinner are about to become your new favorite tradition.
5 Essential Secrets to the Easiest, Fluffiest Buttermilk Drop Biscuits
Achieving biscuit perfection might seem daunting, but with these five simple secrets, you’ll master the art of light, airy drop biscuits in no time. These techniques streamline the process and elevate the final texture and flavor.
-
Embrace the Kitchen Scale for Precision
Using a kitchen scale is a game-changer for baking, especially for biscuits. It ensures spot-on accuracy, which is far more consistent than volume measurements (cups), where flour can be packed differently each time. Begin by weighing your flour directly into a large mixing bowl. Then, whisk in the baking soda and baking powder. Place the bowl back on the scale, tare it to zero, and grate in the cold butter. Tare again and weigh the buttermilk. This method not only guarantees precise ingredient ratios, leading to consistently perfect biscuits, but also significantly reduces the number of measuring cups and spoons you’ll need to wash. Precision leads to perfection, and a scale makes it effortless.
-
Grate Your Cold Butter for Optimal Texture
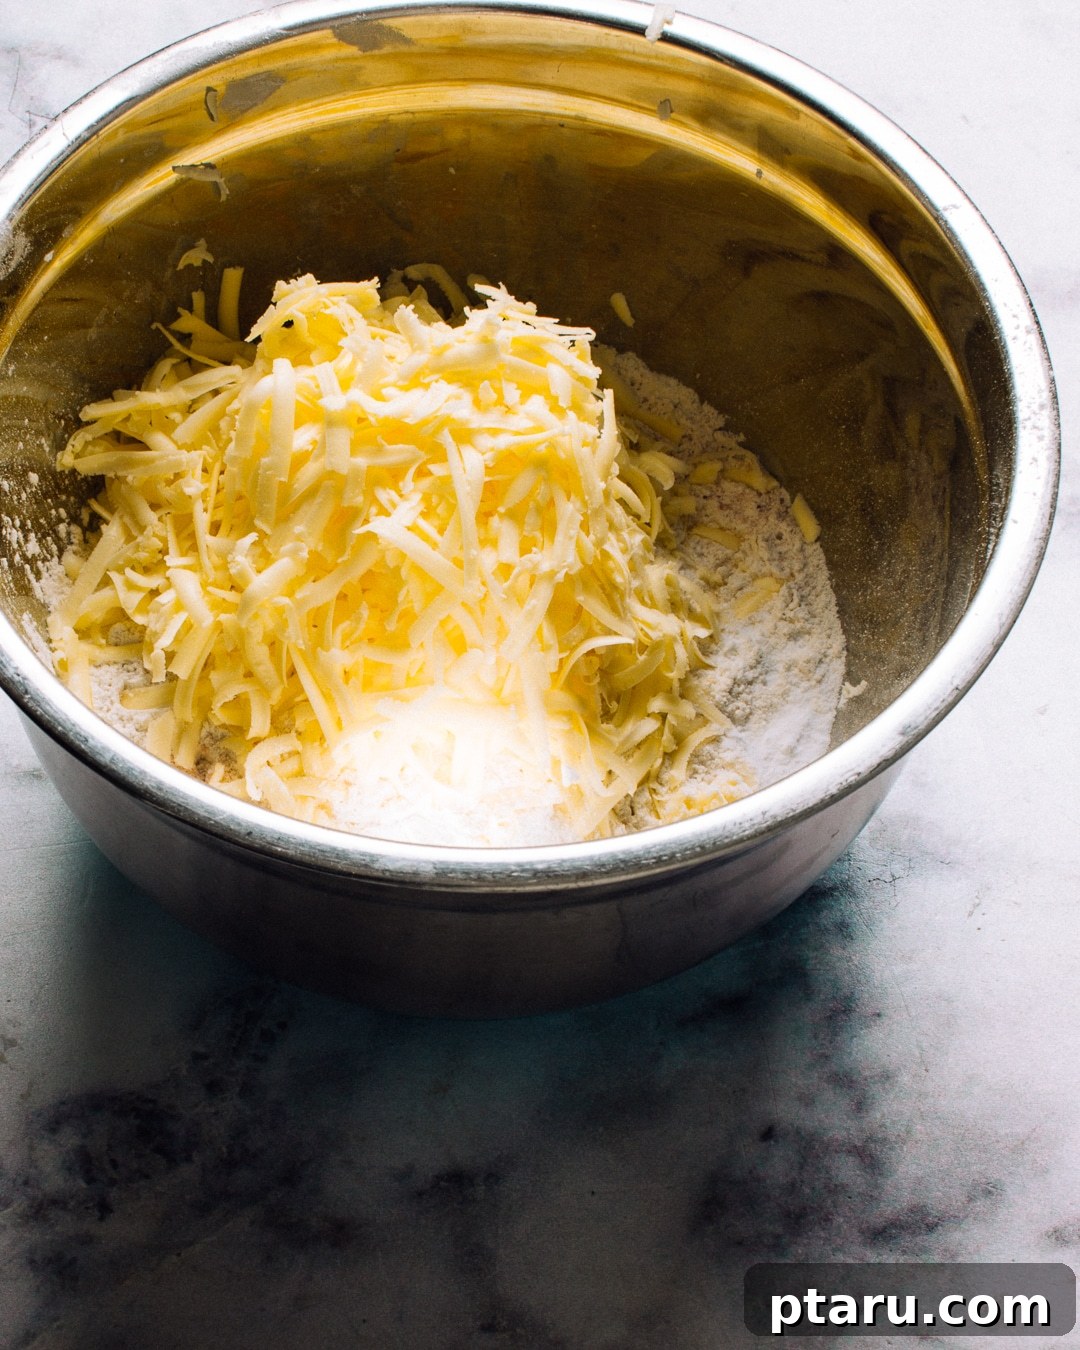
Forget the pastry blender or the tedious task of cutting in butter. A simple cheese grater is your secret weapon for incredible biscuit texture. Grating ultra-cold butter directly into your dry ingredients creates tiny, evenly distributed pockets of fat. As these melt in the hot oven, they release steam, which is trapped by the biscuit’s developing structure, resulting in those coveted flaky layers and an impressive rise. I often hold the grater directly over the bowl on my kitchen scale, allowing me to measure and grate simultaneously. This technique eliminates mess, saves effort, and is far more efficient than traditional methods, giving you beautifully flaky biscuits with minimal fuss.
-
A Whisk for Aeration and Even Distribution
Don’t underestimate the power of a simple whisk. Beyond just mixing, whisking your dry ingredients (flour, baking powder, baking soda, and salt) aerates the flour, much like sifting would. This incorporated air is crucial for creating a lighter, more voluminous dough, which translates directly into truly fluffy biscuits. The same whisk then efficiently and evenly distributes the grated cold butter throughout the flour mixture, ensuring that every biscuit benefits from those pockets of butter that create flaky layers. It’s a single tool doing double duty, contributing significantly to both texture and rise.
-
Fold Gently to Prevent Toughness
The key to tender biscuits lies in a light touch. Once your dry ingredients and grated butter are combined, add the buttermilk and switch to a rubber spatula. Gently fold the mixture, turning it over lightly in the bowl until the flour is about 95% incorporated. Avoid using a strong arm or overmixing the dough. Vigorous mixing develops gluten, which is desirable in bread but will lead to tough, chewy biscuits instead of light, tender ones. A few floury patches in the dough are perfectly fine – they indicate you’ve handled it just enough to combine without overworking.
-
Stop at the Shaggy Stage: No Kneading Required
Traditional biscuit recipes often require turning the dough out onto a floured surface, gently kneading it a few times, and then cutting out rounds. This step, while important for some biscuit styles, is completely eliminated with this simple drop method. We stop at the “shaggy dough” stage – where the ingredients are just combined and still look a bit rustic. This preserves the tenderness and saves you both time and a messy countertop. From this shaggy dough, you’ll simply scoop and drop, making these biscuits incredibly quick and easy from start to finish.
Key Ingredients for Perfect Buttermilk Drop Biscuits
Each ingredient in this recipe plays a vital role in creating the ultimate fluffy buttermilk drop biscuits. Understanding their function will help you achieve consistent success and appreciate the simple magic of baking.
-
All-Purpose Flour: The Foundation
This recipe calls for standard all-purpose flour, a staple in nearly every pantry, and it performs beautifully here. All-purpose flour has a moderate protein content, ideal for creating biscuits that are both tender and structured. Using bread flour, which has a higher protein content, would lead to excessive gluten development and tougher biscuits. Conversely, cake flour, with its lower protein content and often stronger bleaching process, can make biscuits dry and crumbly because it absorbs water differently. If you happen to have a low-protein pastry flour on hand, it would also work, just ensure you measure by weight for accuracy.
-
Real Buttermilk or a Reliable Substitute
Buttermilk is non-negotiable for authentic, tender biscuits. Real buttermilk, the byproduct of churning butter, is rich in phospholipids. These natural emulsifiers contribute significantly to the exceptional tenderness and moist crumb of the biscuits. While a homemade substitute (like milk with lemon juice or vinegar) will activate the baking soda and still yield good results, I highly encourage trying real buttermilk at least once to experience the unparalleled texture it provides. It truly makes a noticeable difference in the final product.
-
Cold Butter: The Secret to Flaky Layers
Always use cold butter, straight from the fridge. Even better, if you have frozen butter, it can be grated directly. The temperature of the butter is paramount: it needs to remain solid until it hits the hot oven. If the butter melts prematurely, it will seep out of the dough, resulting in greasy, dense biscuits. When cold butter pieces melt quickly in the oven, they create pockets of steam within the dough. This steam expands, pushing the biscuit layers apart and creating that wonderful, flaky texture and impressive lift. Whether you use salted or unsalted butter, both work well here; I’ve tested with salted, as it’s commonly found in most kitchens.
-
Baking Soda and Baking Powder: The Leavening Dream Team
These two leavening agents are crucial for giving our biscuits their signature rise and fluffiness. You might wonder why both are used when buttermilk recipes often only call for baking soda. I’ll delve into the science behind this powerful duo below, but in short, they work together to create the perfect amount of lift and a delightful flavor balance, preventing any metallic aftertaste often associated with excessive baking soda.
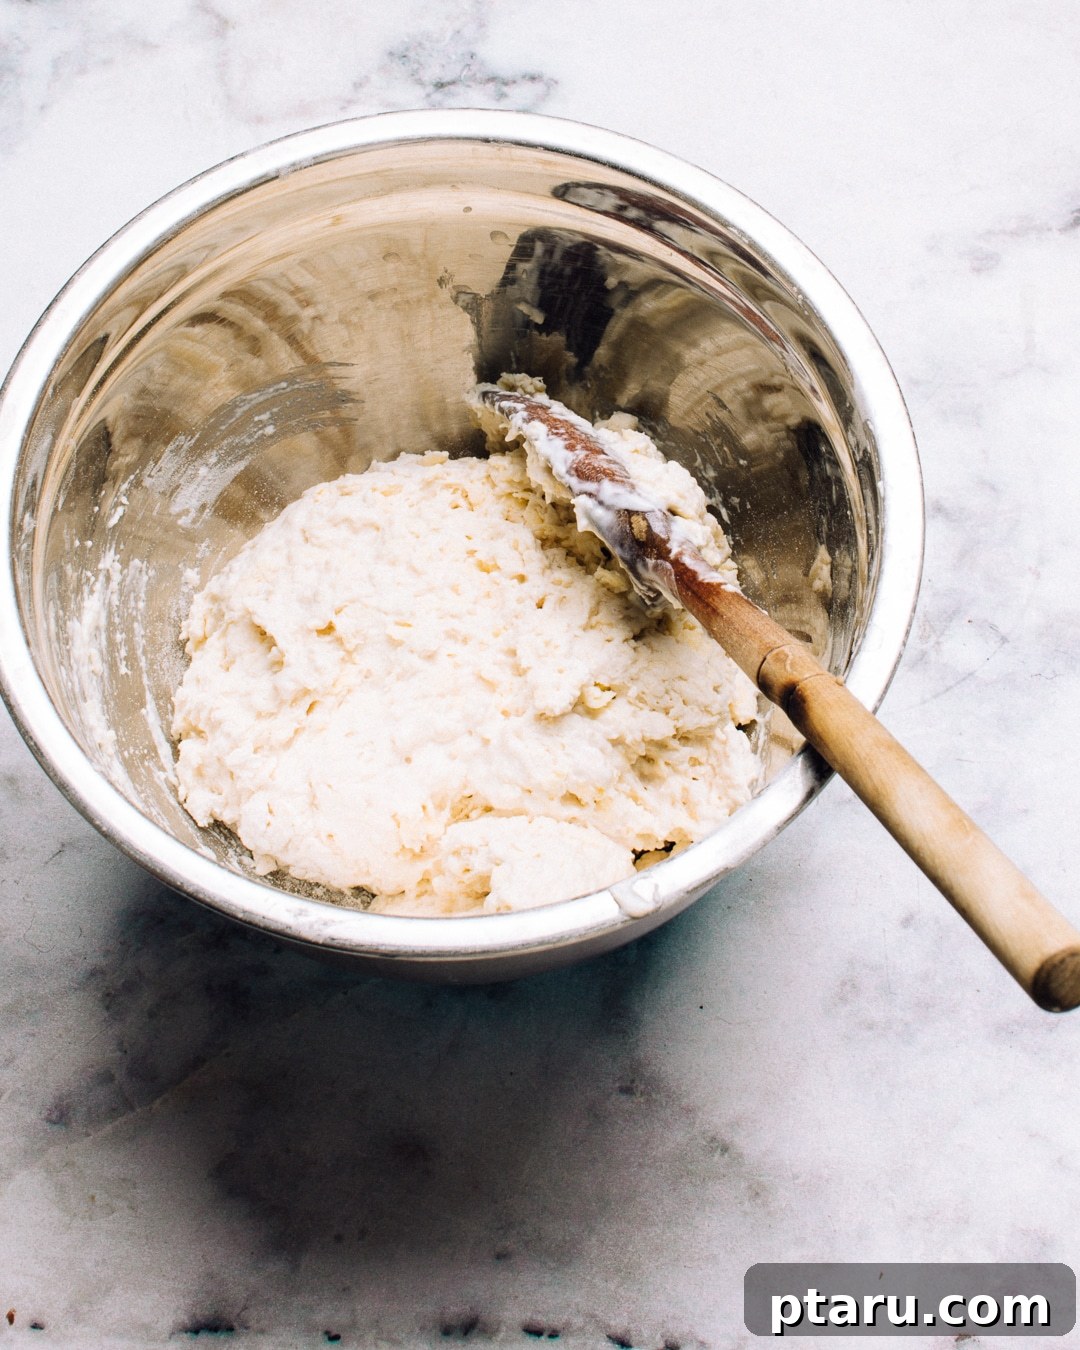
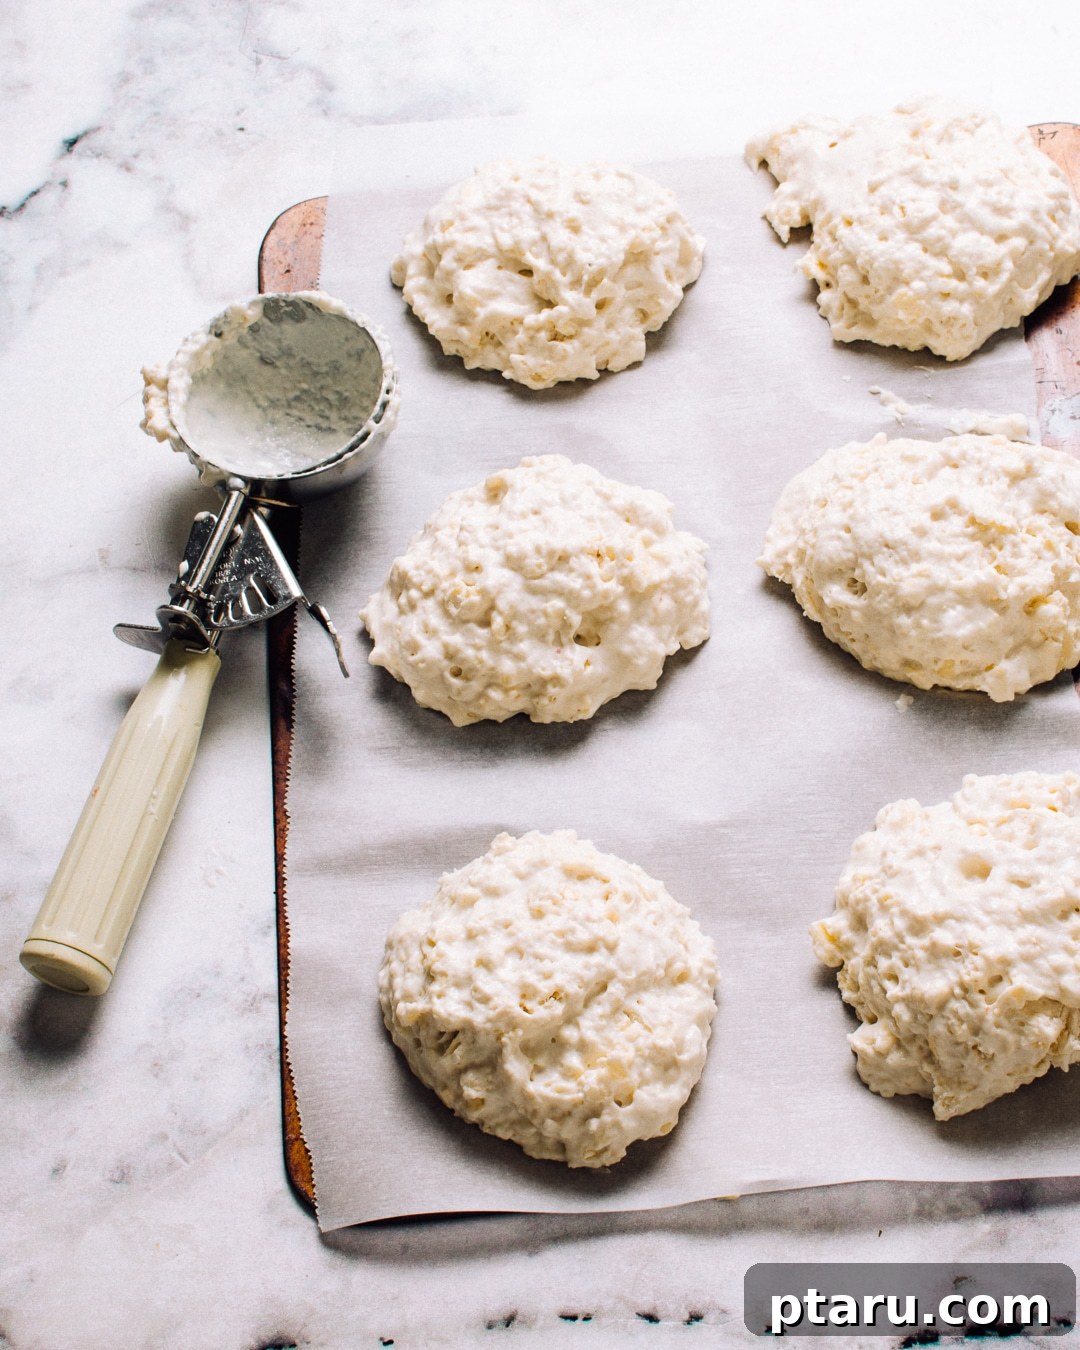
When it comes to portioning, I find a large ice cream scoop (yielding approximately 5 oz of dough by weight) to be the most efficient tool. It creates perfectly uniform biscuits, ensuring even baking, and allows me to portion the dough directly onto parchment paper-lined baking sheets with ease. Alternatively, two spoons can be used to scoop and drop the dough. This recipe typically yields about 5 generous biscuits, with each roughly ¾ cup of dough. Don’t feel the need to obsess over perfect portioning; you can always adjust slightly by adding or removing a small amount of dough from a biscuit to even them out. The beauty of drop biscuits is their rustic, imperfect charm.
A keen baker might notice that this recipe utilizes both baking soda and baking powder, which differs from many traditional buttermilk recipes that rely solely on baking soda. There’s a scientific reason for this intentional choice, contributing to both the rise and flavor profile of these exceptional biscuits.
Why Use Both Baking Soda and Baking Powder in Biscuits?
The combination of these two leavening agents is a deliberate choice that contributes to both the texture and the taste of these fluffy biscuits:
-
Balanced Leavening and Flavor: Baking soda, an alkaline chemical base, reacts with the acid in the buttermilk to produce carbon dioxide gas. This gas expands the air bubbles within the dough, causing the biscuits to rise and become light. However, I adore the subtle, tangy flavor that real buttermilk imparts, and I don’t want to neutralize all of that deliciousness. By using only a portion of the baking soda required to neutralize the buttermilk’s acidity and supplementing with baking powder, we get a fantastic rise without sacrificing that wonderful, buttery tang. Baking powder is a complete leavening agent containing both an acid and a base, providing an additional boost of lift independent of the buttermilk’s acidity.
-
Avoiding Metallic Aftertaste in Scaled Recipes: This recipe is so good, you’ll likely want to double, triple, or even quadruple it! If the recipe relied entirely on baking soda for leavening, multiplying the batch could lead to an excess of unreacted baking soda. This can result in an unpleasant, salty, or metallic aftertaste in your biscuits. By incorporating baking powder, we ensure a more balanced and reliable rise, even when scaling the recipe up, guaranteeing that every batch tastes consistently delicious.
Storing and Freezing Your Buttermilk Biscuits
One of the best qualities of these buttermilk drop biscuits is their versatility, extending to how well they store. Freshly baked, they are undeniably at their peak, but fear not if you have leftovers!
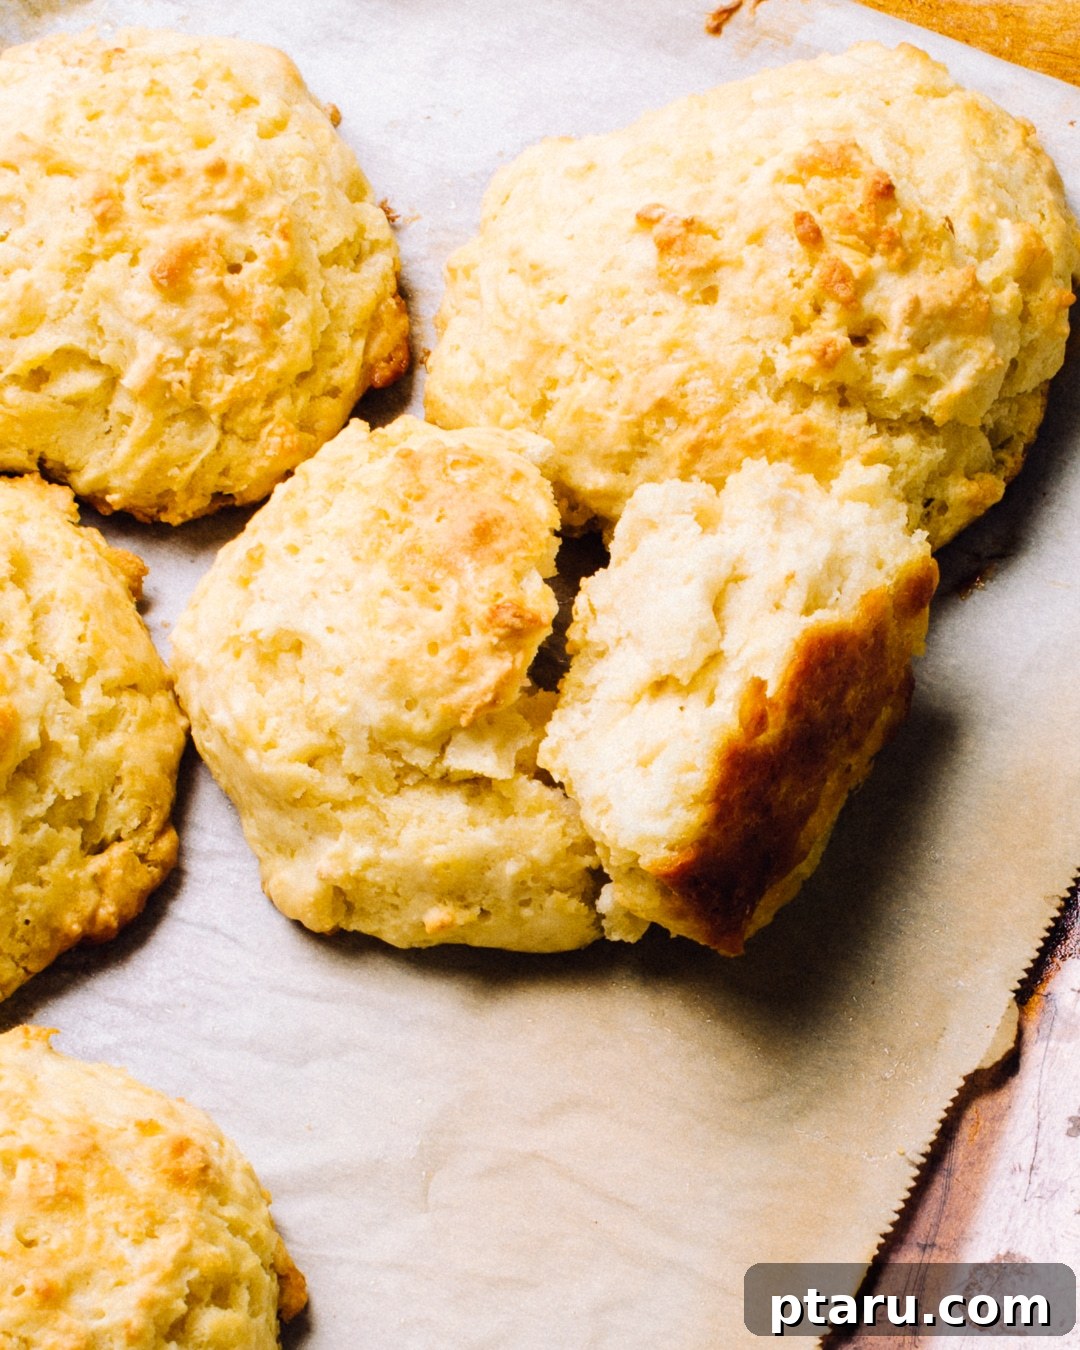
Freezing Baked Biscuits: Baked biscuits freeze exceptionally well, making them perfect for meal prepping or having a quick, comforting treat on hand. Simply allow them to cool completely, then place them in an airtight freezer-safe bag or container. They can be stored in the freezer for up to 2-3 months without compromising their texture or flavor. To enjoy, simply pop a frozen biscuit into the microwave for 30-60 seconds, or until warmed through. They emerge wonderfully soft and ready for a generous slather of butter and jam, making for an instant, satisfying breakfast or snack.
Freezing Dough is Not Recommended: While freezing baked biscuits is highly encouraged, I strongly advise against freezing the raw biscuit dough. The delicate structure of the dough, particularly the tiny pockets of cold butter, is crucial for achieving that signature flaky texture and magnificent rise. When raw dough is frozen and then thawed, the butter tends to melt and separate from the flour prematurely before baking. This often results in undesirable puddles of butter on your baking sheet and ultimately yields greasy, flat, and dense biscuits that lack the desired lift and tenderness. For the best results, always bake these biscuits fresh and freeze only the leftovers.
Easy and Super-Fluffy Buttermilk Drop Biscuits
Jennifer Pallian BSc, RD
10 minutes
20 minutes
5
Ingredients
- 10 oz all-purpose flour (2 1/4 cup lightly spooned and levelled)
- 1 ½ tsp baking powder
- ½ tsp baking soda
- ½ tsp salt
- 3 oz cold butter (6 tbsp)
- 11 oz by weight buttermilk (1 1/3 cups)
Instructions
-
Preheat oven to 425ºF. Line a rimless baking sheet with parchment paper.
-
In a large bowl, whisk together the flour, baking powder, baking soda, and salt.
-
Grate the cold butter into the flour mixture and whisk again to combine it evenly.
-
Measure in the buttermilk and switch to a wooden spoon or silicone spatula. Gently fold the ingredients together until a shaggy dough forms. It’s okay if it’s not totally uniform, a few floury patches are fine.
-
Spoon the dough onto the prepared baking sheet. You should have 5 biscuits, each about 5 oz. Bake for 10 minutes, then rotate the pan and bake for another 8-10 minutes, or until the biscuits are golden brown and their tops feel springy (not soft) when gently pressed in the center.
Notes
For the most accurate measurements, especially with flour and butter, using a kitchen scale is highly recommended. You can make smaller biscuits by adjusting the portion size; just remember to cut down the baking time. For biscuits half the size, start checking for doneness around 12 minutes.
Tried this recipe? Share your thoughts and leave a comment below!