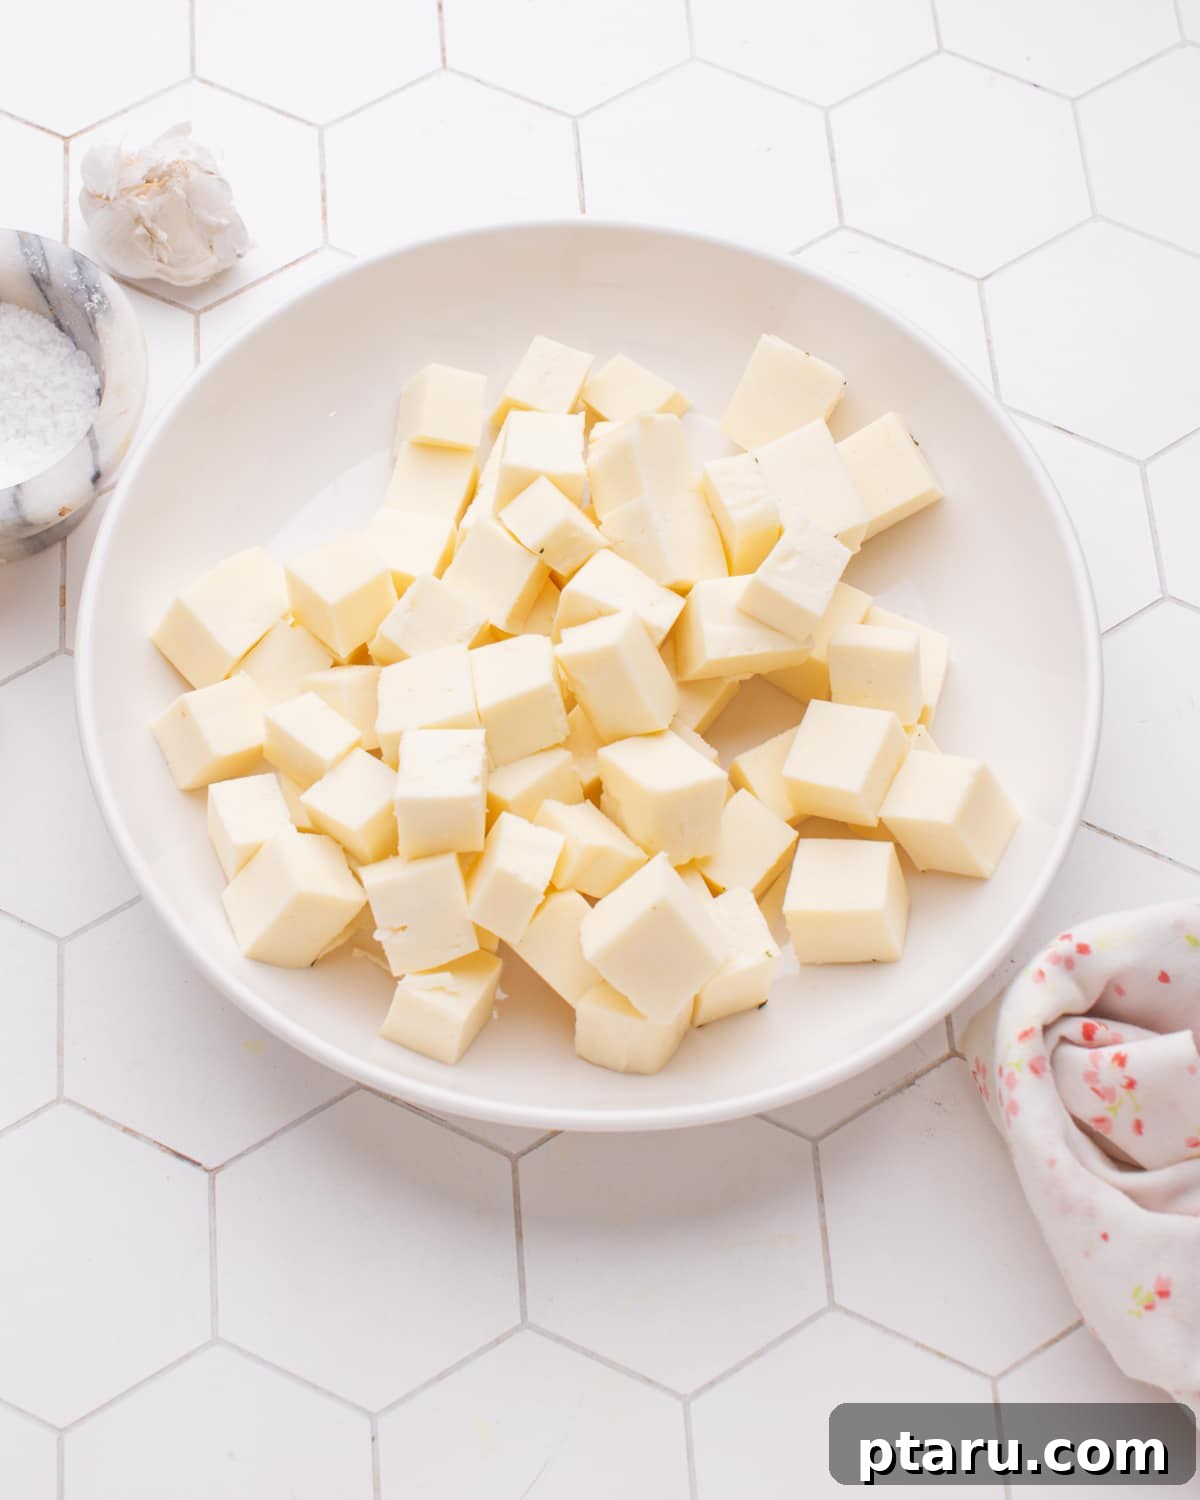
Ever wondered if you could master the art of making fresh paneer at home? You’re in precisely the right place! This incredibly simple homemade paneer recipe demystifies the process, requiring just three basic ingredients, approximately ten minutes of active preparation, and absolutely no advanced culinary skills. Join us as we meticulously guide you through each stage, enabling you to effortlessly create your very own delicious paneer from milk, right in your kitchen. Say goodbye to store-bought blocks and hello to the unparalleled freshness and flavor of truly homemade Indian cottage cheese.
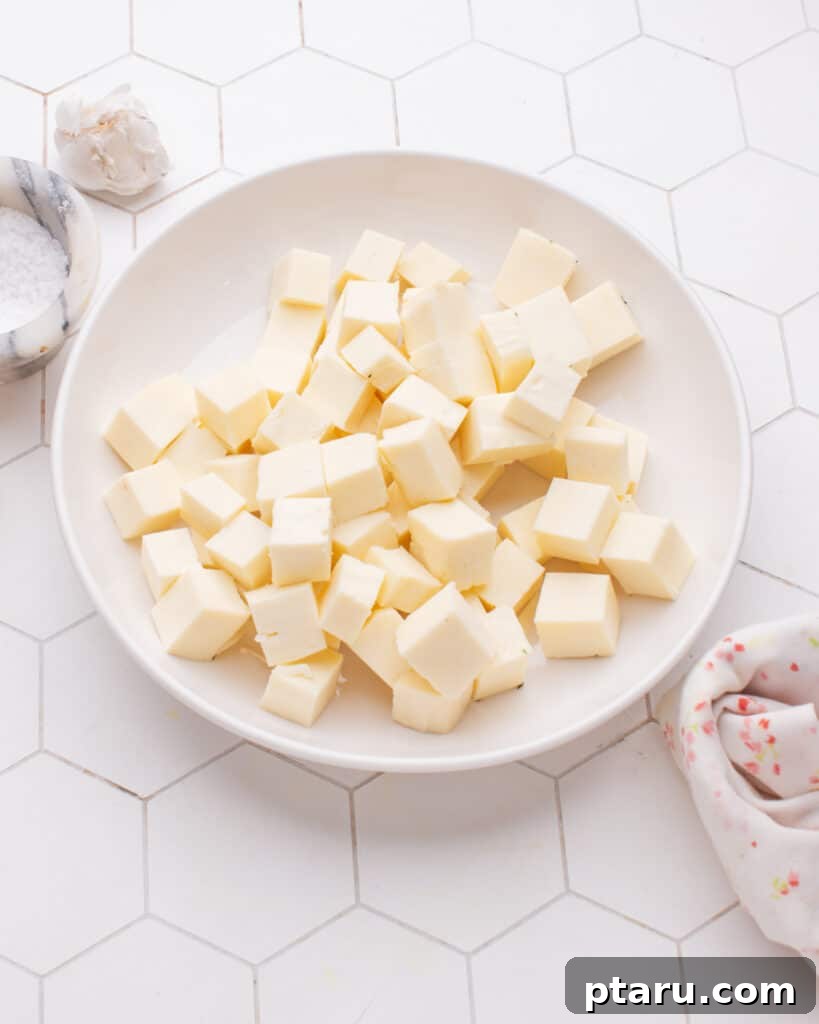
Paneer 101: Understanding This Versatile Indian Cheese
For those unfamiliar, or simply looking to deepen their appreciation, paneer is a fresh, non-melting cheese that stands as a cornerstone in Indian cuisine. Unlike many other cheeses, paneer is acid-set, meaning it’s curdled using an acidic agent rather than rennet, making it a popular choice for vegetarians and a versatile ingredient across countless dishes.
Its mild, milky flavor and firm, yet crumbly texture make it incredibly adaptable. You’ll frequently encounter paneer providing a delightful chewiness in rich curries and gravies, offering a satisfying bite when grilled or fried, or even lending its subtle creaminess to delectable desserts. From savory starters to sweet finishes, paneer’s presence elevates a wide array of vegetarian preparations.
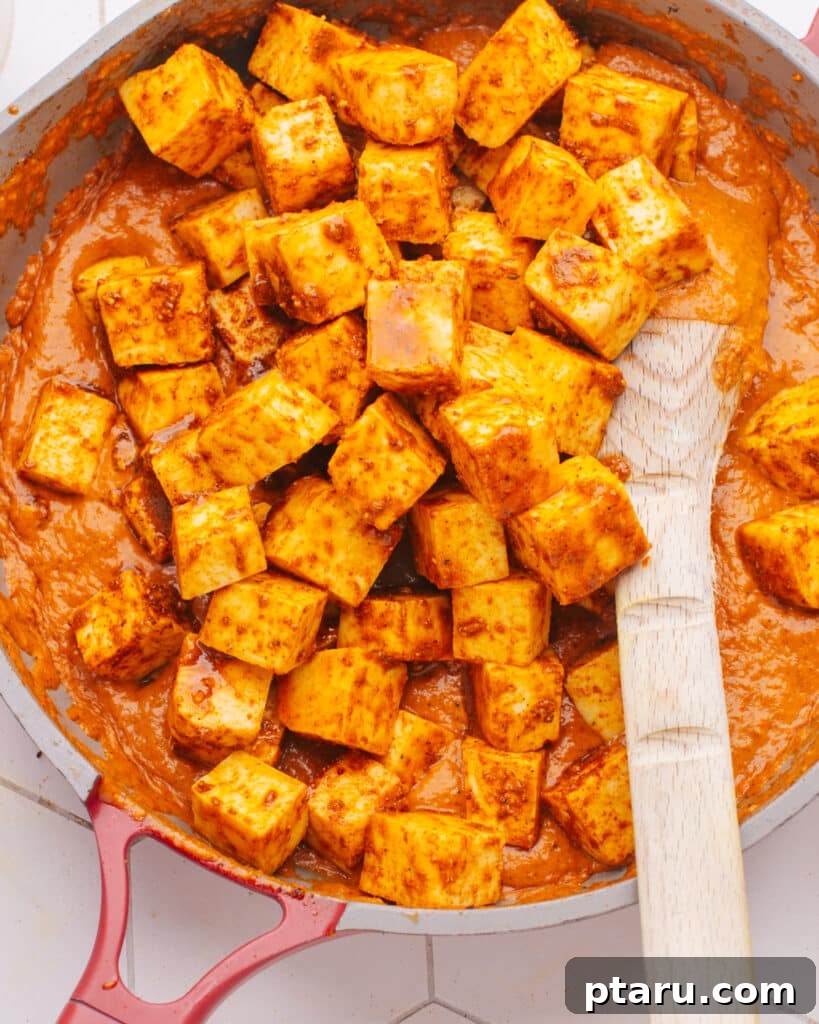
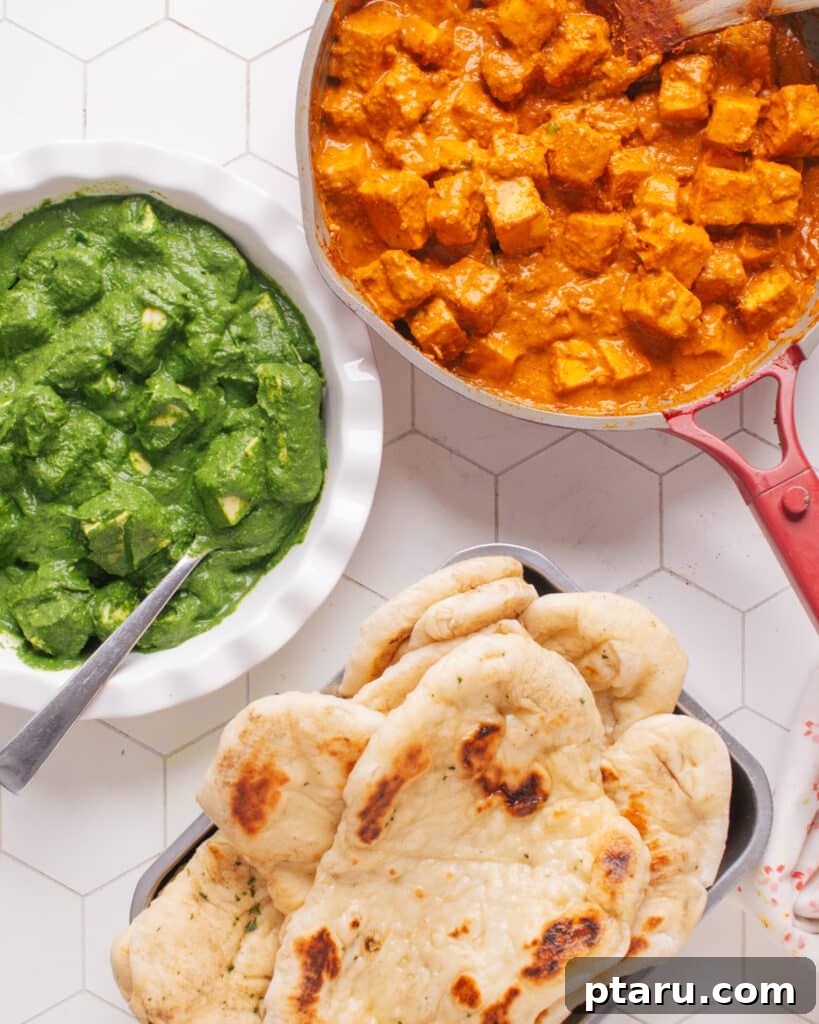
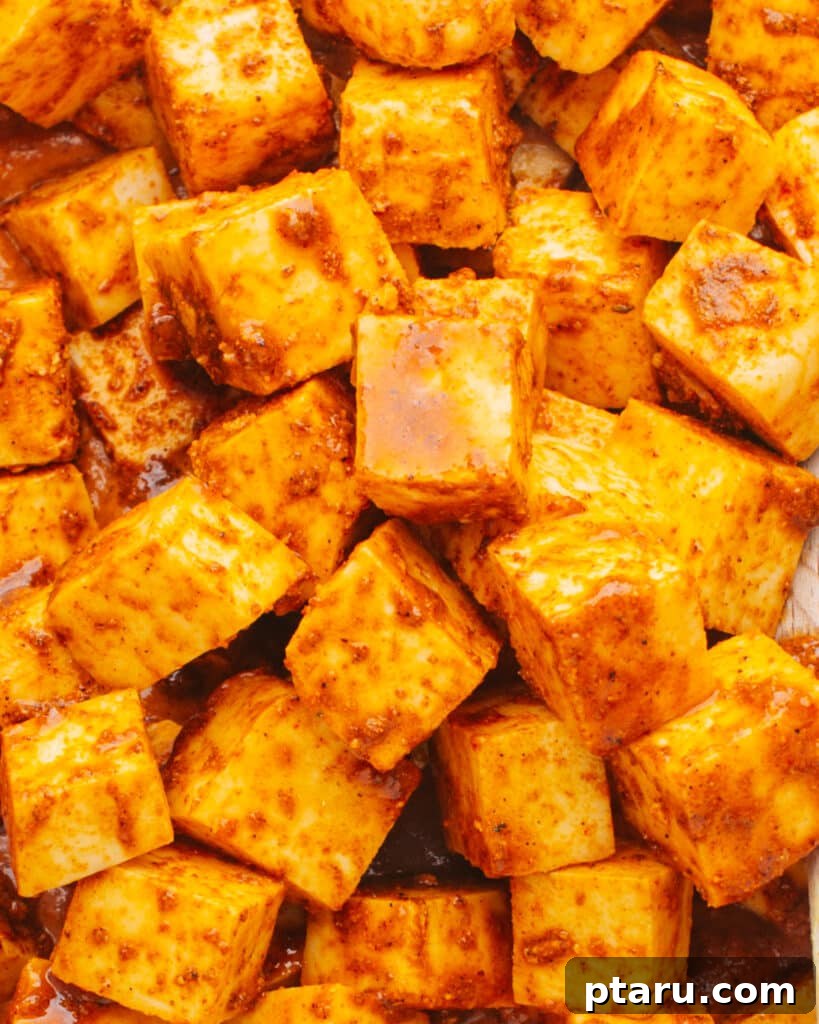
Imagine enjoying creamy Saag Paneer, luscious Butter Paneer, or delicate Malai Kofta, all made with paneer you crafted yourself. It’s also fantastic in lighter meals and snacks; try my recipe for marinated paneer, perfect for skewering and grilling to perfection! The process itself is a culinary delight, involving the transformation of humble milk into a solid, delicious cheese using a simple citric acid coagulant like lemon juice. After the milk curdles and separates into solids and liquid (whey), you drain the liquid and press the solids into a firm, usable block. The result is a fresh, flavorful, and incredibly satisfying block of Indian cottage cheese that far surpasses any store-bought alternative in taste and texture.
Beyond its culinary applications, making paneer offers a unique sense of accomplishment. The fresh, creamy consistency and clean taste of homemade paneer are simply incomparable, free from the rubbery texture or potential additives sometimes found in commercial varieties. It’s a skill that brings genuine culinary satisfaction and opens up a world of authentic Indian flavors in your home cooking.
Essential Ingredients for Homemade Paneer
Homemade Paneer Ingredients
The beauty of making paneer at home lies in its simplicity. You truly need only a handful of ingredients to create this versatile cheese:
- Whole Milk: This is the foundation of your paneer. Also known as homogenized or full-fat milk, whole cow’s milk is typically used due to its fat content, which yields a creamy, rich paneer. Buffalo milk is another excellent option, prized in India for producing exceptionally rich and high-yielding paneer. While low-fat milk can be used, it will result in a smaller yield and a less creamy, firmer texture.
- Lemon Juice: The magical ingredient that transforms milk into cheese! Lemon juice, rich in citric acid, acts as a coagulant. When introduced to hot milk, it causes the milk proteins to separate, forming solid curds and liquid whey. Freshly squeezed lemon juice is recommended for the best flavor, but bottled lemon juice also works.
- Salt (Optional): A small pinch of salt can be added to season the paneer, enhancing its natural milky flavor. This is entirely optional, as paneer often absorbs flavors from the dishes it’s cooked in. However, for standalone consumption or specific recipes, a subtle seasoning can make a difference.
Variations and Substitutions
While lemon juice is a classic choice, making paneer at home offers the flexibility to experiment with different acidic coagulants, each imparting a slightly unique flavor or texture:
- Vinegar: White vinegar is a direct and effective substitute for lemon juice. Use the same quantity as lemon juice, typically 1/4 cup per gallon of milk. It provides a clean curdling action with minimal residual flavor.
- Yogurt: For a subtly tangier paneer, yogurt can be used. Being less acidic than lemon juice or vinegar, you’ll need more of it. Start with about ½ cup of plain, unsweetened yogurt per gallon of milk and add more gradually if the milk doesn’t curdle sufficiently. This method can also produce a slightly softer paneer.
- Buttermilk: Similar to yogurt, buttermilk provides a gentle acidity. Use it in quantities comparable to yogurt, adding slowly until the curds form.
- Heavy Cream: To achieve an exceptionally rich and indulgent paneer, consider mixing in up to ½ cup of heavy cream with your whole milk before heating. This boosts the fat content, resulting in an even creamier and more luxurious texture.
Related: Curious about other popular ingredients? Discover the differences between Tofu vs. Paneer and Halloumi vs Paneer to expand your culinary knowledge!
Kitchen Equipment You’ll Need
You don’t need specialized gadgets to make paneer; just a few common kitchen tools will suffice:
- Large Stockpot: Essential for heating the milk. Choose a pot with plenty of headspace to prevent the milk from boiling over, especially as it froths up. A non-stick bottom can also help prevent scorching.
- Cheesecloth or Tea Towel: This is critical for straining the delicate curds from the whey. A fine-mesh strainer alone won’t be effective enough, as the curds are quite small and will pass through. Use a large piece of good quality cheesecloth (several layers thick), a clean muslin cloth, or a thin, open-weave cotton dish towel.
- Colander: To hold the cheesecloth and curds while they drain, placed over a sink or a large bowl to catch the whey.
- Heavy Skillet and Cans (or other weights): After draining, the curds need to be pressed into a firm block. A heavy cast-iron skillet, topped with cans of tomatoes, a pot filled with water, or even a stack of books, will provide the necessary pressure. The more pressure and longer pressing time, the firmer your paneer will be.
- Slotted Spoon or Ladle: For stirring the milk and gently adding the coagulant.
- Measuring Cups and Spoons: For accurate ingredient measurements.
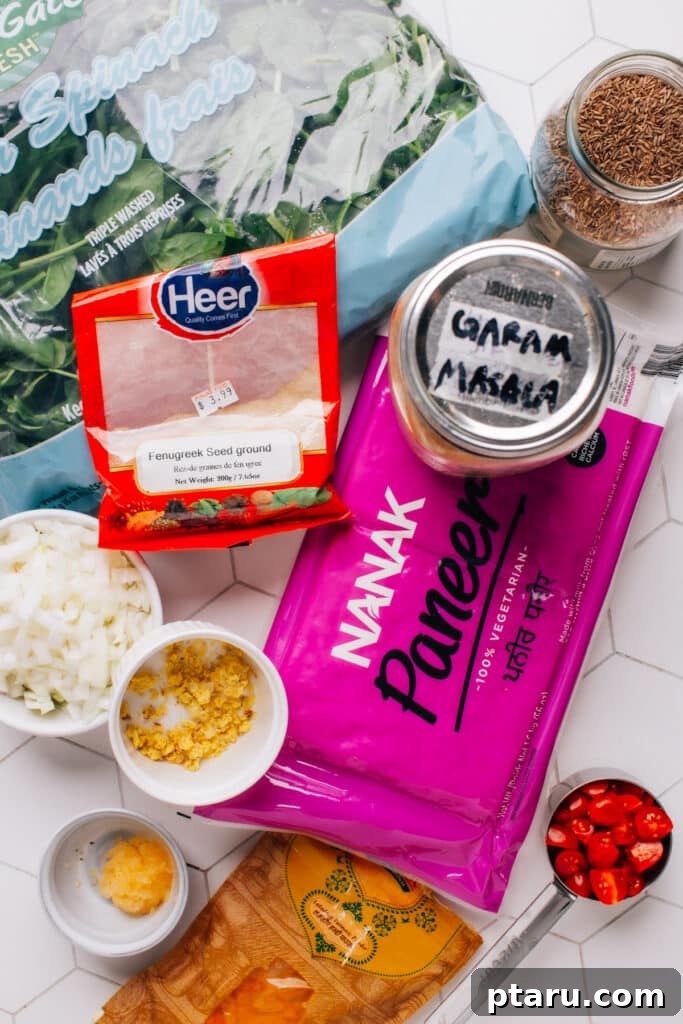
While convenient, store-bought paneer often features a rubbery texture and may contain preservatives or other additives that diminish its natural flavor. The joy of homemade paneer lies in its pristine freshness and superior taste, which truly elevates any dish it graces. It’s time to experience the difference!
Enough with the preamble. Let’s get to the heart of it – let’s make homemade paneer!
How To Make Paneer: An Easy Step-by-Step Guide
Making paneer is a simple, satisfying process that yields delicious results every time. Follow these steps carefully to create perfect homemade paneer:
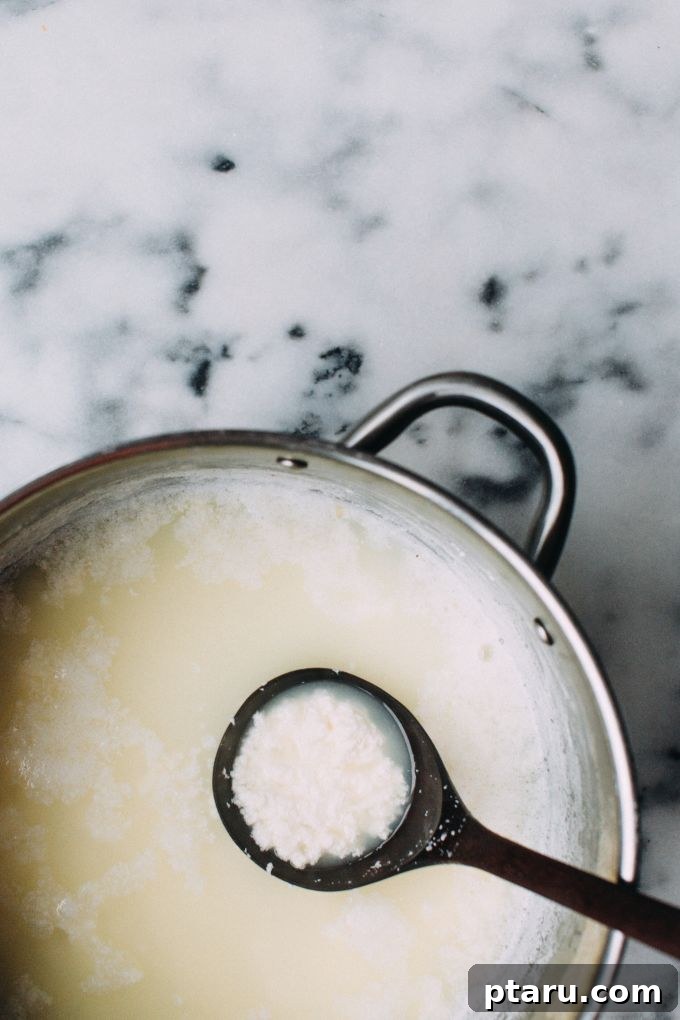
- Bring Milk to a Boil: Begin by pouring your whole milk into a large stockpot. Place it over medium heat, stirring occasionally to prevent it from sticking to the bottom and scorching. Keep a close watch as the milk heats. Once it starts to steam, it will rapidly come to a boil and can easily froth up and overflow if left unattended. As soon as it reaches a rolling boil, immediately remove the pot from the heat. Now, stir in the lemon juice (or your chosen coagulant like vinegar or yogurt). Stir gently for about 30 seconds. You will notice the milk beginning to separate almost instantly, forming distinct white curds and yellowish-greenish liquid whey. If separation isn’t clear, add another tablespoon of coagulant and stir again. Let the mixture stand undisturbed for 10 minutes to allow the curds to fully form.
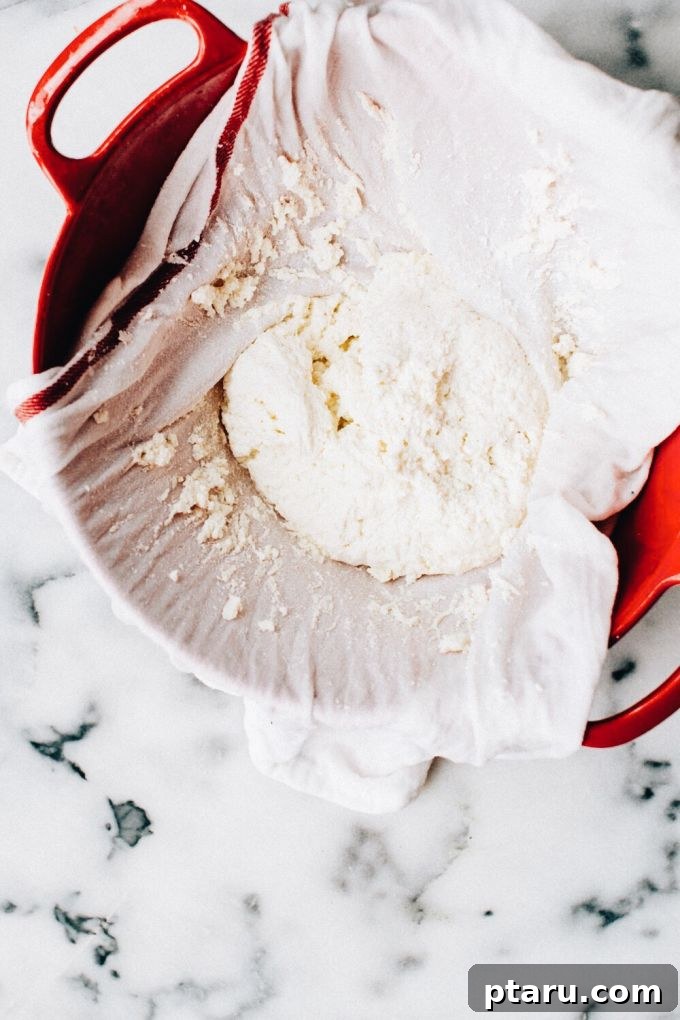
2. Strain the Curds: While the milk is curdling, prepare your straining station. Line a colander with two to three layers of cheesecloth, a clean muslin cloth, or a thin, open-weave cotton dish towel (as pictured). Place the colander over a large bowl or directly in your sink to collect the whey. Carefully pour the curdled milk mixture into the cloth-lined colander. The liquid whey will drain through, leaving the solid curds behind. Allow it to stand for a few minutes to let most of the liquid drain naturally. After the initial draining, gently rinse the curds under cold running water. This crucial step helps to wash away any residual lemon or vinegar flavor and also stops the cooking process, ensuring your paneer isn’t overly firm.
3. Season the Paneer: Once rinsed, gather the corners of the cheesecloth to form a tight ball or bundle around the curds. Twist the cloth tightly and squeeze out as much remaining moisture as you can. Be firm but gentle to avoid forcing the curds through the cloth. Carefully unwrap the curds and transfer them to a bowl. Add a good pinch of salt to the curds, then gently mix it in. Taste a small piece and add more salt if desired, adjusting to your preference. At this stage, you’ve essentially made fresh, unpressed cheese!
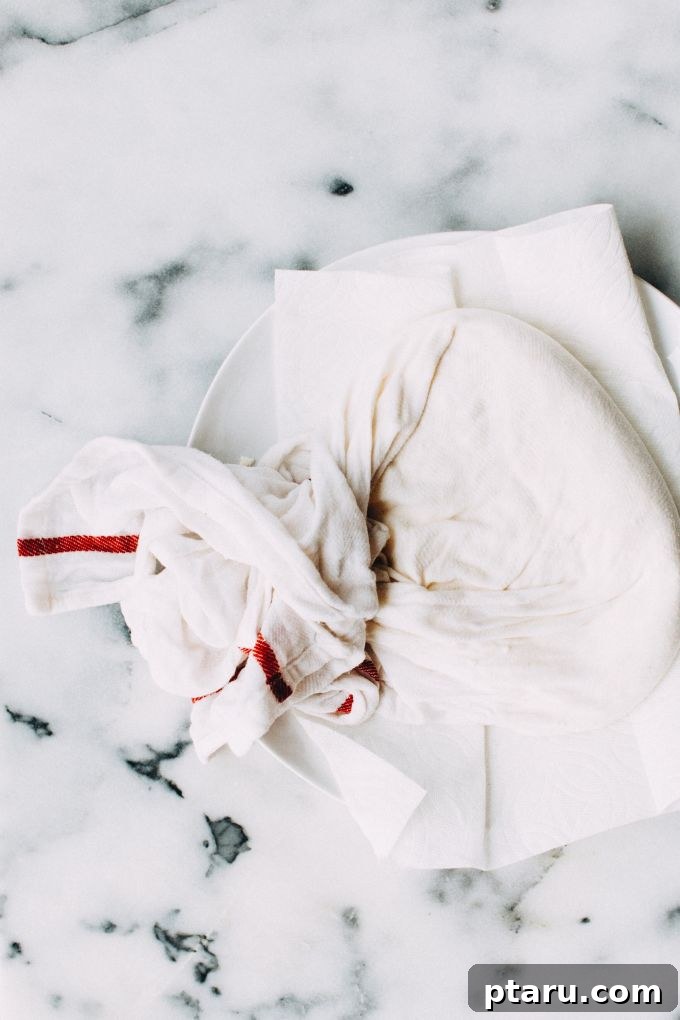
4. Press the Paneer: Re-wrap the seasoned paneer curds tightly in the cheesecloth, forming a compact, round ball. Make a secure knot in the cloth to keep it contained. To press it into a block, place the cloth-wrapped paneer on a plate that’s been lined with a few layers of paper towels (this helps absorb any further moisture). Flatten the paneer bundle into a disc or square shape with your hands. Now, place a heavy object directly on top of the wrapped paneer. A heavy skillet works perfectly, and you can add extra weight by placing a couple of large cans of tomatoes, a pot filled with water, or even a stack of heavy books on top of the skillet. The goal is consistent, even pressure.
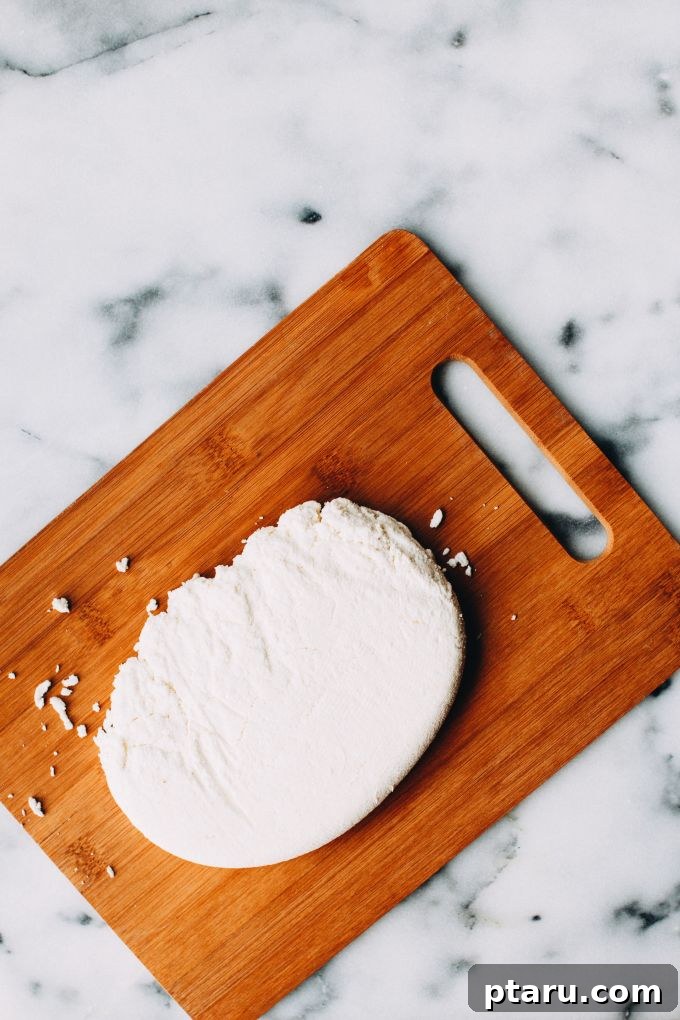
5. Drain and Enjoy: Allow the paneer to press for at least 20 minutes for a soft paneer, or up to 1-2 hours for a much firmer block suitable for cubing and frying. The longer it presses, the firmer it will become. Once the pressing time is complete, unwrap your homemade paneer. You’ll have a beautifully firm block, ready to be cut into cubes, slices, or crumbled, depending on your recipe.
It’s truly that easy, though you don’t have to reveal your secret (unless you’re sharing this recipe, which we encourage!). There’s immense satisfaction in casually mentioning, “Oh, this paneer? I made it myself last night.” Not to mention the pure delight of pinching off warm, soft, buttery pieces of paneer to enjoy with fresh, chewy naan.
Homemade Paneer Recipe: Make-Ahead and Storage
One of the many advantages of homemade paneer is its excellent make-ahead potential and ease of storage. Here’s how to ensure your paneer remains fresh and delicious:
- Make Ahead and Refrigerate: Once your paneer is pressed and cooled, wrap the entire block tightly in plastic wrap or place it in an airtight container. Store it in the refrigerator. Properly stored homemade paneer will maintain its freshness and texture for up to a week. For best results, consider storing it in a bowl of fresh cold water, changing the water daily. This helps keep it moist and prevents it from drying out or becoming too firm.
- Refresh Before Use: If your paneer has been refrigerated for a few days and feels a bit hard or dry, don’t worry! Simply soak the paneer block or cubes in warm water for about 5 to 10 minutes before using. This simple trick will wonderfully rehydrate the paneer, bringing back its soft, supple texture, making it perfect for absorbing flavors in your curries or for gentle grilling.
Can You Freeze Paneer?
Absolutely, paneer freezes remarkably well, making it ideal for meal prepping or extending its shelf life. While freezing can subtly alter its texture, making it slightly more crumbly after thawing, it remains perfectly suitable for many dishes, especially those where it’s cooked in a sauce. Here’s the best way to freeze paneer to preserve its quality:
- For Whole Blocks: If you’ve made a large batch, wrap the entire paneer block tightly in plastic wrap, ensuring no air pockets remain. Then, place this wrapped block into a freezer-safe airtight container or a heavy-duty freezer bag, expelling as much air as possible.
- For Cubes or Slices: To prevent individual pieces from sticking together, first arrange the paneer cubes or slices in a single layer on a baking sheet lined with parchment paper. Flash freeze them for about 1-2 hours, or until solid. Once frozen, transfer the individual pieces to a freezer-safe bag or container. This method allows you to take out just the amount you need.
- For Grated Paneer: If you plan to use paneer grated, grate it before freezing. Store grated paneer in a zip-top freezer bag, pressing out all the air. This makes it easy to portion out exactly what you need without thawing the entire batch.
To use frozen paneer, the best method is to thaw it slowly in the refrigerator overnight. Alternatively, for quicker thawing, place the frozen paneer in a bowl of warm water for approximately 30 minutes. If the paneer appears a bit dry or crumbly after thawing, a quick soak in warm water for 5-10 minutes can help restore some of its moisture and softness. Freezing is particularly recommended for paneer destined for curries or dishes with rich sauces, as any minor texture changes are far less noticeable once cooked and infused with flavors.
FAQs About Making Paneer at Home
Here are quick answers to some of the most commonly asked questions about making paneer at home:
How is paneer prepared?
Paneer is traditionally prepared by heating whole milk to a boil, then curdling it with an acidic agent like lemon juice, vinegar, or yogurt. The resulting milk solids (curds) are then strained from the liquid (whey) and pressed into a firm block.
Is homemade paneer good?
Yes, homemade paneer is generally considered superior to most store-bought varieties. It offers a fresher taste, a creamier texture, and is free from any preservatives or additives. Plus, you can customize its firmness and fat content to your liking.
Are cottage cheese and paneer the same?
No, cottage cheese and paneer are not the same. While both are fresh, unaged cheeses, paneer is pressed to remove most of its moisture, resulting in a firm block that can be sliced, cubed, or fried without melting. Cottage cheese, on the other hand, is much softer, retains more whey, and has a loose, curdy texture that is not typically pressed into a solid block.
Related: For a deeper dive into their distinctions, explore Cottage Cheese Vs Paneer: Everything to know about substituting them.
How much paneer does a gallon of milk make?
A gallon of whole milk (approximately 3.8 liters) typically yields about 1.5 to 2 pounds (around 680 to 900 grams) of paneer. The exact yield can vary depending on the milk’s fat content and how much whey is drained during the pressing process.
Is it cheaper to make your own paneer?
Generally, yes, making your own paneer can be more cost-effective than purchasing it, especially if you buy milk in larger quantities or when it’s on sale. The cost savings become more significant compared to specialty or organic store-bought paneer.
How much paneer can I make from 1 Litre milk?
From 1 liter of whole milk, you can expect to make approximately 200 to 225 grams (about 7 to 8 ounces) of fresh paneer. Again, this can fluctuate based on the milk’s fat content.
Does homemade paneer melt?
No, paneer is a non-melting cheese due to its acid-set production method. When heated, it will soften and become deliciously tender, but it won’t melt into a gooey liquid like mozzarella or cheddar. This characteristic makes it excellent for grilling, frying, and cooking in gravies.
Is store-bought paneer good?
Store-bought paneer can be good, particularly if it’s fresh and from a reputable brand known for quality. However, homemade paneer almost always offers a superior taste, a fresher aroma, and a more desirable texture that is less rubbery.
Can I use low-fat milk to make paneer?
You can use low-fat milk to make paneer, but be aware that the yield will be significantly lower, and the resulting paneer will be much firmer and less creamy compared to paneer made with whole milk. Whole milk is highly recommended for the best texture and flavor.
What’s the best acid to use for making paneer?
Lemon juice is a highly popular and widely recommended acid for making paneer, known for giving a clean, mild flavor. White vinegar is another excellent option that yields very similar results. Yogurt or buttermilk can also be used, potentially adding a slight tang to the paneer and often resulting in a softer texture. Many home cooks, myself included, prefer the bright, clean flavor achieved with lemon juice.
How long does it take to make paneer?
The active hands-on time for making paneer is surprisingly quick, about 10-15 minutes. However, you’ll need to account for an additional 10 minutes for the curds to set after adding the acid, and then 20 minutes to 2 hours for pressing, depending on how firm you want your paneer. So, the total time from start to finish typically ranges from 40 minutes to 2 hours.
Dishes To Use Your Homemade Paneer
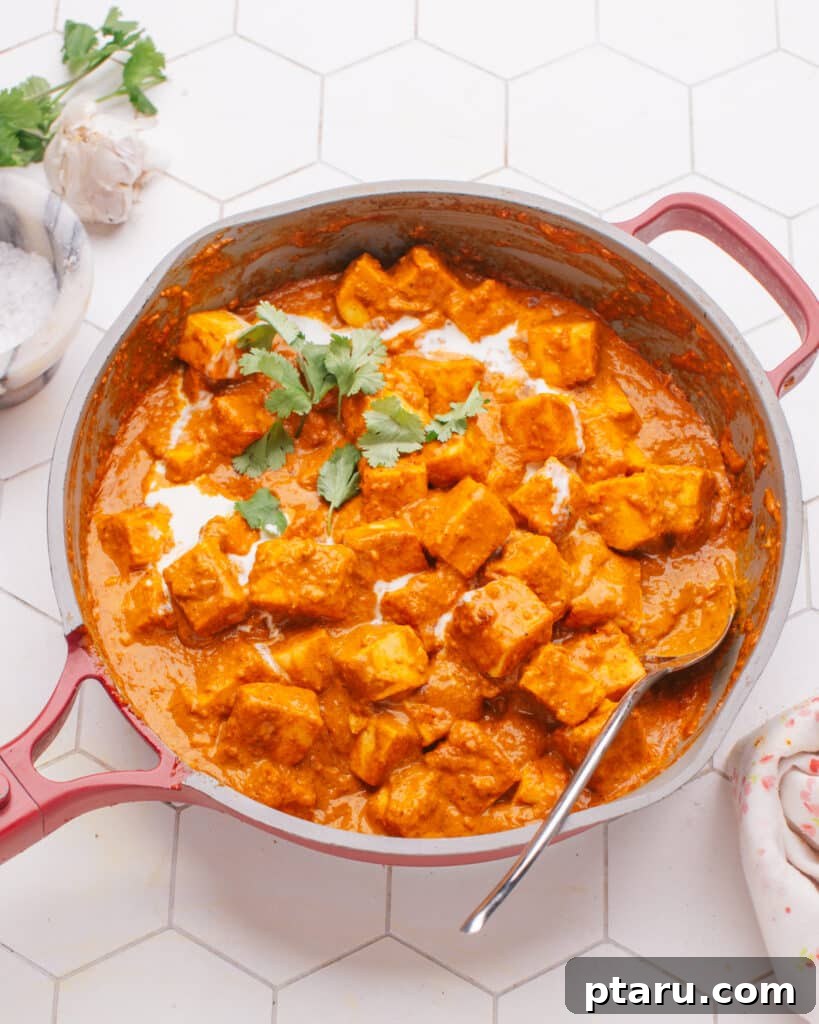
Now that you’ve mastered the art of making fresh paneer, it’s time to put your culinary creation to good use! Homemade paneer cubes are absolutely perfect in a rich, flavorful Indian gravy, traditionally served with fluffy easy basmati rice or warm, freshly made roti. The fresh, creamy texture of your paneer will truly shine in these dishes. Here are a few of my all-time favorites:
- Paneer Butter Masala: A classic, rich, and creamy tomato-based curry that beautifully showcases the mild flavor of paneer.
- Saag Paneer: A vibrant and healthy dish featuring paneer cubes simmered in a luscious, spiced spinach puree.
- Malai Kofta: While traditionally made with potato and paneer balls, your fresh paneer can be incorporated for incredibly tender and delicious kofta in a rich cream sauce.
- Palak Paneer: Similar to Saag Paneer but often with a distinct spinach focus, this dish is a comforting vegetarian staple.
- Explore even more culinary possibilities with any one of these 52+ Delicious Paneer Recipes, including popular choices like Paneer Tikka Masala, Matar Paneer (paneer with green peas), Malai Paneer, Paneer Jalfrezi (a spicy stir-fry with onions and peppers), and Paneer Makhani (a rich, buttery tomato gravy).
Next reading: Elevate your paneer dishes by learning How to Marinate Paneer for incredible flavor!
How to Make Paneer at Home (Step-By-Step Guide + Easy Recipe)
By: Jennifer Pallian BSc, RD
With just 3 ingredients, about 10 minutes of active preparation, and no special skills or equipment required, this easy homemade paneer recipe is incredibly straightforward and rewarding.
2 minutes
15 minutes
40 minutes
6
Ingredients
- 12 cups whole milk
- ¼ cup lemon juice
- Good pinch of salt (to taste, optional)
Instructions
Boil the Milk
- Heat whole milk over medium heat in a large stockpot until it comes to a rolling boil. Watch closely as it begins to steam; it will froth and overflow quickly once it boils.
- As soon as it boils, remove the pot from the heat and immediately add the lemon juice. Stir gently for about 30 seconds, observing as the milk begins to curdle and separate into curds and whey. (If separation isn’t clear, add another tablespoon of lemon juice.)
- Allow the mixture to stand undisturbed for 10 minutes to ensure full curd formation.
Drain the Paneer
- Line a colander with two to three layers of cheesecloth, muslin, or a clean, open-weave cotton towel. Place the colander over a large bowl or in the sink.
- Carefully pour the curdled milk mixture into the cloth-lined colander. Allow it to stand for a few minutes to let most of the liquid whey drain away.
- When the initial liquid has drained, gently rinse the curds with cold water to remove any lingering lemon flavor and to halt the cooking process.
Squeeze and Press the Paneer
- Gather the corners of the cloth and twist them firmly into a ball, squeezing out as much excess moisture as possible from the paneer.
- Unwrap the curds and stir in a pinch of salt. Taste, and add more salt if desired for seasoning.
- Re-wrap the seasoned paneer tightly in the cloth and squeeze it firmly again. Secure the cloth with a knot.
- Place the cloth-wrapped paneer onto a plate lined with paper towels (to absorb additional moisture). Gently press it down with your hands to flatten it into a desired brick shape.
- Place a heavy skillet on top of the paneer, then add additional weight, such as a couple of large cans or a pot filled with water. Allow the paneer to press and drain in this manner for at least 20 minutes (for soft paneer) up to 1-2 hours (for firmer paneer). Once pressed, cut and use as desired.
Nutrition
Calories: 299 kcal | Carbohydrates: 24g | Protein: 16g | Fat: 16g | Saturated Fat: 9g | Polyunsaturated Fat: 1g | Monounsaturated Fat: 3g | Cholesterol: 59mg | Sodium: 188mg | Potassium: 753mg | Fiber: 0.03g | Sugar: 24g | Vitamin A: 803IU | Vitamin C: 4mg | Calcium: 610mg | Iron: 0.01mg
Nutrition information is automatically calculated and should only be used as an approximation.
Tried this recipe? Leave a comment!