Mastering the Art of Homemade Mixed Grain Bread: Patience, Perfection, and Flavor
There’s an undeniable allure to freshly baked bread. The rich, yeasty aroma that fills the kitchen, the promise of a warm, comforting slice slathered with butter – it’s a sensory experience that awakens the soul. Yet, for many home bakers, myself included, this heavenly experience comes with a critical challenge: the agonizing wait for the bread to cool completely before slicing. It’s a rule that, in my pre-blogging days, I confess I rarely, if ever, obeyed. The temptation of that warm, wafting deliciousness fresh from the oven was simply too great to resist.
The Universal Struggle: “Cool Completely” – A Baker’s Torture
The directive to “cool completely” isn’t exclusive to bread. It echoes through the pages of countless recipes: cool completely before frosting a cake, before churning ice cream, before dipping treats in chocolate, before starting the next batch of cookies, or before torching a crème brûlée to achieve that perfect crackly caramel crust. Each instance presents a fresh test of willpower. It’s a peculiar form of culinary torture, where the very act of creating something delicious requires an extended period of deprivation before full enjoyment can commence. The inviting warmth, the tantalizing scents – they conspire to undermine even the strongest resolve. I may consider myself relatively ‘cool’ under pressure, but truly obeying the ‘cool completely’ rule has historically been a bridge too far.
The internal monologue often goes something like this: “Just one slice, it won’t hurt. It’s *supposed* to be eaten warm!” And while a warm slice of bread straight from the oven is indeed a delight, especially with melting butter or Nutella, it often comes at the cost of structural integrity and a less-than-ideal texture. This is a battle fought in kitchens around the world, a testament to the primal appeal of fresh baked goods.
The Epiphany: Why Patience is a Virtue (Especially for Bread)
However, the demands of food photography, a new passion ignited by my blogging journey, became an unexpected catalyst for cultivating patience. The pursuit of that perfect, aesthetically pleasing image forced me to confront my impatience head-on and actually *wait* for the cooling period to complete. What I discovered was a revelation. Allowing fresh bread to cool fully before slicing makes an incredible difference, not just for the camera, but for the bread itself.
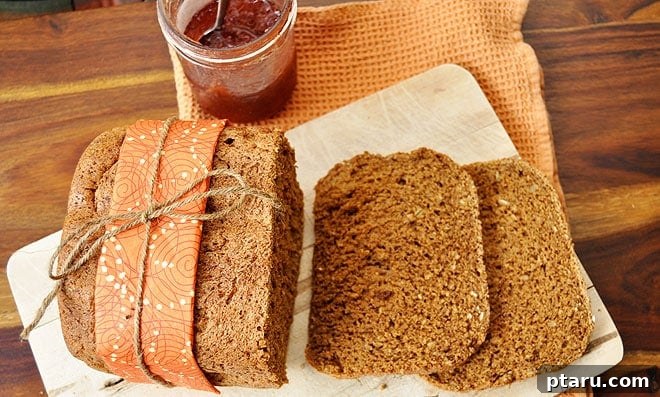
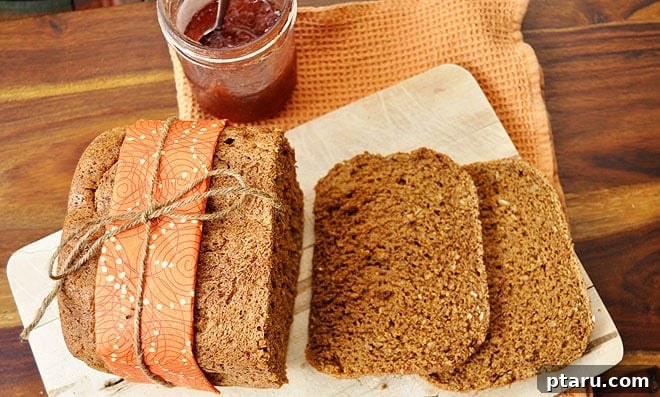
My newfound discipline was happily rewarded. Instead of the somewhat asymmetrical, often squished hunks I used to carve off in my eagerness, I now achieve neat, thin, perfectly formed slices. These slices are ideal for sandwiches, toast, or elegant serving platters – a stark contrast to their more rustic, if equally delicious, predecessors. The benefits extend beyond mere appearance:
- Improved Texture: As bread cools, the starches inside continue to set, firming up the crumb. Slicing warm bread can compress the delicate internal structure, leading to a gummy texture.
- Easier Slicing: A fully cooled loaf holds its shape better, allowing for cleaner, more precise cuts without tearing or squishing.
- Flavor Development: Just like many cooked dishes, bread’s flavors continue to develop and meld as it cools, often resulting in a more nuanced and satisfying taste profile.
- Moisture Retention: Cooling prevents excessive moisture loss, ensuring the bread remains fresh and moist for longer.
This understanding has transformed my baking ritual from a race against time into a more mindful, appreciative process. It’s proof that sometimes, the greatest rewards come to those who wait.

Embarking on a New Chapter: My Homemade Bread Journey
This particular loaf of mixed grain bread was born from a sudden burst of inspiration at 12:30 a.m. (or perhaps 1:30 a.m., thanks to a recent time change!). It marked the true beginning of a whole new, made-from-scratch chapter in my culinary life: regular homemade bread baking. There’s something profoundly satisfying about creating staple foods from scratch, knowing exactly what goes into them, and enjoying the superior taste and freshness that store-bought alternatives often lack.
For this inaugural loaf, I relied on my trusty bread machine, a marvelous little apparatus that simplifies the process significantly. The key to success with a bread machine lies in the order of ingredients: liquids first, followed by the dry ingredients, and finally, the yeast sprinkled on top, ensuring it doesn’t come into contact with the water until the mixing cycle begins. This prevents the yeast from activating too early and ensures an optimal rise.
I started with a basic bread machine recipe and enthusiastically adapted it to include a generous assortment of wholesome grains and seeds. After carefully layering all the ingredients into the machine, I set the timer for an early 8:30 a.m. finish. Despite the late-night baking urge and the clock springing forward, I awoke to the most tantalizing, comforting aroma of fresh bread wafting through the house. It’s a smell that instantly transforms a morning, promising warmth and deliciousness, a simple luxury made possible by a little planning and the magic of a bread machine.
The Hearty Reward: A Flavorful Mixed Grain Loaf
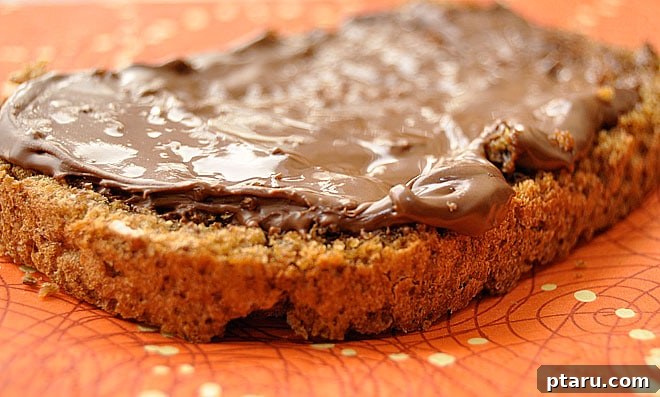
The resulting loaf of mixed grain bread is truly a triumph. It’s hearty, with a delightful nutty undertone from the various grains, and brimming with flavor that far surpasses any mass-produced bread. Its robust texture makes it incredibly versatile. Imagine a thick slice, generously slathered with creamy almond butter and a drizzle of golden honey for a wholesome breakfast or snack. Or, for a more savory option, a smear of grainy mustard layered with tender, sliced turkey for a satisfying lunch. And yes, for those moments of pure, unadulterated indulgence, even I sometimes abandon the “cool completely” rule for a slice warm from the oven, adorned with delightfully melt-y Nutella. It’s a treat worth breaking a rule for, occasionally!
Our Signature Mixed Grain Bread Recipe: Wholesome & Delicious
This recipe for mixed grain bread is incredibly adaptable, inviting you to experiment with different flours, grains, and seeds to create your unique masterpiece. For my particular loaf, I used a blend of 3 cups of robust whole wheat flour, 1 cup of bread flour for structure, and 1 cup of rolled oats for a subtle chewiness. My “add-ins” included a medley of flaxseeds for healthy fats, muesli cereal for extra texture and nutrition, sunflower seeds for crunch, and rye flakes for a deeper, more earthy flavor. Feel free to unleash your creativity and tailor this recipe to your preferences!
Ingredients:
- 2 cups water (lukewarm for conventional baking, as directed by your bread machine for machine baking)
- 1/4 cup molasses (adds a beautiful color, rich flavor, and helps activate the yeast)
- 2 tbsp oil (vegetable, canola, or olive oil work well for tenderness)
- 4 cups flour (a combination works best: whole wheat, all-purpose, or bread flour. Experiment to find your favorite texture and crumb!)
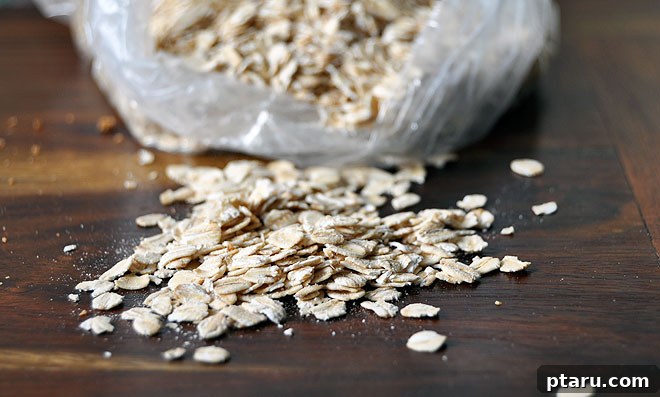
- 1 cup rolled oats (old-fashioned or quick oats, adds fiber and a lovely texture)
- 1 cup of additional add-ins (e.g., flaxseeds, chia seeds, sunflower seeds, pumpkin seeds, sesame seeds, quinoa, rye flakes, bran, wheat germ, chopped nuts, other rolled cereals. If using larger grains like whole wheat berries, pre-cook them first.)
- 1 1/2 tsp salt (essential for flavor and regulating yeast activity)
- 2 1/4 tsp (one standard packet) instant yeast (ensure it’s fresh for optimal rise)
Method 1: Using a Bread Machine (Effortless Baking)
- Prepare Ingredients: Carefully measure all ingredients and add them to your bread machine pan in the order listed. It is crucial to add the liquids first, then the dry ingredients, and finally sprinkle the instant yeast directly on top of the flour mixture. This prevents the yeast from touching the water prematurely, which could activate it too soon and affect the rise.
- Select Setting: Close the bread machine lid. Select the “Whole Wheat” or “Basic” setting (depending on your machine’s options and desired loaf density). If your machine has a “Delay Start” timer, you can program it to have a fresh loaf ready for you in the morning.
- Start Baking: Press “Start” and let your bread machine do all the work! It will mix, knead, rise, and bake the bread automatically.
- Cooling: Once the cycle is complete, carefully remove the hot pan from the machine. Invert the pan onto a wire rack to release the loaf. This is the moment of truth for patience: allow the bread to cool completely on the wire rack for at least 1-2 hours (or longer for a very large loaf) before slicing. This ensures the best texture, prevents a gummy interior, and makes for easier, cleaner slices.
Method 2: Conventional Oven Baking (The Hands-On Approach)
- Combine Dry Ingredients: In a large mixing bowl, combine the 4 cups of flour, 1 cup of rolled oats, your chosen 1 cup of additional cereals/grains/seeds, the 1 1/2 tsp salt, and the 2 1/4 tsp instant yeast. Whisk them together thoroughly to ensure even distribution.
- Prepare Wet Ingredients: In a separate bowl, whisk together the 2 cups of lukewarm water (about 105-115°F or 40-46°C), 1/4 cup molasses, and 2 tbsp oil. The lukewarm water is vital for activating the yeast.
- Form Dough: Pour the wet ingredient mixture into the dry ingredients. Use a sturdy spoon or your hands to stir until a sticky, shaggy dough forms. Make sure all the flour is incorporated.
- Knead the Dough: Turn the dough out onto a lightly floured surface. Knead the dough for 8-10 minutes. This develops the gluten, which gives the bread its structure and elasticity. You’ll know it’s ready when the dough is smooth, supple, and springs back when gently poked.
- First Rise (Bulk Fermentation): Lightly oil a clean large bowl. Place the kneaded dough into the bowl, turning it once to coat with oil. Cover the bowl with a clean kitchen towel or plastic wrap. Allow the dough to rise in a warm, draft-free place (like a turned-off oven with the light on) until it has doubled in volume, typically 1 to 1 1/2 hours, depending on your kitchen’s temperature.
- Punch Down & Shape: Gently punch down the risen dough to release the air. Turn it out onto your lightly floured surface again. Divide the dough equally into two pieces. Shape each piece into a neat loaf. You can do this by flattening each piece into a rectangle, then rolling it up tightly from one long side, pinching the seam closed, and tucking the ends under.
- Second Rise (Proofing): Place each shaped loaf into a greased 9 x 5-inch loaf pan. Cover the pans again with a clean kitchen towel and let them rise in a warm place until doubled in volume, which usually takes about one hour for the second rise. The dough should look visibly puffy and almost overflowing the pans.
- Preheat Oven: While the loaves are on their second rise, preheat your oven to 375°F (190°C).
- Bake: Place the risen loaves on the bottom rack of your preheated oven. Bake for 25 to 30 minutes, or until the tops are beautifully golden brown and the internal temperature reaches 200-210°F (93-99°C). Another good indicator of doneness is when the loaf sounds hollow if tapped gently on the bottom.
- Final Cooling: Immediately remove the baked loaves from their pans and transfer them to a wire rack. This is arguably the most crucial step for the best results: allow the bread to cool completely before attempting to slice it. This can take 1-2 hours. Resist the urge! Your patience will be rewarded with perfectly textured, flavorful slices.
Whether you choose the convenience of a bread machine or the hands-on satisfaction of conventional baking, this mixed grain bread recipe promises a wholesome, delicious, and incredibly satisfying experience. Embrace the journey, and most importantly, embrace the waiting! Happy baking!