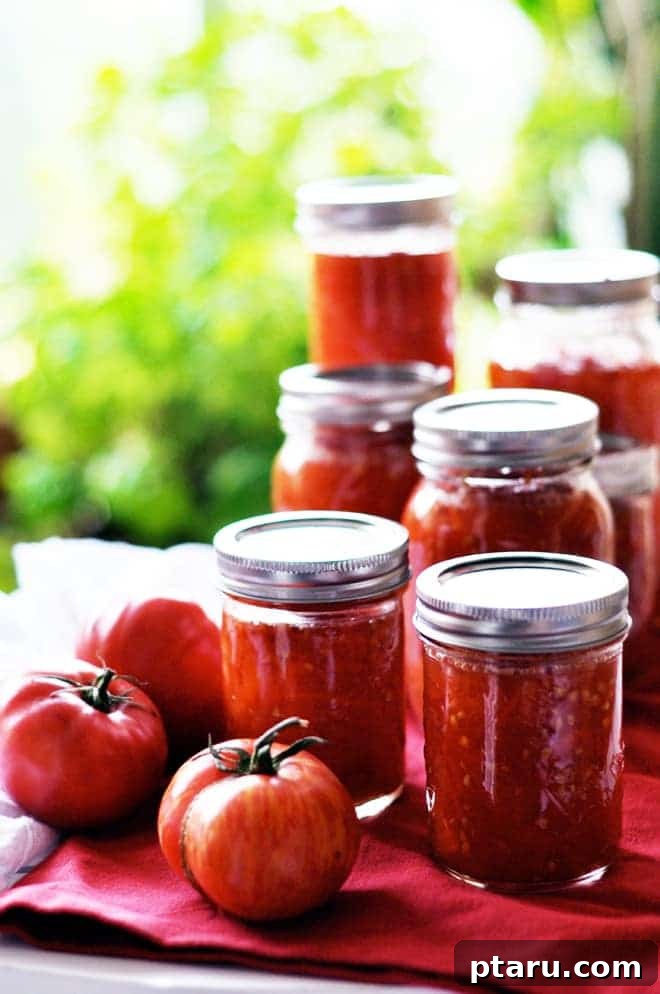
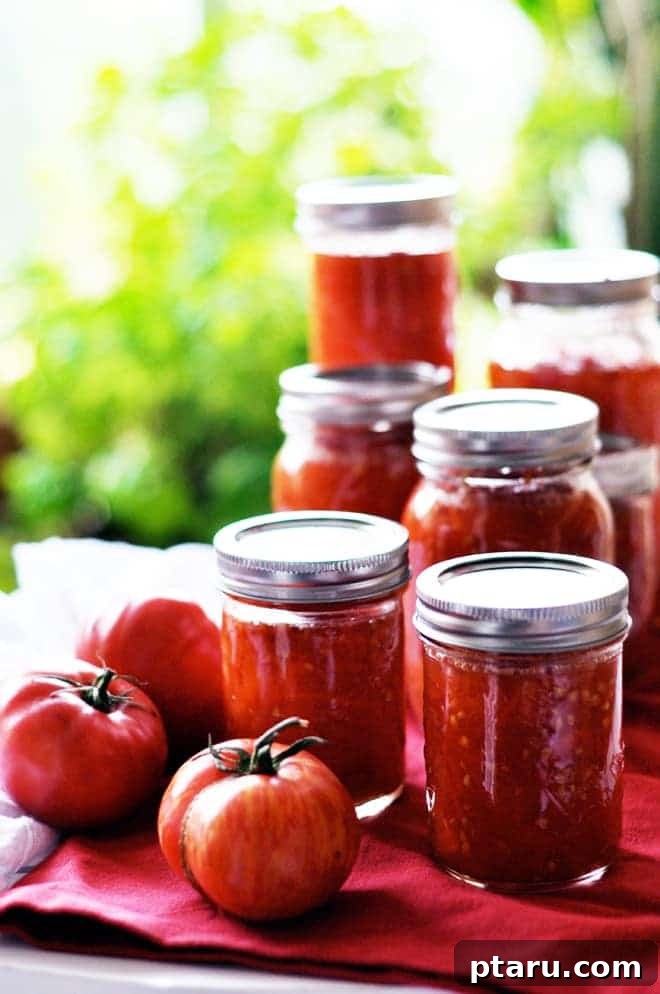
Preserve the Taste of Summer: Your Ultimate Guide to Homemade Canned Tomatoes
There’s an undeniable magic in a perfectly ripe, sun-kissed tomato – a burst of sweet, tangy flavor that epitomizes the very essence of summer. For those of us who are truly obsessed with these vibrant fruits, the fleeting nature of their peak season can be a culinary heartbreak. But what if you could capture that quintessential summer taste and enjoy it even when winter winds blow? The answer lies in the satisfying art of home canning.
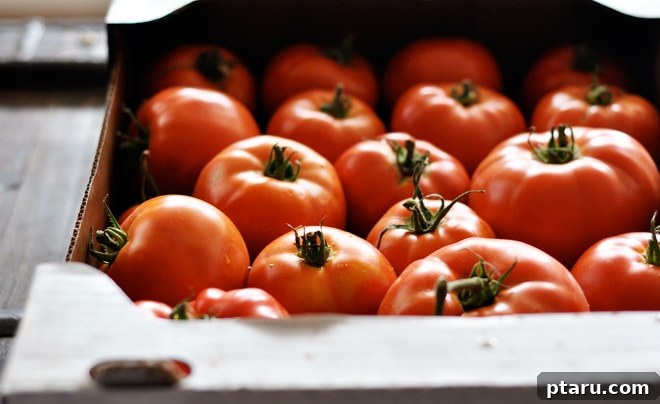
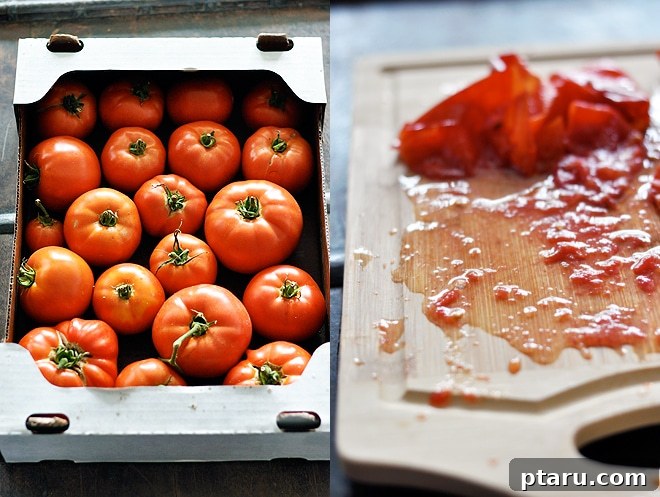
Last season, I embarked on a delightful, albeit slightly extravagant, mission: to preserve the finest organic, locally grown tomatoes I could find. Twenty pounds of them, to be precise. Each one a jewel, boasting the deepest crimson hue, flawless taut skin, and a firm, heavy feel in the hand. Their aroma alone hinted at the sweet, juicy perfection within. Yes, we are indeed still talking about tomatoes, and the anticipation of canning them was palpable.
Why Can Your Own Tomatoes? The Unbeatable Flavor and Quality
The allure of canning your own tomatoes extends far beyond mere preservation; it’s about elevating your culinary experience. Imagine a dreary February evening, a storm raging outside, and you’re opening a jar of tomatoes that tastes as if it were just plucked from a sun-drenched vine. This is the unparalleled joy of homemade canned tomatoes.
- Superior Flavor: Store-bought canned tomatoes, even the premium varieties, simply cannot compare to the vibrant, robust flavor of home-canned tomatoes. By choosing peak-season produce, you lock in maximum taste and nutrition.
- Quality Control: You dictate what goes into your jars. Using organic, locally sourced tomatoes means no questionable additives, preservatives, or high-sodium content – just pure, unadulterated tomato goodness, a touch of salt, and a dash of lemon juice for safety.
- Cost-Effectiveness (Long Term): While the initial investment in high-quality produce might seem substantial, canning allows you to capitalize on seasonal prices, ultimately saving money compared to buying premium canned goods year-round.
- Self-Sufficiency & Satisfaction: There’s immense satisfaction in knowing you’ve provided for your household, transforming raw ingredients into pantry staples. It’s a connection to food that many modern lifestyles have lost.
Getting Started: Essential Equipment for Successful Tomato Canning
While the process of canning is often perceived as daunting, it is remarkably straightforward once you have the right tools and a bit of counter space. A willingness – perhaps even a gleeful acceptance – to make a glorious mess is also highly recommended!
The Right Pots for the Job
- Two Large Stockpots: These are your workhorses. One will be used for sterilizing and processing your filled jars, requiring a rack at the bottom to keep jars from touching the base. The other can be used to hold hot water for quick refills or for initial heating.
- One Medium-Large Pot: Essential for blanching your tomatoes, making peeling a breeze.
- One Small Pot: Dedicated to simmering water to keep your canning lids warm and pliable, ensuring a proper seal.
Jars, Lids, and Essential Tools
- Canning Jars: Invest in proper canning jars (Mason jars are popular) designed to withstand the high temperatures of water bath canning. Ideally, 2-cup (500 mL) pint jars or larger (4-cup/1-liter quart jars) are perfect for tomatoes. Ensure they are free of nicks or cracks.
- Two-Piece Lids: These consist of a flat metal lid with a sealing compound and a metal screw band. The flat lid is single-use, while the screw bands are reusable.
- Jar Lifter: An absolute necessity for safely handling hot jars in and out of boiling water. Its rubber-coated tongs provide a secure grip, preventing burns and dropped jars.
- Canning Funnel: A wide-mouth funnel helps neatly transfer tomatoes into jars without messy spills, keeping jar rims clean.
- Bubble Remover/Headspace Tool: A non-metallic utensil to release air bubbles from packed jars and measure the correct headspace.
- Clean Kitchen Towels: For wiping jar rims thoroughly before sealing.
- Paring Knife: For scoring the tomato skins before blanching.
Ingredients: Simple Purity
For truly authentic home-canned tomatoes, you need surprisingly few ingredients, allowing the natural flavor of the tomatoes to shine through.
- Ripe Tomatoes: The star of the show! Choose firm, blemish-free, ripe tomatoes. Paste tomatoes like Roma are excellent due to their lower water content, but any flavorful variety can be used.
- Salt: Non-iodized canning or pickling salt is preferred. It enhances flavor and helps draw out moisture.
- Lemon Juice: Crucial for safety! Tomatoes can vary in acidity, and adding lemon juice (bottled is recommended for consistent acidity) ensures the pH level is low enough for safe water bath canning, preventing spoilage.
Step-by-Step Guide to Canning Fresh Tomatoes
Once you have all your equipment and ingredients assembled, the canning process can begin. It’s a dance of heat, precision, and careful handling, culminating in shelf-stable jars of summer’s best.
1. Preparing Your Workspace and Equipment
Start by filling your largest stockpot (the one you’ll use for processing) about two-thirds full with water. Place a canning rack at the bottom. Submerge your clean, empty canning jars into this cold water, ensuring they are completely covered. This prevents thermal shock when heating. Turn the heat to high and bring the water to a rolling boil. The jars need to boil for at least 10 minutes to sterilize them. Keep them submerged and hot until you’re ready to fill them, as warm jars are less likely to crack when filled with hot tomatoes and returned to boiling water.
In your small pot, fill it with water and place your flat metal lids in it. Bring the water to a gentle simmer over medium-low heat. Do not boil the lids vigorously, as this can damage the sealing compound. Keep them warm until needed.
2. Blanching and Peeling Tomatoes: The Easy Way
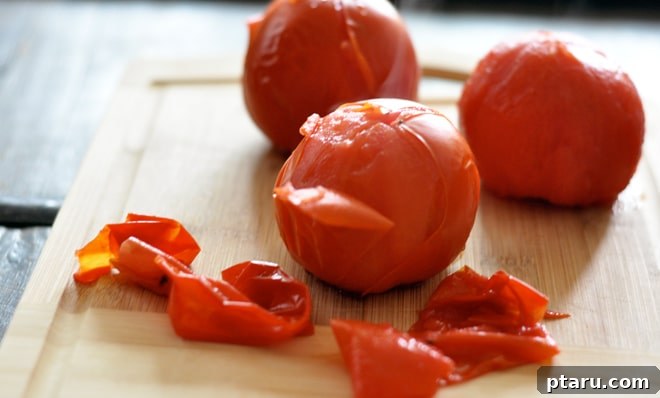
In your medium-large pot, bring a generous amount of water to a boil. While it heats, use a small paring knife to carefully score a shallow “X” on the bottom of each tomato. This simple step makes peeling incredibly easy. Once the water is boiling, gently immerse a few tomatoes at a time into the hot water for about 30 to 60 seconds – just until the skin around the “X” begins to visibly wrinkle or split. Immediately remove them with a slotted spoon and transfer them to a bowl of ice water to stop the cooking process and make them easier to handle. Once cool enough, the skins should slip off effortlessly. Discard the skins.
3. Filling and Sealing Your Jars
Using a jar lifter, carefully remove a hot, sterilized jar from the large stockpot and empty any water back into the pot. Place it on a clean towel. For each 2-cup (500 mL) jar, add ½ teaspoon of canning salt and 1 tablespoon of bottled lemon juice (double these amounts for 4-cup/1-liter quart jars). Bottled lemon juice is essential as its acidity is consistent, ensuring food safety.
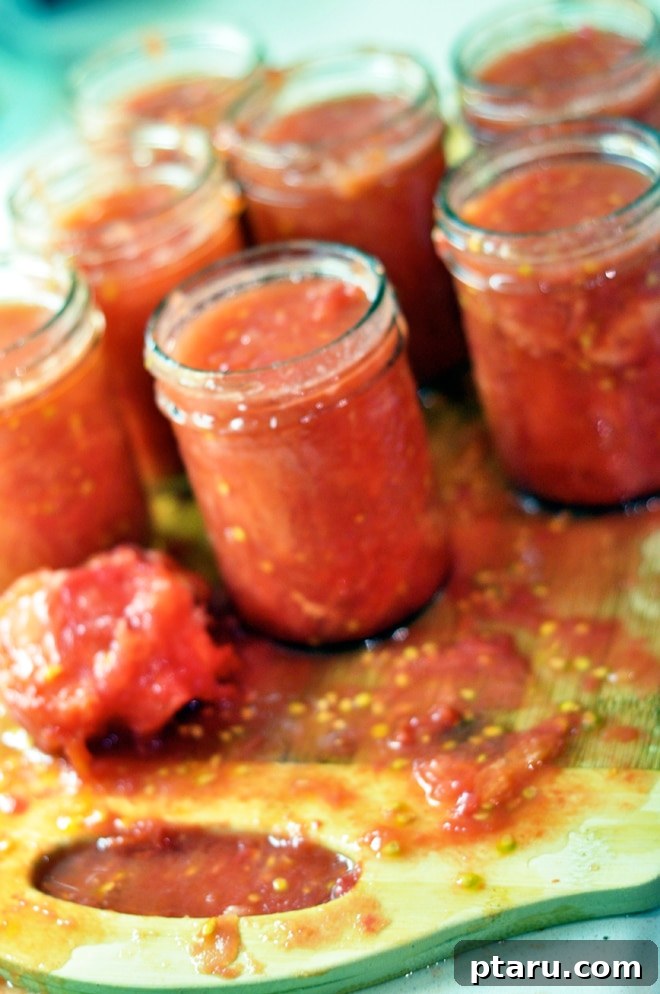
Begin packing the blanched, peeled tomatoes snugly into the jar. Use the handle of a wooden spoon or a specialized canning tool to gently “smoosh” or press the tomatoes down, releasing air bubbles and allowing them to settle. The goal is to pack them tightly, leaving as little air as possible. Ensure you maintain ½ inch of headspace from the top of the jar to the surface of the tomatoes. Use your bubble remover tool to gently work out any trapped air bubbles around the sides of the jar.
Wipe the rim of the jar thoroughly with a clean, damp cloth to remove any food particles, which could prevent a proper seal. Using magnetic tongs or a lid lifter, retrieve a warm, flat lid from the small pot and center it on the jar. Secure it with a screw band, tightening it “fingertip tight” – just until resistance is met. Do not overtighten, as air needs to escape during processing for a vacuum seal to form.
4. Processing for Safe Storage
Using your jar lifter, carefully lower the filled, sealed jars gently onto the rack in the boiling water canner. Ensure the jars are completely submerged by at least 1-2 inches of water. If necessary, add more boiling water to reach this level. Cover the canner with its lid. Once the water returns to a full, rolling boil, begin timing the processing. For pint-sized jars (2 cup/500 mL), process for 35 minutes. For quart-sized jars (4 cup/1 litre), process for 45 minutes. It is crucial to maintain a continuous, vigorous boil throughout the entire processing time.
5. The “PLUCK” of Success: Checking Your Seals
Once the processing time is complete, turn off the heat and carefully remove the canner lid. Let the jars sit undisturbed in the hot water for 5 minutes before carefully lifting them out with the jar lifter. Place the hot jars on a clean towel or cooling rack, ensuring they are not touching each other, and allow them to cool undisturbed for 12 to 24 hours. Avoid tightening the screw bands further during this time.
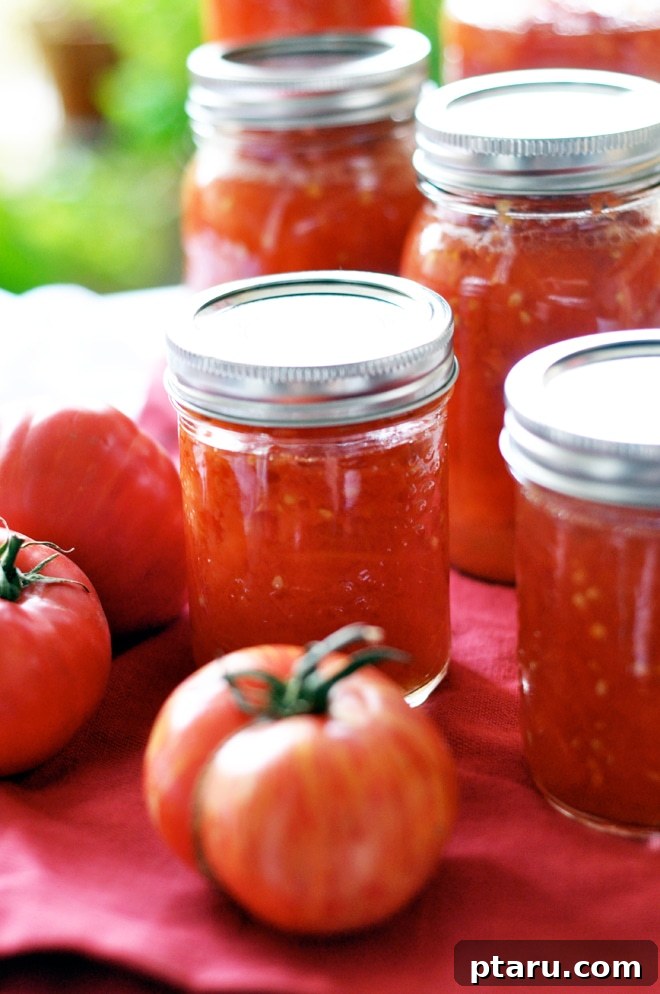
As the jars cool, you’ll likely hear a series of satisfying “PLUCK!” or “POP!” sounds – this is the sound of the vacuum seal forming. After 24 hours, check the seals. The center of the lid should be firm, concave (curved inward), and should not flex or bounce when gently pressed. If a lid yields or makes a clicking sound when pressed, the seal has failed. Any jars with failed seals should be refrigerated immediately and consumed within two weeks. Properly sealed jars can be stored in a cool, dark place for up to one year. Remove the screw bands before storing sealed jars, as this allows you to easily spot any potential spoilage and prevents rust.
Detailed Recipe: Home-Canned Tomatoes
Ingredients List:
- 20 lbs (approx. 9 kg) ripe, firm tomatoes (such as Roma, plum, or any flavorful canning variety)
- Canning salt (non-iodized)
- Bottled lemon juice (not fresh, for consistent acidity)
- Water, for blanching and water bath canning
Step-by-Step Instructions:
- Prepare Your Jars & Lids:
Fill your largest stockpot (canner) two-thirds full with water and place a canning rack at the bottom. Submerge clean canning jars in the cold water, ensuring they are fully covered. Bring the water to a rolling boil and sterilize jars for at least 10 minutes. Keep jars in hot water until ready to fill. In a small pot, bring water to a simmer (not a boil) and add your flat metal lids to warm them. Use a jar lifter to remove jars, and magnetic tongs for lids, as needed. - Blanch & Peel the Tomatoes:
In a separate medium-large pot, bring water to a boil. Using a paring knife, make a shallow “X” on the bottom of each tomato. Gently drop tomatoes into the boiling water for 30-60 seconds, or until skins begin to split. Immediately transfer them to an ice bath to cool. Once cool enough to handle, peel and discard the skins. - Fill Jars & Secure Lids:
For each 2-cup (500 mL) pint jar, add ½ teaspoon of canning salt and 1 tablespoon of bottled lemon juice. For 4-cup (1 liter) quart jars, add 1 teaspoon of canning salt and 2 tablespoons of bottled lemon juice. Pack the peeled tomatoes snugly into the hot jars, using a wooden spoon handle to press them down and release air bubbles. Leave ½ inch of headspace. Use a bubble remover tool to eliminate trapped air. Wipe jar rims clean with a damp cloth. Center a warm flat lid on each jar, and secure with a screw band, tightening “fingertip tight” (not too tight). - Process & Cool:
Carefully lower the filled jars into the boiling water canner, ensuring they are covered by at least 1-2 inches of water. Add more boiling water if necessary. Cover the canner and bring the water back to a full, rolling boil. Process pint jars for 35 minutes and quart jars for 45 minutes, starting the timer only once a rolling boil is achieved. After processing, turn off the heat, remove the canner lid, and let jars rest in the hot water for 5 minutes. Carefully remove jars with a jar lifter and place them on a clean towel or cooling rack, spaced apart, to cool undisturbed for 12-24 hours.
Troubleshooting and Storage Tips
Canning can be a learning process, and sometimes seals fail. Don’t be discouraged! It’s a normal part of home preservation. If a jar doesn’t seal (lid is not concave and firm), simply place it in the refrigerator and use its contents within two weeks, treating it like fresh food. For all properly sealed jars, remove the screw bands before storing. This prevents rust and allows you to easily detect if a seal breaks during storage. Store your beautiful home-canned tomatoes in a cool, dark, dry place, and they will keep their quality for up to one year. Beyond that, they are still safe to eat but may lose some color and texture.
Enjoying Your Homemade Preserves
With your pantry stocked with jars of homemade canned tomatoes, you’re ready to elevate countless dishes. They are perfect for rich pasta sauces, hearty chili, vibrant tomato soup, comforting stews, or even a simple bruschetta topping. The possibilities are endless, and each spoonful will transport you back to the warmth and abundance of summer.
Embrace the journey of home canning; it’s a rewarding skill that connects you to your food and provides a taste of sunshine, no matter the season. Happy canning!