Mega Clump Granola: Your Ultimate Guide to a Clumpy, Flavorful Breakfast & Beyond
Hello, wonderful readers! Today, I’m thrilled to share not just an incredible recipe but also open up a discussion on two pressing personal needs. First, let’s dive into what can only be described as the granola of my dreams – a truly magnificent creation adapted from The First Mess Cookbook. For those unfamiliar, Laura Wright, the brilliant Canadian mind behind this culinary masterpiece, also runs the highly acclaimed blog of the same name. If you haven’t yet explored her work, I wholeheartedly encourage you to do so!
Laura and I have been connected through Instagram for what feels like ages, and her commitment to beautiful, in-season produce shines through in every recipe. Her approach to vegan cooking is both inspiring and accessible. While my own household isn’t strictly vegetarian or vegan, we consciously embrace a plant-centric diet, with meat playing a supporting rather than leading role in our daily meals. This philosophy naturally draws me to plant-based cookbooks and blogs, which serve as an endless wellspring of ideas for transforming my farmer’s market haul into delectable dishes. The ability to craft wholesome, delicious meals centered around fresh produce is a skill I continuously strive to hone, and resources like The First Mess are invaluable in that pursuit.
My Culinary Adventures with The First Mess Cookbook
Laura’s cookbook is a treasure trove of vibrant and healthy recipes, making plant-forward eating an absolute joy. Beyond this phenomenal granola, I’ve had great success with her “Casually Specific Green Smoothie,” a refreshing and nutritious blend that’s become a regular in our kitchen. It’s remarkably easy to prepare and a fantastic way to boost our daily nutrient intake. My bookmark collection within the cookbook continues to grow, filled with exciting dishes I’m eager to try. Among them are the intriguing Creamy Harissa Lentils, a dish promising both warmth and exotic flavors; several enticing salad dressings (one featuring creamy cashew butter for richness, another highlighting sunflower seeds for a nutty zest), a unique Broccoli Caesar with Smoky Tempeh Bits that reinvents a classic, delightful Cookies for Breakfast, and her highly-rated Tempeh Bacon (a testament to my enduring love for tempeh!). Each recipe is accompanied by Laura’s truly gorgeous photography, which makes flipping through the pages an experience in itself, inspiring me to get into the kitchen and create.
Seeking Your Wisdom: Melbourne Travel & Long-Haul Flight Survival
Now, for the second part of my appeal – I genuinely need your collective wisdom! My family and I are embarking on an exciting adventure to Melbourne, Australia, for several weeks in April/May. As the departure date rapidly approaches, I find myself with almost zero time for thorough research. So, I’m reaching out to you, my knowledgeable community, for any and all suggestions on things to see and do in this vibrant city. We are particularly interested in kid-friendly activities and attractions that would be enjoyable for our two young children, aged three years and eighteen months.
Melbourne is known for its incredible culture, food, and family offerings, but navigating it with little ones requires specific insights. Whether it’s a must-visit museum with interactive exhibits for toddlers, a hidden gem of a park or playground, a fantastic family-friendly cafe, a bustling market perfect for exploring, or a unique experience only a local would know about, please share your insights! Recommendations for easy transportation, stroller-friendly areas, or even just tips on managing meal times with picky eaters would also be incredibly helpful. Your recommendations would be invaluable in helping us make the most of our time down under, creating cherished family memories without the stress of constant planning. Feel free to send me an email, leave a comment below, or connect with me on Instagram – it’s where I tend to spend most of my online time and will be actively looking for your advice!
Conquering the Pacific: Flying with Toddlers
My second plea for help concerns the journey itself. To reach Melbourne, we face the daunting task of flying across the vast Pacific Ocean with a three-year-old and an eighteen-month-old. This flight feels like it will span ten bajillion hours – okay, a slight exaggeration, perhaps only nine bajillion! But seriously, the real challenge lies with our baby, who, and this is absolutely *not* an exaggeration, will not sit still for five seconds. This is a critical factor when considering such an ultra-long-haul journey. I’ve flown to India and Dubai with my older son when he was younger, but he was a completely different child – calmer, more easily entertained, and generally content in a confined space. This time, I’m anticipating a whole new level of logistical complexity and energy management!
I am desperate for any and all tricks, tips, and essential items to pack that could potentially make this journey survivable, if not enjoyable. How do you keep restless toddlers entertained for hours on end without resorting to excessive screen time? What snacks are lifesavers – easy to eat, non-messy, and genuinely appealing? What comfort items are non-negotiable for sleep and soothing? Share your tried-and-true strategies for managing boredom, preventing and navigating meltdowns, and maintaining parental sanity in a confined space for such an extended period. Any advice on managing jet lag upon arrival, dealing with ear pressure, or even booking strategies (e.g., bassinets, extra seats) would be immensely appreciated. Your personal experiences and advice could truly be our salvation in ensuring a smoother, less stressful journey for everyone involved!
The Magic of Mega Clump Granola: Why Clumps Rule!
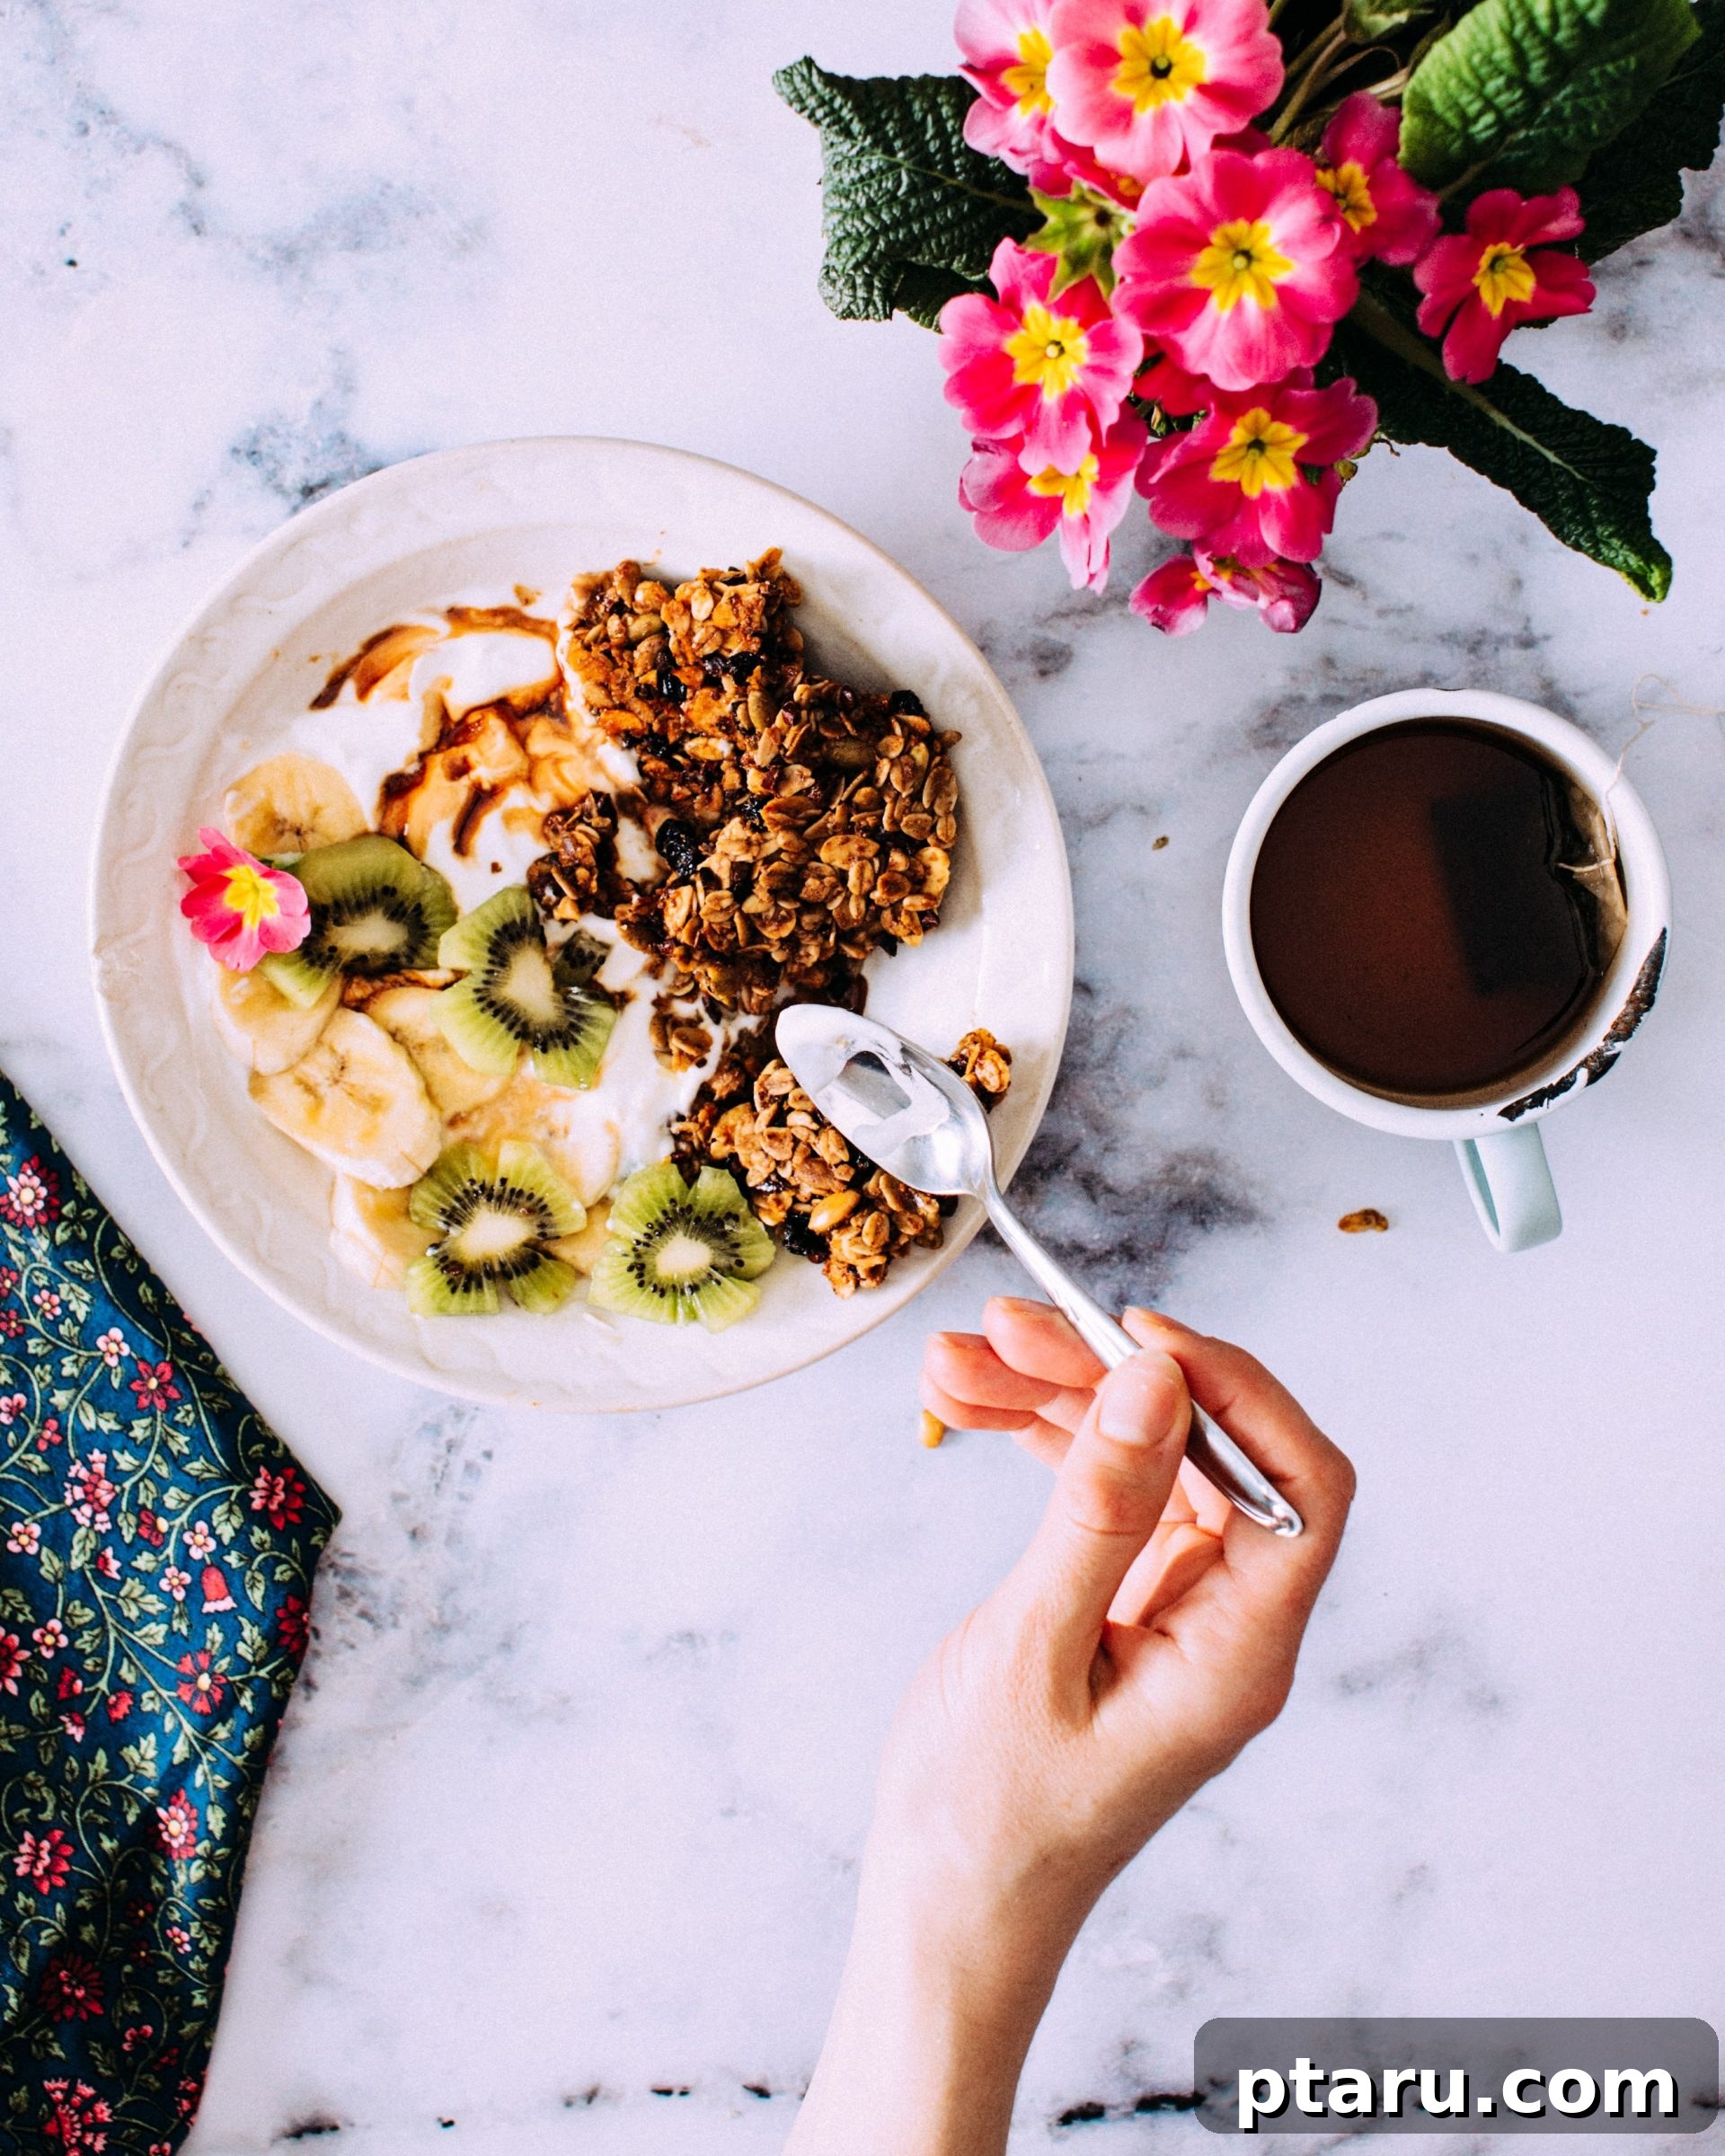
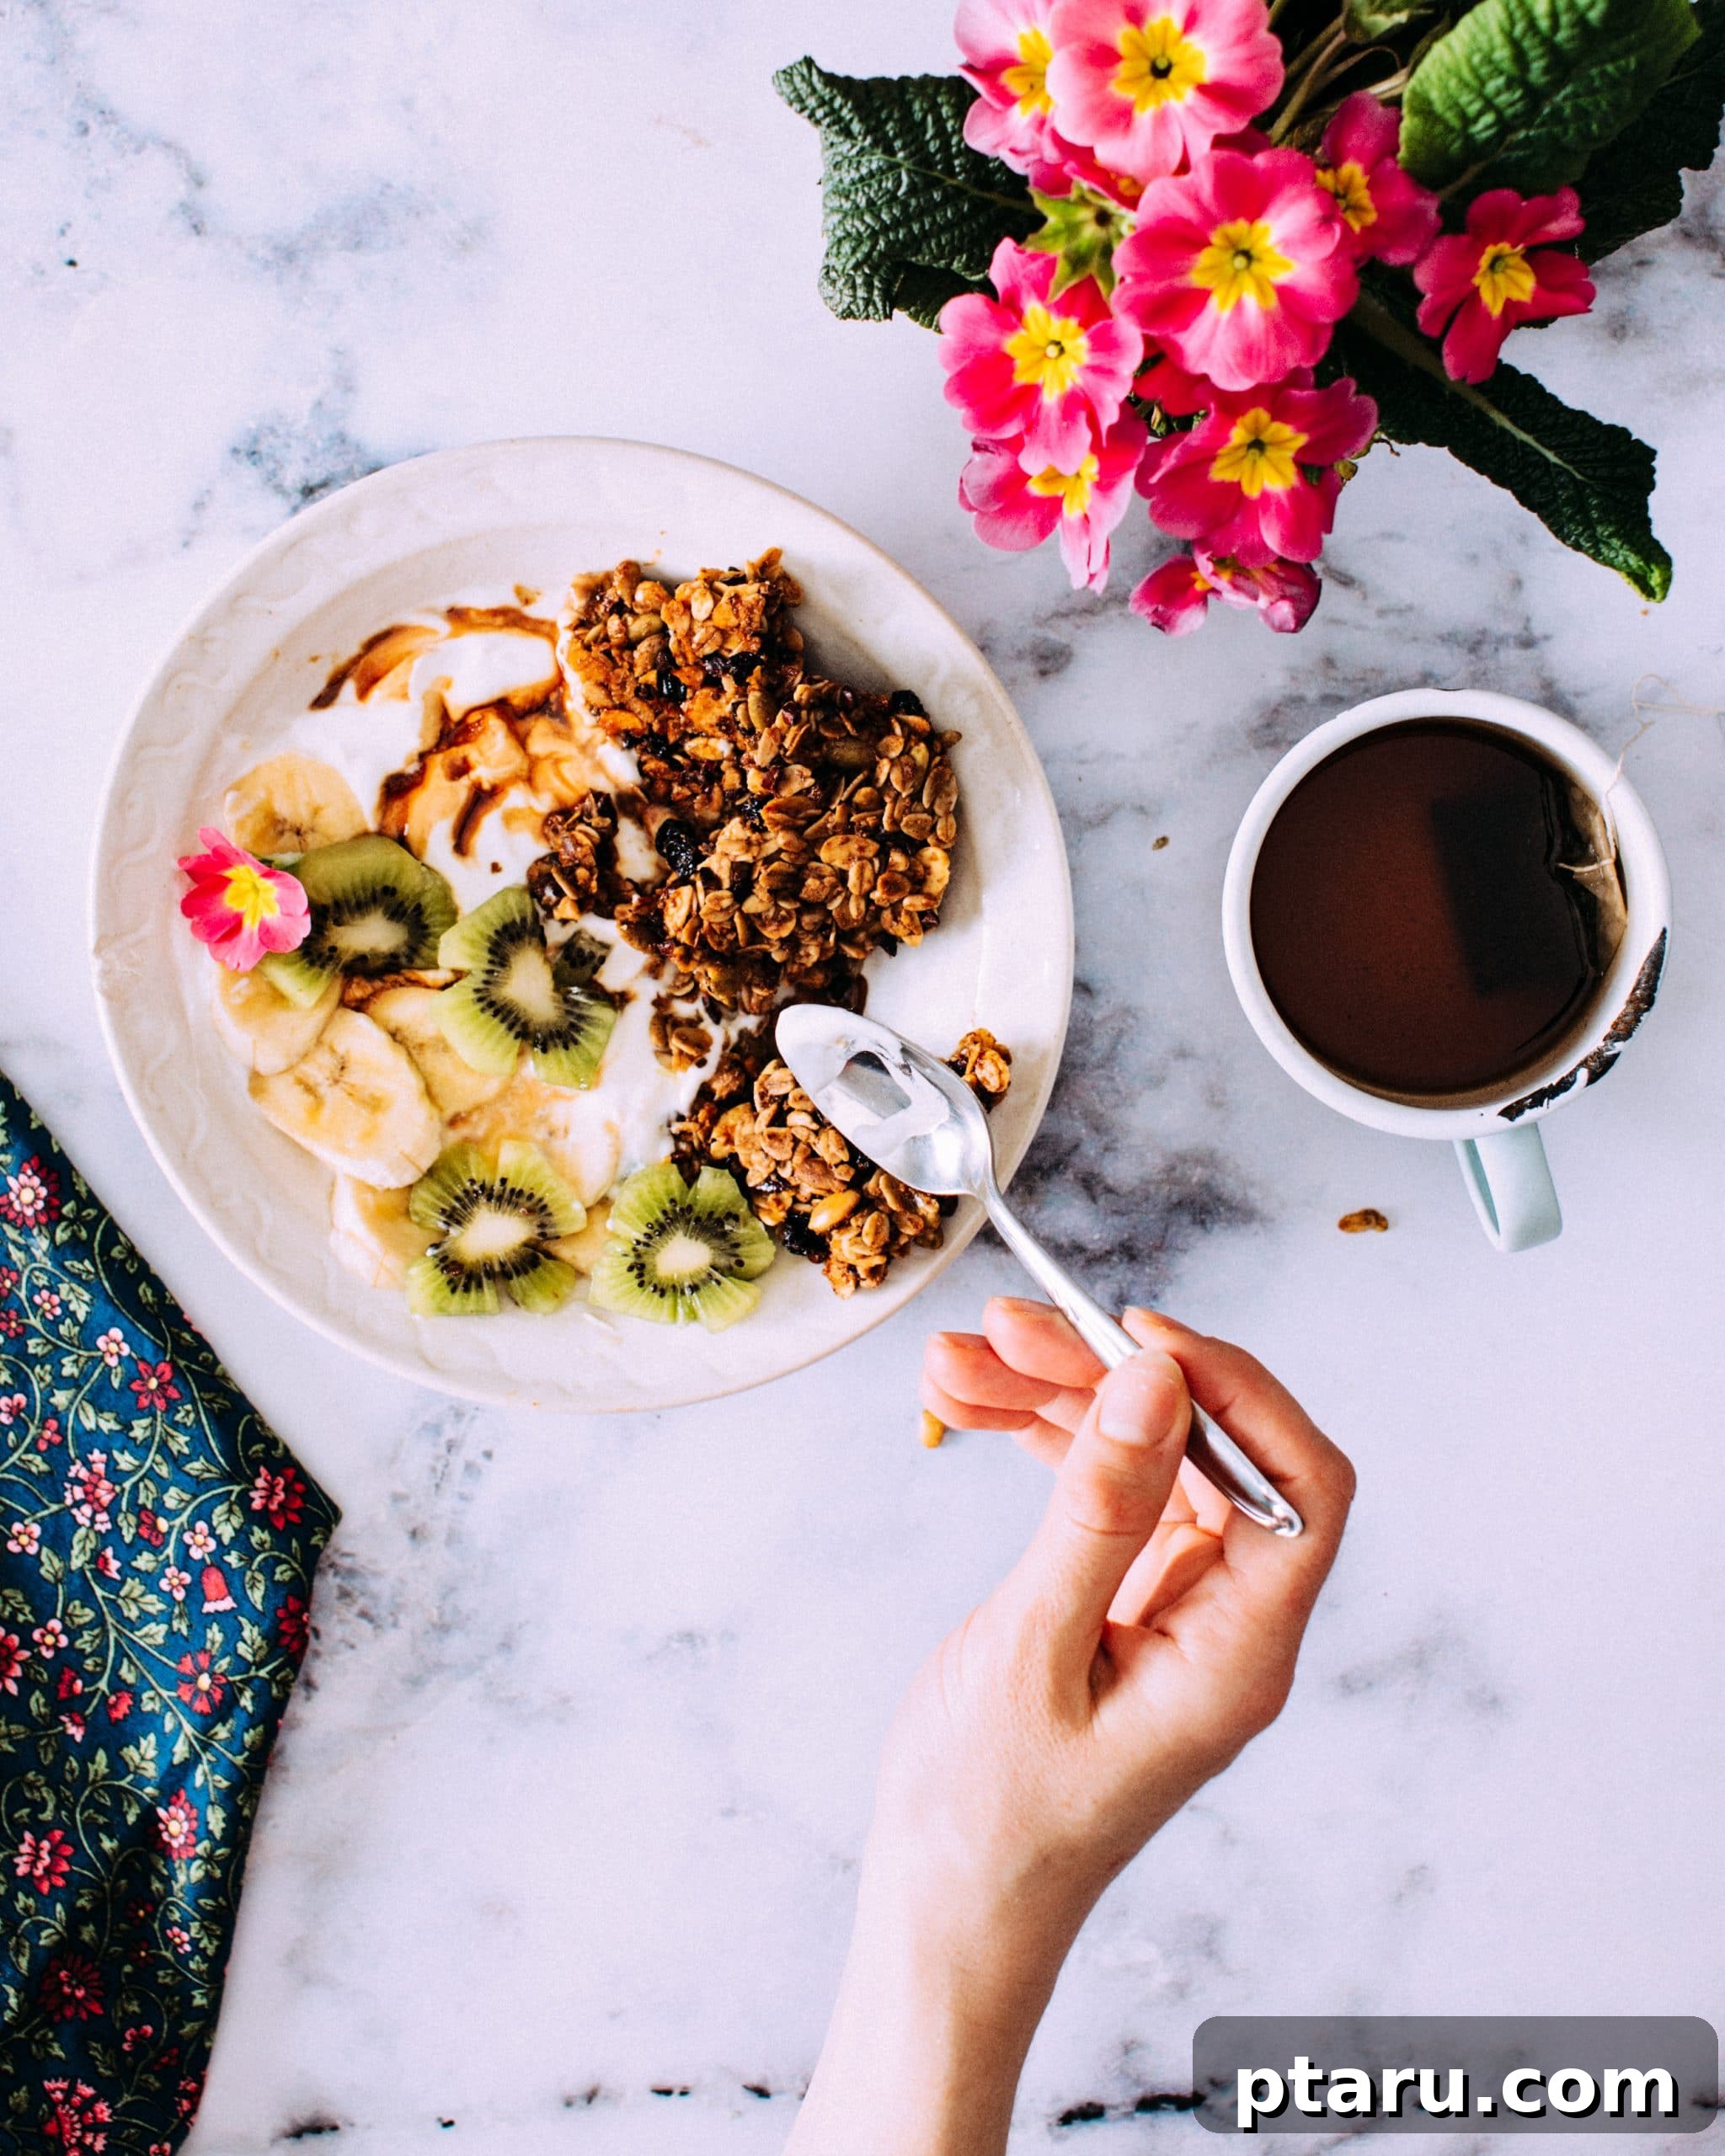
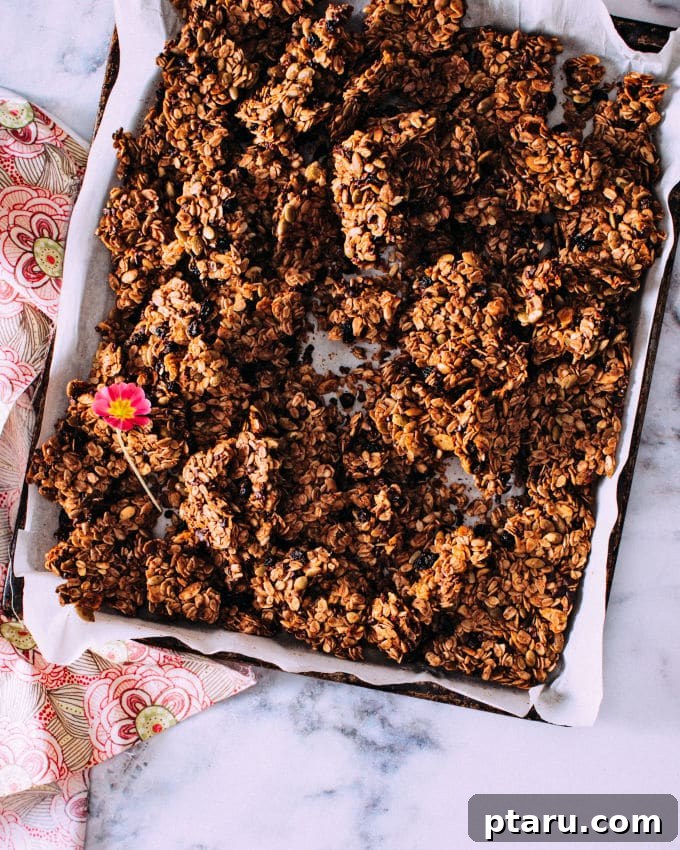
Now, back to the star of the show: this absolutely phenomenal granola. For any granola enthusiast, the quest for the perfect cluster is real, and I am a firm believer that clumps are, without a doubt, the best part of any granola. That delightful crunch and concentrated flavor in each bite are simply irresistible. This particular recipe? It delivers 100% glorious clumps, every single time, making it a true winner in my book. What makes it so extraordinary, besides its incredible flavor, is Laura’s brilliant technique of toasting the oats separately first. This seemingly small step genuinely boosts the nutty, wholesome flavor of the oats, creating a depth that’s often missing in other recipes. It’s a simple pre-roast that makes a profound difference in the final taste profile. This method is particularly effective because we intentionally don’t toss the granola as it bakes, allowing those coveted clumps to form undisturbed and solidify into perfect clusters. I’ve shared batches with numerous neighbors, and the unanimous verdict has been sheer bonkers delight – a testament to its universal appeal.
Customize Your Clumpy Granola: Pantry Adaptations for Unique Flavor
One of the many joys of this recipe is its incredible adaptability. While the core technique ensures magnificent clumps, you have ample freedom to personalize the flavor profile. I’ve personally tweaked Laura’s original version to incorporate a delightful array of yummy things I happened to have in my pantry, tailoring it to my family’s preferences and what’s available. The key to successful adaptation is to maintain the total amount of dry ingredients, allowing you the flexibility to swap components to your heart’s content! For instance, Laura’s original recipe called for 5 cups of oats and 1 cup each of almonds, sunflower seeds, and pumpkin seeds. I chose to slightly reduce the overall quantity of oats and seeds to make room for the rich, chocolatey notes of cocoa nibs and the sweet-tart burst of currants, which add a wonderful complexity and texture. Feel free to experiment with your favorite nuts (pecans, walnuts, cashews), seeds (sesame, chia), different dried fruits (cranberries, chopped apricots, dried cherries), or even a sprinkle of warming spices like cardamom or ginger to make this granola uniquely yours. The possibilities are truly endless, ensuring every batch can be a new culinary adventure.
A Note on Coconut Oil: Refined vs. Virgin for Optimal Flavor
When it comes to selecting coconut oil for this recipe, I often opt for refined coconut oil rather than virgin. Virgin coconut oil, while excellent for certain applications, possesses a distinct, strong coconut aroma and flavor. In many cooked dishes, and particularly in this granola, I find that this strong flavor can be quite overwhelming and can overshadow the delicate notes of maple, nuts, and spices that we want to shine through. Refined coconut oil, on the other hand, is processed to remove most of this strong flavor and smell, resulting in a neutral fat that allows the other ingredients to truly develop and express their full flavor. Nutritionally, both types of coconut oil offer similar benefits, so your choice should primarily be based on the flavor profile you prefer for your dish. For a granola where you want the nuts, seeds, and maple to be the dominant notes, ensuring a balanced and harmonious taste, refined coconut oil is undoubtedly an excellent choice. If you adore the strong taste of coconut, however, virgin coconut oil could be a delightful alternative!
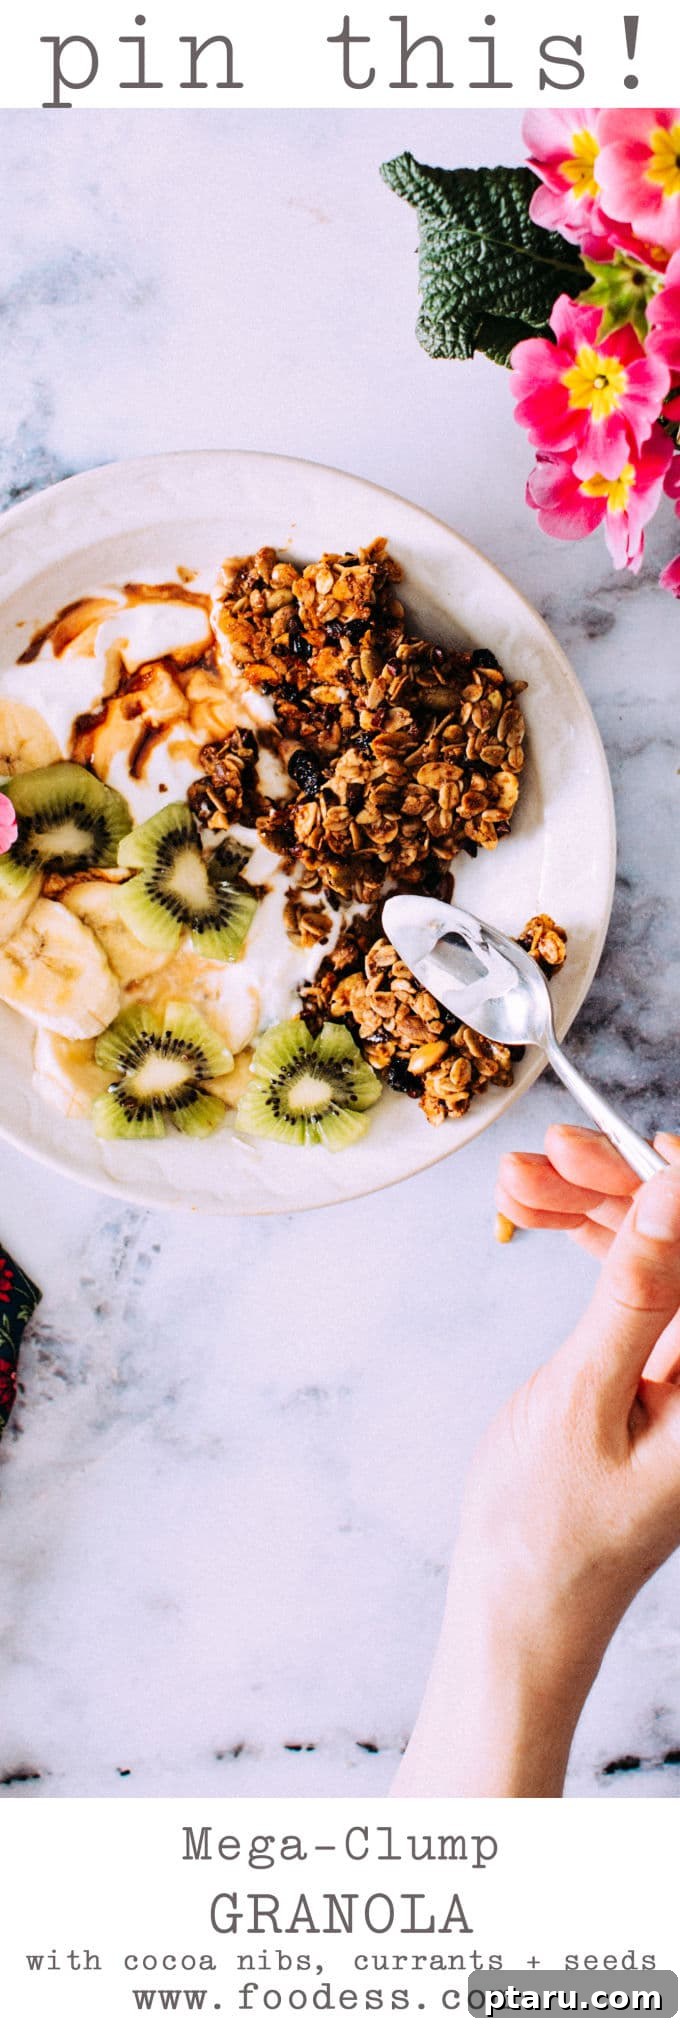
This fantastic recipe, celebrating wholesome ingredients and incredible flavor, is thoughtfully adapted from The First Mess Cookbook by the wonderful Laura Wright.
Saved
Pin
Mega Clump Granola
Ingredients
- 4 cups old-fashioned large flake oats
- ½ cup pure maple syrup
- ½ cup maple sugar or coconut palm sugar or you could swap in brown sugar, honey or more maple syrup
- ⅔ cup melted coconut oil
- 1 tbsp pure vanilla extract
- 2 tsp ground cinnamon
- 1 heaping tsp kosher salt
- 1 cup blanched almond slivers
- ¾ cup raw sunflower seeds
- ¾ cup raw pumpkin seeds
- ¾ cup cocoa nibs
- ¾ cup currants
- ¼ cup ground flaxseed
Instructions
-
Preheat oven to 350ºF (175ºC). Line a large baking sheet with parchment paper. Spread the oats evenly on the prepared baking sheet and toast in the preheated oven for 15 minutes. This crucial step, toasting the oats separately, significantly enhances their depth of flavor and nuttiness, forming the perfect foundation for our delicious granola.
-
Reduce the oven temperature to 325ºF (160ºC). In a generously sized bowl, whisk together the pure maple syrup, chosen sugar (maple or coconut palm sugar, or your preferred alternative like brown sugar or honey), melted coconut oil, pure vanilla extract, ground cinnamon, and a heaping teaspoon of kosher salt until all wet and flavoring ingredients are thoroughly combined.
-
Add the pre-toasted oats, blanched almond slivers, raw sunflower seeds, raw pumpkin seeds, cocoa nibs, currants, and ground flaxseed to the wet mixture. Stir thoroughly, ensuring all the dry ingredients are uniformly coated with the flavorful liquid. Every oat and seed should be glistening, ready for baking.
-
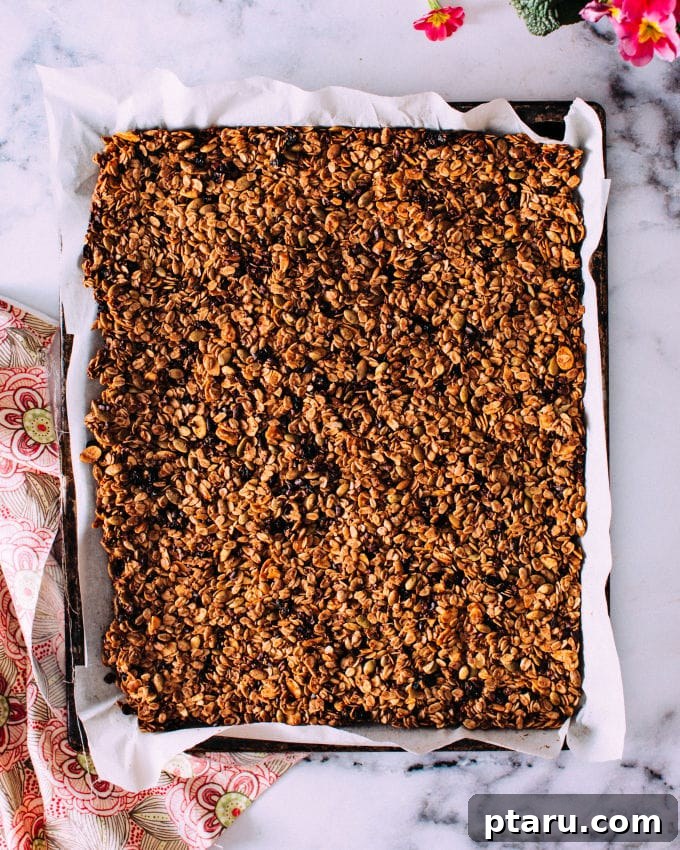
Transfer the entire granola mixture back onto the same parchment-lined baking sheet. Spread it out into an even layer, pressing down firmly with a spatula or the back of a spoon to compact it and push it into all the corners of the sheet. This compacting is absolutely vital for achieving those coveted mega clumps that make this granola so special!
-
Bake for approximately 40 minutes, rotating the baking sheet halfway through to ensure even browning and consistent texture development. The granola should be a beautiful golden brown and feel firm to the touch when ready. It’s important not to stir the granola during baking, as this allows the clusters to form undisturbed and solidify into glorious clumps.
-
Once baked, remove the pan from the oven and allow the granola to cool completely in the pan on a wire rack. Resisting the urge to disturb it during this cooling phase is the key for maximum clumpiness and the perfect crunchy texture. Once fully cooled, break the granola into irregular, delicious chunks of various sizes. Store it in an airtight container at room temperature for up to 2 weeks, or extend its freshness by storing it in the freezer for up to 3 months. Enjoy this irresistible, clumpy delight as a healthy breakfast with milk or yogurt, a satisfying snack straight from the jar, or a delightful topping for fruit salads and desserts!
Tried this recipe? Leave a comment!