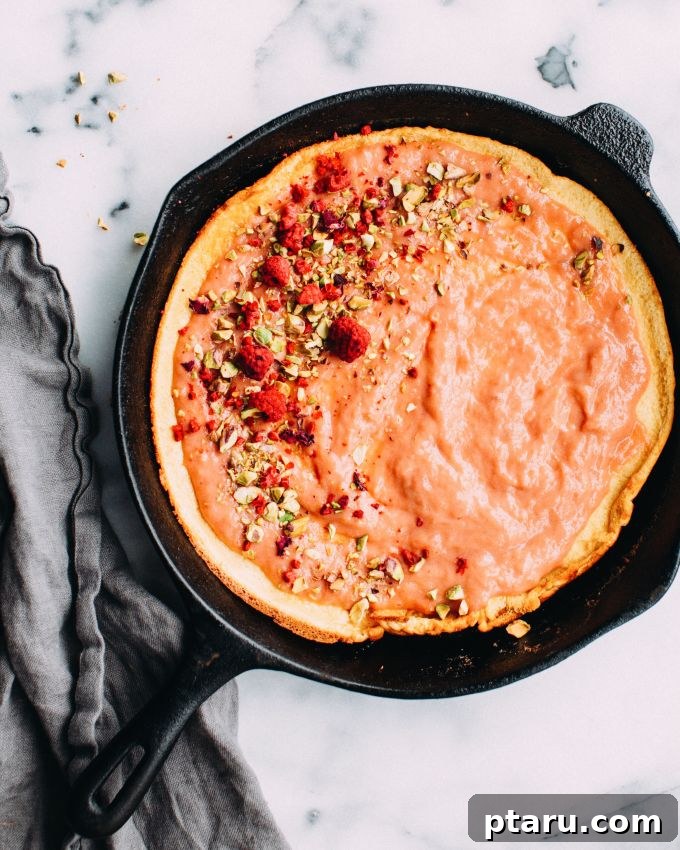
The Ultimate Guide to Puffy Dutch Baby Pancakes: A Rhubarb Delight
Imagine a pancake that defies gravity, puffing up dramatically in the oven before settling into a soft, chewy, and utterly delightful texture. That’s the magic of a Dutch Baby pancake. Often referred to as a German pancake, this impressive dish starts with a simple, eggy batter poured into a screaming hot skillet and baked at high heat. The result is a giant, theatrical pancake that offers a world of possibilities for both sweet and savory treatments. Whether you prefer a drizzle of maple syrup or a dollop of tangy rhubarb curd, the Dutch Baby promises a breakfast or brunch experience unlike any other.
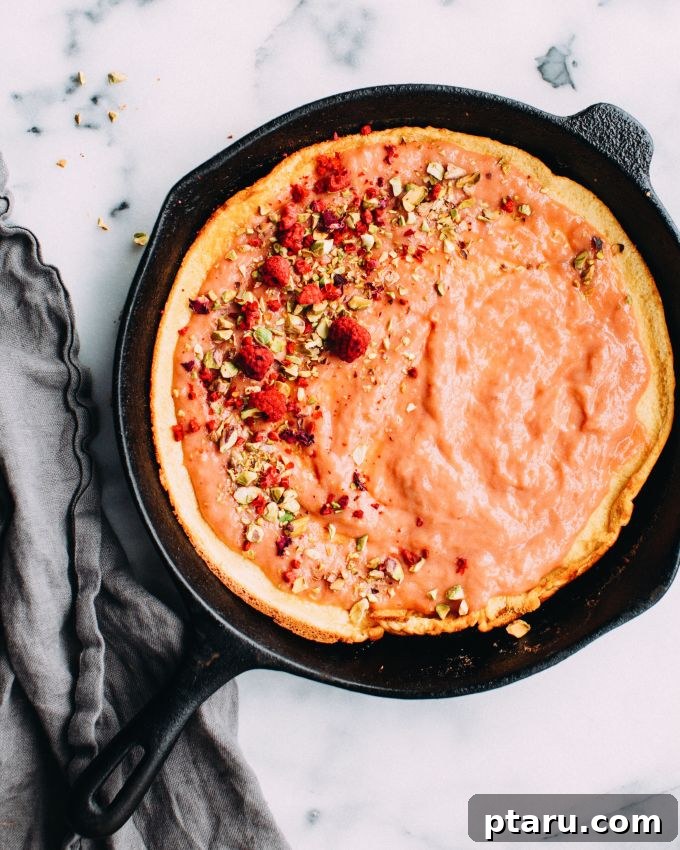
What is a Dutch Baby Pancake?
A Dutch Baby is a unique type of pancake, distinct from its griddle-cooked cousins. It’s a baked good, typically prepared in an oven-safe pan, most commonly a cast-iron skillet. What truly sets it apart is its spectacular transformation during baking: the batter, rich with eggs, milk, and flour, dramatically inflates and climbs up the sides of the pan, creating towering, golden-brown edges. The center often remains slightly custard-like, offering a delightful contrast in textures. This theatrical rise is almost a magic trick in itself!
Don’t be alarmed when your Dutch Baby gracefully deflates almost immediately upon removal from the oven; this is entirely normal and part of its charming character. Its texture strikes a beautiful balance, combining the delicate chewiness of a crepe with endearing puffy, crispy edges and a wonderfully buttery, often caramelized bottom. Its versatility is another major draw – it serves as the perfect canvas for a wide array of toppings, from fresh fruits and powdered sugar for a sweet indulgence to savory options like sautéed mushrooms, cheese, or even smoked salmon for a unique meal.
While its name suggests a connection to the Netherlands, the Dutch Baby actually originated in the United States. It’s widely considered a variation of the German Pfannkuchen, a large, thin pancake. The “Dutch” in its name is believed to be an Americanized corruption of the German word “Deutsch,” meaning German. Regardless of its fascinating etymology, this delightful creation has earned its place as a cherished breakfast and brunch staple, beloved for both its simplicity and its impressive presentation.
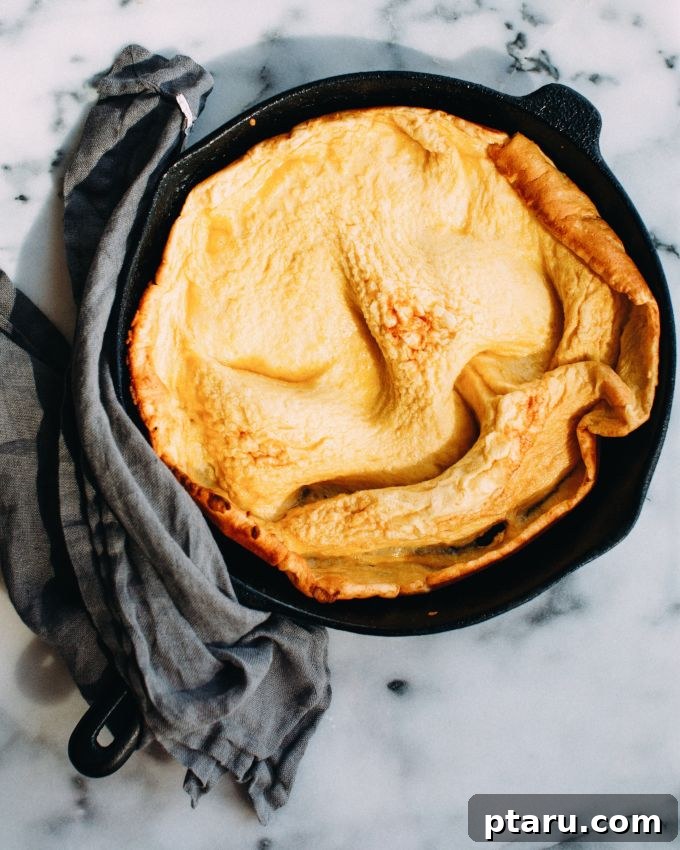
Essential Tips for Dutch Baby Perfection
Achieving that iconic, sky-high puff and perfect tender-chewy texture is simpler than you might think, but a few key steps are crucial. Paying close attention to these details will elevate your homemade Dutch Baby from simply good to absolutely spectacular, ensuring a memorable culinary experience every time.
- Bring Ingredients to Room Temperature: This is arguably the most vital tip for a successful Dutch Baby. The only leavening agent comes from the eggs, and cold eggs simply won’t whip as well or incorporate as much air, which is essential for that magnificent, dramatic puff. To quickly bring eggs to room temperature, place them in a large bowl filled with hot tap water for about 5-10 minutes. Similarly, lightly warm your milk in the microwave for approximately 20-30 seconds. Ensuring all ingredients are at a similar, warmer temperature promotes better emulsion and a smoother batter, which translates to a higher rise.
- Preheat Your Skillet Thoroughly: A screaming hot skillet is non-negotiable for the Dutch Baby’s signature puff. Placing the skillet in the oven while it preheats ensures that when the batter hits the hot surface, it immediately begins to cook and create steam. This initial “shock” is the primary driver of the pancake’s dramatic expansion. A cast-iron skillet is ideal due to its superior heat retention and distribution, but any oven-safe, heavy-bottomed pan will yield excellent results.
- Mix the Batter Just Enough: Begin by whisking the room-temperature eggs until they are frothy and slightly pale, indicating that air has been incorporated. Then, gently whisk in the warmed milk, vanilla, sugar, and salt until well combined. Finally, add the all-purpose flour and whisk only until most of the lumps disappear. It’s crucial not to overmix the batter, as this can overdevelop the gluten in the flour, resulting in a tougher pancake rather than the desired tender, crepe-like consistency. A few small lumps are perfectly fine and will bake out.
- Embrace High Heat: Dutch Babies thrive in a hot oven, typically around 425-450°F (220-230°C). This intense heat quickly cooks the batter and generates the necessary steam for the impressive rise. For the best results, resist the urge to open the oven door during baking, as a sudden drop in temperature can cause the pancake to deflate prematurely.
- Generously Butter the Hot Skillet: Once your skillet is piping hot from the oven, carefully (and quickly!) add the unsalted butter. Swirl the butter around to coat the entire bottom and sides of the pan thoroughly. This step is twofold: it adds a rich, irresistible flavor to the pancake and helps achieve those beautifully golden-brown, crispy edges while preventing the pancake from sticking.
- Serve Immediately for Optimal Texture: The moment a Dutch Baby emerges from the oven, it begins its characteristic graceful descent. While the deflation is a normal and expected part of the process, the optimal time to savor its light, airy texture and warm, buttery goodness is right away. Have your chosen toppings prepared and ready to go so you can enjoy your masterpiece at its peak perfection.
The Joy of Cooking with Family: Creating Memories and Skills
One of the true pleasures of making a Dutch Baby is its straightforward process and simple ingredient list, which makes it an ideal recipe for involving little helpers in the kitchen. Just this morning, my almost-3-year-old proudly took on the role of sous chef, practically making the entire dish himself. The sheer delight in his eyes, and the infectious squeals of joy as he watched the pancake rise like magic in the oven, were absolutely priceless. It’s a truly fun and easy recipe to make with kids, creating not just a meal but a memorable, interactive experience that fosters a love for cooking from an early age.
This heartwarming experience naturally leads me to a topic I’m incredibly passionate about: the profound, far-reaching benefits of family meals and cooking together. Beyond the simple act of eating, sharing meals as a family fosters stronger bonds, enhances communication, and contributes significantly to children’s overall well-being. Research consistently demonstrates that kids who regularly eat meals with their families tend to enjoy numerous advantages throughout their development, including:
- Lower Obesity Rates: Children who share family meals often consume more fruits, vegetables, and whole grains, and fewer unhealthy processed foods, contributing to healthier eating habits and weight management.
- Reduced Incidence of Eating Disorders: A positive mealtime environment can promote a healthier relationship with food and body image, offering a protective factor against disordered eating.
- Decreased Risk of Teenage Pregnancy and Substance Abuse: A strong family connection, nurtured at the dinner table, acts as a powerful protective factor against engaging in risky behaviors during adolescence.
- Higher GPAs and Better Vocabularies: The dinner table provides a natural, low-pressure environment for conversation, storytelling, and learning, which can significantly boost academic performance and language skills.
- Enhanced Self-Esteem and Resilience: Knowing they are valued, connected, and heard within the family unit helps children develop stronger self-esteem and better coping mechanisms for life’s challenges.
Furthermore, actively cooking together instills invaluable life skills that extend far beyond the kitchen. Teaching your children how to plan, prepare, and enjoy healthy, delicious meals empowers them to feed themselves well throughout their lives, fostering independence, creativity, and a positive, mindful relationship with food. These are the foundational elements for a healthy, happy, and self-sufficient future.
Speaking of getting kids excited about cooking, I’m thrilled to be a volunteer judge for an inspiring kids’ cooking video contest called Hands On Cook Off, which opens this Wednesday, April 20th. This fantastic contest is open to residents of British Columbia and Manitoba, Canada, and its sole purpose is to encourage kids (and their families!) to get excited about cooking and eating together. The grand prize is a generous $1,000, which would certainly be a wonderful and practical addition to any family’s summer vacation fund! If you reside in one of these provinces, I would be absolutely thrilled if you entered with your munchkins or simply helped spread the word about this incredible initiative. Let’s inspire the next generation of enthusiastic home cooks and foster healthier, happier families!
Rhubarb Dutch Baby Recipe
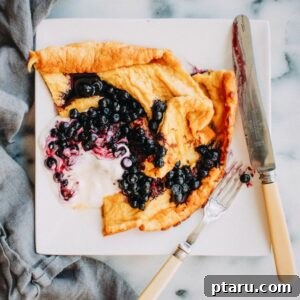
Rhubarb Dutch Baby
Jennifer Pallian BSc, RD
10 minutes
10 minutes
20 minutes
2
Ingredients
- 3 large eggs (at room temperature)
- ¾ cup milk (at room temperature, lightly warmed)
- ½ tsp pure vanilla extract
- 1 tbsp granulated sugar
- ¼ tsp kosher salt
- ¾ cup all-purpose flour
- 2 tbsp unsalted butter (if using salted butter, reduce kosher salt by half)
- Rhubarb curd or blueberries and Greek yogurt and/or maple syrup (to serve)
Instructions
-
Prepare Oven and Skillet: Preheat your oven to a high temperature of 425ºF (220°C). As the oven preheats, place a 10-inch oven-proof skillet (a cast-iron skillet works best for even heat) inside. Allowing the skillet to get screaming hot is absolutely crucial for the Dutch Baby’s characteristic puff.
-
Make the Batter: In a large mixing bowl, whisk the room-temperature eggs vigorously until they are frothy and slightly pale in color. This step incorporates essential air into the batter, aiding in the pancake’s rise. Next, whisk in the warmed milk, pure vanilla extract, granulated sugar, and kosher salt until all ingredients are well combined. Finally, add the all-purpose flour to the wet mixture and whisk gently, just until most of the lumps are gone. Be careful not to overmix, as this can lead to a tough pancake. A few small lumps are perfectly acceptable.
-
Bake the Dutch Baby: Carefully (and quickly!) using oven mitts, remove the screaming hot skillet from the oven. Add the unsalted butter to the hot pan and swirl it around quickly to ensure the entire bottom and sides of the pan are thoroughly coated. Immediately pour the prepared batter into the center of the buttered skillet. With oven mitts still on, transfer the skillet back into the preheated oven. Bake for 9-12 minutes, or until the Dutch Baby is dramatically puffed up around the edges and beautifully golden brown.
-
Serve: As soon as the Dutch Baby is baked to perfection, remove it from the oven and serve immediately to enjoy its best texture. Top generously with creamy, tart rhubarb curd for a seasonal treat, or opt for classic toppings like fresh blueberries, a dollop of Greek yogurt, and a generous drizzle of maple syrup. Enjoy this unique and delicious pancake while it’s warm and fresh!
We’d love to hear your thoughts! Share your experience with this recipe in the comments below.