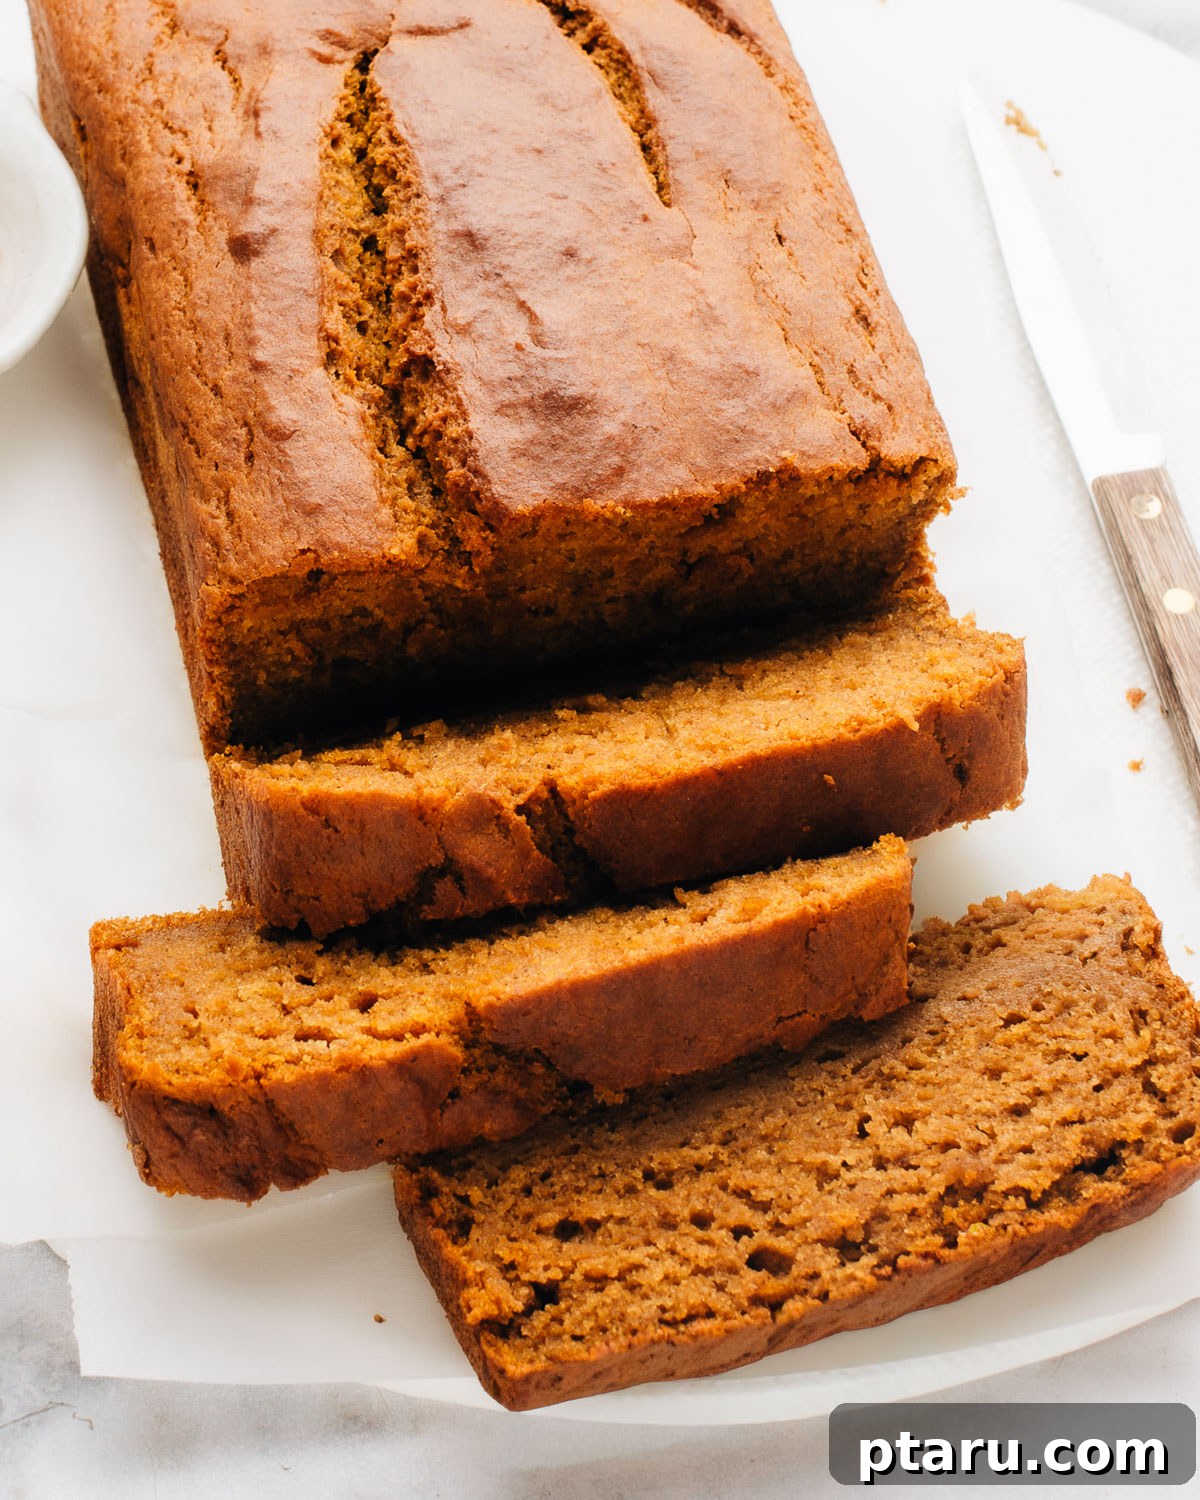
Welcome to your new favorite fall tradition! This easy-to-follow recipe for Pumpkin Banana Bread promises a truly exceptional loaf that remains incredibly moist and flavorful for days. Say goodbye to dry, crumbly quick breads and prepare to transform those ripe bananas and a simple can of pumpkin puree into a bakery-style masterpiece. With minimal prep time, a wonderfully soft crumb, and an explosion of warm, inviting flavors, this is the pumpkin banana bread recipe you’ll cherish all season long.
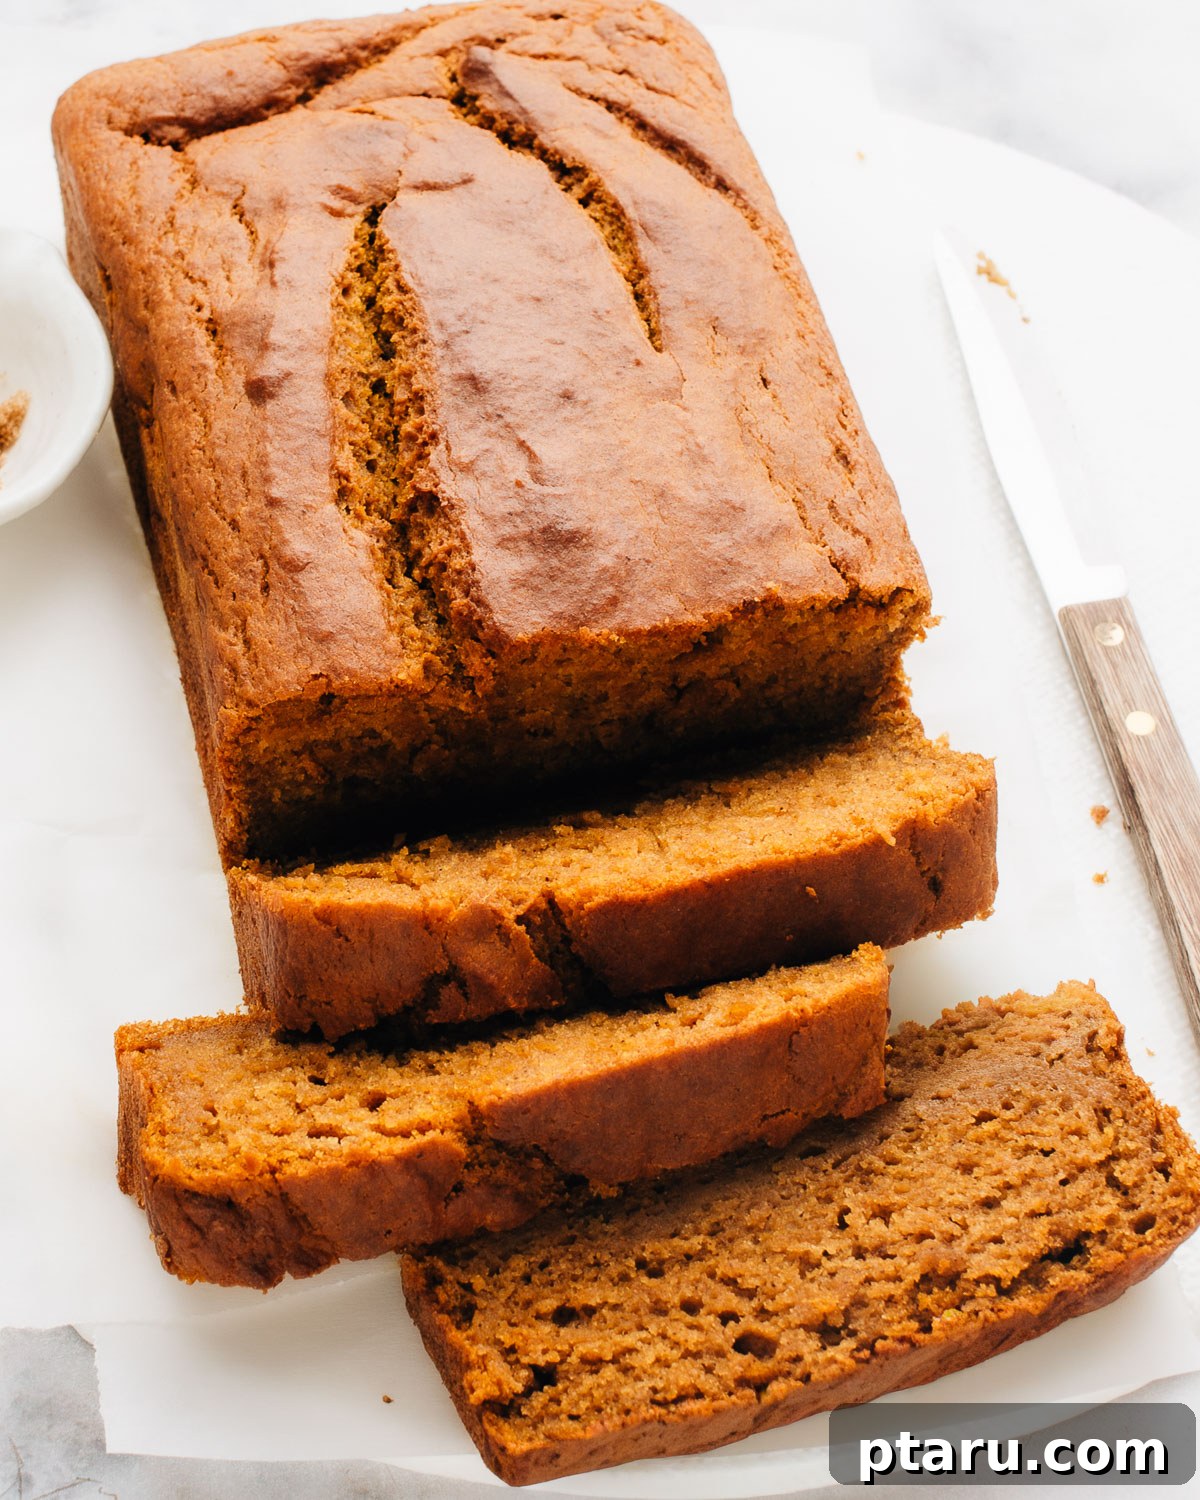
The harmonious combination of pumpkin and banana creates a unique depth of flavor and an unparalleled texture. Pumpkin adds earthy notes and a subtle sweetness, while ripe bananas contribute natural sugars and a velvety richness that makes every bite irresistibly tender. This quick bread isn’t just a seasonal delight; it’s a versatile treat perfect for breakfast, a comforting snack, or a delightful dessert. Follow our expert tips to ensure your loaf turns out perfectly every time, from selecting the right ingredients to mastering the baking process.
Essential Ingredients for Perfect Pumpkin Banana Bread
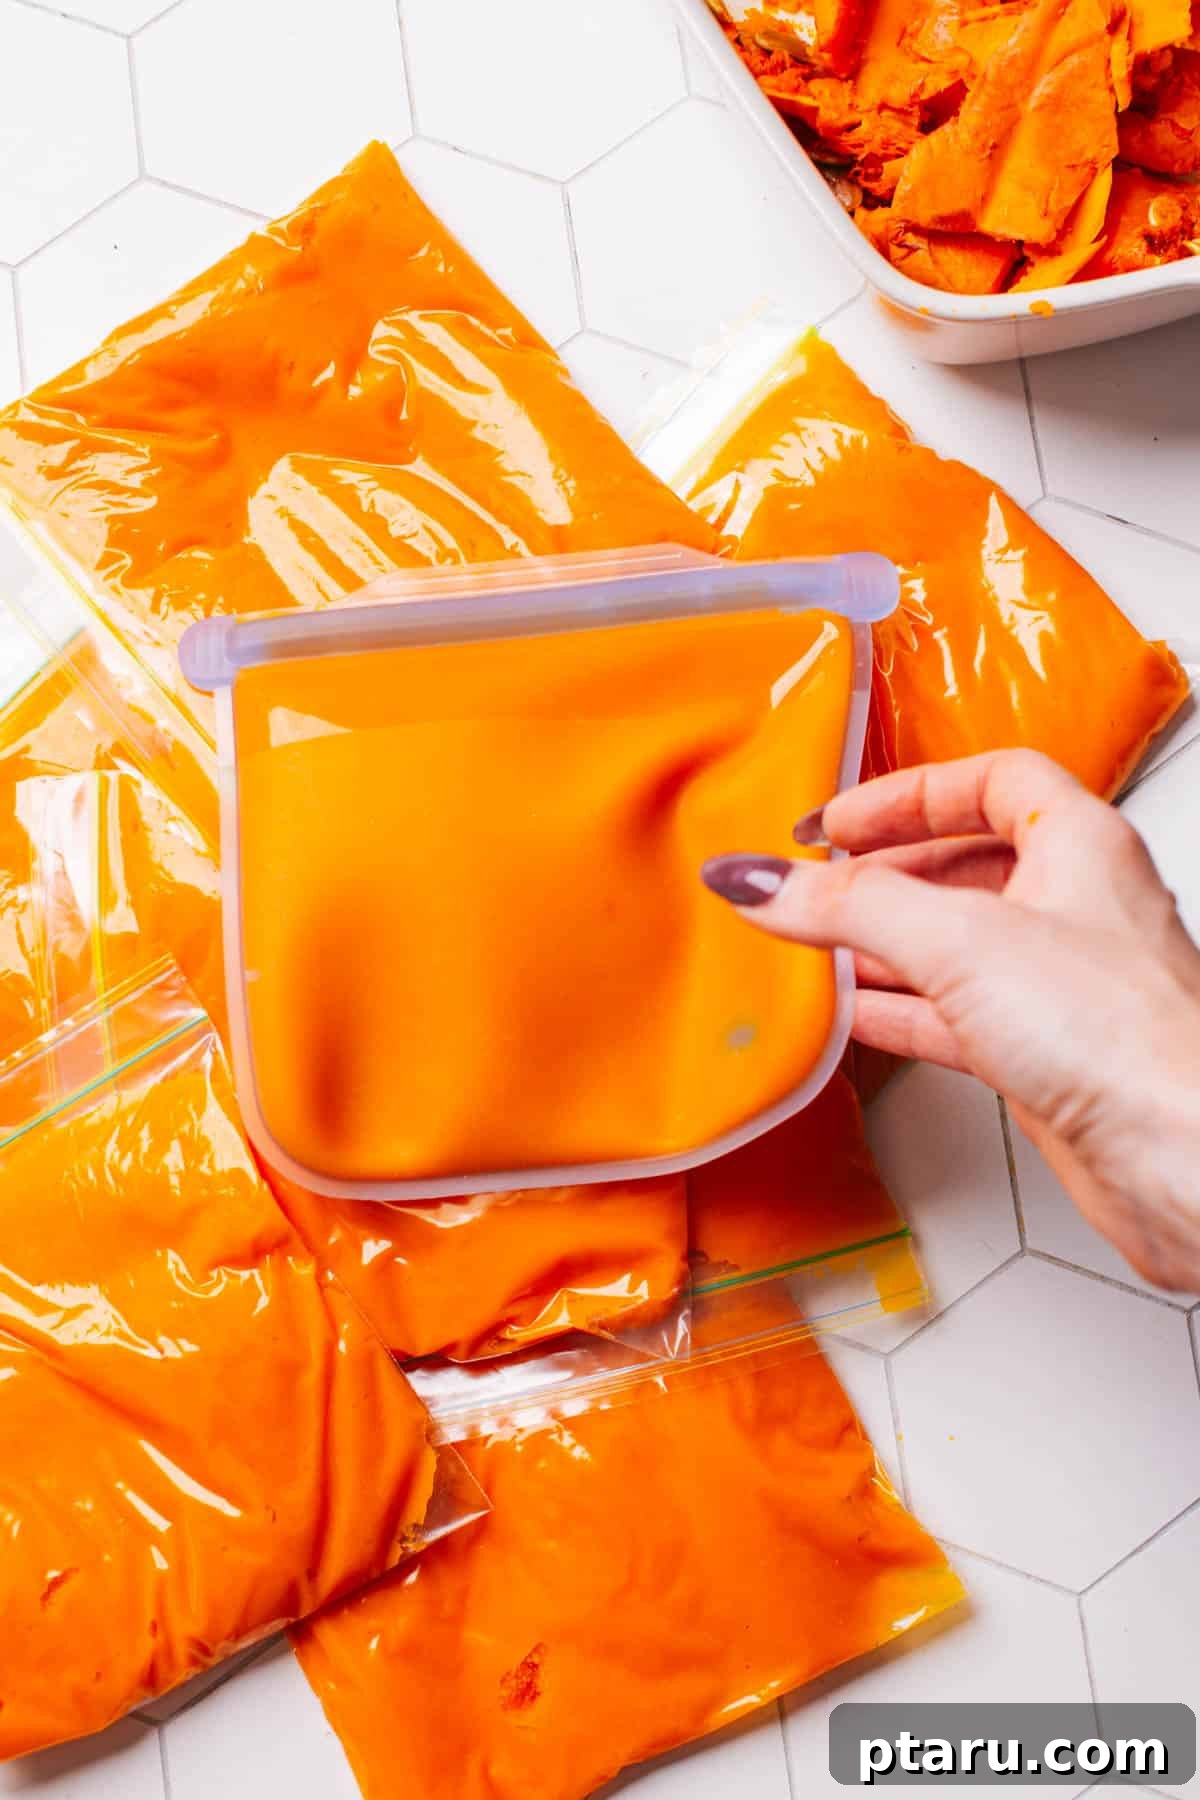
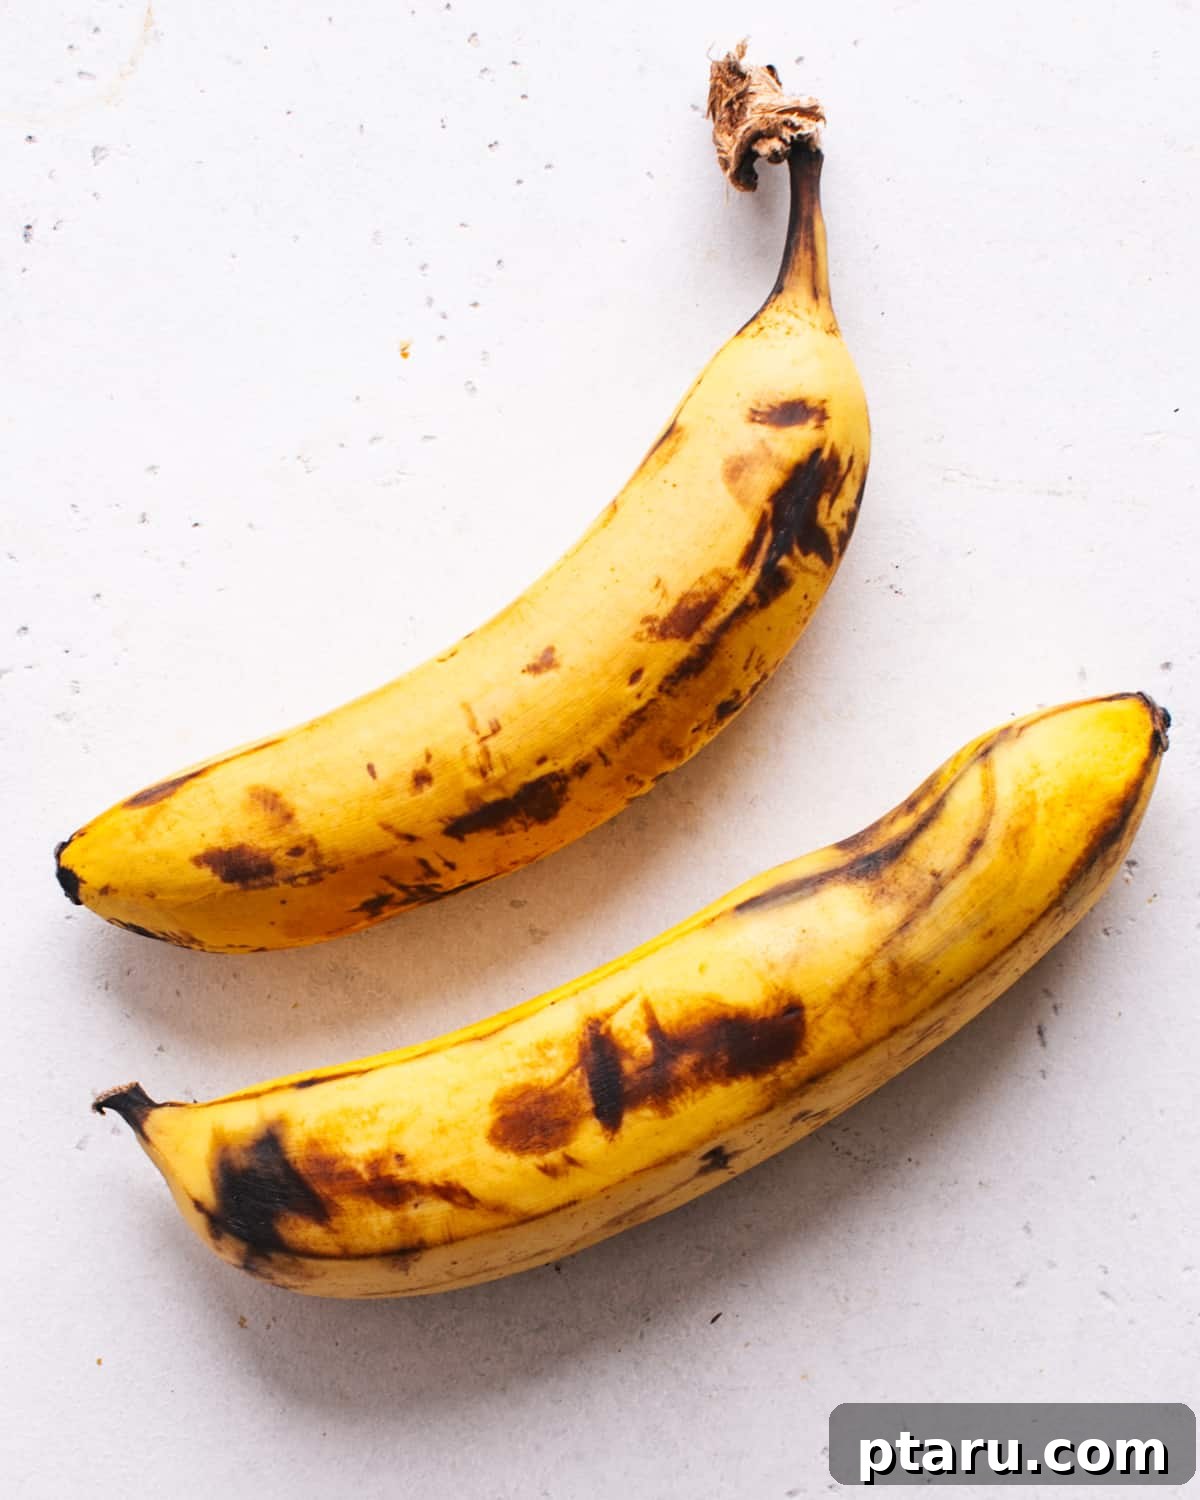
Crafting this incredibly soft and moist pumpkin banana bread begins with selecting quality ingredients. Each component plays a vital role in achieving that perfect texture and unforgettable flavor profile. Here’s a detailed look at what you’ll need:
- Pumpkin Puree: The star of the show! This recipe is thoughtfully designed to use a full 15-ounce can of pumpkin puree, making it super convenient. Ensure you use plain pumpkin puree, not pumpkin pie filling, which contains added spices and sugar. Pumpkin provides essential moisture and that classic autumnal flavor.
- Ripe Bananas: The secret to naturally sweet and incredibly moist quick bread. Look for bananas with plenty of brown spots – these are packed with sweetness and easily mashable.
- Avoid using fully black bananas, as their high water content can lead to a slightly gummy layer at the bottom of your loaf.
- If using frozen bananas, thaw them completely and discard any excess liquid that accumulates during thawing. This prevents adding too much moisture to your batter.
- Milk: Any milk will do – whole milk, skim milk, or even a non-dairy alternative like almond or oat milk. It helps bind the ingredients and contributes to the bread’s tender crumb.
- Vegetable Oil: A neutral oil like vegetable or canola oil keeps the bread exceptionally moist and tender. Unlike butter, oil remains liquid at room temperature, ensuring a soft texture even after cooling. You can also use melted coconut oil for a subtle tropical hint.
- Eggs: Large eggs act as a binder, provide structure, and add richness. If you need a substitute, explore our recommended egg substitutes for baking for suitable alternatives.
- Pure Vanilla Extract: A touch of vanilla enhances all the other flavors, adding a comforting aroma and taste. Don’t skip this!
- All-Purpose Flour: The foundation of our bread. For best results, measure your flour by spooning it into a measuring cup and then leveling it off, rather than scooping directly from the bag. This prevents over-packing, which can lead to a dense loaf.
- Sugar (Granulated and Brown): A blend of both sugars offers balanced sweetness and depth. Granulated sugar provides structure, while brown sugar adds moisture and a subtle molasses flavor that complements the pumpkin and spices perfectly.
- Warm Spices: A carefully selected blend of cinnamon, ginger, and cloves brings out the best in the pumpkin. Cinnamon offers warmth, ginger adds a gentle zing, and cloves contribute a rich, aromatic depth. These spices are key to that unmistakable fall flavor.
- Baking Powder: Our primary leavening agent, ensuring your bread rises beautifully and achieves a light, airy texture. Ensure your baking powder is fresh for optimal results.
- Salt: A pinch of salt balances the sweetness and enhances all the other flavors, making the bread taste more complex and delicious.
The full, precise quantities for each ingredient are provided in the recipe card at the conclusion of this comprehensive guide.
Delicious Variations and Smart Substitutions
This pumpkin banana bread recipe is incredibly adaptable, allowing you to customize it to your liking or accommodate dietary needs. Feel free to experiment with these exciting variations and substitutions:
- Chocolate Chip Delight: For an extra layer of indulgence, fold in 1 to 1½ cups of chocolate chips or chunks into the batter during the final mixing stage. Dark, milk, or even white chocolate chips all pair beautifully with the pumpkin and banana flavors. This variation makes for an irresistible sweet snack or dessert.
- Simplified Spices: If you prefer a shortcut, you can replace the individual spices (cinnamon, ginger, cloves) with 1½ tablespoons of pre-mixed pumpkin pie spice. For those who enjoy a more pronounced pumpkin spice profile, consider adding an additional ½ teaspoon of ground nutmeg, a classic companion to pumpkin, to your mixture. Explore more pumpkin recipes for inspiration!
- Crunchy Nuts or Seeds: Elevate the texture by sprinkling a generous handful of chopped walnuts, pecans, or pepita seeds (shelled pumpkin seeds) over the tops of the loaves before baking. These additions provide a delightful crunch and nutty flavor. If the nuts or seeds start to brown too quickly during baking, simply tent the loaves loosely with aluminum foil for the remaining bake time.
- Gluten-Free Swap: To make this recipe gluten-free, substitute the all-purpose flour with a 1:1 gluten-free baking blend. Many excellent blends are available that contain xanthan gum, which helps with structure. After mixing the batter with gluten-free flour, allow it to rest for about 10 minutes before baking. This resting period allows the flour to fully hydrate, resulting in a better texture.
Craving more comforting bakes perfect for the autumn season? Be sure to try my equally delicious moist pumpkin muffins, the delightful pumpkin zucchini muffins, and my wonderfully soft pumpkin cookies (no butter) recipes, too!
Essential Tools for Baking Success
Having the right tools can make all the difference in ensuring a smooth baking experience and a perfect loaf of pumpkin banana bread. Here’s a list of recommended equipment that will set you up for success:
- Two 8×4-inch Loaf Pans: This recipe yields two standard loaves, perfect for sharing or freezing one for later. Alternatively, you can use one 9×5-inch loaf pan and bake any extra batter in a few muffin cups. This recipe is also easily adapted into delicious pumpkin banana muffins.
- Parchment Paper: A true baking game-changer! Lining your loaf pans with parchment paper, leaving an overhang on the sides, ensures that your loaves lift out cleanly and effortlessly once baked, preventing sticking and making cleanup a breeze.
- Two Large Mixing Bowls: Essential for keeping your wet and dry ingredients separate during the initial mixing stages. This allows for proper aeration and ensures all ingredients are thoroughly combined before bringing them together.
- Whisk and Spatula: A whisk is perfect for blending wet ingredients until smooth and aerating dry ingredients. A sturdy rubber spatula is ideal for gently folding the wet and dry mixtures together, ensuring you don’t overmix the batter.
- Kitchen Scale (Optional but Recommended): For ultimate accuracy, especially when measuring flour. Weighing ingredients ensures consistent results every time and is a professional baker’s secret to perfection.
- Instant-Read Thermometer (Optional but Highly Recommended): Takes the guesswork out of determining doneness. Aim for an internal temperature of 200°F (93°C) for a perfectly baked loaf.
- Wire Cooling Rack: Crucial for preventing soggy bottoms! After a short time in the pan, transfer the loaves to a wire rack to cool completely. This allows air to circulate around the bread, ensuring an even cool and preventing condensation that can make the bottom crust soft.
How to Make the BEST Moist Pumpkin Banana Bread
Making this exceptional pumpkin banana bread is surprisingly simple, even for novice bakers. The key is to follow a few straightforward steps: thoroughly mix your wet ingredients, separately combine your dry ingredients, then gently bring them together. Bake until the center reaches the ideal temperature, and you’ll be rewarded with a perfect loaf every time. The batter is thick, forgiving, and incredibly easy to work with.
1. Prepare the Pans and Preheat the Oven
Begin by preheating your oven to 350°F (175°C). This ensures the oven is at a consistent temperature when the bread goes in, promoting an even bake. Grease two 8×4-inch loaf pans thoroughly, then line them with parchment paper. Leave a generous overhang on the longer sides of the pans. This parchment sling will act as handles, allowing you to lift the baked loaves out cleanly and easily, ensuring neat slices and presentation.
2. Whisk Together the Wet Ingredients
In a large mixing bowl, combine the pumpkin puree, thoroughly mashed ripe bananas, milk, vegetable oil, brown sugar, eggs, and pure vanilla extract. Whisk these ingredients vigorously until the mixture is smooth and well-combined. There’s no need to worry about lumps from the banana at this stage; a smooth consistency here ensures an even crumb throughout your finished loaf. This step fully incorporates all the liquid elements and sugars.
3. Whisk Together the Dry Ingredients
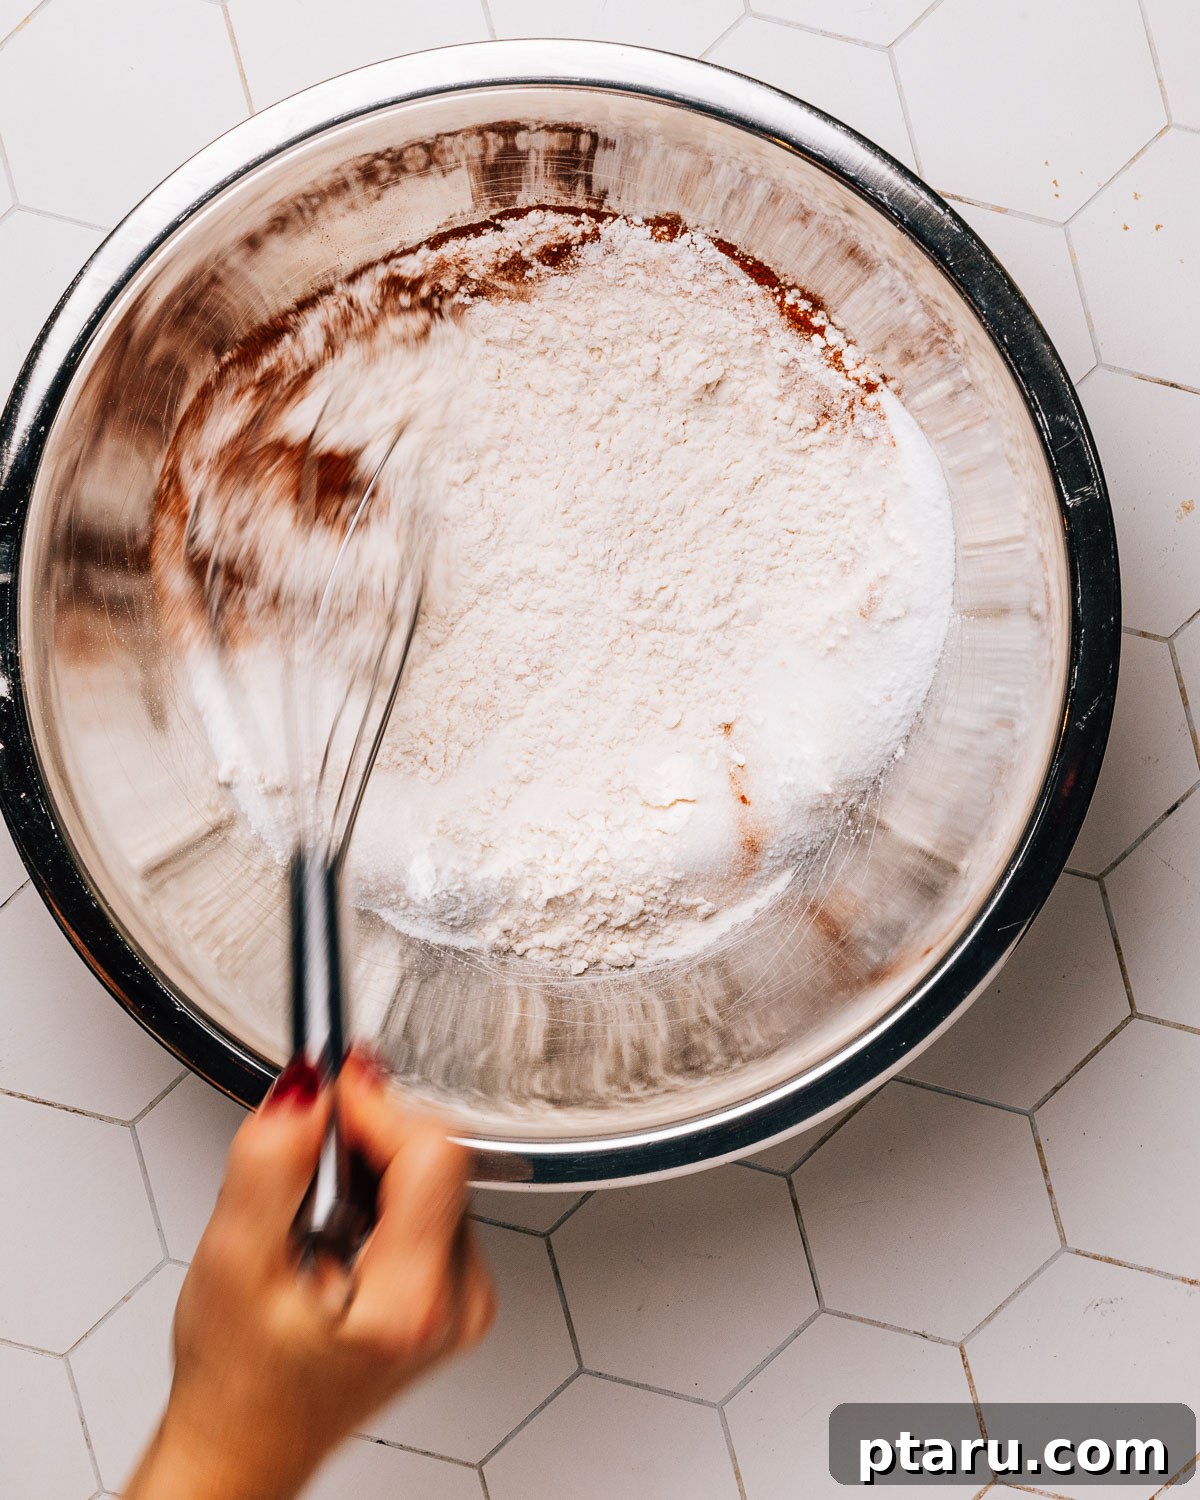
In a separate, equally large bowl, combine your dry ingredients: all-purpose flour, granulated sugar, the selected spices (cinnamon, ginger, cloves), baking powder, and salt. Use a whisk to thoroughly combine these ingredients. This step is crucial for distributing the leavening agents (baking powder) and spices evenly throughout the flour, which will ensure a uniform rise and consistent flavor in every slice of bread.
4. Combine Without Overmixing
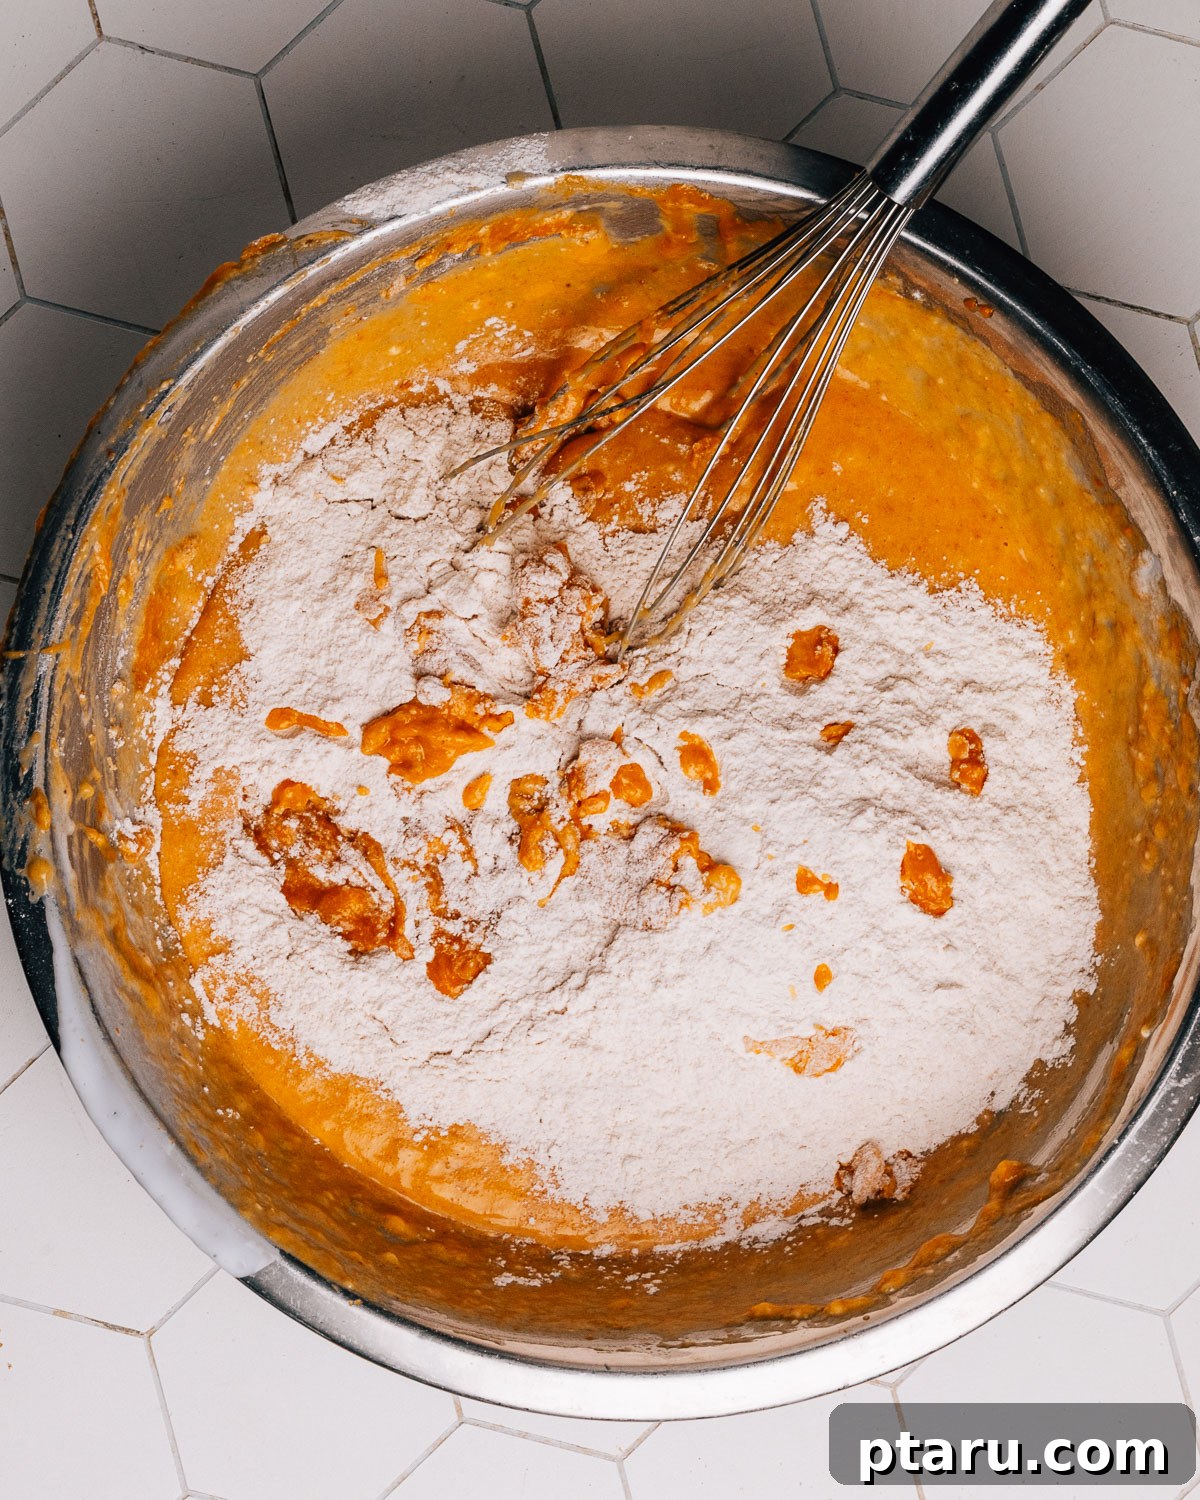
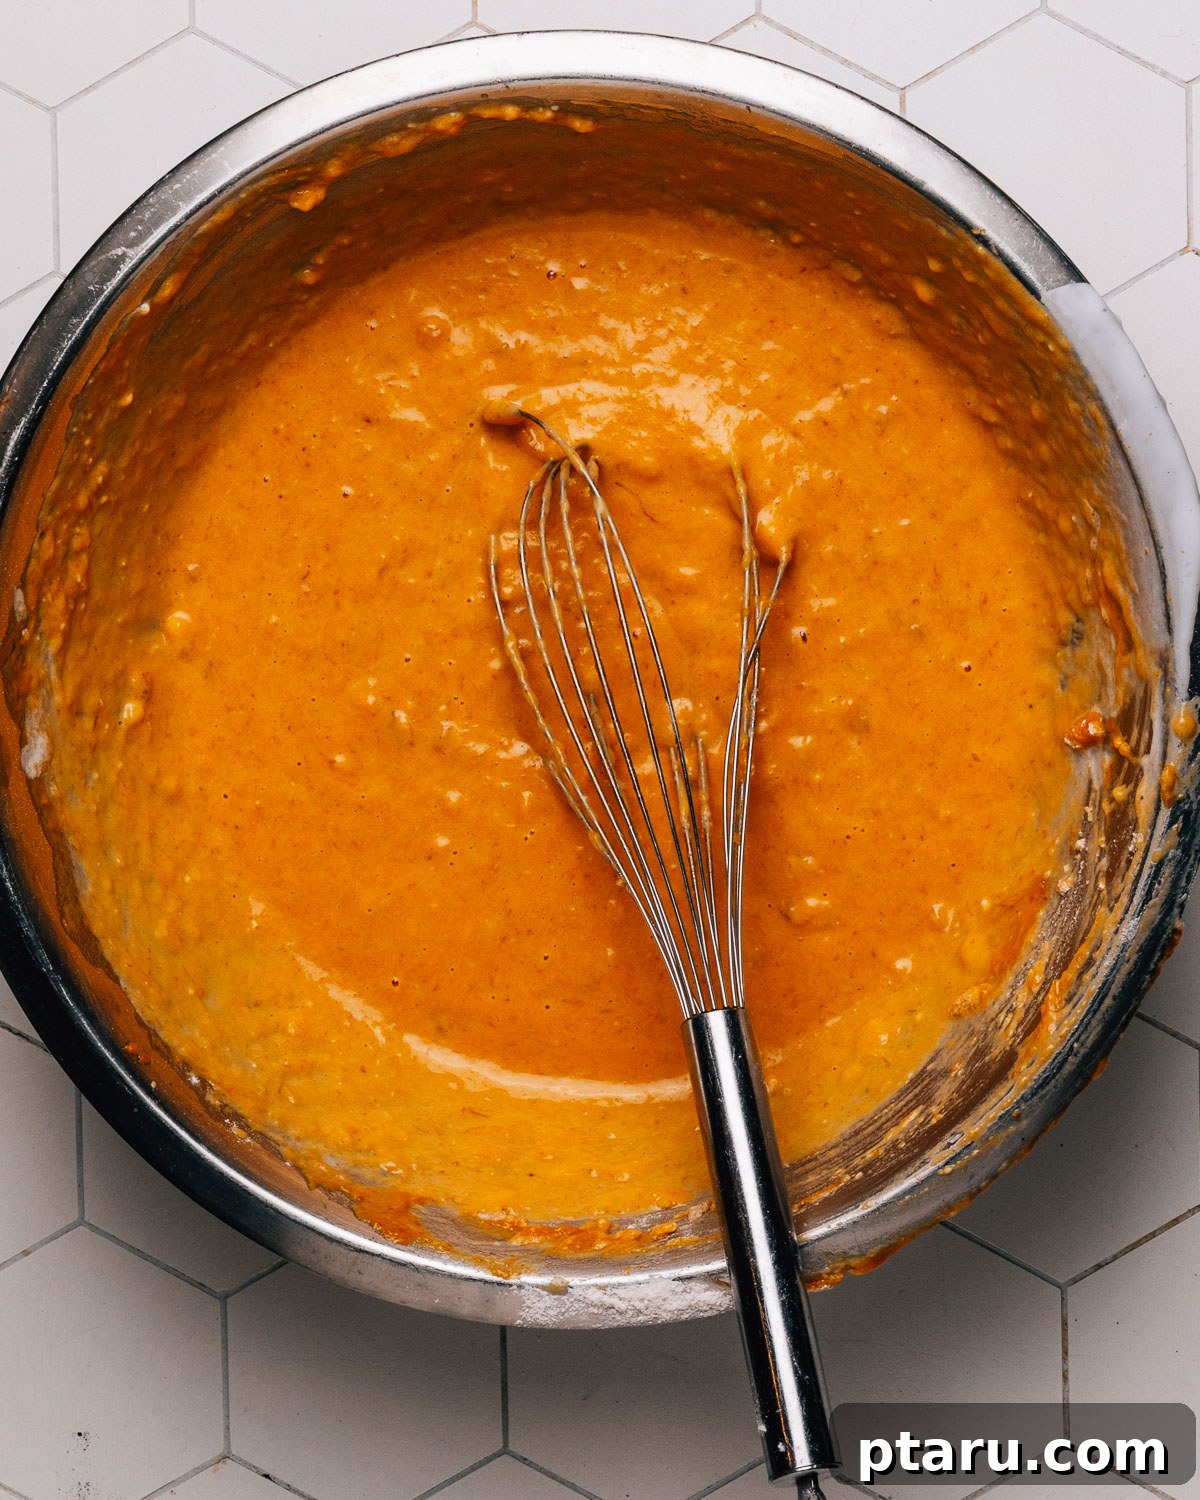
Create a well (a small indentation) in the center of your dry ingredient mixture. Pour the wet ingredients into this well. Using a rubber spatula, gently fold the wet and dry ingredients together. Stir just until a few streaks of flour are still visible. It’s perfectly fine, and even desirable, for the batter to appear thick and slightly lumpy. Overmixing will develop the gluten in the flour too much, resulting in a tough, dense, and less moist loaf. Stop mixing as soon as the ingredients are mostly combined.
5. Fill Pans, Bake, and Check for Doneness
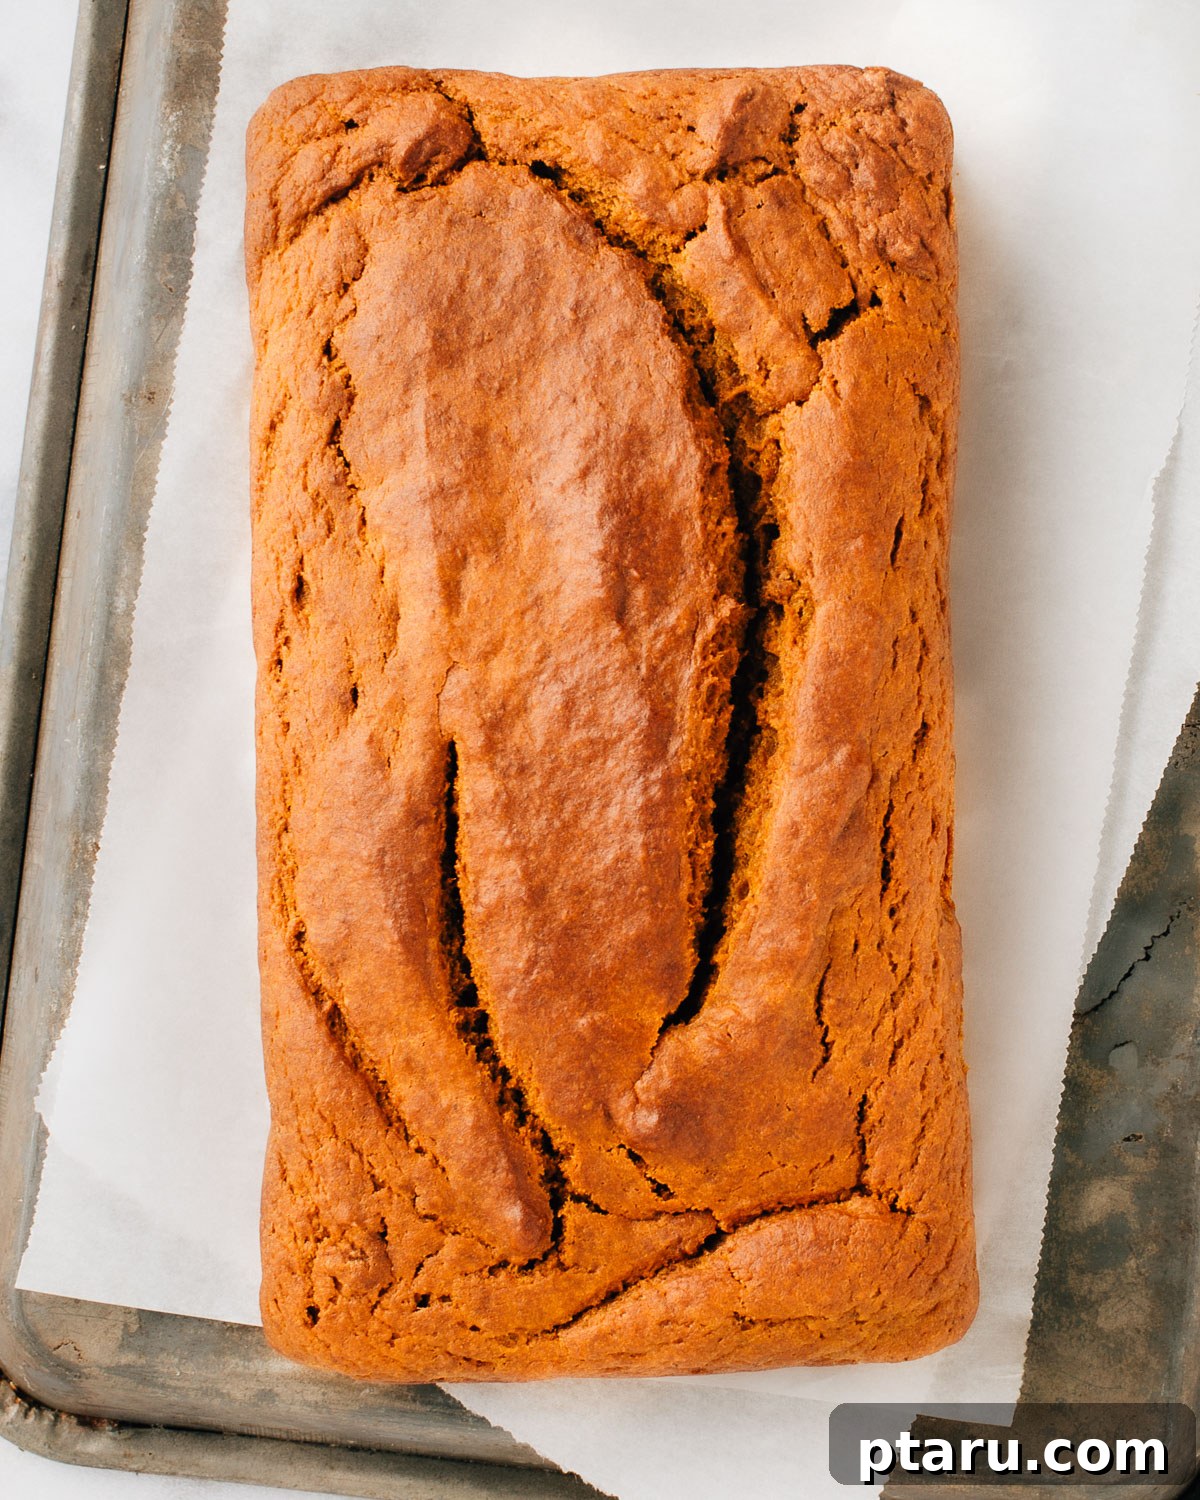
Evenly divide the thick batter between your two prepared loaf pans. Gently smooth the tops with your spatula. Place the pans in the preheated oven and bake for approximately 60-70 minutes. Begin checking for doneness around the 45-minute mark, as oven temperatures can vary. The loaves are perfectly done when an instant-read thermometer inserted into the center of the bread reads 200°F (93°C), or when a wooden skewer or toothpick inserted into the center comes out with just a few moist crumbs attached, but no wet batter.
6. Protect and Cool for Optimal Texture
If you notice the tops of your loaves are browning too quickly during the last 10-15 minutes of baking, loosely tent each pan with a piece of aluminum foil. This prevents the crust from becoming overly dark while allowing the interior to finish baking. Once baked, remove the loaves from the oven and let them cool in their pans for about 10 minutes. This allows them to set and firm up before handling. After 10 minutes, use the parchment paper overhangs to gently lift the loaves out of the pans and transfer them to a wire cooling rack to cool completely. Cooling on a wire rack ensures air circulation, preventing the bottoms from becoming steamed and soggy.
4 Common Mistakes to Avoid When Baking Pumpkin Banana Bread
Even the simplest recipes can sometimes lead to unexpected results. To ensure your pumpkin banana bread turns out perfectly moist and flavorful every time, be mindful of these frequent mix-ups that can occur with pumpkin bread and other quick bread recipes:
- Overmixing the Batter: This is perhaps the most common culprit behind a tough, dense loaf. When you overmix flour and liquid, you develop the gluten in the flour excessively. Gluten provides structure, but too much makes the bread chewy and less tender. The goal is to mix just until the wet and dry ingredients are combined and a few streaks of flour remain. Resist the urge to keep stirring until perfectly smooth.
- Underbaking the Loaf: No one wants a raw or gummy center. Underbaking can lead to a bread that collapses in the middle or has an unpleasantly moist, uncooked texture. To eliminate guesswork, always aim for an internal temperature of 200°F (93°C) when checked with an instant-read thermometer. Alternatively, a toothpick inserted into the center should come out with moist crumbs, not wet batter. If the top is browning too quickly, tent with foil.
- Using the Wrong Pan Size: The size of your loaf pan significantly impacts baking time and the final shape of your bread. If you use a pan that is too large, the batter will spread thinner, resulting in a flatter loaf that bakes faster and might dry out. Conversely, a pan that is too small might cause the batter to overflow or remain underbaked in the center. Stick to the recommended 8×4-inch pans (or a 9×5-inch for a single loaf with extra muffins) for the best results. If you must use a different size, adjust baking time accordingly and monitor closely.
- Incorrectly Measuring Flour (Packed Flour): Flour is often mistakenly measured by scooping it directly from the bag with a measuring cup. This compacts the flour, meaning you end up with significantly more flour than the recipe calls for, leading to a dry and dense bread. Always measure flour by “spooning and leveling.” Spoon the flour into your measuring cup until it overflows, then level off the excess with the back of a knife. For truly perfect accuracy, use a kitchen scale and measure by weight (often an option in digital recipe cards, indicated by a “Metric” button).
Make Ahead and Storage Tips for Pumpkin Banana Bread
One of the many joys of this pumpkin banana bread is how beautifully it keeps. You can bake a batch (or two!) and enjoy its delightful flavors for days, or even months, with proper storage. This makes it an excellent option for meal prepping snacks or having a delicious treat on hand whenever a craving strikes.
Storing Leftover Loaves
- Room Temperature: For optimal freshness, wrap your cooled pumpkin banana bread tightly in plastic wrap, then again in aluminum foil, or place it in an airtight container. Stored this way, it will remain wonderfully moist and delicious at room temperature for up to 3 days.
- Slice Smart: To prevent the bread from drying out too quickly, avoid pre-slicing the entire loaf. Instead, slice off individual portions as you intend to eat them. This keeps the exposed surface area to a minimum, preserving moisture.
- Avoid the Refrigerator: While it might seem counterintuitive, refrigerating quick breads like this can actually cause them to stale faster due to a process called retrogradation. The starch molecules crystalize more rapidly in cool temperatures, leading to a dry, crumbly texture. Stick to room temperature or the freezer for best results.
Freezing for Long-Term Enjoyment
This pumpkin banana bread freezes exceptionally well, making it perfect for preparing ahead or saving for a busy day. Enjoy freshly baked goodness whenever you desire!
- Whole Loaves: Once completely cooled, wrap each loaf tightly first in plastic wrap, ensuring no air gaps, then in a layer of heavy-duty aluminum foil. Alternatively, place the double-wrapped loaf into a freezer-safe zip-top bag or container. Label with the date. It will stay fresh in the freezer for up to 3 months.
- Individual Slices: For grab-and-go convenience, pre-slice the cooled bread. Place a small piece of parchment paper between each slice to prevent them from sticking together. Stack the slices and wrap them tightly in plastic wrap, then foil, or store them in a freezer-safe container. This allows you to thaw just a single slice at a time.
- Thawing: To enjoy, simply remove the wrapped loaf or individual slices from the freezer and let them thaw at room temperature until soft. This typically takes a few hours for a whole loaf or about 30-60 minutes for individual slices. You can also gently warm thawed slices in the microwave or a toaster oven for that “just baked” taste.
How to Serve This Irresistible Pumpkin Banana Bread
This pumpkin banana bread is utterly delicious on its own, but a few thoughtful additions can transform it into an even more memorable experience. I personally adore any pumpkin or banana bread recipe served warm, perhaps with a generous smear of butter and paired with a cozy chai coffee or a soothing chai tea. Here are some more delectable ideas to elevate your serving:
- Maple Butter: Soften some unsalted butter and whip in a drizzle of pure maple syrup. This sweet, slightly earthy butter is a dream spread on warm slices of bread.
- Cream Cheese Frosting: For a truly decadent treat, spread a generous layer of classic cream cheese frosting or a drizzle of this quick and easy 5-minute fluffy vanilla frosting over your pumpkin banana bread. This instantly turns it into something akin to a sophisticated pumpkin spice cake, perfect for dessert or a special brunch.
- Cinnamon Sugar Dusting: A simple yet effective way to add extra sweetness and spice. Dust warm slices with a mixture of granulated sugar and ground cinnamon for a classic, comforting touch.
- Toasted Pepitas for Crunch: For a lovely textural contrast and a hint of nutty flavor, sprinkle toasted pepita seeds (shelled pumpkin seeds) over your slices. Their vibrant green color also adds visual appeal.
- Scoop of Ice Cream: When served warm, a scoop of vanilla bean ice cream melting over a slice of pumpkin banana bread makes an incredible dessert.
- Whipped Cream: A dollop of freshly whipped cream can lighten the richness and add a creamy texture.
- Fruit Compote: A spoonful of homemade apple compote or berry sauce can add a fresh, fruity element that complements the bread’s flavors beautifully.
Other Fall Recipes You’ll Love
If you’ve fallen in love with the comforting flavors of this pumpkin banana bread, you’re sure to enjoy these other delightful fall-inspired recipes from our collection:
- Soft and Chewy Pumpkin Chocolate Chip Cookies
- The Best Ever Moist Banana Bread Recipe
- Delightful Pumpkin Zucchini Bread
- Irresistibly Soft Apple Cinnamon Muffins
- Homemade Fluffy Pumpkin Dinner Rolls
Pumpkin Banana Bread (Soft & Moist!)
By: Jennifer Pallian BSc, RD
Pumpkin Banana Bread that stays moist for days. Turn ripe bananas and canned pumpkin into the best bakery-style loaf with quick prep, soft crumb, and big flavor.
Prep Time: 10 minutes | Cook Time: 60-70 minutes | Servings: 2 loaves
Ingredients
- 1 15-oz can pumpkin puree (1 ¾ cups)
- 2 cups mashed banana (from about 4 ripe, spotty bananas)
- ½ cup milk (dairy or non-dairy)
- ¾ cup vegetable oil
- ⅓ cup packed brown sugar
- 2 large eggs
- 2 tsp pure vanilla extract
- 3 ½ cups all-purpose flour
- 1 cup granulated sugar
- 4 tsp baking powder
- 1 ½ tbsp ground cinnamon
- 2 tsp ground ginger
- ¼ tsp ground cloves
- 1 tsp kosher salt
Instructions
- Prepare Oven and Pans: Preheat oven to 350°F (175°C). Grease two 8×4-inch loaf pans and line them with parchment paper, leaving generous overhangs on the sides for easy lifting.
- Mix Wet Ingredients: In a large bowl, whisk together the pumpkin puree, mashed bananas, milk, vegetable oil, brown sugar, eggs, and vanilla extract until the mixture is smooth and well combined.
- Mix Dry Ingredients: In a separate large bowl, whisk together the all-purpose flour, granulated sugar, baking powder, ground cinnamon, ground ginger, ground cloves, and kosher salt. Ensure all dry ingredients are thoroughly mixed to distribute leavening and spices evenly.
- Combine Batter Gently: Create a well in the center of the dry ingredients. Pour the wet mixture into the well. Using a rubber spatula, gently fold the wet and dry ingredients together until just combined. Stop mixing as soon as a few streaks of flour remain to avoid overmixing. The batter will be thick and slightly lumpy.
- Fill Pans and Bake: Divide the batter evenly between the two prepared loaf pans. Smooth the tops with a spatula. Bake for approximately 60-70 minutes. Begin checking for doneness at 45 minutes. The loaves are done when an instant-read thermometer inserted into the center reads 200°F (93°C), or when a wooden skewer comes out with just a few moist crumbs attached.
- Cool and Serve: If the tops brown too quickly, loosely tent the loaves with aluminum foil for the last 10-15 minutes of baking. Once baked, remove from the oven and let cool in the pans for 10 minutes. Then, use the parchment overhangs to lift the loaves onto a wire rack to cool completely before slicing and serving.
Notes
- Best Bananas for Baking: Use ripe, spotty bananas for the best sweetness, moisture, and flavor. You’ll need about 4 medium-sized bananas to yield 2 cups mashed.
- Avoid Fully Black Bananas: Bananas that are entirely black tend to have more free water, which can sometimes lead to a slightly gummy layer at the bottom of the loaf. They are still usable if that’s all you have, but slightly spotted is ideal.
- Frozen Bananas: If using frozen bananas, thaw them completely and discard any accumulated liquid before mashing and adding to the batter.
- Important Mixing Tip: To achieve a tender crumb, avoid overmixing the batter. Stop stirring as soon as the wet and dry ingredients are mostly combined and only a few streaks of flour are visible.
- Baking in a 9×5-inch Pan: If using one 9×5-inch loaf pan, you will likely have extra batter. Bake the remainder in muffin cups (yields about 4-6 muffins). The 9×5-inch loaf may require a slightly longer baking time (70-80 minutes), and muffins will bake in approximately 18-22 minutes.
- Optional Mix-ins: For added flavor and texture, fold in 1 to 1½ cups of chocolate chips, toasted pecans, or pepita seeds when the batter is about 80% combined.
- Storage Best Practices: Store tightly wrapped at room temperature for up to 3 days. To freeze, wrap cooled loaves or slices tightly in plastic wrap and then foil; freeze for up to 3 months. Thaw at room temperature. Do NOT refrigerate, as it can cause the bread to become stale faster.
Nutrition
Nutrition information is automatically calculated and should only be used as an approximation.
- Calories: 243 kcal
- Carbohydrates: 37g
- Protein: 4g
- Fat: 10g
- Saturated Fat: 2g
- Polyunsaturated Fat: 5g
- Monounsaturated Fat: 2g
- Trans Fat: 0.1g
- Cholesterol: 18mg
- Sodium: 260mg
- Potassium: 157mg
- Fiber: 3g
- Sugar: 19g
- Vitamin A: 3588 IU
- Vitamin C: 3mg
- Calcium: 76mg
- Iron: 1mg
Tried this delicious recipe? We’d love to hear from you! Leave a comment below and share your experience. Your feedback helps us and other bakers!