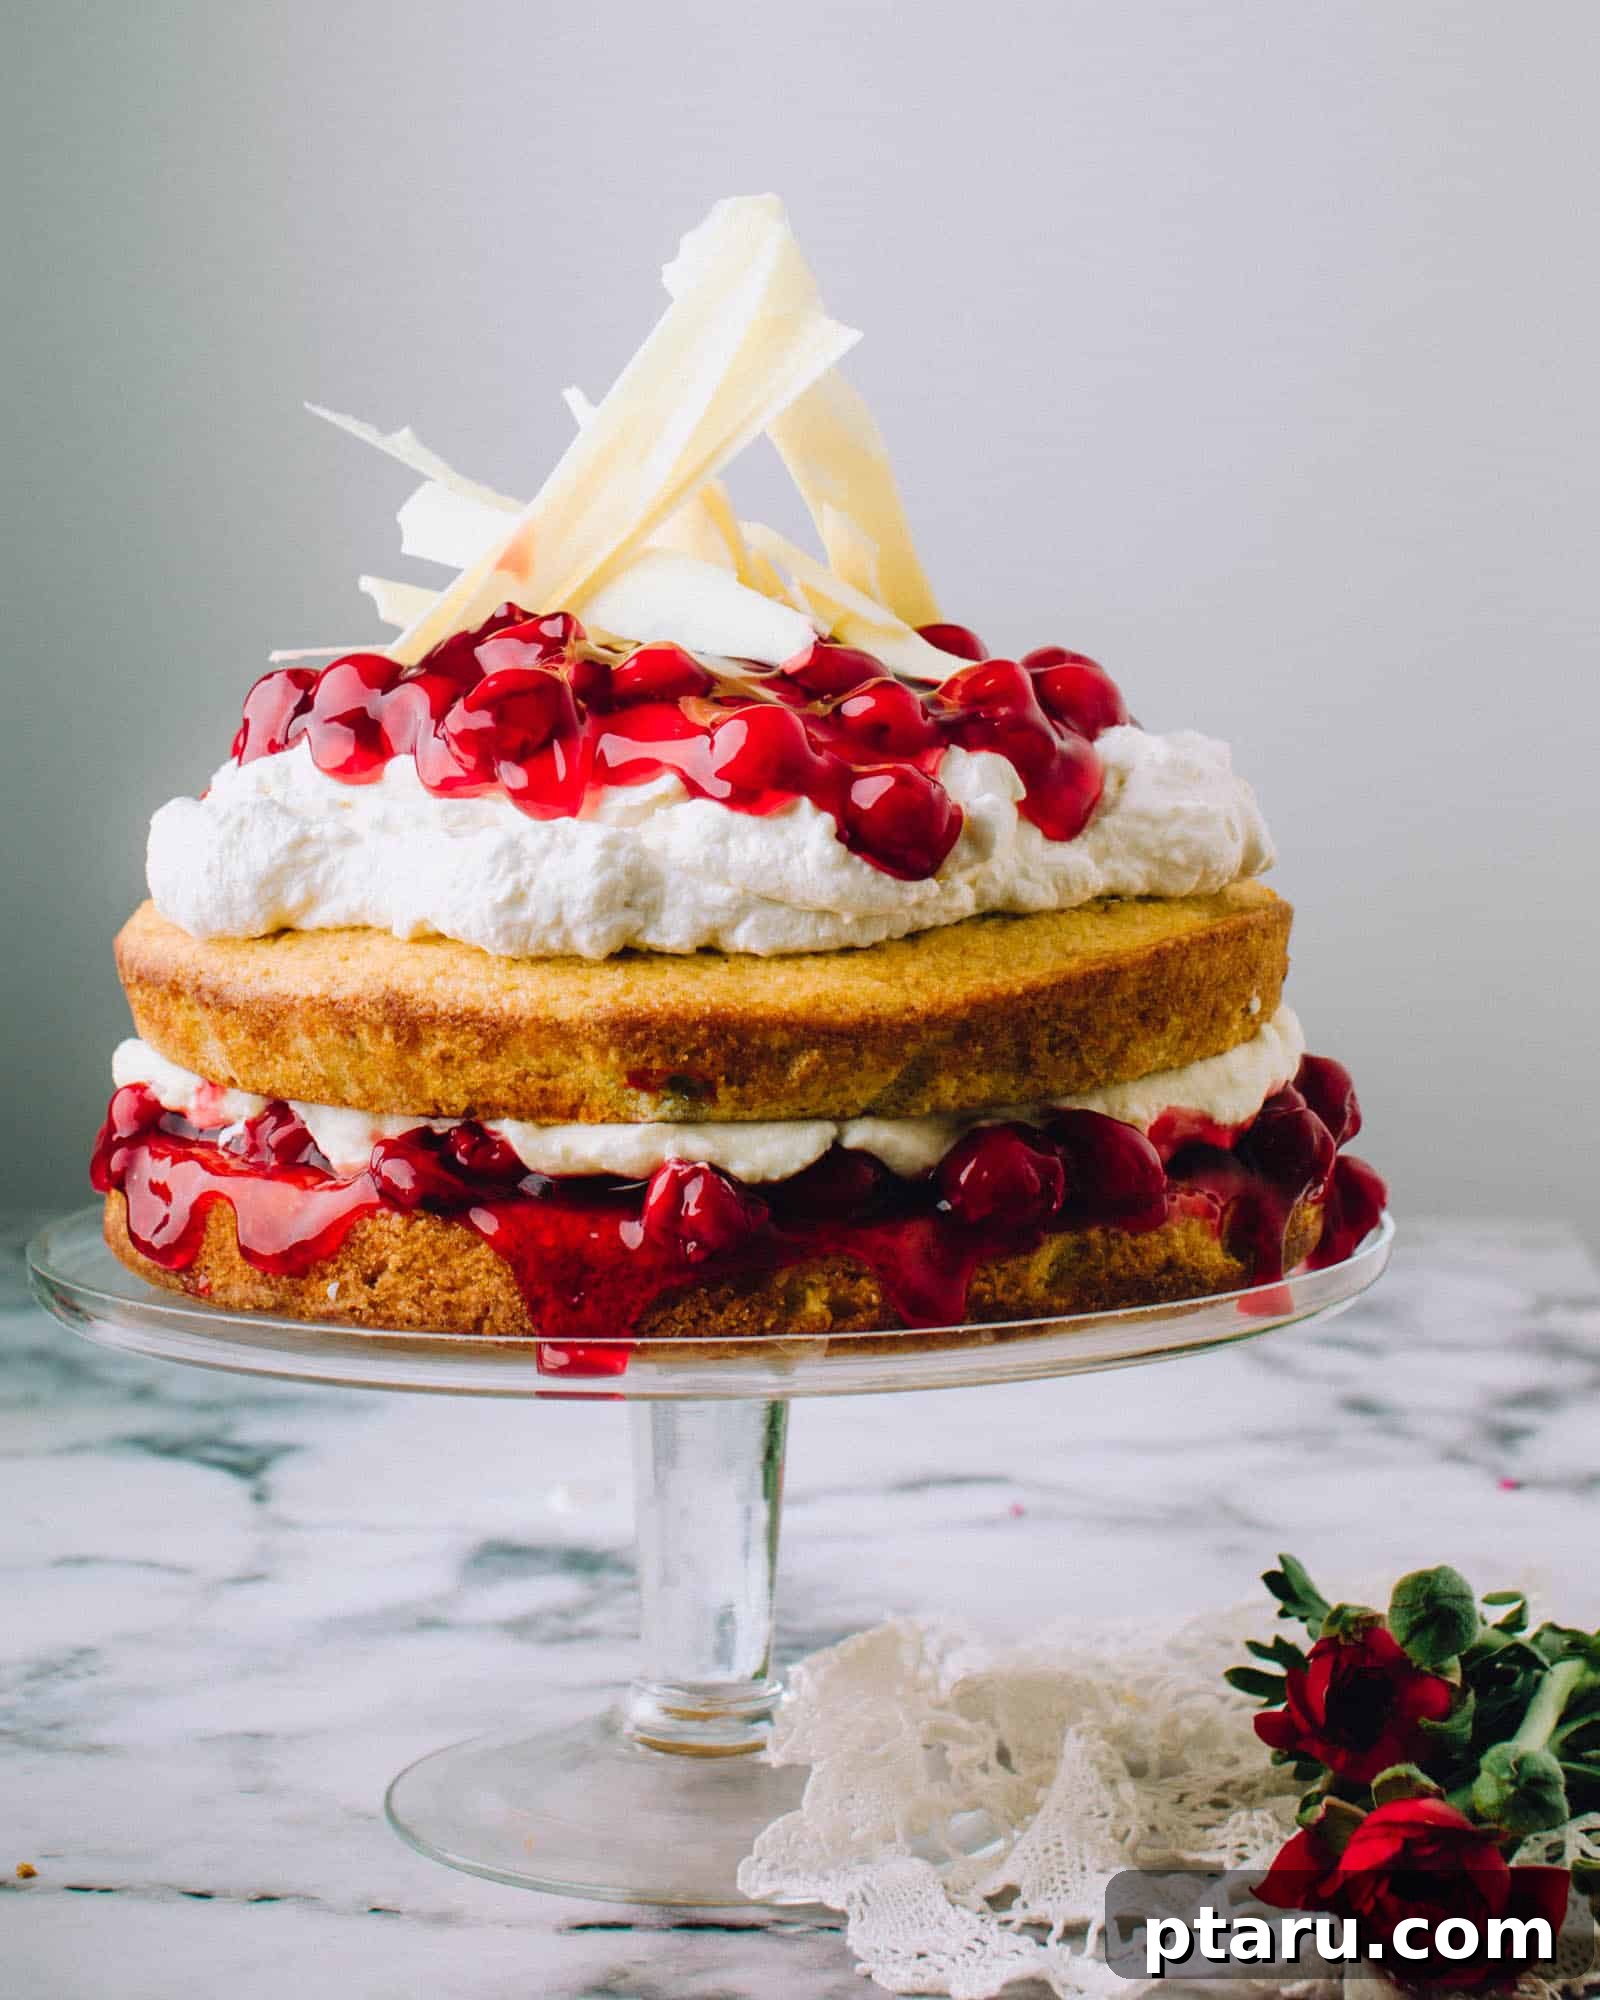
The Ultimate White Forest Cake: A Decadent White Chocolate & Cherry Masterpiece
Experience Layers of Velvety White Chocolate Mousse, Fluffy Whipped Cream, and Sweet Cherry Perfection in this Show-Stopping Dessert.
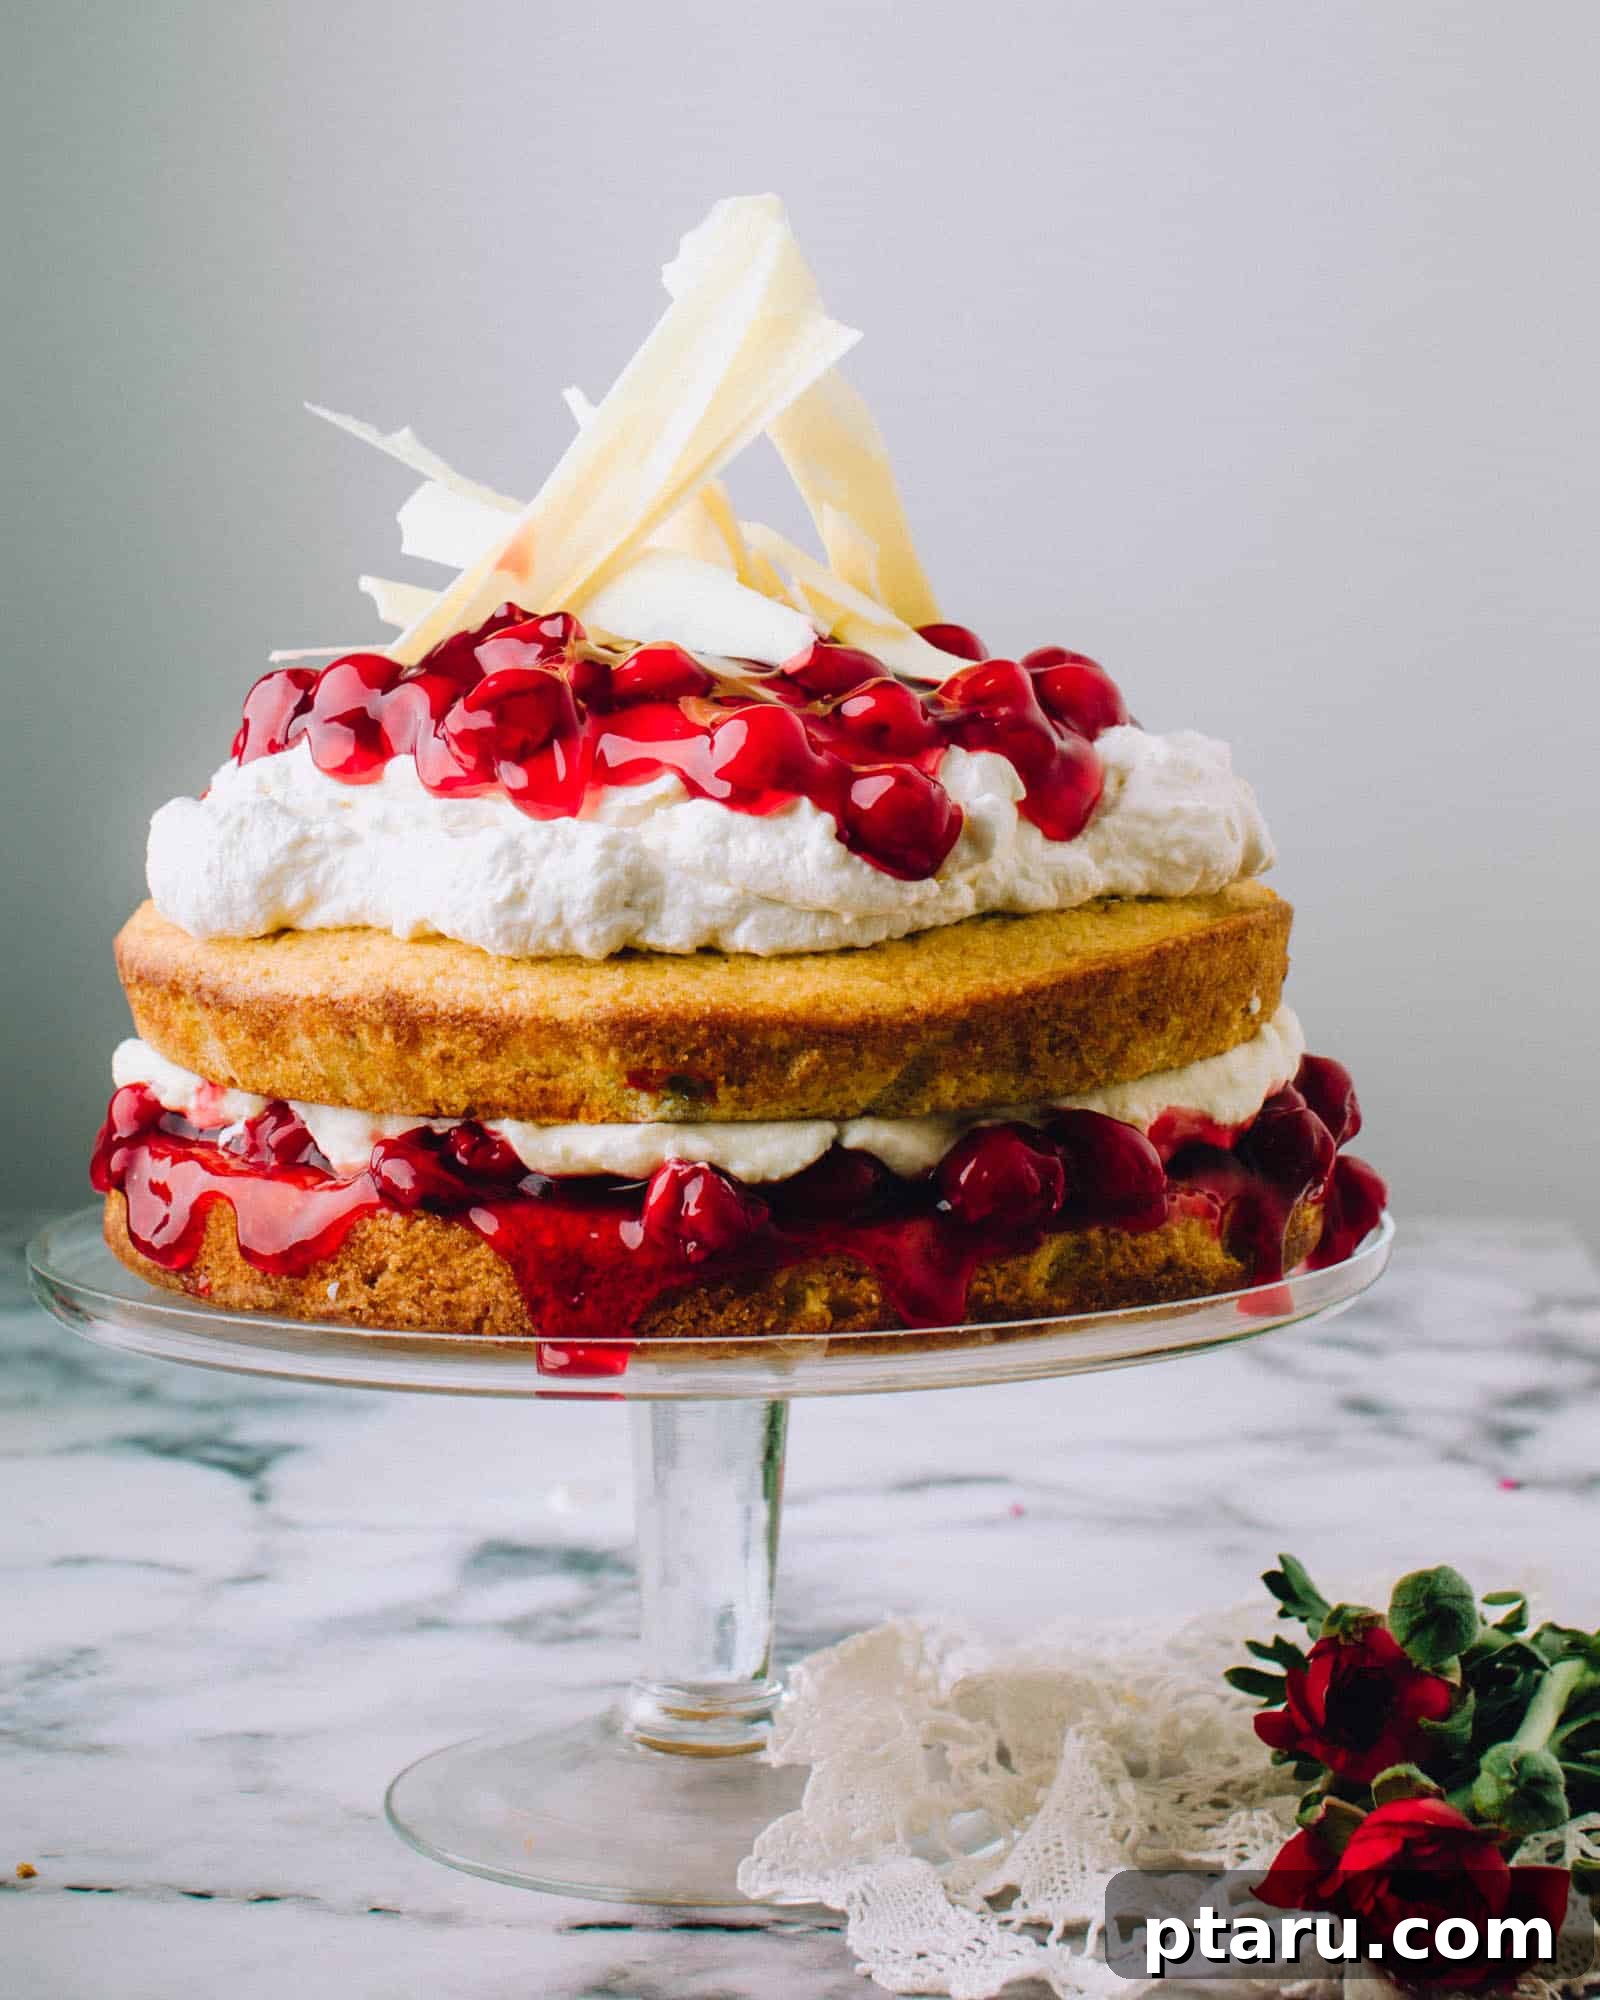
Prepare to be captivated by this stunning White Forest Cake, an elegant and utterly irresistible variation of the beloved Black Forest classic. This show-stopping dessert is meticulously crafted with layers of light, incredibly moist vanilla cake, a remarkably simple yet luxurious two-ingredient white chocolate mousse, generous swirls of fresh whipped cream, and abundant dollops of juicy, syrupy cherry pie filling. It’s not just a cake; it’s an experience, designed to impress at any gathering, from intimate book club meetings to grand wedding showers, baby showers, or milestone birthday celebrations.
My journey to creating this White Forest Cake began with a deep appreciation for its darker counterpart. The rich chocolate and tart cherries of a traditional Black Forest Cake are a match made in heaven. However, I envisioned a lighter, brighter, and perhaps even more ethereal version, perfect for spring or any occasion that calls for a touch of refined sweetness and a beautiful presentation. The result is a cake that embodies both sophistication and heartwarming comfort, offering a delightful contrast to the traditional. Each bite delivers a harmonious blend of creamy, sweet, and tangy flavors that will leave everyone asking for the recipe.
The Heart of the Cake: Delicious Cherry Pie Filling
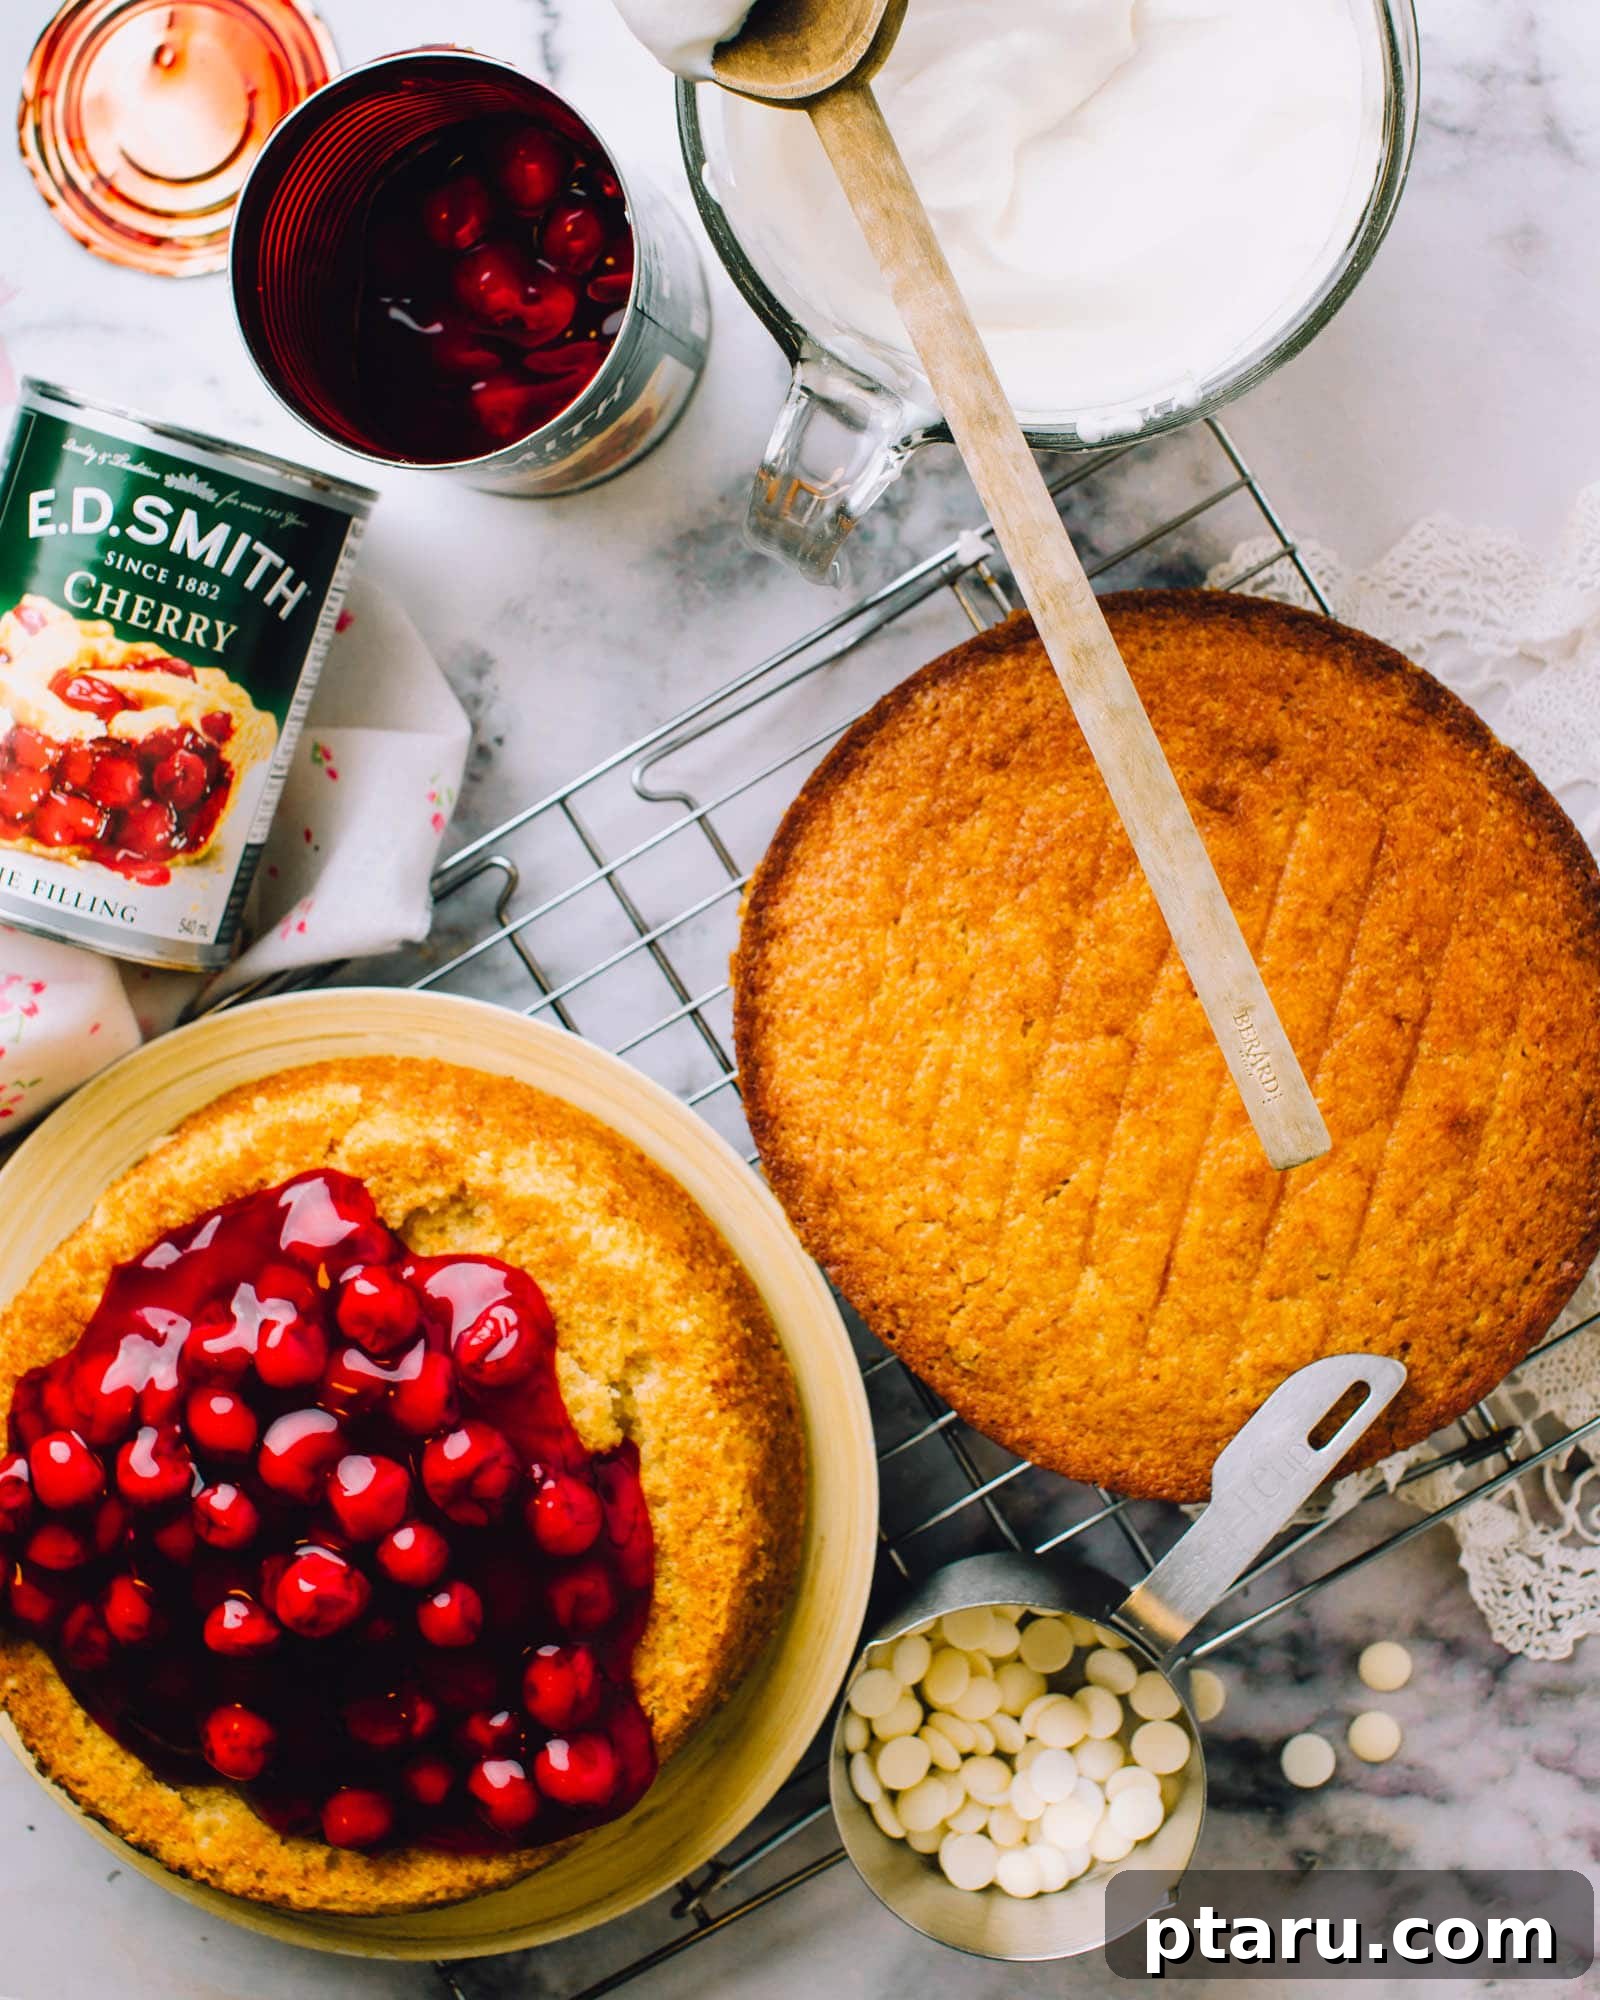
Let me share a little secret: I have an undeniable soft spot for high-quality canned cherry pie filling. While the allure of fresh fruit is undeniable, the convenience, vibrant flavor, and consistent texture of a good canned filling are simply unmatched, especially when you crave the taste of peak-season fruit all year round. When E.D.Smith, a brand whose quality I’ve long trusted, invited me to collaborate on a recipe, my initial thought was strawberries for a more seasonal touch. But once I was at the grocery store, the irresistible charm of cherries simply won me over. And truthfully, one of the greatest pleasures of preserves and pie fillings is their ability to transcend seasons, allowing us to enjoy the luscious bounty of summer anytime we wish, making them a pantry staple for any baking enthusiast.
My personal fondness for cherry pie filling stems deeply from cherished childhood memories. My mother, a wonderful home baker, often whipped up delightful mini cheesecakes in muffin tins, always generously topped with this very cherry pie filling. Perhaps it’s this nostalgic connection that makes it so utterly appealing to me in this cake. When paired with the creamy elegance of white chocolate mousse and billowy, light-as-air whipped cream, all nestled between layers of moist, tender vanilla cake, it creates a symphony of textures and tastes that is truly irresistible. This combination elevates a simple cake into a sophisticated dessert that feels both comforting and celebratory.
Demystifying the Art of Layer Cake Baking: Simple Steps to Success
While a gorgeous layered cake like this White Chocolate Cherry Cake might appear daunting at first glance, I assure you, it’s designed to be as stress-free and enjoyable to make as it is to eat. My core philosophy for this recipe was to simplify each component without compromising on flavor, texture, or stunning presentation. The cake base, for instance, is an incredibly forgiving and straightforward oil cake recipe – meaning no elaborate beating of butter and sugar, no precise fluffing, and not even a stand mixer is strictly required. It’s as easy to prepare as your favorite boxed mix, ensuring a light, tender crumb and guaranteed success even for novice bakers who might be intimidated by multi-layered desserts.
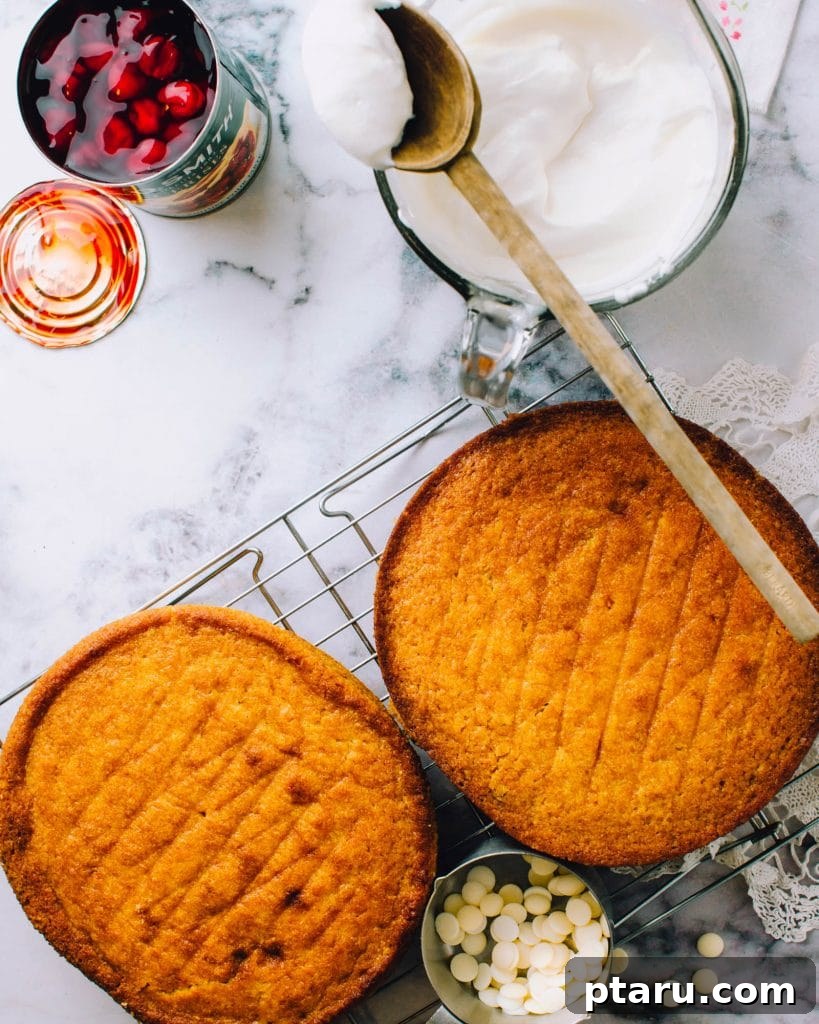
One of the best aspects of this recipe, and a true time-saver for busy bakers, is its flexibility for make-ahead preparation. The vanilla cake layers can be baked several days in advance, cooled completely, and then carefully wrapped in plastic wrap and aluminum foil before being frozen for up to a month. This foresight can significantly reduce your stress on the day of assembly, allowing you to focus on the more delicate and fun parts: whipping up the mousse and cream, and decorating your beautiful creation. Thaw frozen cakes in the refrigerator overnight or at room temperature for a few hours before proceeding with the recipe.
The Marvel of a Two-Ingredient White Chocolate Mousse
The star filling of this cake, our luxurious white chocolate mousse, is deceptively simple. It requires just two key ingredients: high-quality white chocolate and cold whipping cream. The magic happens when melted white chocolate, cooled to room temperature, is gently folded into freshly whipped cream. As the chocolate cools, its natural setting properties help to stabilize the air bubbles within the cream, resulting in a light, airy, yet wonderfully firm mousse that holds its shape perfectly between cake layers. This is a brilliant culinary hack that delivers maximum flavor and impressive texture with minimal effort, proving that gourmet results don’t always require complex techniques or a lengthy ingredient list.
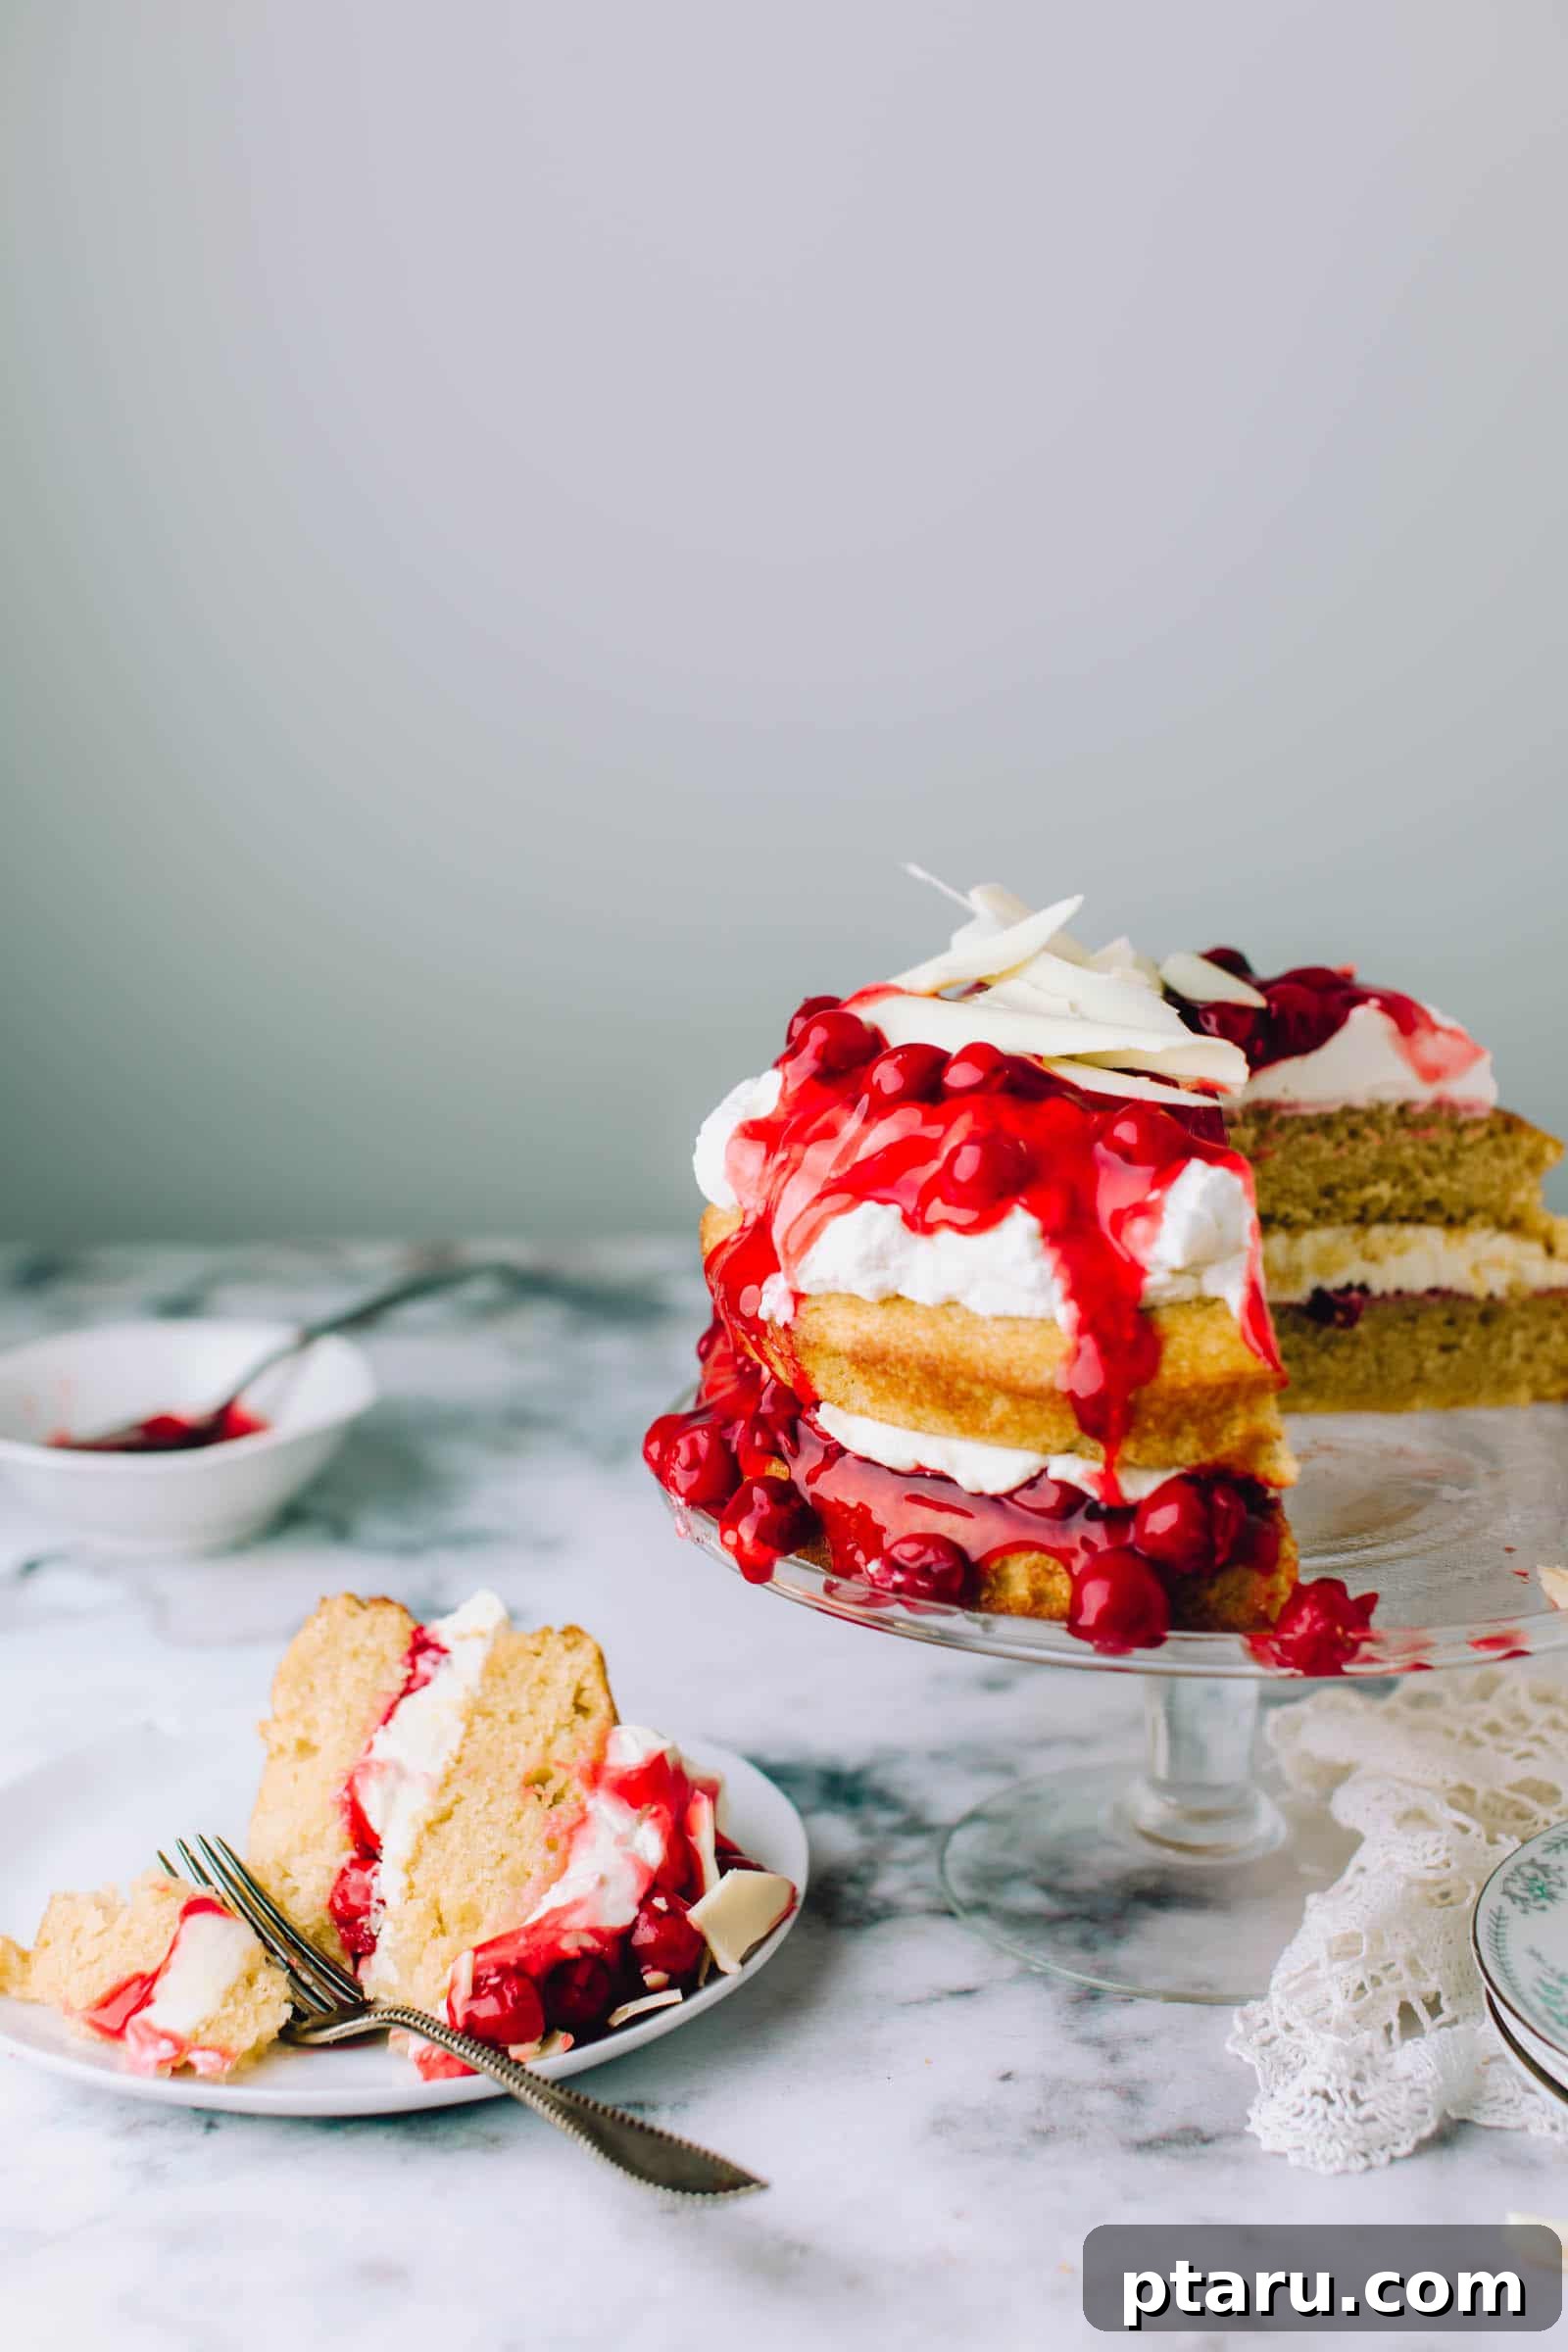
Assembling Your Masterpiece: Tips for a Flawless Finish
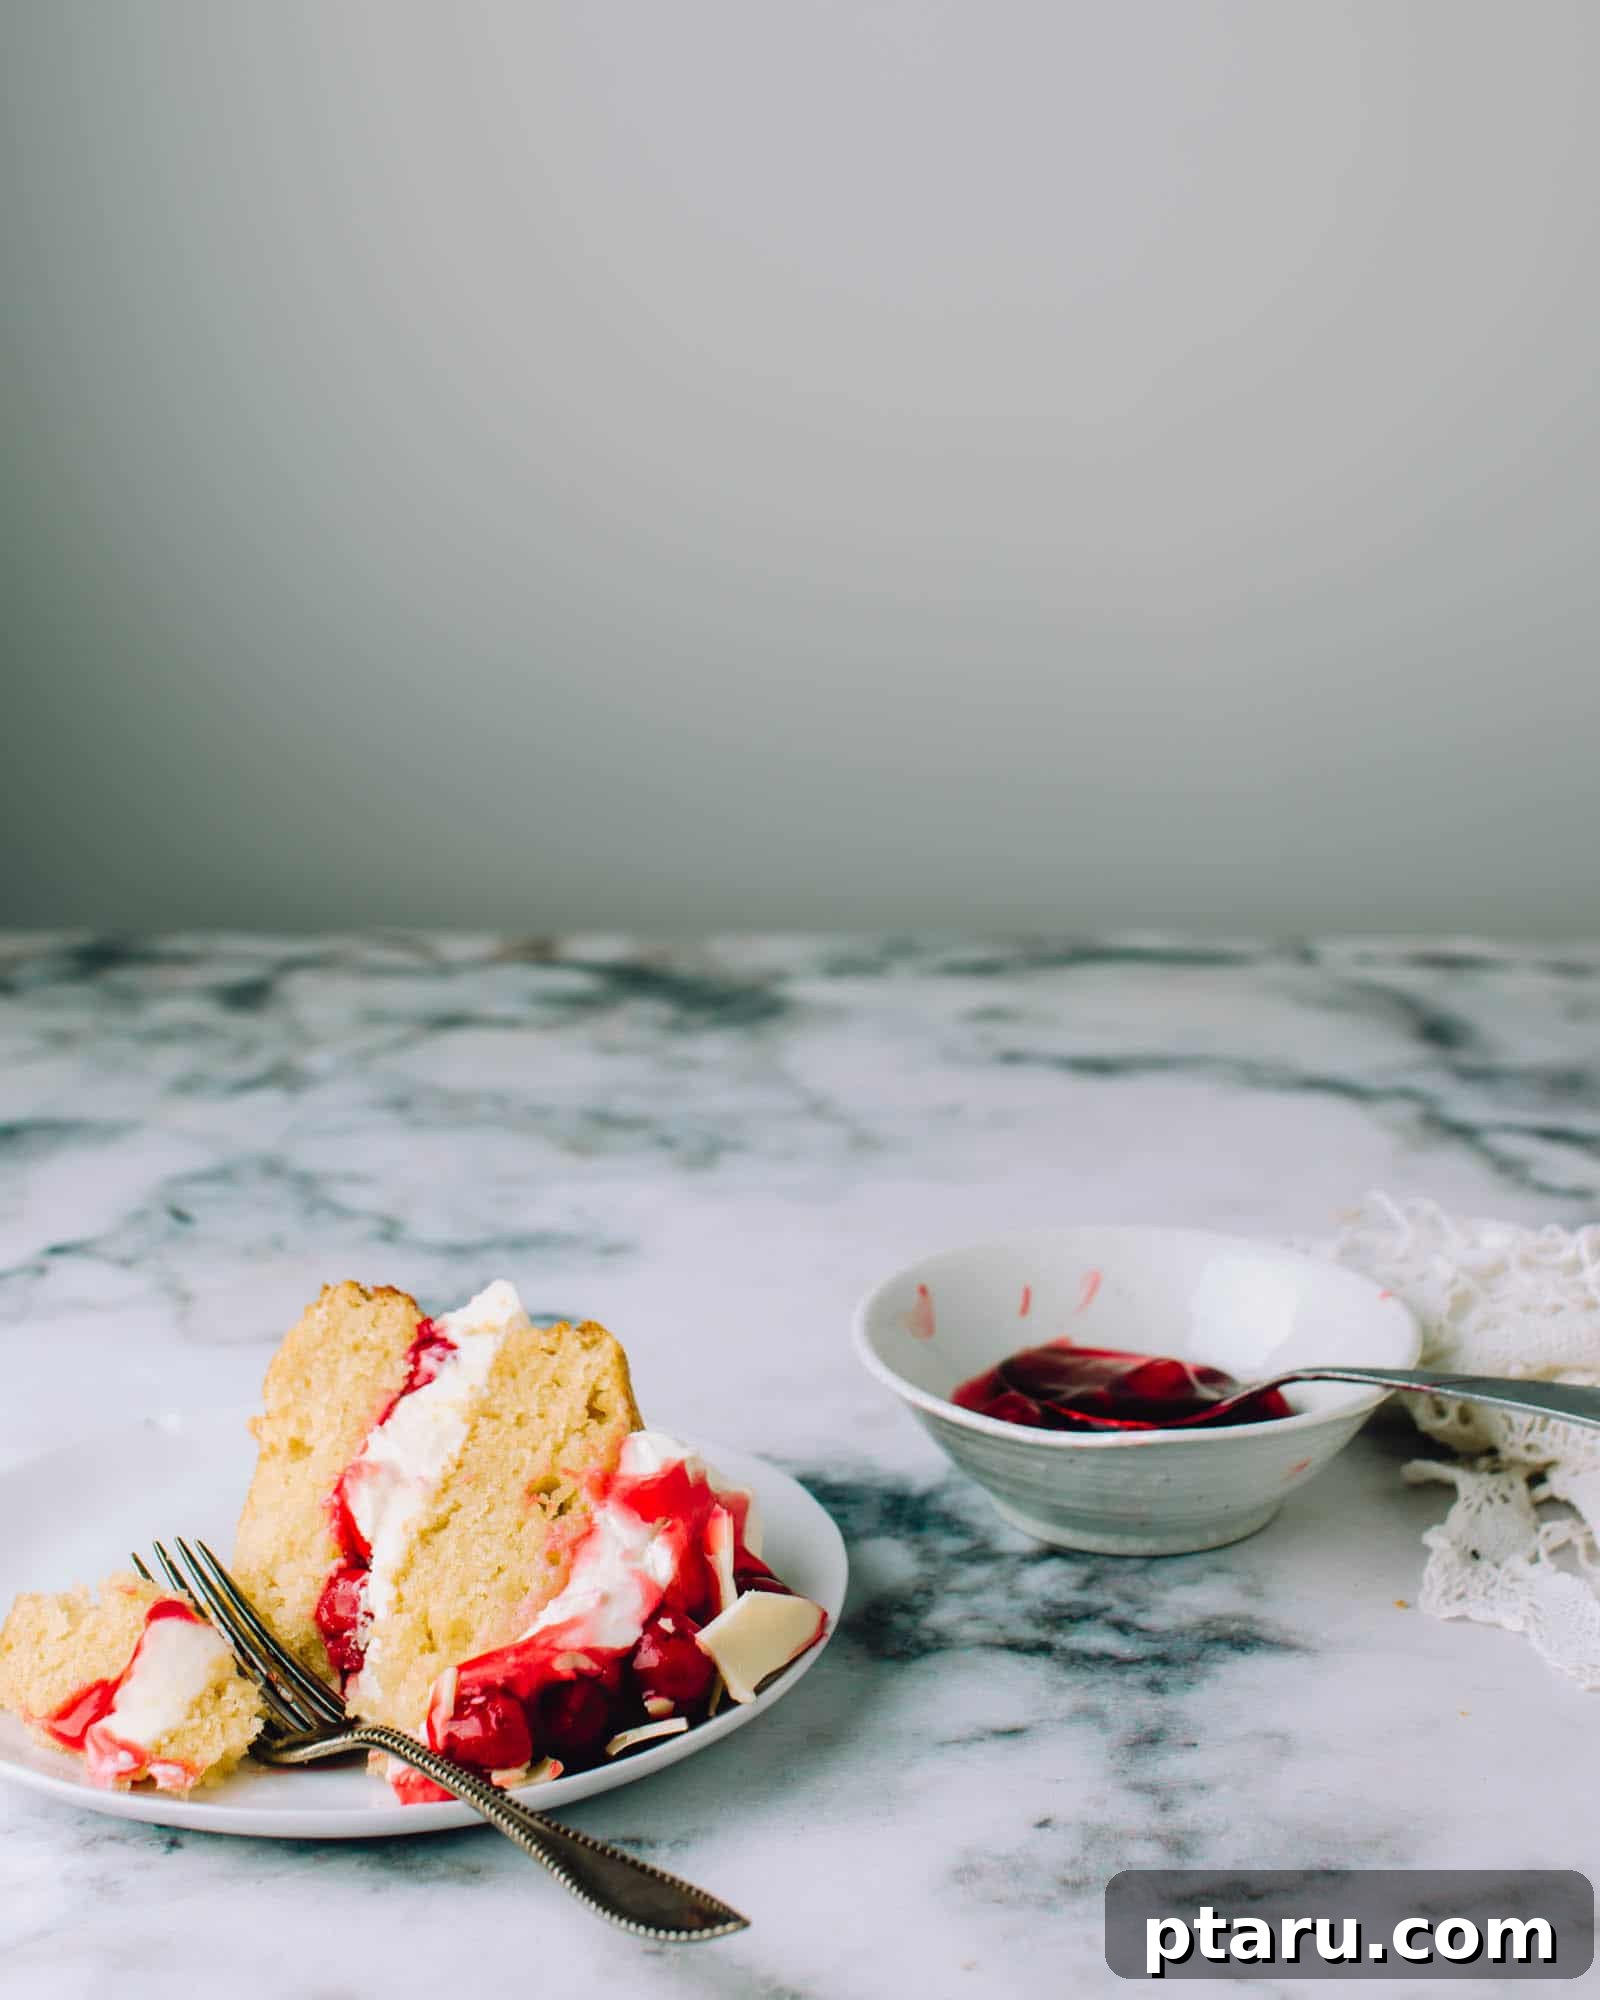
The grand finale of this White Chocolate Cherry Cake is its stunning, celebratory presentation. A generous crown of luscious whipped cream, sweetened lightly with vanilla, provides a beautiful, cloud-like contrast to the deep, glistening red of the cherry pie filling cascading artfully over the top. To elevate the visual appeal even further and add an undeniably professional touch, I often adorn the cake with a spectacular pile of homemade white chocolate shards. These delicate, irregularly shaped curls add both texture and a gourmet flair that will surely ‘wow’ your guests and make your dessert truly unforgettable.
Crafting Elegant White Chocolate Shards: A Simple Garnish Trick
Creating these beautiful white chocolate shards is a simple, yet highly effective trick that adds immense visual flair to any dessert. Begin by melting your remaining white chocolate until it’s perfectly smooth and free of lumps. Spread this melted chocolate thinly and evenly over a sheet of parchment paper. The thinner the layer, the more delicate and elegant your shards will be. While the chocolate is still slightly pliable but no longer liquid, carefully roll up the parchment paper into a tight cylinder, with the chocolate side facing inwards. Place the rolled parchment, with the chocolate securely inside, into the refrigerator for at least 15-20 minutes, or until the chocolate is completely hard and brittle. Once firm, gently unroll the paper, and voilà! You’ll have an array of gorgeous, irregularly shaped chocolate shards ready to adorn the top of your cake, transforming it into a work of art.
For seamless assembly of your layered cake, especially when working with a creamy mousse filling, I highly recommend using a springform pan. By placing your first cooled cake layer snugly within the springform pan, and even adding a strip of parchment paper around the inner perimeter if your pan is slightly larger, you create a secure frame. This containment ensures that your mousse and cherry layers set perfectly straight, preventing any unwelcome bulges or slips that can compromise the cake’s appearance. If a springform pan isn’t available, a clever alternative is to apply the mousse to the bottom cake layer, refrigerate it until firm and stable, and then proceed with the cherry filling and the next cake layer. Patience during chilling is paramount for structural integrity and a beautifully presented cake.
The Golden Rule of Baking: Embrace the Chill!
This brings me to an essential, often-underestimated, piece of baking wisdom that every home baker should know: the refrigerator (and sometimes the freezer!) is your absolute best friend. Many common baking anxieties and challenges can be effortlessly resolved by a brief cooling period. Is your cookie dough too sticky to roll out neatly? Chill it. Is your mousse a bit too soft or fluffy to work with or hold its shape? Chill it. Is your pie dough tearing or difficult to handle and transfer? Chill it. Are your brownies, bars, or even this beautiful cake too soft to cut into neat, clean, picture-perfect slices? CHILL IT! A little time in a cold environment can solidify fats, firm up fillings, make doughs more pliable, and generally transform a potentially frustrating situation into a smooth, successful, and much more enjoyable baking experience. This simple yet powerful technique is invaluable for achieving professional-looking results right in your home kitchen.
We are incredibly grateful for our thoughtful collaborations that enable us to continue bringing these delicious and inspiring recipes to your kitchen. Special thanks to E.D.Smith on Facebook and Instagram for their fantastic products and abundant culinary inspiration. Your support helps the Foodess kitchen keep running, creating more delightful treats for you to enjoy.
Explore More Irresistible Cake Recipes You Won’t Want To Miss
If you’ve fallen in love with the art and joy of cake baking, or simply enjoy indulging in a slice of heaven, here are more delicious recipes from our kitchen that we highly recommend. Each offers a unique flavor profile and a delightful baking adventure for every palate:
- For the ultimate classic chocolate indulgence, our Moist Chocolate Cake is a rich, satisfying option that always hits the spot.
- Seeking a zesty and unexpected twist? Our Chocolate Orange Cake perfectly combines deep cocoa flavors with vibrant citrus notes for a truly unique experience.
- For a bright, light, and refreshing treat, the Lemon Curd Cake offers a perfect balance of sweet and tangy, ideal for spring and summer gatherings.
- And for a taste of comforting Southern charm, our Peach Cobbler Pound Cake is a must-try for its delightful fruity goodness, reminiscent of warm summer days.
White Chocolate Cherry Cake Recipe
This stunning White Forest Cake is filled with creamy 2-ingredient white chocolate mousse, fluffy whipped cream, and juicy cherry pie filling. It’s a delicious, show-stopping dessert perfect for any occasion!
By: Jennifer Pallian BSc, RD
Prep Time: 45 minutes
Cook Time: 35 minutes
Additional Chill Time: 1 hour 30 minutes
Total Time: 2 hours 50 minutes
Servings: 12
Ingredients
FOR CAKE
- 11 oz (approximately 2 1/2 cups, lightly spooned and leveled) all-purpose flour
- 1 ½ cups granulated sugar
- 1 tbsp baking powder
- ½ tsp baking soda
- ½ tsp coarse salt
- 3 large eggs
- 1 ⅓ cups vegetable oil
- 1 cup buttermilk
- 2 tbsp vanilla extract
FOR FILLING AND TOPPING
- 10 oz white chocolate, divided (6 oz for mousse, 4 oz for chocolate shards)
- 1 (540-mL) can E.D.Smith Cherry Pie Filling
- 2 ¼ cups whipping cream, divided (¼ cup for mousse, 2 cups for whipped cream topping)
- 1 tbsp granulated sugar
- ¼ tsp pure vanilla extract
Instructions
-
Prepare the Oven and Pans: Preheat your oven to 350ºF (175ºC). Thoroughly prepare two 9-inch round cake pans by generously greasing them, lightly flouring them, and then lining the bottoms with parchment paper. These steps are crucial to ensure your moist cake layers do not stick and release easily.
-
Mix Dry Ingredients: In a large mixing bowl, thoroughly whisk together the all-purpose flour, granulated sugar, baking powder, baking soda, and coarse salt. Whisk well to ensure there are no lumps and all ingredients are evenly distributed.
-
Mix Wet Ingredients: In a separate, medium-sized bowl, whisk the three large eggs until they are well beaten. Then, whisk in the vegetable oil, buttermilk, and vanilla extract until the mixture is smooth and fully incorporated.
-
Combine and Bake Cake Layers: Pour the wet ingredients mixture into the dry flour mixture. Gently fold them together using a spatula or wooden spoon until just combined and no dry patches of flour remain. Be careful not to over-mix, as this can develop gluten and lead to a tough cake. Divide the batter evenly between your two prepared cake pans. Bake for approximately 35 minutes, rotating the pans halfway through for even baking. The cakes are done when the centers feel springy (not squishy) when gently pressed, or when an instant-read thermometer inserted into the center reads between 200-205ºF (93-96ºC). Allow the cakes to cool in their pans for about 5 minutes before carefully inverting and transferring them to wire racks to cool completely. Ensure they are fully cooled before proceeding with assembly.
-
Prepare White Chocolate Mousse Base: In a microwave-safe bowl, combine 6 oz of the white chocolate (approximately 2/3 of your total amount) with ¼ cup of whipping cream. Microwave on 50% power for 1 minute. The chocolate should be about 80% melted. Stir vigorously until the remaining chocolate melts and the mixture is completely smooth. If needed, microwave in additional 10-second intervals at 50% power, stirring thoroughly between each, until fully melted and smooth. This step is crucial: allow this white chocolate mixture to cool completely to room temperature before the next step.
-
Whip Cream for Mousse and Topping: In a stand mixer fitted with a whisk attachment (or using a hand mixer), whip the remaining 2 cups of whipping cream until soft peaks form. Do not over-whip. Gently fold about half of this whipped cream into the cooled white chocolate mixture from the previous step. This creates your luscious 2-ingredient white chocolate mousse. Set aside. To the remaining whipped cream in the stand mixer bowl, whisk in the 1 tbsp of granulated sugar and ¼ tsp of pure vanilla extract until just combined. Refrigerate this vanilla whipped cream for topping the cake later.
-
Assemble the Cake Layers: Place one of your completely cooled cake layers inside a 9-inch springform pan. If your springform pan is larger than 9 inches, you can line the sides with a strip of parchment paper to create a snug fit around the cake. Evenly spread about half of the E.D.Smith Cherry Pie Filling over the first cake layer. Next, gently spoon and spread the prepared white chocolate mousse over the cherry layer, smoothing it out. Carefully place the second cake layer on top. Refrigerate the assembled cake for at least one hour, or until the white chocolate mousse is fully set and firm. This chilling time is essential for a stable, beautifully structured cake.
-
Make White Chocolate Shards: While the cake chills, prepare the decorative chocolate shards. Melt the remaining 4 oz of white chocolate in a microwave-safe bowl, following the same method as step 5 (50% power for 1 minute, stir, repeat as needed until smooth). Once smooth, spread this melted chocolate thinly and evenly over a 12-inch sheet of parchment paper. While still slightly pliable but firming up, carefully roll up the parchment paper into a cylinder. Place the rolled parchment into the refrigerator until the chocolate is completely hard and brittle (about 15-20 minutes).
-
Final Decorating and Serving: Once the cake has chilled sufficiently and the mousse is set, carefully remove the springform pan. Top the cake with the reserved vanilla whipped cream, spreading it evenly or piping it decoratively. Spoon the remaining cherry pie filling over the whipped cream, allowing some to drizzle artfully down the sides. Finally, unroll the chilled parchment paper with the chocolate shards and artfully pile them on top of the cake. Slice and serve this magnificent White Forest Cake immediately, or keep refrigerated until ready to enjoy!
Nutrition
Nutrition information is automatically calculated and provided for reference. It should only be used as an approximation.
- Calories: 562 kcal
- Carbohydrates: 63 g
- Protein: 14 g
- Fat: 28 g
- Saturated Fat: 16 g
- Polyunsaturated Fat: 2 g
- Monounsaturated Fat: 8 g
- Trans Fat: 0.004 g
- Cholesterol: 108 mg
- Sodium: 426 mg
- Potassium: 274 mg
- Fiber: 1 g
- Sugar: 43 g
- Vitamin A: 770 IU
- Vitamin C: 0.4 mg
- Calcium: 171 mg
- Iron: 2 mg
We hope you enjoy baking and savoring this spectacular White Forest Cake as much as we do! Don’t forget to leave a comment below if you try this recipe – we love hearing your feedback and seeing your beautiful creations.