Homemade Coconut Milk: Your Gateway to Fresh, Creamy Goodness
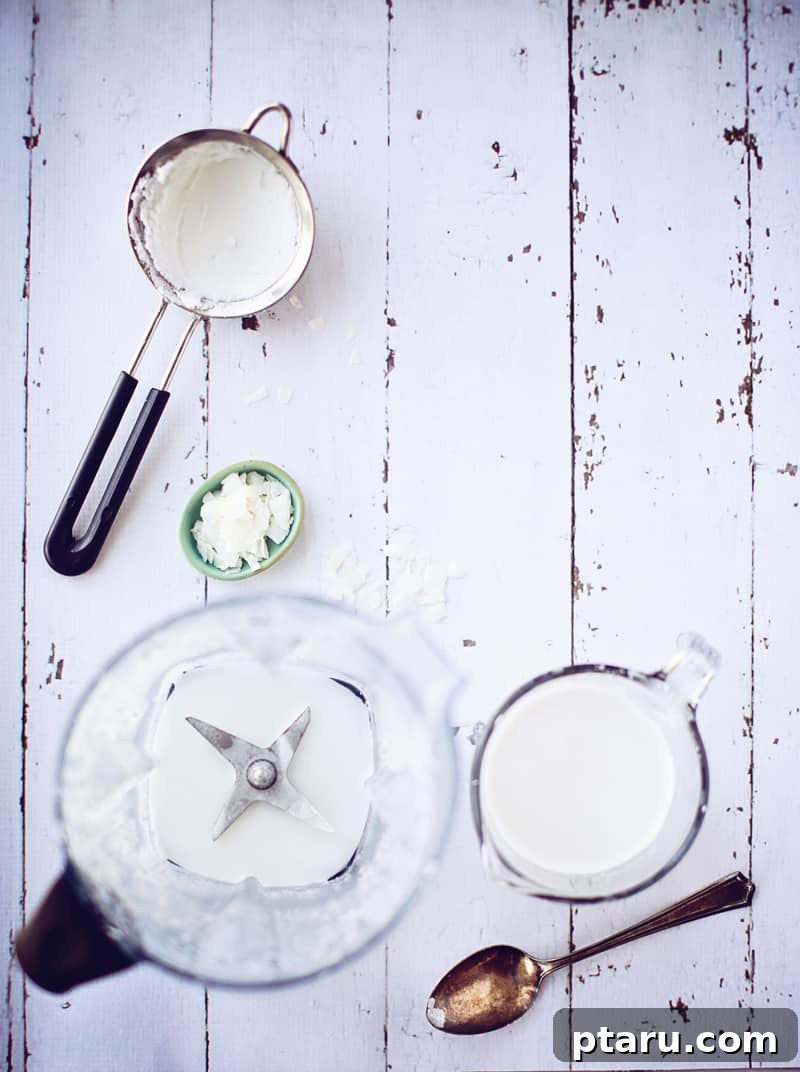
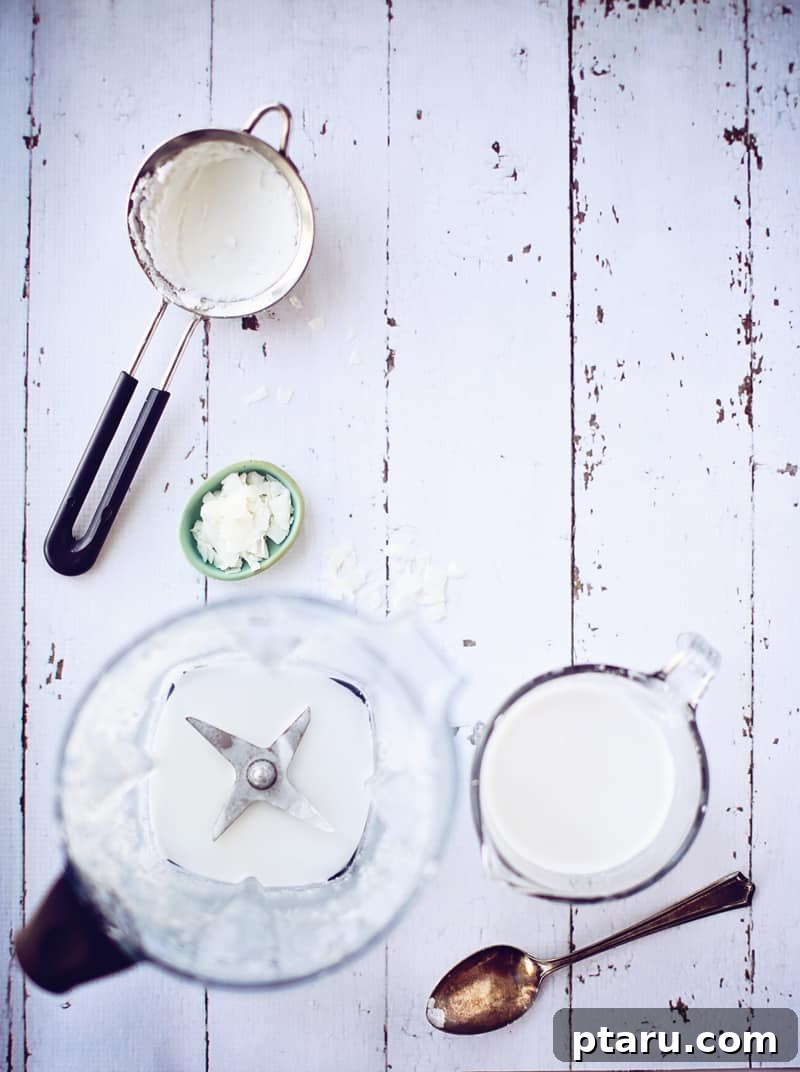
Imagine a world where your coconut milk is always fresh, brimming with natural flavor, and free from any unwanted additives. That world is closer than you think, and it starts right in your kitchen! Making your own coconut milk is incredibly simple, requiring just two key ingredients – dried coconut and boiling water – along with a blender. In mere minutes, you can transform these staples into a fragrant, luxurious homemade coconut milk that will elevate all your culinary creations.
For years, canned coconut milk was a regular resident in my pantry, a go-to for countless recipes. However, once I unlocked the secret to homemade coconut milk, there was no looking back. The difference in taste, texture, and overall quality is truly remarkable. This simple DIY project not only delivers a superior product but also empowers you to control exactly what goes into your food.
Why Choose Homemade Coconut Milk? The Benefits You Can Taste and Feel
Beyond the sheer satisfaction of crafting something from scratch, homemade coconut milk offers a host of compelling advantages that make it a worthwhile endeavor:
- Superior Flavor and Aroma: Store-bought coconut milk, while convenient, often falls short in terms of vibrant, authentic coconut flavor. Homemade versions are intensely fragrant and taste much fresher, thanks to the direct extraction process. This translates to more delicious curries, richer smoothies, and more aromatic desserts.
- Control Over Ingredients: Commercial coconut milk can sometimes contain stabilizers, emulsifiers (like guar gum), and other additives to maintain shelf life and consistency. When you make it yourself, you dictate the ingredients – just pure coconut and water. This is especially beneficial for those with dietary sensitivities or who prefer a clean-eating lifestyle.
- Cost-Effective: While the initial cost of quality dried coconut might seem comparable to canned milk, making your own can often be more economical in the long run, particularly if you opt for larger bags of dried coconut and use it frequently.
- Reduced Waste: By choosing dried coconut over multiple cans, you significantly reduce your household waste, contributing to a more sustainable kitchen.
- Freshness Guaranteed: You know exactly when your coconut milk was made, ensuring maximum freshness for your recipes.
Selecting Your Star Ingredient: The Right Dried Coconut
The quality of your dried coconut directly impacts the flavor and creaminess of your homemade milk. Not all dried coconut is created equal, so here’s what to look for:
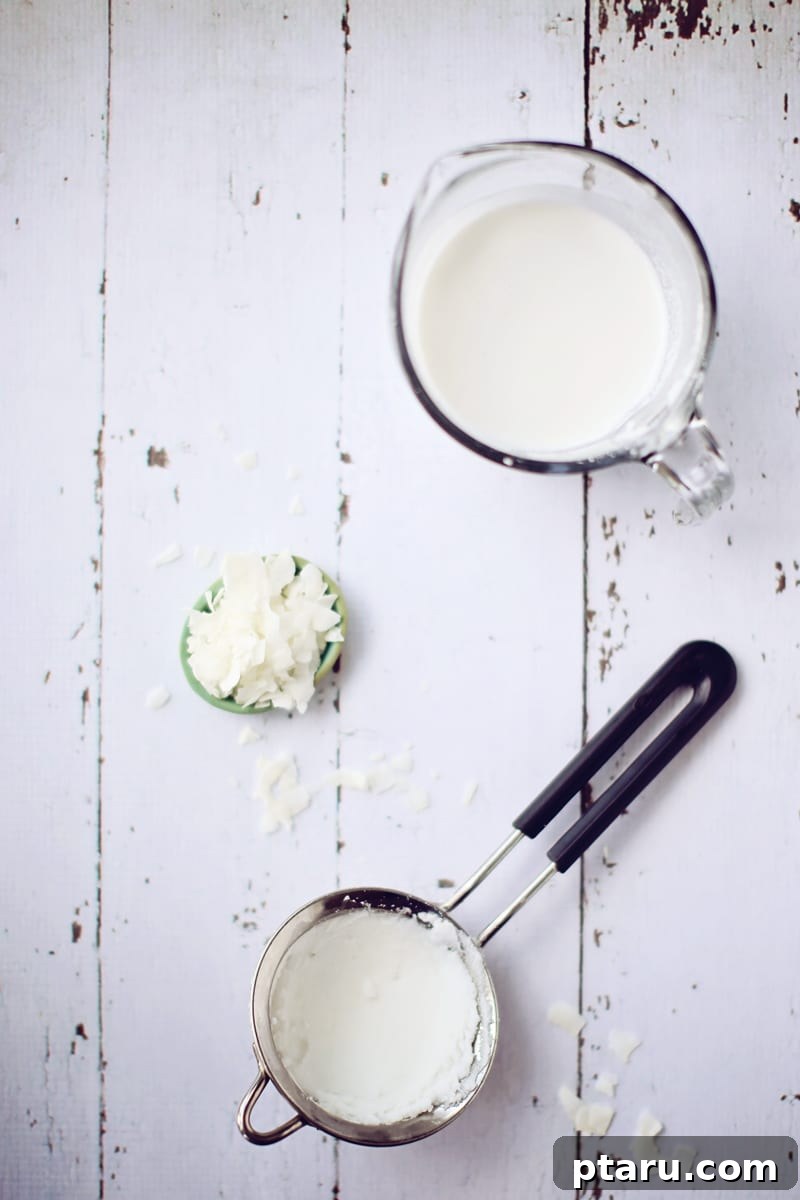
- Shredded or Ribboned Coconut: These are your best options. I’ve experimented with both shredded and ribboned coconut, finding that ribboned varieties sometimes impart a slightly more robust flavor. This could be due to differences in processing or the fact that I’ve often found organic options in ribbon form. Both work wonderfully, so choose what’s readily available and of good quality.
- Avoid Desiccated Coconut: Super finely grated desiccated coconut tends to be too dry and has less fat content compared to shredded or ribboned varieties. This results in a less flavorful and less creamy milk. Stick to the coarser textures for optimal results.
- Freshness is Key: Ensure your dried coconut is fresh. Don’t attempt this recipe with an opened bag that has been lingering in your pantry for ages, left over from that one baking project. Fresh dried coconut will have a richer aroma and better fat content, yielding superior milk.
- Unsweetened: Always opt for unsweetened dried coconut to give you full control over the final taste of your milk. Sweetened versions are typically loaded with added sugars that you likely don’t want in a versatile cooking ingredient.
The Simple Steps to Homemade Coconut Milk Perfection
The process itself is wonderfully straightforward, requiring minimal effort for maximum reward:
1. The Infusion (Optional, but Recommended for Best Flavor)
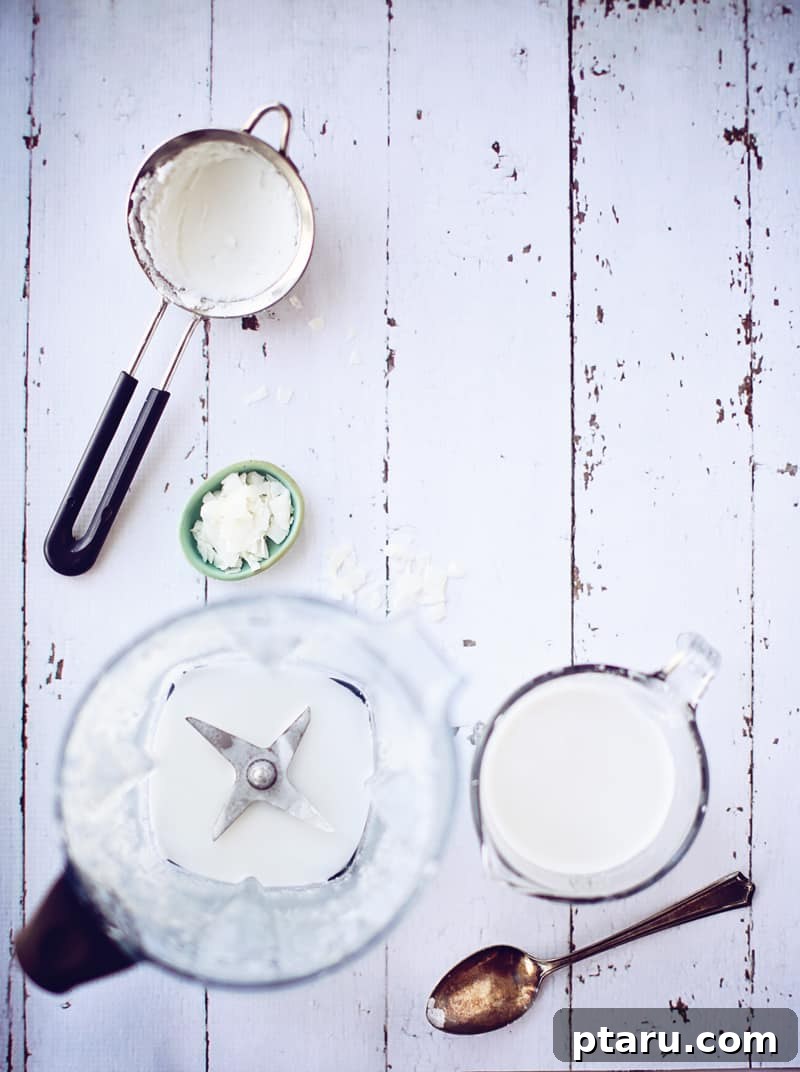
While you can certainly make delicious coconut milk with cold water, I’ve discovered that starting with boiling water poured over the coconut and letting it infuse for about an hour yields the absolute best flavor results. The hot water helps to soften the coconut and coax out its rich oils and aromatic compounds, creating a milk with a more profound depth of flavor. If you’re short on time, skipping the soak or using cold water will still produce great-tasting milk, but for that extra layer of richness, the infusion is a game-changer.
2. Blending for Creaminess
Once your coconut and water mixture has infused (or is simply ready for blending), transfer it to a high-speed blender. Blend on high for approximately one minute. A powerful blender, like a Vitamix, will make quick work of this, ensuring a super smooth and creamy result. If you’re using a less powerful blender, you might need to blend for a minute or two longer, stopping occasionally to scrape down the sides, to achieve a similar consistency.
3. To Strain or Not to Strain?
This is where personal preference comes into play, largely depending on how you plan to use your homemade coconut milk:
- For Beverages and Smoothies: If you intend to use the milk as a dairy-alternative beverage in smoothies, Masala Chai, or Chai coffee, straining is often preferred for a completely silky-smooth texture. A fine-mesh strainer is effective, but for the absolute smoothest milk, a nut milk bag works wonders. Simply pour the blended mixture through the bag and squeeze out every last drop of liquid.
- For Curries, Soups, and Stews: I’ve found that straining is often unnecessary for dishes like curries or soups. The coconut pulp is typically fine enough after thorough blending that you won’t even notice it in the finished dish. In fact, leaving the pulp in boosts the fiber content, adding a nutritional bonus without compromising the texture of these heartier meals. It’s entirely your decision – experiment and see what you prefer!
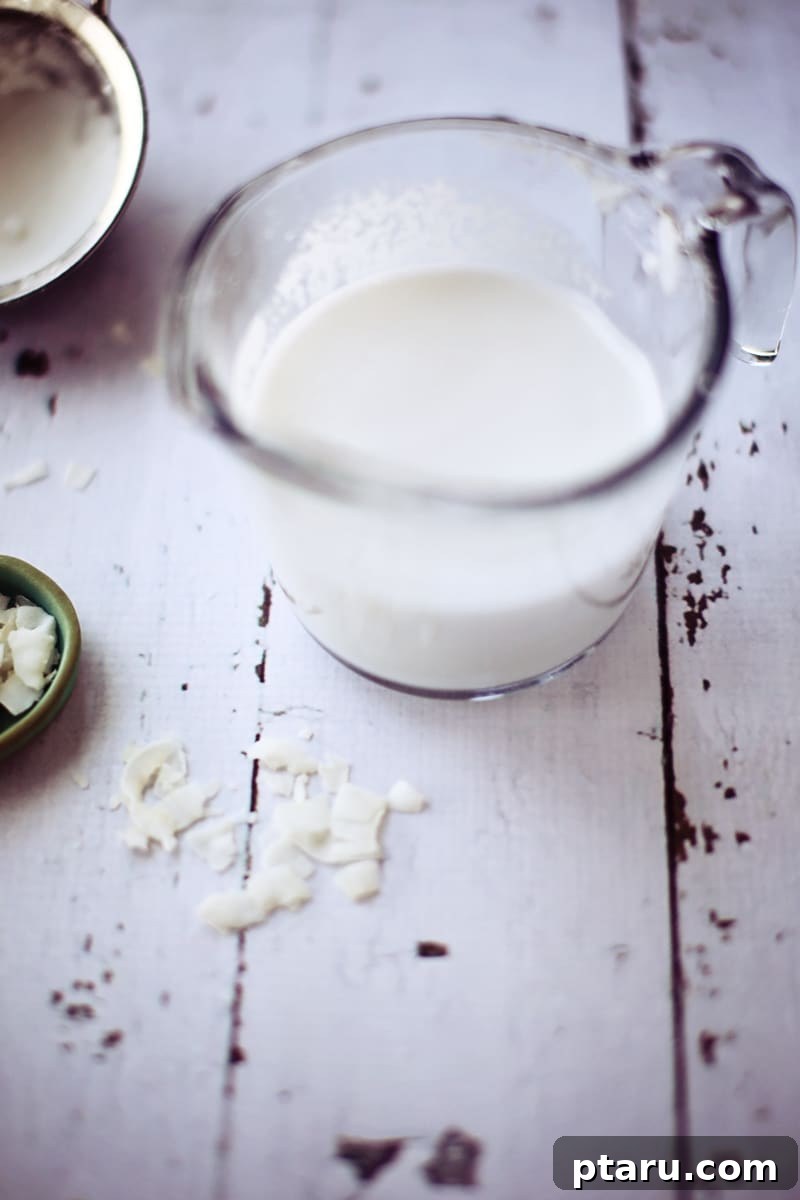
Unleash the Flavor: Culinary Uses of Homemade Coconut Milk
Once you have a batch of fresh, homemade coconut milk, a world of culinary possibilities opens up. Its creamy texture and rich flavor make it incredibly versatile. Here are just a few ideas to get you started:
Savory Delights:
- Exotic Curries: The foundation of countless delicious curries. Use it to make Coconut Curried Lentils, Coconut Curry Chicken, or a vibrant Red Curry Chicken. The depth of flavor from homemade milk truly shines here.
- Hearty Soups & Stews: Add a touch of tropical creaminess to soups like Thai Sweet Potato Soup or Coconut Curried Yam & Chickpea Soup. It also works beautifully in lentil stews and creamy vegetable purees.
- Creamy Pasta Dishes: Transform your pasta with a dairy-free twist. Try it in One Pot Creamy Pasta and Greens for a rich and satisfying meal.
- Sauces and Marinades: Use it as a base for flavorful peanut sauces, satay marinades, or creamy dressings for salads and bowls.
Sweet Indulgences:
- Smoothies and Shakes: A perfect dairy-free base for your morning smoothie, adding natural sweetness and a luxurious texture.
- Desserts: Incorporate it into homemade ice cream, puddings, rice puddings, or even vegan cheesecakes for a tropical touch.
- Baking: Substitute it for dairy milk in certain baking recipes for a subtle coconut flavor and added moisture.
- Overnight Oats & Chia Puddings: Create a delicious and healthy breakfast by soaking oats or chia seeds in your homemade coconut milk.
Beverages:
- Coffee & Tea Lattes: A fantastic plant-based alternative for your coffee or tea. Froth it up for a creamy latte experience.
- Hot Chocolate: Make an indulgent, dairy-free hot chocolate.
Storage Tips for Your Homemade Coconut Milk
Homemade coconut milk is freshest when consumed within a few days. Store it in an airtight container in the refrigerator for up to 3-4 days. It’s natural for the fat to separate and solidify at the top; simply stir or shake it vigorously before use. For longer storage, you can freeze coconut milk in ice cube trays, then transfer the frozen cubes to a freezer-safe bag. This allows you to thaw small portions as needed.
Beyond Coconut Milk: Embracing the DIY Kitchen
Making your own coconut milk is just one step on the rewarding journey of creating pantry staples from scratch. When you take the time to prepare ingredients yourself, you gain unparalleled control over flavor, quality, and nutritional content. It’s a wonderful way to connect with your food and simplify your kitchen.
If you enjoyed making your own coconut milk, you might love exploring these other DIY versions of packaged foods:
- How to Can Tomatoes
- Crunchy Pickled Carrots
- Homemade Pickled Onion
- Easy Chia Seed Jam
- How to Make Mango Chutney
- Homemade Chili Seasoning Blend
- DIY Chicken Taco Seasoning
- How to Make Coconut Milk from Dried Coconut

Print Recipe
Homemade Coconut Milk Recipe
Jennifer Pallian BSc, RD
2
2
4 servings
Ingredients
-
1
cup
unsweetened dried coconut
(shredded or in ribbons) -
2
cups
boiling water
Instructions
-
Pour boiling water over the dried coconut in your blender container. For maximum flavor, let it stand and infuse for 1 hour, or at least until the water has cooled. Blend on high speed for approximately one minute, until the mixture is creamy and smooth.
-
Position a fine mesh strainer (or a nut milk bag) over a large bowl. Gradually pour the blended coconut mixture through the strainer. Use a spoon or your hands (if using a nut milk bag) to press firmly on the solids, extracting every last drop of milk. Discard the leftover coconut pulp or save it for other uses (see FAQ below).
Nutrition Information (per serving)
Calories:
142
kcal
|
Carbohydrates:
5
g
|
Protein:
1
g
|
Fat:
14
g
|
Saturated Fat:
12
g
|
Polyunsaturated Fat:
0.2
g
|
Monounsaturated Fat:
1
g
|
Sodium:
14
mg
|
Potassium:
117
mg
|
Fiber:
4
g
|
Sugar:
2
g
|
Vitamin C:
0.3
mg
|
Calcium:
9
mg
|
Iron:
1
mg
Nutrition information is automatically calculated, so should only be used as an approximation.
Tried this recipe? Leave a comment!
Frequently Asked Questions About Homemade Coconut Milk
Here are some common questions and answers to help you on your homemade coconut milk journey:
Q: How long does homemade coconut milk last?
A: When stored in an airtight container in the refrigerator, homemade coconut milk typically lasts for 3-4 days. Always check for any off-smells or discoloration before use.
Q: Can I freeze homemade coconut milk?
A: Yes, absolutely! Freezing is an excellent way to extend its shelf life. Pour your fresh coconut milk into ice cube trays and freeze until solid. Once frozen, transfer the cubes to a freezer-safe bag or container. This makes it easy to thaw small portions as needed for cooking or smoothies. It can last for up to 3 months in the freezer.
Q: What can I do with the leftover coconut pulp?
A: Don’t discard that pulp! It’s still packed with fiber and some coconut flavor. You can:
- Dry it: Spread the pulp thinly on a baking sheet and bake at a low temperature (around 200°F / 95°C) until completely dry. Once dry, you can blend it into a fine flour to use in baking, or add it to granola or oatmeal.
- Add to Smoothies: Boost the fiber content of your next smoothie by tossing in a spoonful of fresh pulp.
- Use in Baking: Incorporate it into muffins, energy balls, or bread recipes for added texture and coconut flavor.
- Compost it: If you don’t have other uses, it’s a great addition to your compost bin.
Q: Can I use fresh coconut instead of dried?
A: Yes, you can! The process is similar, but you’ll need to grate the fresh coconut meat first. The ratio of fresh coconut to water might need slight adjustment, as fresh coconut contains more natural moisture. Generally, you can use roughly the same amount by weight as dried coconut, and then adjust water to achieve desired consistency. Fresh coconut often yields an even more intense flavor.
Q: My coconut milk isn’t as creamy as I’d like. What can I do?
A: Several factors can affect creaminess:
- Blender Power: A high-speed blender truly makes a difference. If using a standard blender, try blending for a longer duration (2-3 minutes) in batches.
- Soaking Time: Ensuring the coconut softens properly in boiling water (especially with the 1-hour soak) helps release more fats for a creamier milk.
- Coconut Quality: Use fresh, good-quality shredded or ribboned coconut. Old or desiccated coconut will yield less creamy results.
- Ratio: You can slightly adjust the coconut-to-water ratio. For a thicker, creamier milk, use slightly less water. For a thinner milk, add a bit more.
Making homemade coconut milk is a simple yet impactful way to enhance your cooking and embrace a more natural, wholesome approach to your diet. Enjoy the fresh flavors and creamy textures it brings to your table!