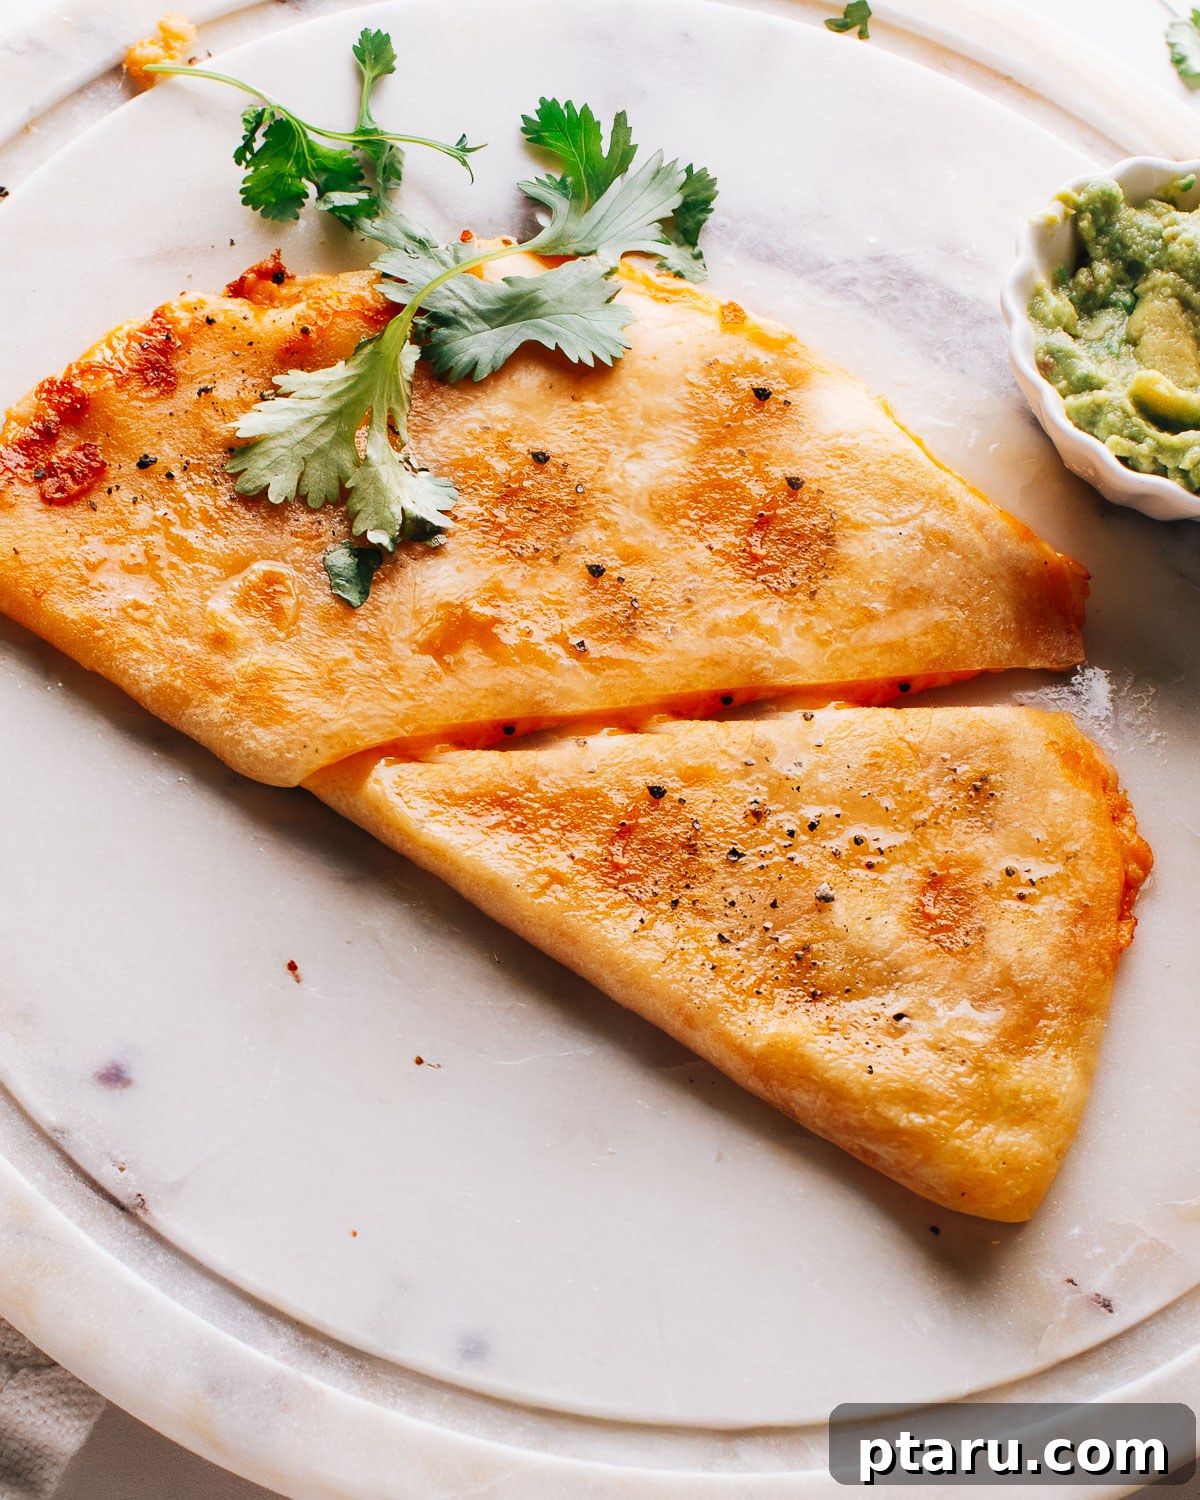
This easy Chicken Quesadilla recipe is a game-changer for busy weeknights, delivering crispy edges, a delightfully cheesy interior, and savory, seasoned chicken in mere minutes. Forget soggy, bland quesadillas; this guide will help you craft perfectly golden, melty, and flavor-packed quesadillas that the whole family will rave about. It’s quick, incredibly simple, and guaranteed to become a household favorite!
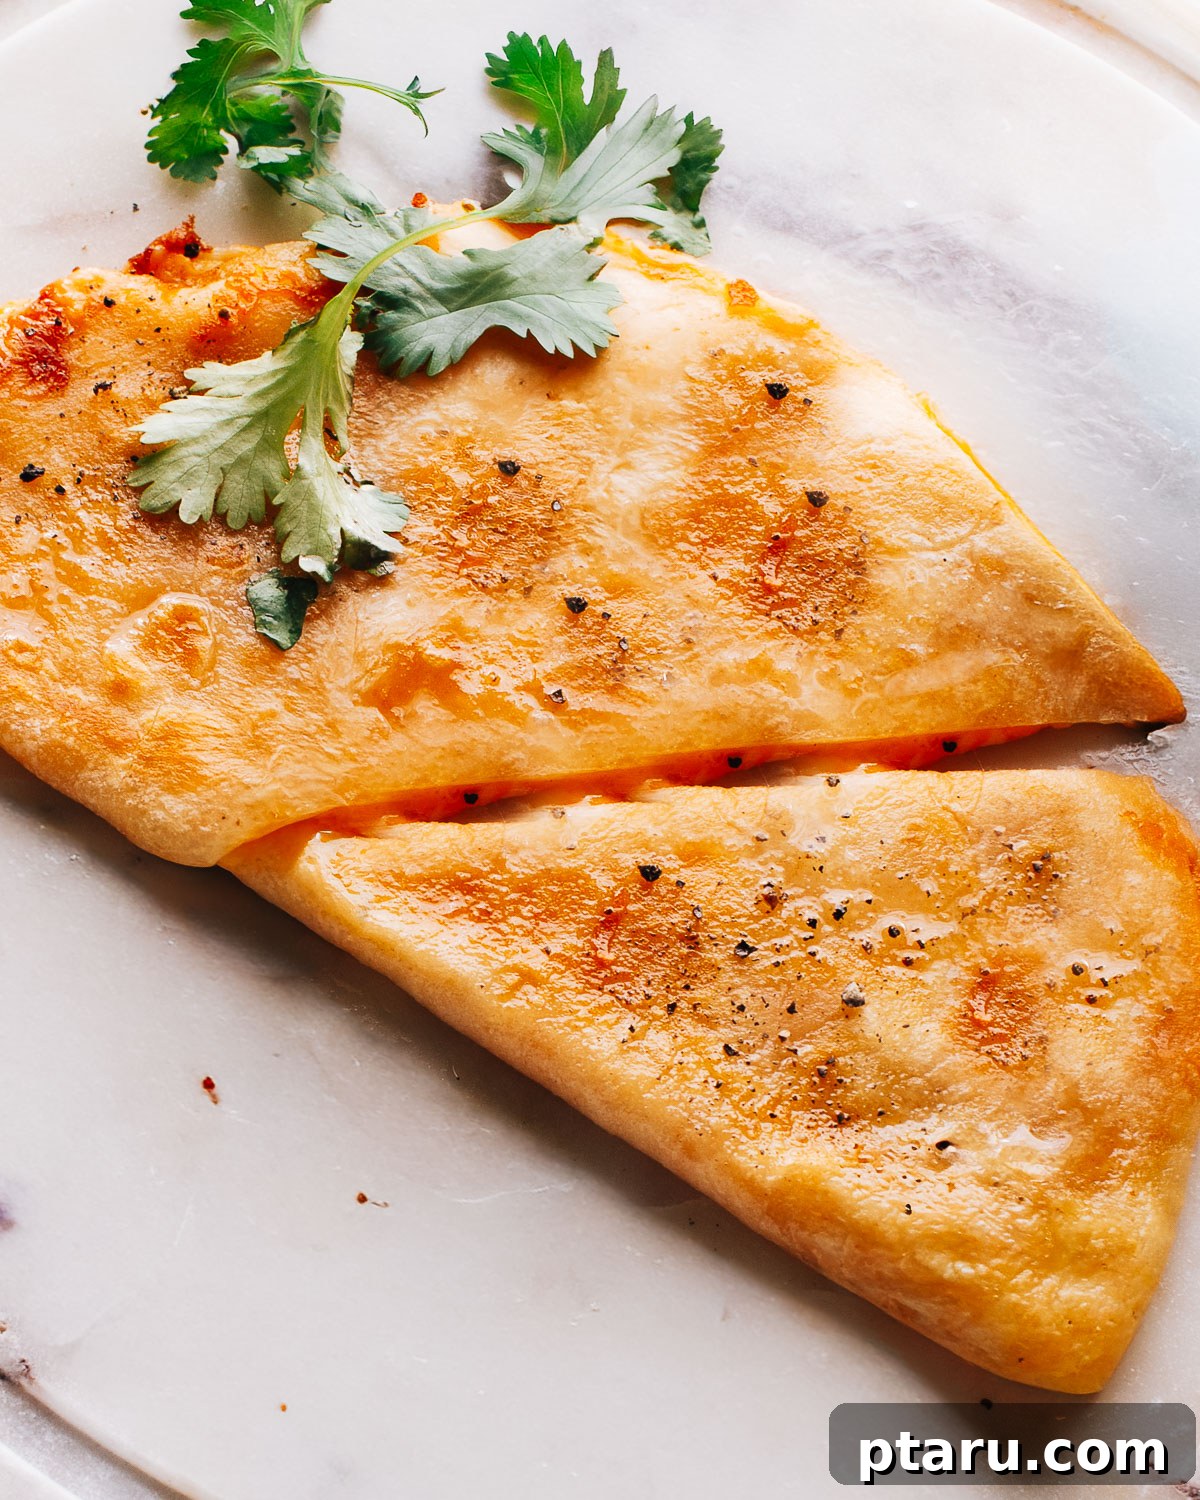
Life can be a whirlwind of activities, from after-school commitments to evening sports. On those chaotic evenings when time is a luxury, a quick, satisfying meal is essential. That’s where these amazing Chicken Quesadillas shine! They’re not just incredibly tasty, but they’re also protein-packed and come together at lightning speed, making them my go-to solution for feeding hungry family members. Say goodbye to takeout and hello to a delicious, homemade meal in under 20 minutes!
Essential Chicken Quesadilla Ingredients for Perfect Flavor
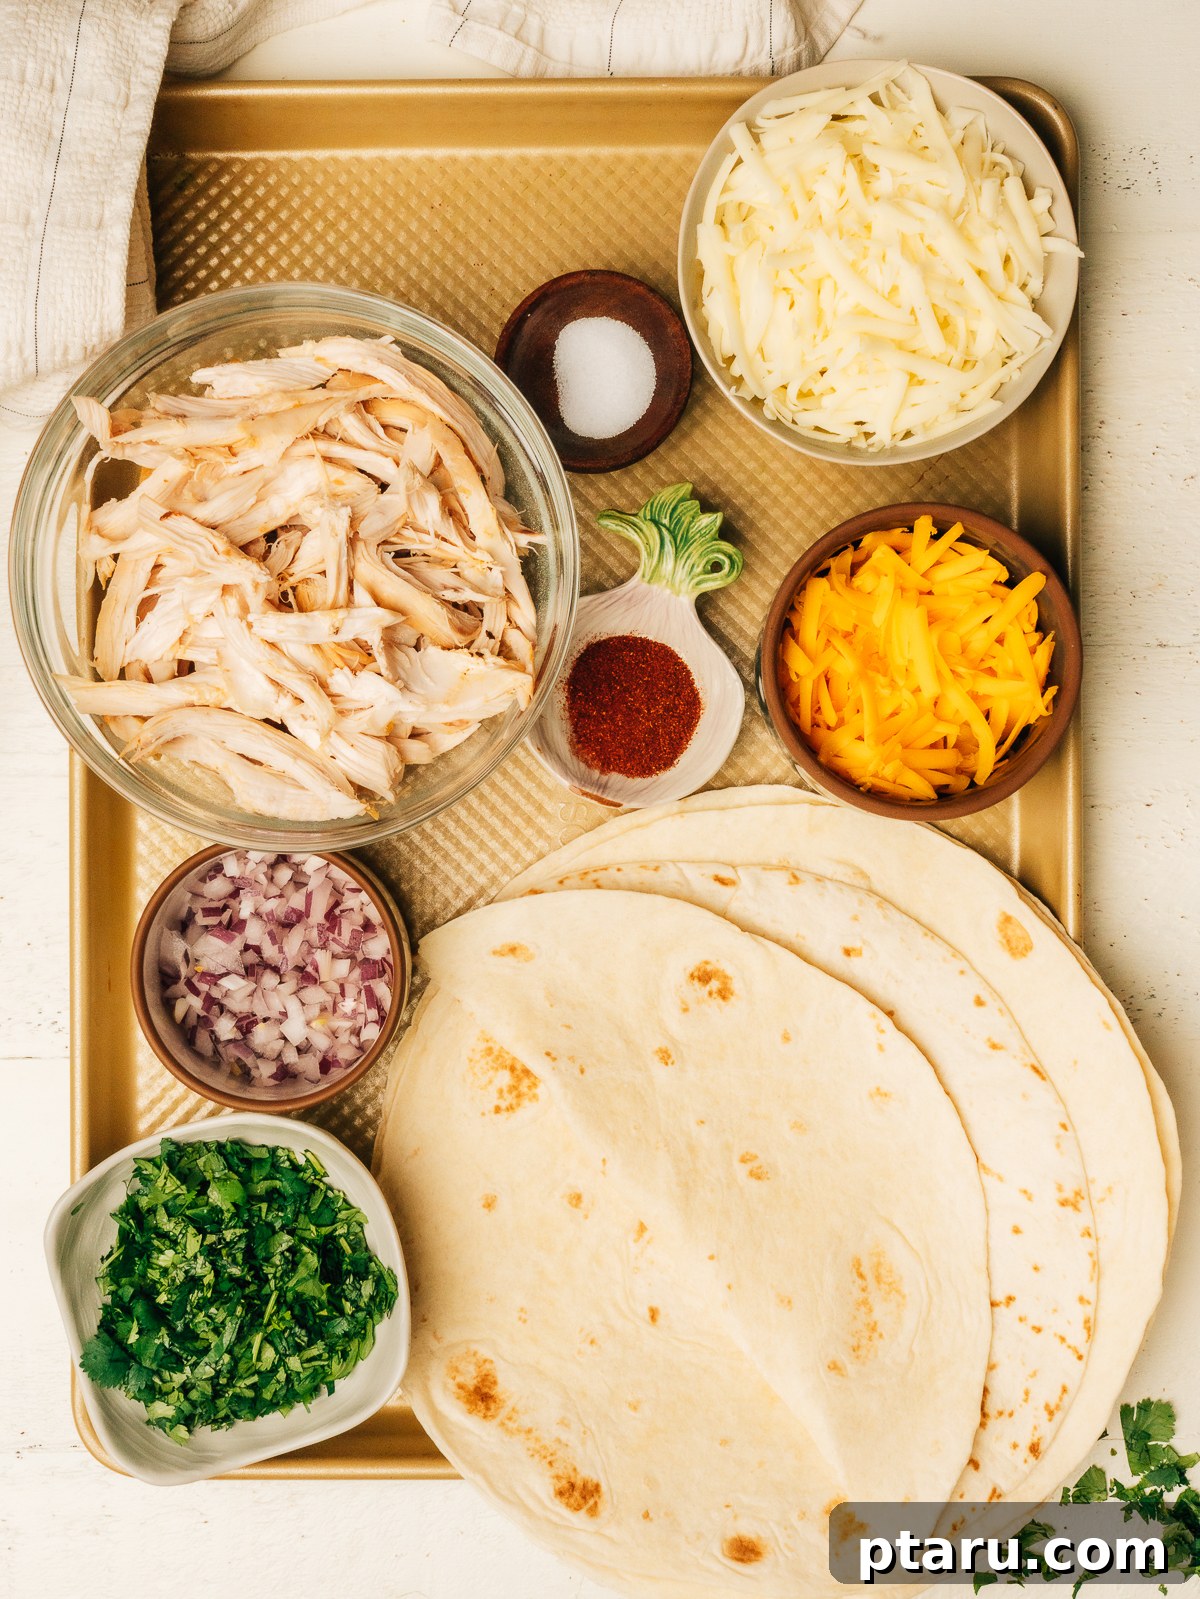
Creating the best chicken and cheese quesadillas at home starts with quality ingredients. Here’s what you’ll need for a truly delicious experience:
For the Irresistible Chicken Filling
- Cooked Chicken: The cornerstone of our quesadilla! For ultimate convenience, I often rely on a store-bought rotisserie chicken, which is already cooked and seasoned. However, any leftover cooked chicken, whether shredded chicken breast or succulent chicken thighs, works beautifully. Ensure it’s finely shredded or diced for even distribution and easy eating.
- Chili Powder: This spice adds a foundational warmth and a subtle smoky depth that elevates the chicken’s flavor profile. If you prefer, a good quality homemade chili seasoning or even chicken taco seasoning can be used for a slightly different, bolder taste. Adjust the quantity to your preferred spice level.
- Kosher Salt: Essential for enhancing all the other flavors. Don’t underestimate its power to make the seasoned chicken and spices truly sing.
Crafting the Perfect Quesadillas
- Large Flour Tortillas: The vessel for our delicious filling! Burrito-sized tortillas (typically 10-12 inches) are ideal. Their larger surface area allows for ample filling without overstuffing, and they fold easily to create a substantial quesadilla. Look for soft, pliable tortillas that won’t crack when folded.
- Monterey Jack Cheese: A must-have for its incredible melting properties and mild, creamy flavor. It’s the go-to cheese for authentic Mexican dishes, ensuring that signature gooey, stretchy goodness.
- Sharp Cheddar Cheese: While Monterey Jack brings the melt, sharp cheddar brings the flavor and a beautiful golden-orange hue to your chicken cheese quesadilla. Its robust taste perfectly complements the chicken and spices. For the best melt and flavor, always shred your cheese from a block rather than using pre-shredded varieties, which often contain anti-caking agents.
- Red or White Onion: Finely diced, a small amount of onion adds a subtle crunch and a hint of zesty bite, cutting through the richness of the cheese and chicken. Red onion offers a slightly sweeter, milder flavor, while white onion provides a sharper kick.
- Fresh Cilantro: Chopped fresh cilantro brightens the entire dish with its distinctive herbaceous aroma and flavor. If you’re not a fan, feel free to skip it or substitute with a little fresh parsley.
- Butter: Crucial for achieving that coveted golden-brown, crispy exterior. Cooking your quesadillas in butter imparts a rich flavor that oil simply can’t match, ensuring each bite is perfectly crunchy and satisfying.
For Serving: The Perfect Accompaniment
- Sour Cream: The quintessential dipping sauce for quesadillas. Its cool, tangy creaminess provides a delightful contrast to the warm, savory filling. Always serve it on the side for individual preference.
- Pico de Gallo: While optional, a fresh pico de gallo adds vibrant freshness and a slight tang, enhancing the overall experience.
You’ll find the full, precise recipe quantities conveniently listed in the recipe card at the bottom of this article.
Exciting Variations and Smart Substitutions
One of the best things about this easy chicken quesadilla recipe is its incredible versatility. Feel free to get creative and customize it based on your family’s preferences or whatever ingredients you have on hand. Here are some easy ways to switch things up:
- Experiment with Different Proteins: Not limited to chicken! Try shredded beef, savory carnitas, or even ground turkey for a different meat option. For a fantastic vegetarian version, black beans, pinto beans, or seasoned refried beans make an excellent and satisfying filling.
- Chicken Breast or Thighs: Both types of chicken work wonderfully. Chicken breasts offer a leaner profile, while chicken thighs are more forgiving during cooking, tending to stay juicier and more flavorful. If using raw chicken, simply cook it with your preferred seasoning (taco seasoning, chili powder, salt, and pepper) until thoroughly cooked, then shred.
- Cheese Swaps: Spice things up by using Pepper Jack cheese for an added kick of heat. A convenient pre-shredded Mexican cheese blend can also work in a pinch, though freshly shredded cheese always melts best. Oaxaca cheese offers an authentic, stretchy melt similar to string cheese.
- Introduce Bell Peppers: Sautéed bell peppers (any color!) add a lovely sweetness, vibrant color, and extra nutritional value. Make sure to sauté them before adding to the quesadilla filling to soften them and prevent excess moisture. For those who love heat, thinly sliced jalapeños or serrano peppers can be added.
- Incorporate More Veggies: Boost the nutrition and texture by adding other vegetables of choice. Diced tomatoes (seed them first to prevent sogginess), corn kernels, or fresh spinach (wilted briefly) are excellent additions.
- Spice It Up with Taco Seasoning: If you’re looking for a bolder, more complex flavor profile, swap the chili powder for a packet of your favorite taco seasoning or make your own homemade taco seasoning blend.
- Consider Corn Tortillas for Gluten-Free: For a gluten-free option, use soft corn tortillas. Be aware that they are smaller and less pliable, so you might need two tortillas per quesadilla or make smaller, open-faced versions. They crisp up wonderfully!
- Skip the Cilantro (or Substitute): If cilantro isn’t to your liking (for some, it tastes like soap!), simply leave it out entirely or substitute it with fresh parsley for a milder herbaceous note.
Quesadillas are undeniably a weeknight STAPLE in my house due to their ease and deliciousness. Once you master this chicken version, you’ll want to explore more! You simply have to try my classic cheese quesadilla for the ultimate gooey, cheesy experience, or my air fryer quesadilla when you crave extra crispiness with minimal effort and no stovetop required!
Grab These Tools for Quesadilla Success
The good news is, you likely already have most, if not all, of the necessary kitchen tools for making these easy chicken quesadillas. No fancy equipment required!
- Large Skillet: A sturdy 12-inch non-stick skillet is perfect for cooking quesadillas over medium heat. Its size allows you to cook a full-sized quesadilla without overcrowding, ensuring even browning and melting.
- Wide Spatula: A wide, thin spatula is your best friend for flipping quesadillas. It provides ample support, preventing the filling from spilling out and ensuring a clean, easy flip.
- Mixing Bowl: A medium-sized mixing bowl is ideal for tossing and seasoning your shredded chicken evenly before assembly.
- Cutting Board and Knife: Essential for dicing the onion, chopping fresh cilantro, and, of course, slicing the finished quesadillas into neat wedges.
- Pizza Cutter: While optional, a pizza cutter makes slicing cooked quesadillas into perfect wedges incredibly easy and clean, especially when the cheese is warm and gooey.
- Air Fryer: Also optional, but an air fryer is fantastic for reheating leftover quesadillas, bringing them back to crispy perfection without making them soggy.
How to Make the Best Chicken Quesadillas: An Easy Step-by-Step Guide
Making delicious, crispy, and cheesy chicken quesadillas at home is surprisingly simple. Follow these straightforward steps for perfectly melty, golden results every single time:
Step 1: Season the Chicken to Perfection
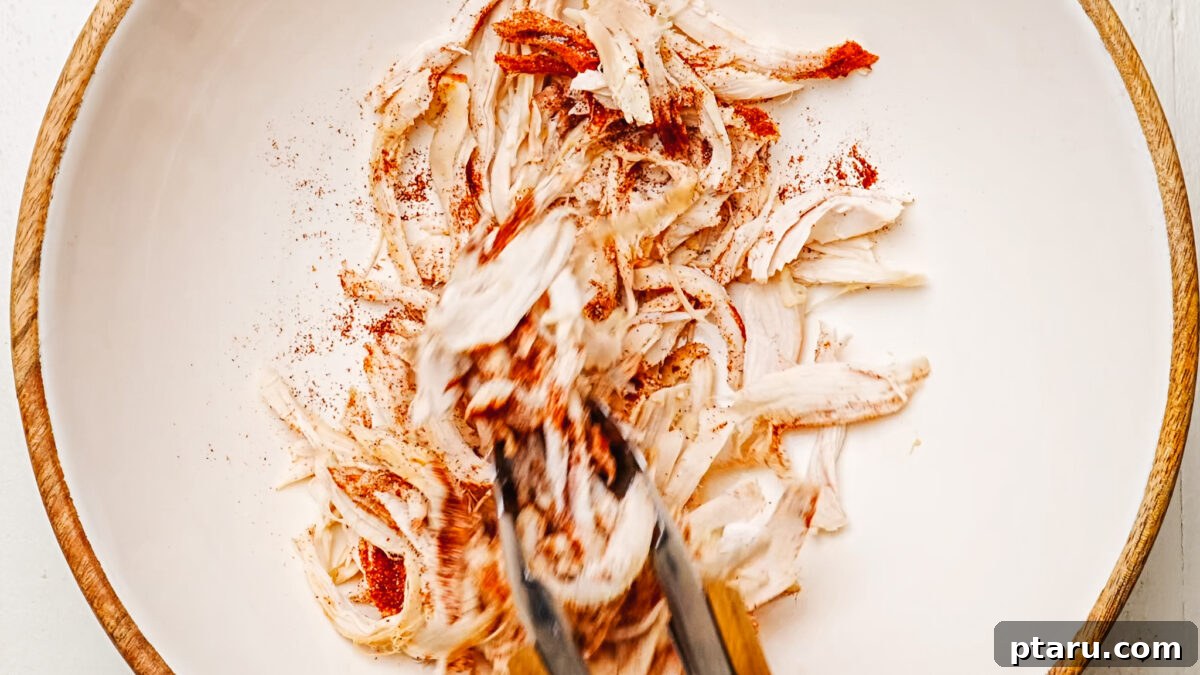
In a medium-sized bowl, combine your shredded cooked chicken with the chili powder and kosher salt. Toss everything together vigorously for about 30 seconds, ensuring every piece of chicken is evenly coated with the delicious seasoning. This step is quick but vital for flavor.
Step 2: Expertly Assemble Your Quesadillas
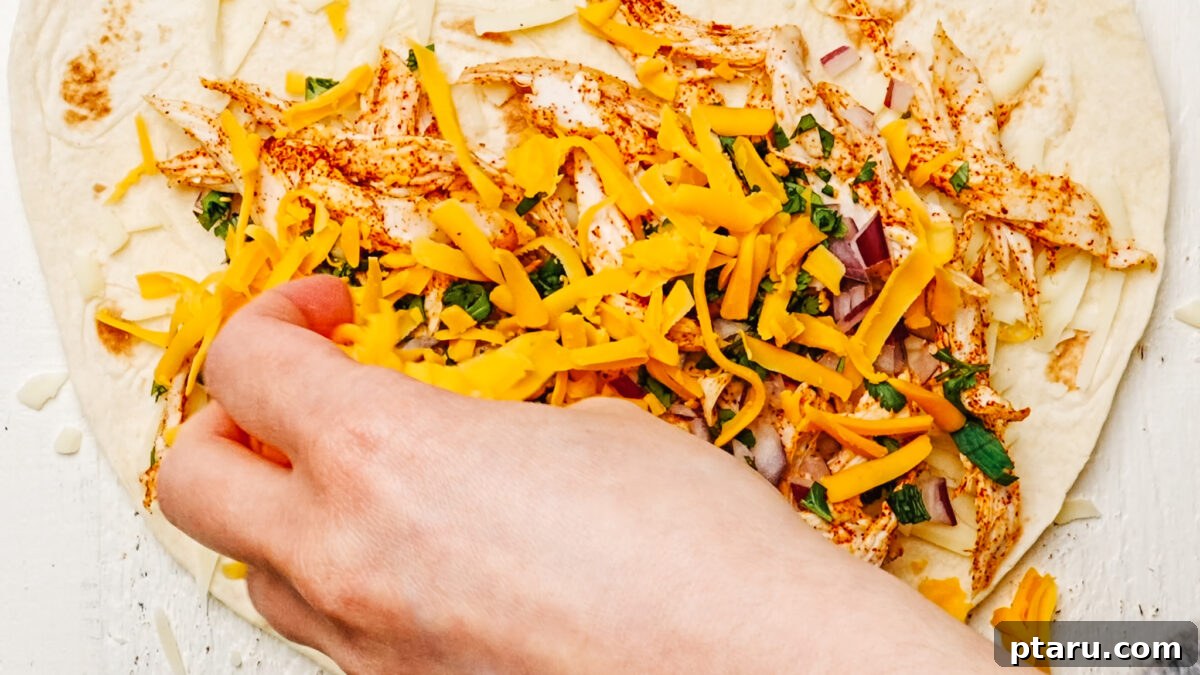
Lay your large flour tortillas flat on a clean, dry surface. On one half of each tortilla, sprinkle a light, even layer of shredded Monterey Jack cheese. This initial layer acts as a crucial “glue,” helping all the other fillings adhere and preventing them from shifting or falling out. Next, evenly distribute the seasoned chicken, finely diced onion, and chopped fresh cilantro over the cheese. Follow with the shredded sharp cheddar cheese, then finish with a final sprinkle of Monterey Jack cheese on top. Carefully fold the empty half of each tortilla over the filled half to close it, forming a neat semicircle.
Step 3: Cook the First Golden Side
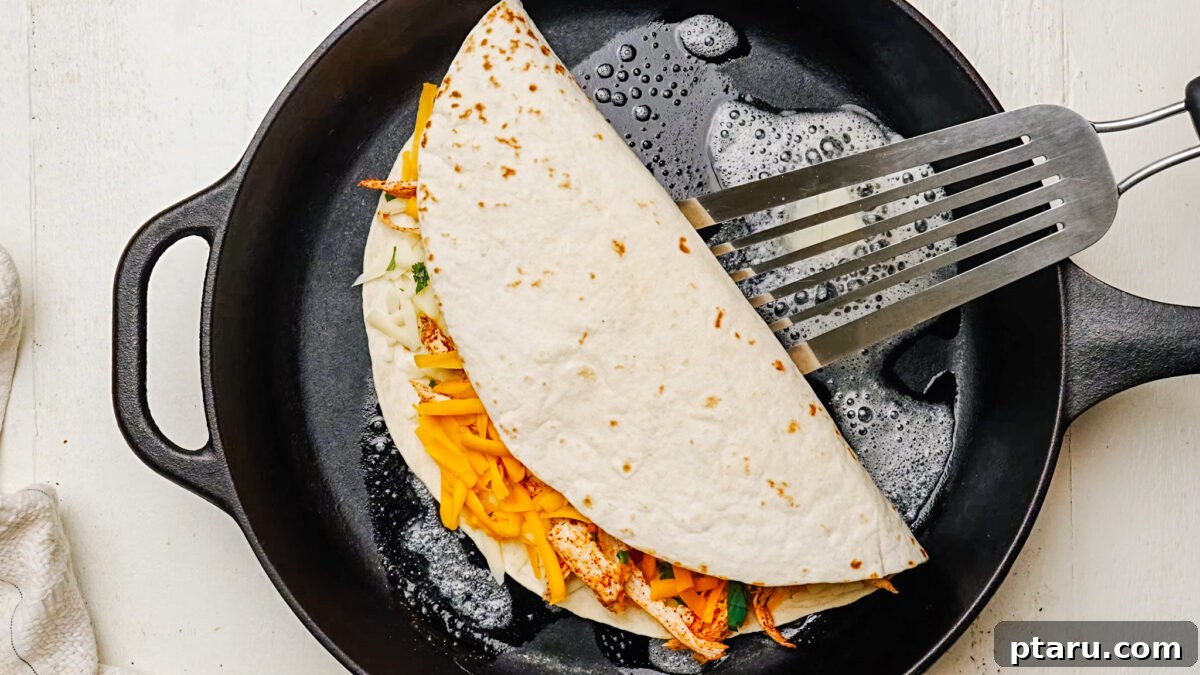
Place a large skillet over medium heat. It’s important to keep the heat at medium to medium-low. Too high, and your tortilla will burn before the cheese has a chance to fully melt; too low, and you won’t achieve that desirable crispiness. Melt about 1/2 tablespoon of butter in the hot pan, ensuring it coats the surface. Carefully place one assembled quesadilla into the melted butter. Cook for approximately 2 to 3 minutes, or until the bottom side is beautifully golden brown and crispy.
Step 4: Flip and Finish for Melty Perfection
Once the first side is golden, gently lift the quesadilla with your wide spatula. Add another small pat of butter (about 1/2 tablespoon) to the pan where the quesadilla will land. Carefully flip the quesadilla into the fresh melted butter. Continue to cook for another 2 to 3 minutes on the second side, until it’s also golden and crisp, and the cheese inside is completely melted and gooey. You should see a slight oozing of cheese, which indicates it’s ready.
Step 5: Repeat, Rest, and Serve with Joy
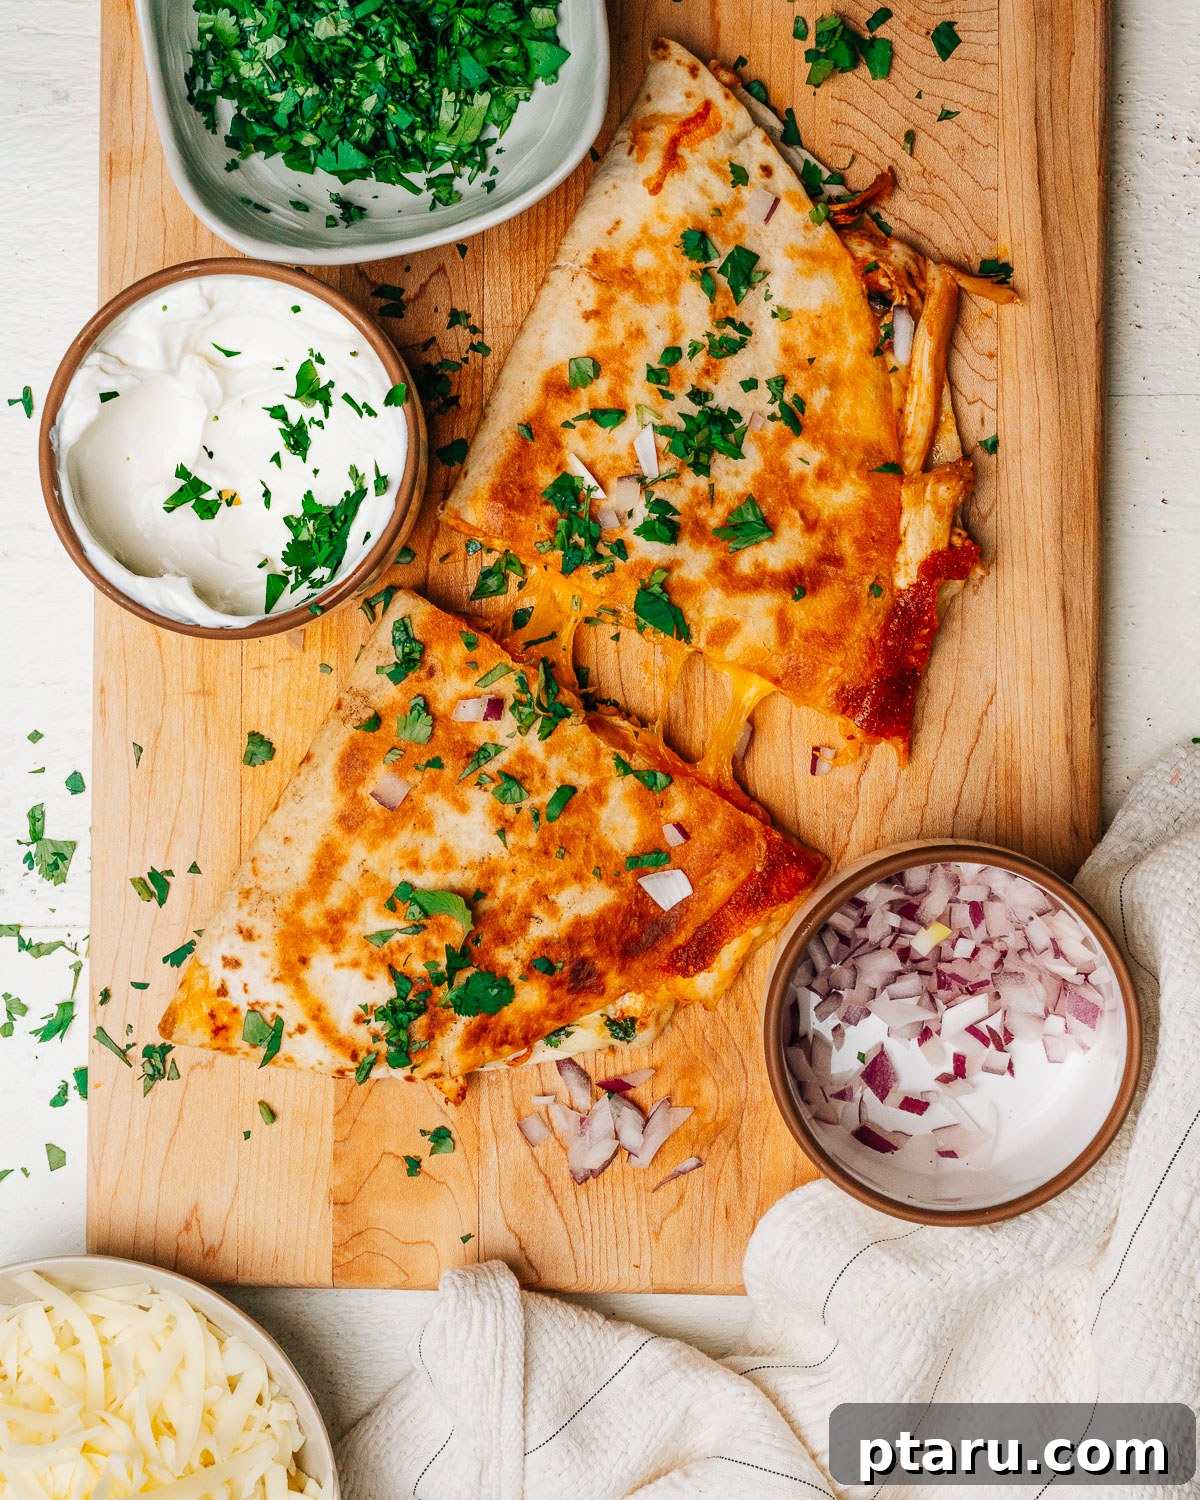
Remove the cooked quesadilla from the pan and repeat the cooking process with the remaining quesadillas, adding butter as needed for each. Once cooked, transfer each quesadilla to a cutting board and allow it to rest for about 1 minute before slicing it into wedges. This short resting period is critical as it allows the hot, melty cheese to set slightly, ensuring clean, intact slices without the filling oozing out excessively. Serve immediately with your favorite toppings like sour cream and fresh pico de gallo, and watch them disappear!
5 Common Mistakes to Avoid for Perfect Chicken Quesadillas
Even though this recipe is simple, there are a few common pitfalls that can prevent you from achieving the ultimate crispy, cheesy quesadilla. Knowing these frequent mix-ups will help you guarantee perfect results every time:
- Heat Too High: This is perhaps the most common mistake. Cooking over high heat will rapidly burn the tortilla before the cheese inside has a chance to fully melt and become gooey. Always keep your skillet over a consistent medium or medium-low heat for the best balance of crispiness and melty cheese.
- Overfilling Your Tortilla: It’s tempting to load up on filling, but too much shredded chicken and cheese makes the quesadilla difficult to fold, hard to cook evenly, and incredibly messy to flip. A moderate amount of filling is always better for a well-structured and easy-to-handle quesadilla.
- Skipping the Butter (or Using Only Oil): While oil can cook a tortilla, butter is superior for quesadillas. It not only imparts a rich, irresistible flavor but also promotes beautiful, even golden-brown crispiness that oil often misses. Don’t skip this key ingredient for that authentic taste and texture.
- Not Layering Cheese Properly: Think of the cheese as your edible glue. Placing a layer of cheese both on the bottom (directly on the tortilla) and on top of the other fillings creates a strong bond. This ensures that when you flip the quesadilla, all the delicious ingredients stay neatly tucked inside.
- Cutting Too Soon After Cooking: Impatience can lead to a messy situation! Hot cheese is liquid and will ooze everywhere if cut immediately. Allowing the quesadilla to rest for just a minute after it comes off the pan gives the cheese a crucial moment to set up slightly, resulting in cleaner, more defined wedges when sliced.
Make Ahead and Storage Solutions for Easy Quesadillas
This chicken quesadilla recipe is incredibly meal-prep friendly, allowing you to prepare components ahead of time for even faster weeknight meals. It’s perfect for efficient meal planning!
Storing Leftovers Effectively
- Refrigerate Cooked Quesadillas: Once cooled completely, store any leftover cooked quesadilla wedges in an airtight container in the refrigerator for up to 3 days.
- Prevent Sticking: If stacking multiple wedges, place small pieces of parchment paper between the layers. This prevents them from sticking together, especially the melted cheese.
- Store Seasoned Chicken Separately: The flavorful seasoned chicken filling can be prepared and stored on its own in an airtight container in the fridge for 3 to 4 days. This makes assembly on demand incredibly quick.
Freezing for Future Feasts
- Freeze Cooked Quesadillas: To freeze cooked quesadillas, first let them cool completely. Then, arrange them in a single layer on a baking sheet and freeze until solid. Once frozen, transfer them to a freezer-safe bag or container. They will keep well for up to 2 months.
- Freeze Uncooked Quesadillas: For ultimate convenience, you can assemble quesadillas (without cooking them), wrap each one tightly in plastic wrap, then aluminum foil, and freeze. There’s no need to thaw them before cooking; simply add an extra minute or two per side during the cooking process to ensure they heat through and crisp up.
- Freeze Leftover Seasoned Chicken: The seasoned shredded chicken also freezes beautifully for up to 3 months. Thaw it overnight in the refrigerator before using it in your quesadillas or other recipes.
Reheating Chicken Quesadillas to Perfection
- Skillet: My preferred method for reheating! Place quesadillas in a dry skillet over medium heat for 2 to 3 minutes per side. This revives the crispiness and melts the cheese without making the tortilla soggy.
- Air Fryer: Another excellent option for crisp results. Reheat at 350°F (175°C) for 3 to 4 minutes. The air fryer circulates heat, making them wonderfully hot and crisp.
- Oven: If reheating multiple quesadillas, place them on a baking sheet in an oven preheated to 375°F (190°C) for 8 to 10 minutes, or until heated through and crispy.
- Avoid the Microwave: Unless you’re in an absolute pinch and don’t mind a softer texture, avoid the microwave for reheating quesadillas. It tends to make the tortillas unpleasantly soggy.
How to Serve This Chicken Quesadilla Recipe: Dips and Delicious Sides
While chicken quesadillas are incredibly satisfying on their own, pairing them with the right dips and side dishes truly transforms them into a complete and unforgettable meal. This versatile Mexican dish complements a wide array of toppings and accompaniments.
Flavorful Dips for Your Chicken Quesadillas
- Sour Cream: The ultimate classic choice. Its cool, tangy profile offers a refreshing contrast to the warm, savory quesadilla.
- Easy Guacamole: For a rich, creamy, and fresh avocado flavor that’s hard to beat. The healthy fats and vibrant taste are a perfect match.
- Cilantro Lime Crema: Adds a bright, zesty, and tangy finish. Its creamy texture and refreshing flavor are a delightful upgrade from plain sour cream.
- Avocado Crema: Offers a smoother, richer, and subtly herbaceous avocado experience, distinct from guacamole.
- Pico de Gallo: A fresh, vibrant, chunky salsa made with diced tomatoes, onions, cilantro, and jalapeños. It brings a burst of fresh flavor and a slight tang. My easy fresh taco salsa is a great alternative.
- Baja Sauce: A reader favorite, this creamy, slightly spicy sauce adds a fantastic layer of flavor and is incredibly versatile.
Delicious Side Dishes for Chicken Quesadillas
- Instant Pot Mexican Rice: Transforms your quesadillas into a hearty, complete Mexican-inspired feast with minimal effort.
- Black Beans or Refried Beans: Simple yet satisfying. Serve a side of seasoned black beans or creamy refried beans for added protein and fiber, rounding out the meal perfectly.
- A Simple Green Salad with Lime Vinaigrette: A light and refreshing green salad with a zesty lime dressing provides a fresh counterpoint to the richness of the quesadillas.
- Vegetarian Taco Salad: For a heartier, yet still fresh and vibrant pairing, a vegetarian taco salad offers texture and flavor contrasts.
- Tortilla Chips with Extra Salsa and Guac: You can never go wrong with a classic! Serve a bowl of crispy tortilla chips alongside extra dips for a satisfying crunch and added flavor.
Final Notes, Pro Tips, & Science-Based Secrets for Quesadilla Perfection
To ensure your homemade chicken quesadillas are consistently phenomenal, keep these expert tips and culinary insights in mind. These little details make a big difference in taste and texture every time:
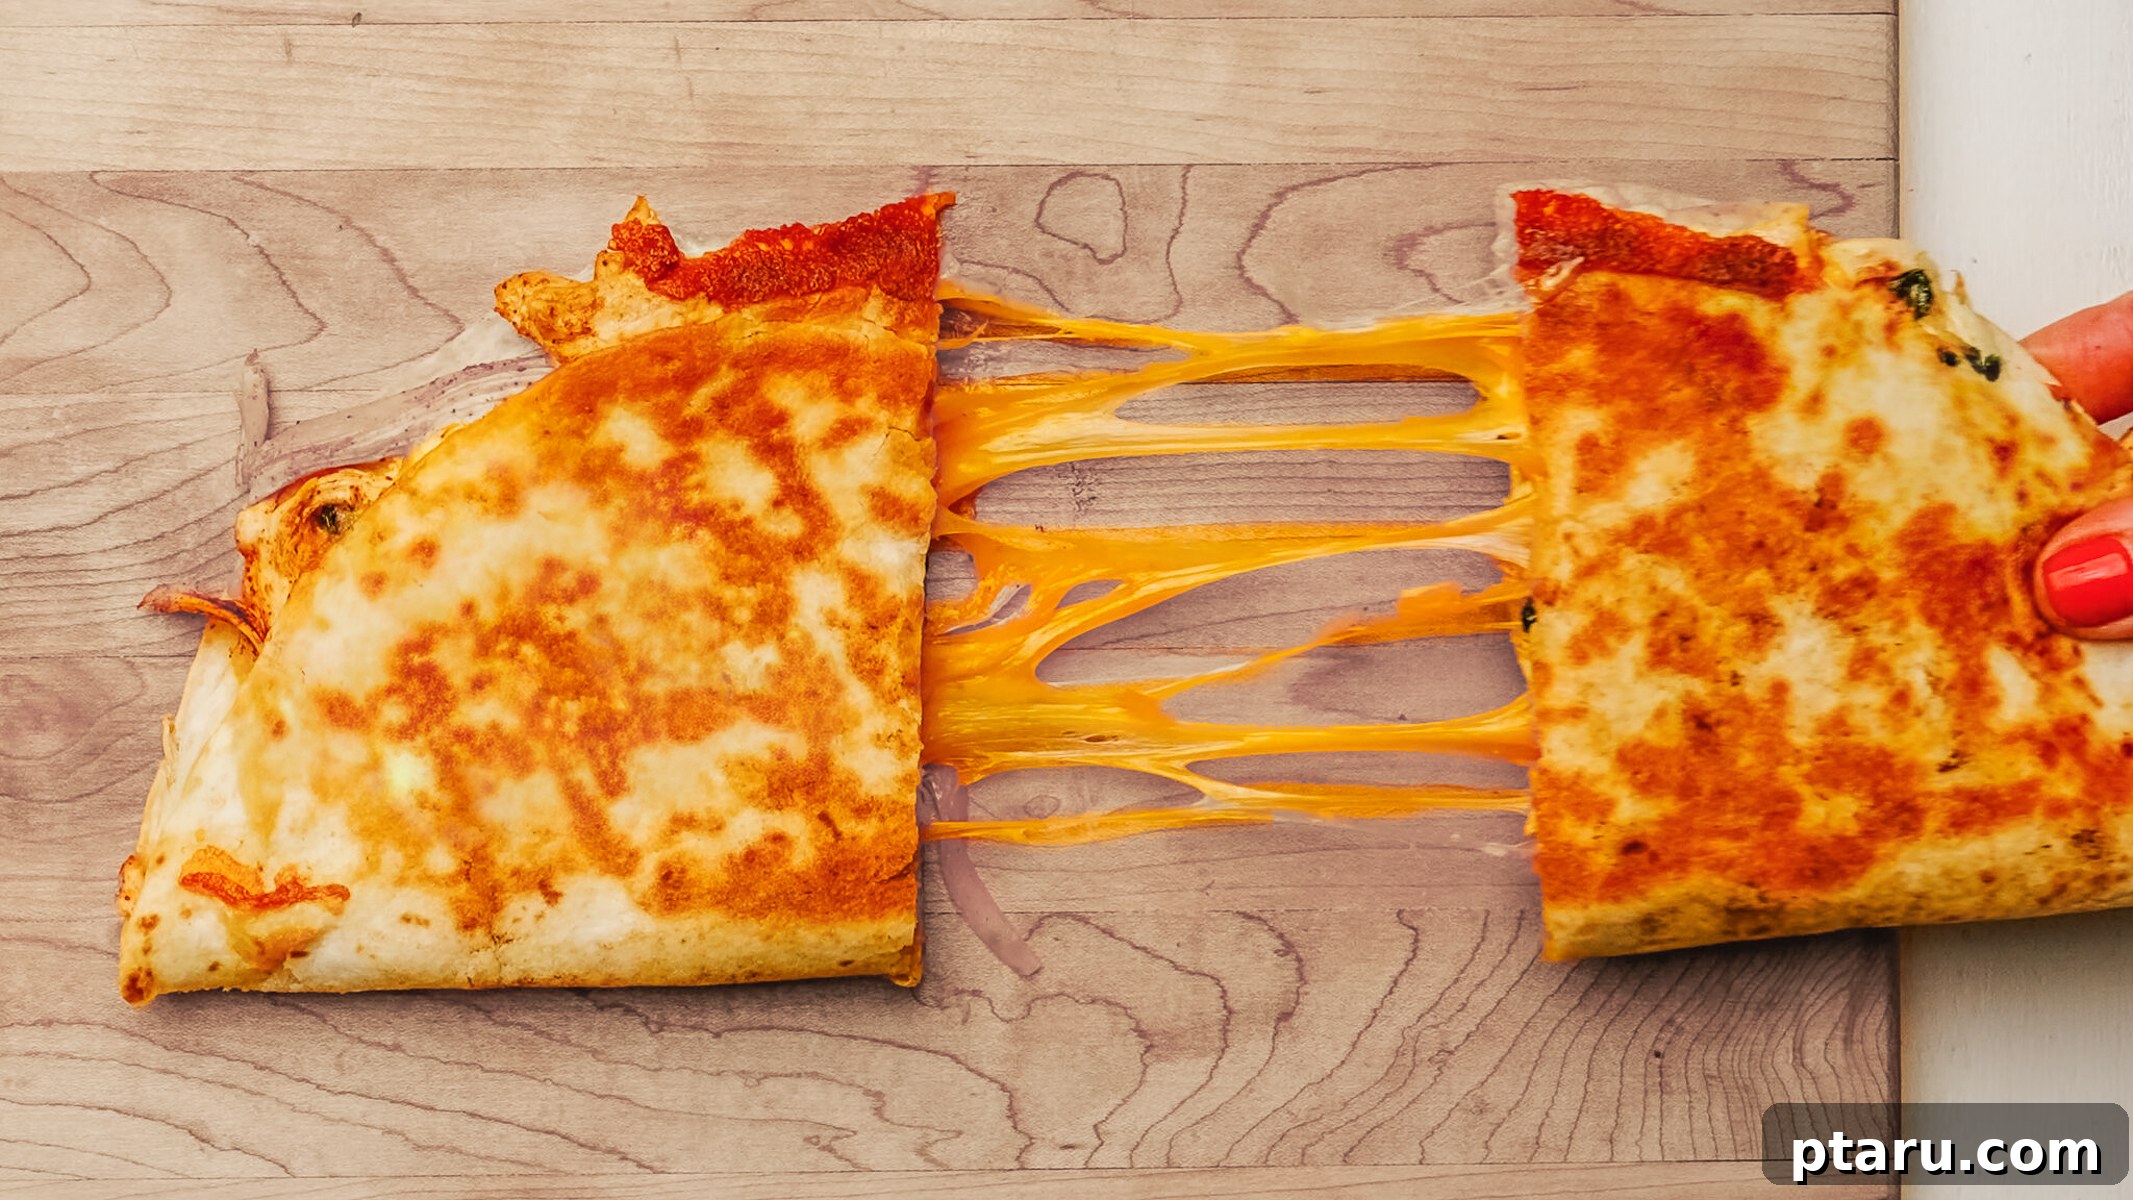
- The Power of Two Cheeses: This isn’t just a random choice; it’s a strategic flavor combination. Monterey Jack cheese is renowned for its smooth, consistent melt and mild creaminess, providing that signature gooey pull. Sharp cheddar, on the other hand, adds a deeper, more robust flavor profile and a beautiful golden color. Together, they create the ideal balance of texture and taste that elevates your quesadilla from good to gourmet.
- Mastering Medium Heat: Patience is a virtue, especially when cooking quesadillas. Cooking in a skillet over consistent medium heat (or even medium-low) is crucial. This allows ample time for the cheese to melt completely and uniformly, while the tortilla simultaneously develops a golden-brown, crispy exterior without burning. Rushing this step will result in either unmelted cheese or a charred tortilla.
- Butter Both Sides for Ultimate Crispness: Don’t skimp on the butter! Adding a fresh pat of butter to the pan before flipping ensures that both sides of your quesadilla get that irresistible golden crispness and a rich, buttery flavor. It’s the secret to those perfectly browned, crunchy edges.
- The “Cheese as Glue” Strategy: For a quesadilla that holds its form beautifully, layer cheese on both the bottom and the top of your filling. The bottom layer creates a base that helps the fillings adhere to the tortilla, while the top layer melts down to encapsulate everything, acting as an internal “glue” that prevents any delicious components from escaping when you flip and slice.
- The Importance of Resting: It might seem like a minor detail, but allowing your quesadilla to rest for just one minute after cooking is a game-changer. This brief pause gives the super-hot, molten cheese a moment to firm up slightly. The result? Cleaner, more precise slices that hold their shape, making them much easier and more enjoyable to eat.
- Rotisserie Chicken: Your Busy Night Best Friend: For the quickest possible assembly, a pre-cooked rotisserie chicken is an absolute lifesaver. It’s already perfectly cooked and seasoned, saving you precious time and effort on those hectic weeknights. Simply shred and toss with your additional spices.
- Embrace Leftover Chicken: Don’t let cooked chicken go to waste! Any leftover chicken from last night’s dinner – whether roasted, grilled, or baked – is a prime candidate for these quesadillas. Just shred it, season it up, and you’re halfway to a fantastic meal. It’s a delicious way to repurpose ingredients and minimize food waste.
Frequently Asked Questions (FAQs) About Chicken Quesadillas
Just skimming through? Here are quick, comprehensive answers to the most commonly asked questions about this fantastic chicken quesadilla recipe, designed to help you succeed every time.
The ultimate cheese blend for chicken quesadillas is a combination of Monterey Jack and sharp cheddar. Monterey Jack melts incredibly smoothly, offering a mild, creamy base and fantastic stretch. Sharp cheddar introduces a bolder, more complex flavor and a beautiful golden color. Together, they create a perfectly melty, flavorful filling that’s characteristic of the best Mexican dishes. For superior melt, always shred cheese from a block.
Absolutely! You can definitely make chicken quesadillas ahead of time, which is excellent for easy meal planning and busy schedules. Once cooked, allow them to cool completely, then store them in an airtight container in the refrigerator for up to 3 days. For best results when reheating, use a skillet over medium heat or an air fryer to restore their delicious crispiness.
For sheer convenience and delicious flavor, shredded rotisserie chicken is the top choice for easy chicken quesadillas. Its pre-cooked and seasoned nature drastically cuts down prep time. However, any leftover cooked chicken, whether shredded chicken breasts or tender chicken thighs, works perfectly. Ensure the chicken is finely shredded or diced for even distribution within the tortilla.
To ensure your quesadillas remain wonderfully crispy and avoid sogginess, follow a few key steps: always cook them in a preheated skillet over medium heat until both sides are golden and crisp. Using butter instead of oil helps achieve better browning and flavor. Crucially, let the cooked quesadilla rest for about a minute before cutting to allow the cheese to set. When reheating, always opt for a skillet or air fryer over a microwave, which tends to make tortillas soggy.
Yes, chicken quesadillas freeze exceptionally well for up to 2 months! To freeze cooked quesadillas, cool them completely, then freeze them in a single layer on a baking sheet until solid. Afterwards, transfer them to a freezer-safe bag or container. You can also freeze uncooked, assembled quesadillas by wrapping them tightly; they can be cooked from frozen, just add an extra minute or two to each side during pan-frying.
Large flour tortillas, typically 10 to 12 inches in diameter, are highly recommended for this chicken quesadilla recipe. Their pliability makes them easy to fold, and their size provides ample space for a generous filling. They also crisp up beautifully in the pan, creating that desirable golden-brown exterior. Burrito-sized tortillas are ideal for substantial, satisfying quesadillas.
Absolutely! Adding vegetables of choice is a fantastic way to boost flavor, texture, and nutrition. Bell peppers, corn, spinach, diced tomatoes, or jalapeños all work well. It’s important to sauté any raw vegetables (like bell peppers or onions) first to soften them and reduce their moisture content. This prevents them from releasing liquid into the quesadilla, which could make it soggy.
Chicken quesadillas pair wonderfully with a variety of dips and sides. For dipping, classic choices include sour cream, fresh guacamole, tangy pico de gallo, or a vibrant cilantro lime crema. To make it a complete meal, consider serving them alongside Instant Pot Mexican rice, seasoned black beans, creamy refried beans, or a crisp green salad with a zesty vinaigrette. Tortilla chips with extra salsa and guac are always a hit too!
Other Delicious Mexican-Inspired Recipes You’ll Love
If you enjoyed this chicken quesadilla recipe, you’re sure to love these other flavorful Mexican dishes that are perfect for any occasion:
- Crockpot Chicken Tacos: Effortless and packed with flavor, perfect for busy days.
- My favorite Beef Fajitas: Sizzling steak and peppers for a vibrant meal.
- Crispy Baked Chicken Tacos: A healthier, crunchy alternative to fried tacos.
- Homemade Ground Beef Tacos: Classic comfort, customizable for all palates.
- Spicy Fish Tacos: Light, fresh, and bursting with flavor, often served with a zesty slaw.
- Instant Pot Mexican Rice: A quick and easy side that complements any Mexican meal.

Pin Recipe
Print Recipe
Chicken Quesadilla
Jennifer Pallian BSc, RD
5 minutes
5 minutes
10 minutes
4 large quesadillas
Video
A video tutorial for this recipe would go here.
Ingredients
For the Chicken Filling
- 2 cups cooked shredded chicken (rotisserie chicken works great)
- 1 tbsp chili powder
- ½ tsp kosher salt
For the Quesadillas
- 4 large flour tortillas
- 2 cups shredded Monterey Jack cheese
- ½ cup finely diced red or white onion
- ½ cup chopped fresh cilantro
- 1 cup shredded sharp cheddar cheese
- 2 tbsp butter, divided (for greasing the pan)
For Serving
- Sour cream
- Pico de gallo
Instructions
-
In a bowl, toss the shredded chicken with chili powder and salt until evenly coated.
-
Lay out the flour tortillas. On half of each one, add a light layer of Monterey Jack, followed by the seasoned chicken, diced onion, and chopped cilantro. Top with the cheddar and finish with a bit more Jack. Fold the tortillas over to close.
-
Heat a large skillet over medium heat. Melt 1/2 tbsp butter, then add one quesadilla. Cook 2 to 3 minutes until golden underneath.
-
Lift the quesadilla slightly, add a small pat of butter to the pan, then flip the quesadilla into the melted butter, and cook another 2 to 3 minutes until the second side is golden and crisp.
-
Repeat with remaining quesadillas. Let rest for 1 minute before slicing into wedges. Serve with sour cream and/or pico de gallo.
Notes
Heat Level: Keep the skillet over medium to medium-low heat so the cheese has time to melt while the tortilla crisps up without browning too quickly.
Cheese: Always shred cheese from a block for best melting. Pre-shredded cheese contains anti-caking agents that can affect texture.
Seasoning: Swap chili powder for taco seasoning if you prefer bolder flavor.
Add-ins: Add sautéed bell peppers, tomato, or veggies of choice to the quesadilla filling.
Storage: Store leftover quesadillas in an airtight container in the refrigerator for up to 3 days. Reheat in a skillet or air fryer for best results.
Nutrition
Calories:
606kcal
|
Carbohydrates:
19g
|
Protein:
42g
|
Fat:
40g
|
Saturated Fat:
22g
|
Polyunsaturated Fat:
3g
|
Monounsaturated Fat:
11g
|
Trans Fat:
0.2g
|
Cholesterol:
148mg
|
Sodium:
1176mg
|
Potassium:
350mg
|
Fiber:
2g
|
Sugar:
3g
|
Vitamin A:
1662IU
|
Vitamin C:
2mg
|
Calcium:
697mg
|
Iron:
3mg
Nutrition information is automatically calculated, so should only be used as an approximation.
Tried this recipe? Leave a comment!