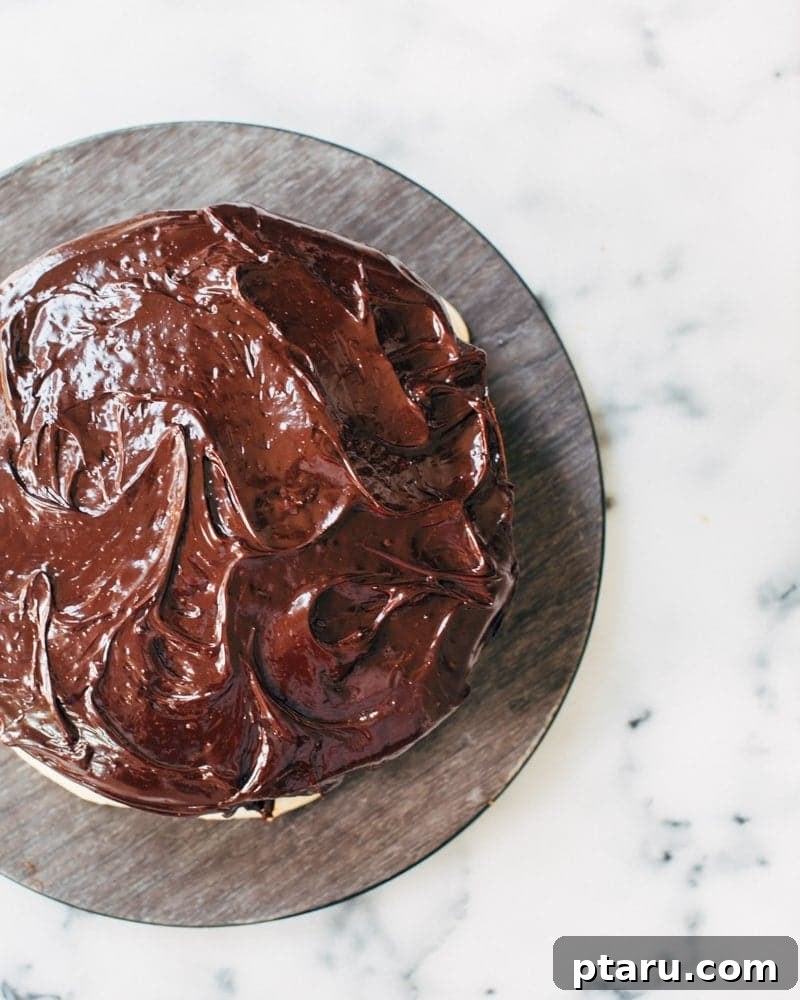
The Ultimate Boston Cream Pie: A Classic Vanilla Cake with Rich Pastry Cream and Chocolate Ganache
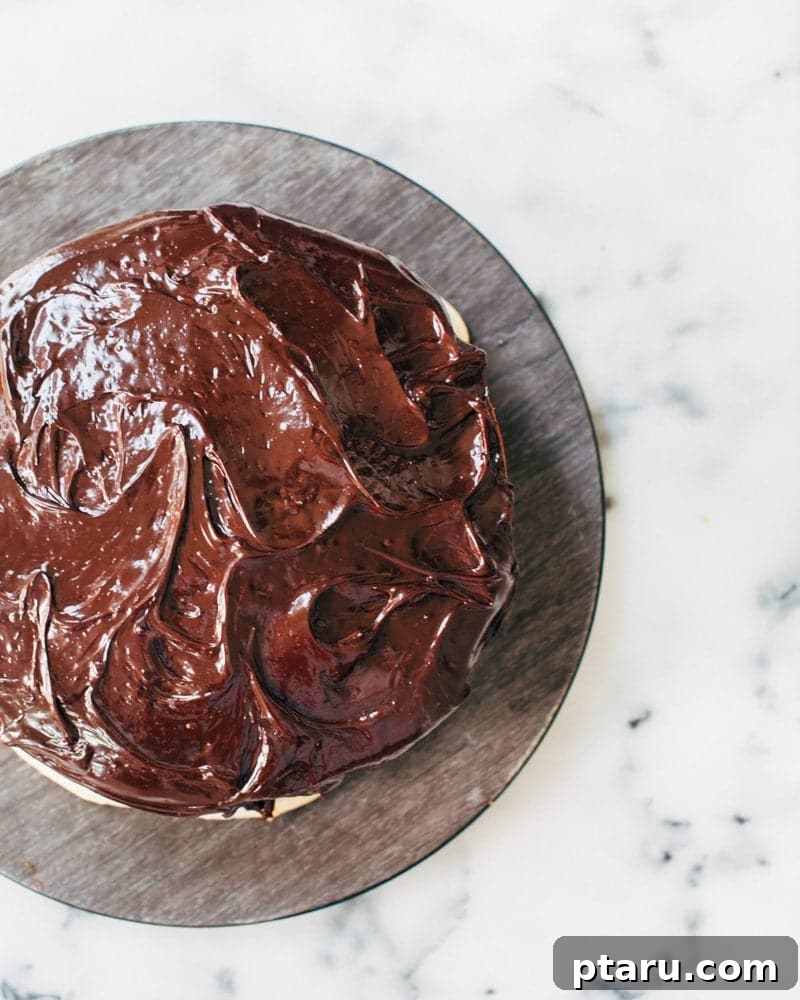
Last week, for Adarsh’s birthday, I faced a delightful challenge: a request for something *other* than chocolate cake. While I adore chocolate, this was the perfect opportunity to dive into a recipe I’d been perfecting: the classic Moist Vanilla Cake. My vision? To transform it into a show-stopping Boston Cream Pie – a dessert I’d been craving intensely.
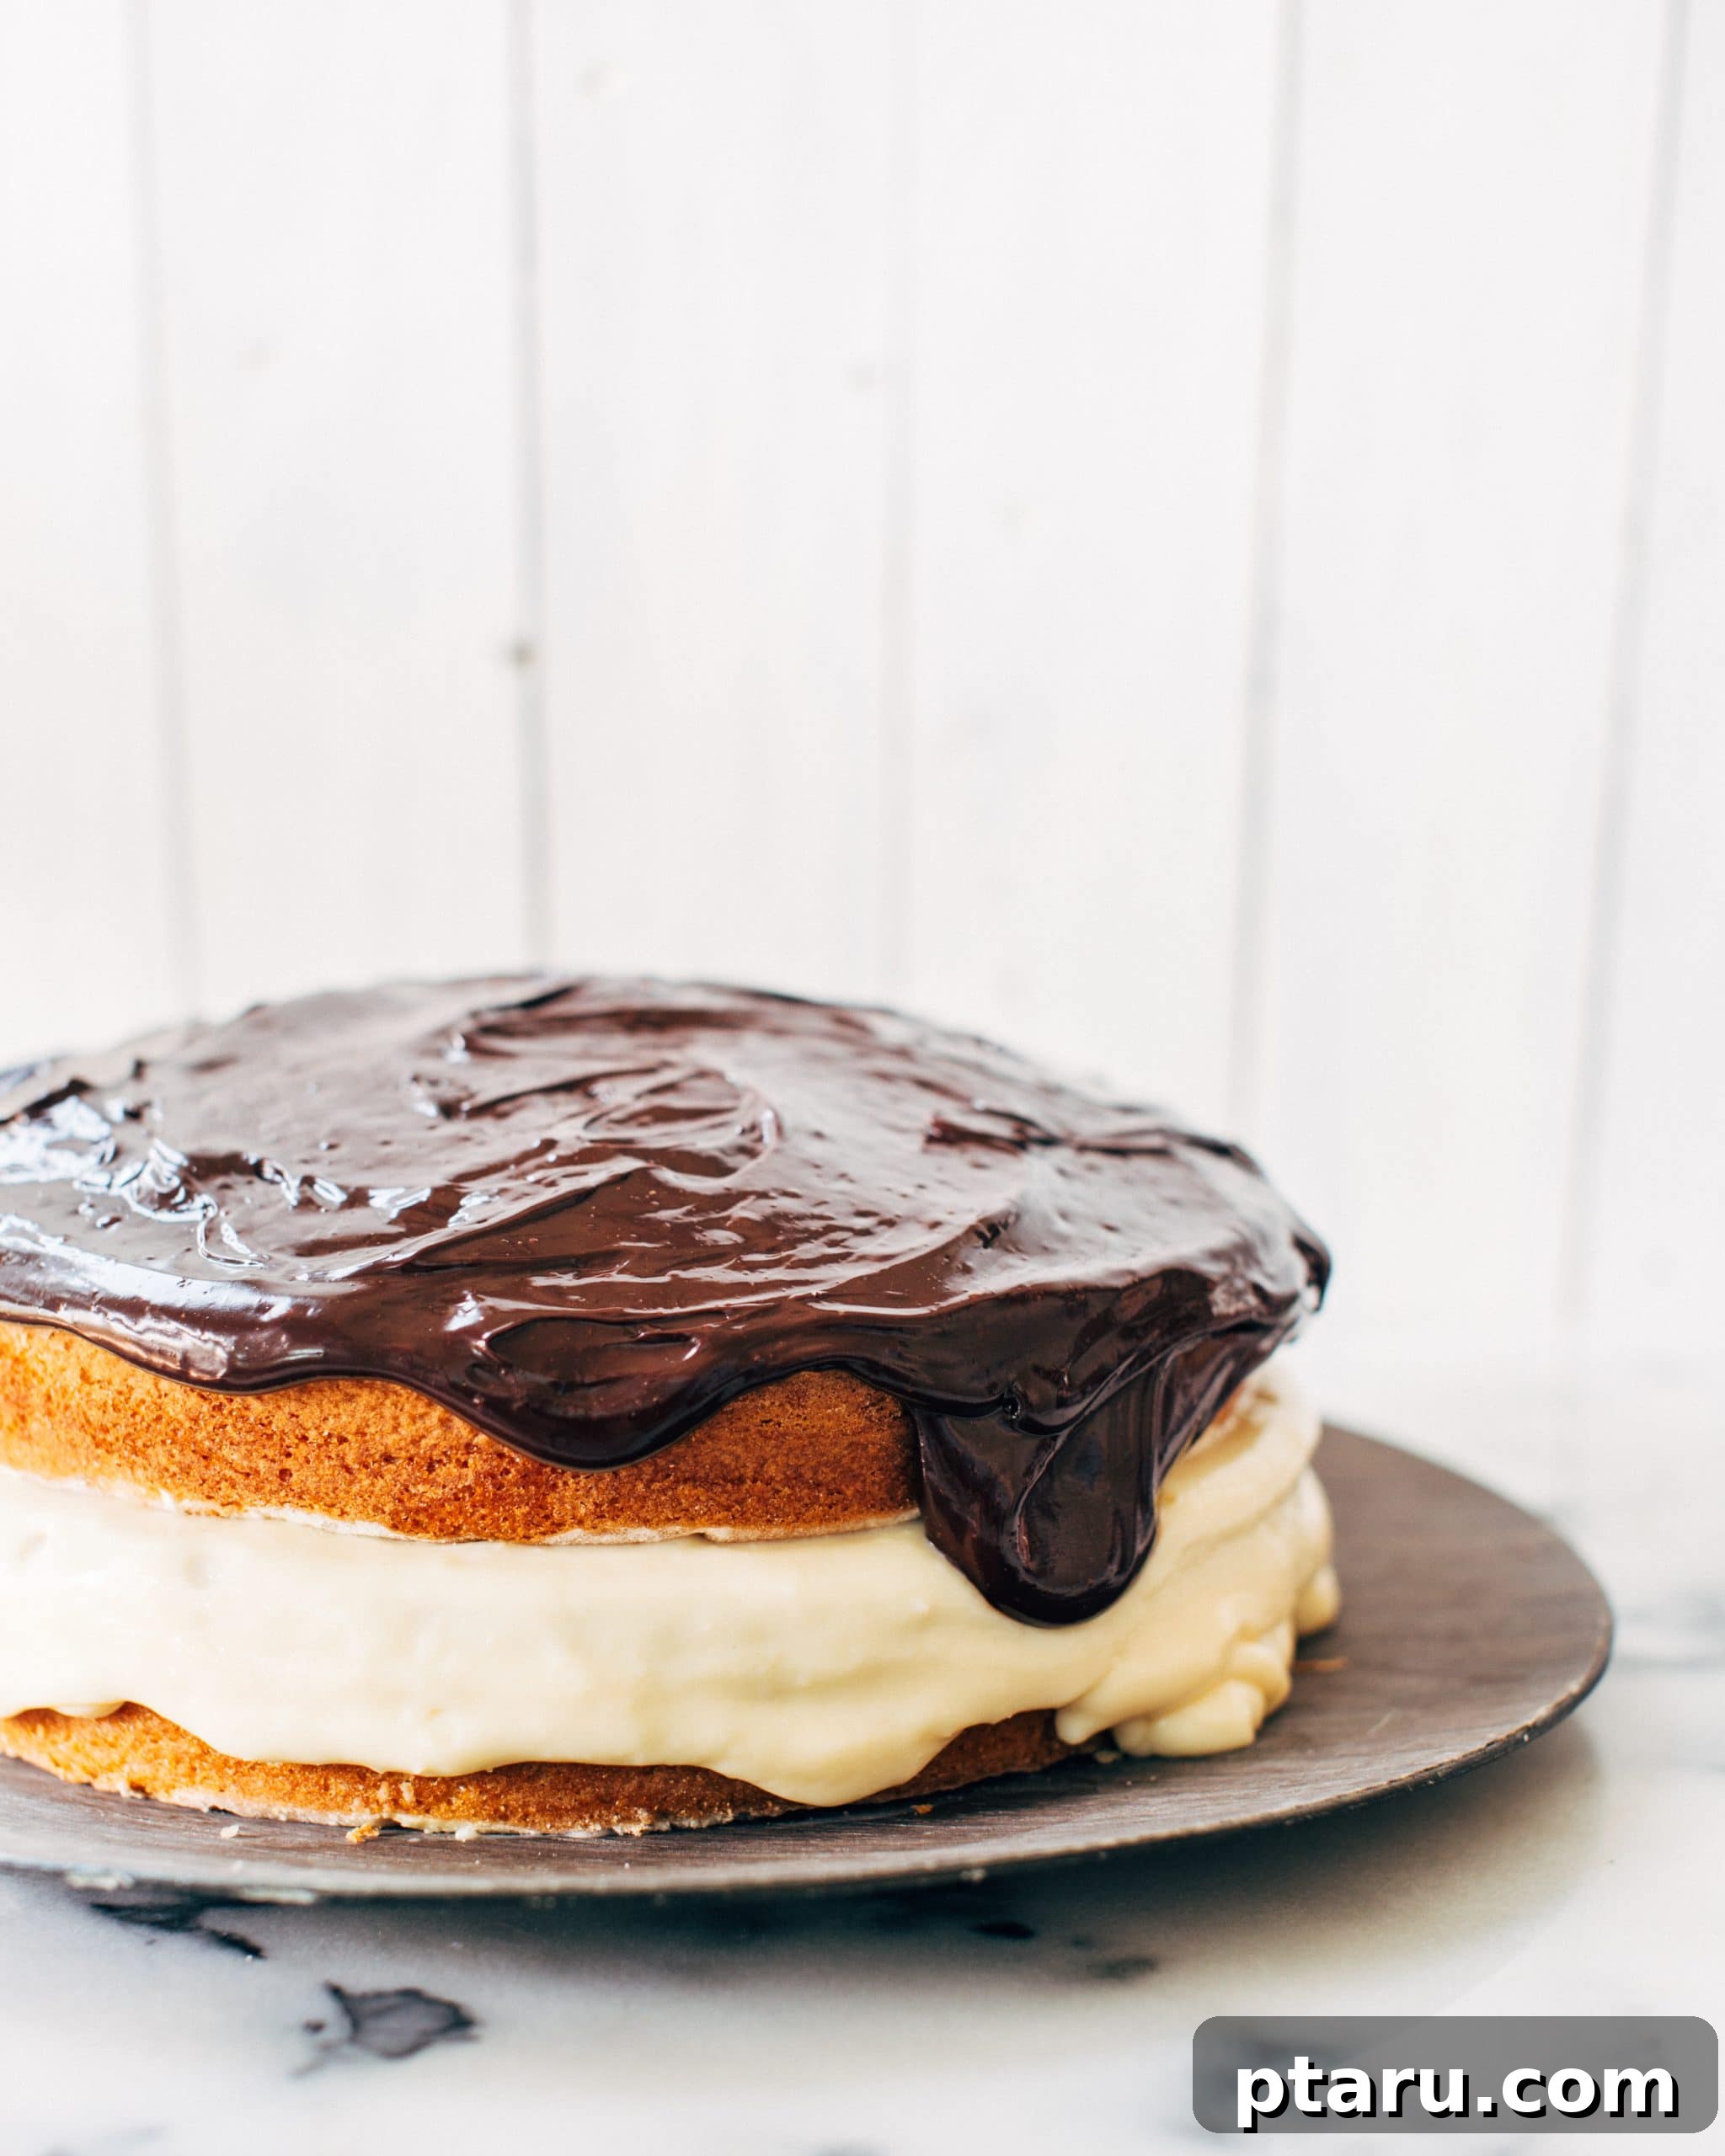
Despite its misleading name, Boston Cream Pie is no pie at all. It’s an exquisitely moist vanilla cake, generously filled with cool, creamy vanilla pastry pudding, and crowned with a glossy, chewy chocolate ganache. Each bite offers a harmonious blend of textures and flavors – the tender crumb of the cake, the velvety smoothness of the cream, and the rich, bittersweet snap of the chocolate. In simple terms, it’s pure culinary heaven, a dessert that truly encapsulates comfort and indulgence.
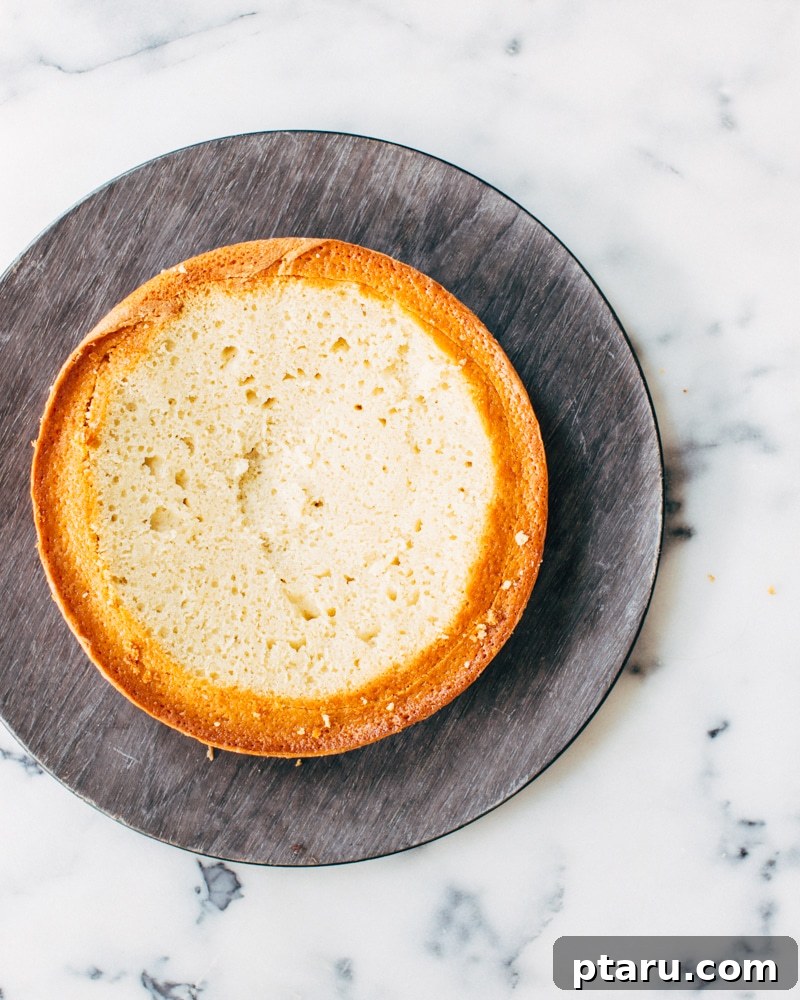
One of my secrets to a truly unforgettable Boston Cream Pie is being incredibly generous with the filling. To achieve this, I carve a slight, slanted well into the bottom cake layer, creating more space to cradle that luscious vanilla cream. While the photo above might suggest a hurried effort (a common occurrence when a two-year-old is eagerly awaiting a taste!), this technique ensures an optimal cake-to-cream ratio in every single slice. Don’t worry about perfection in this step; the beauty of homemade desserts often lies in their rustic charm.
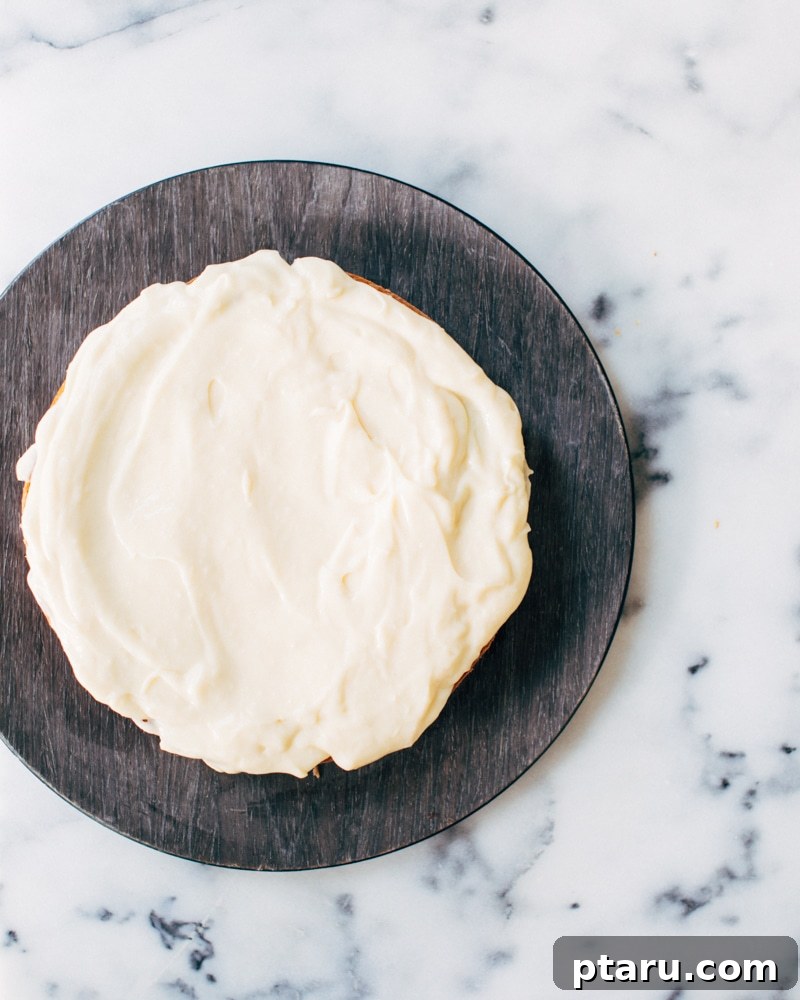
I find immense joy in the homey, inviting look of desserts that generously spill over their edges. This delightful messiness, in my opinion, makes them all the more “lickably” appealing (yes, I’m calling that a word!). However, if you prefer a more refined presentation, you can easily achieve it. Simply use a bit less filling – perhaps two-thirds of the quantity – and for the ganache topping, employ an offset metal spatula dipped in hot water. This trick helps smooth out the chocolate, giving it a pristine, polished finish. Either way, the taste remains undeniably spectacular.
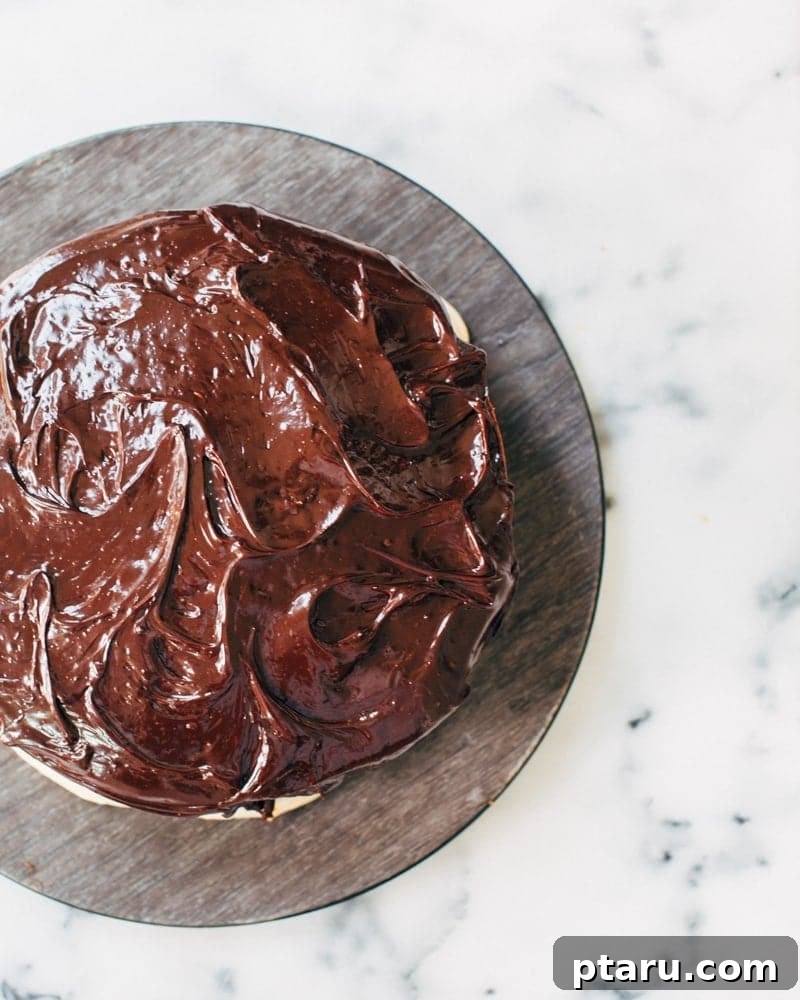
Crafting Your Own Classic Boston Cream Pie
This recipe guides you through creating a truly impressive Boston Cream Pie from scratch. We’ll start with a wonderfully moist vanilla cake, then move on to the silken pastry cream filling, and finish with a rich, glossy chocolate ganache. While it might seem like several steps, each component is straightforward, contributing to a dessert that is far greater than the sum of its parts. Get ready to impress your family and friends with this timeless treat!
Recipe Overview: Boston Cream Pie
- By: Jennifer Pallian BSc, RD
- Summary: An impossibly moist vanilla cake filled with creamy vanilla pudding and topped with a chewy chocolate ganache.
- Prep Time: 45 minutes
- Cook Time: 45 minutes
- Total Time: 1 hour 30 minutes
- Servings: 8
Ingredients for the Perfect Boston Cream Pie
For the Moist Vanilla Cake:
This simple yet exquisite vanilla cake forms the foundation of our Boston Cream Pie. Its tender crumb and delicate vanilla flavor are the perfect complement to the rich pastry cream and ganache.
- 2 ½ cups all-purpose flour
- 2 cups granulated sugar
- 1 tablespoon baking powder
- ½ teaspoon salt
- 1 cup (2 sticks) unsalted butter, softened
- 4 large eggs, at room temperature
- 1 cup whole milk, at room temperature
- 2 teaspoons pure vanilla extract
For the Pastry Cream Filling:
The heart of the Boston Cream Pie, this creamy vanilla pastry cream is smooth, rich, and utterly irresistible. It’s surprisingly simple to make and well worth the effort.
- ½ cup granulated sugar
- ⅓ cup cornstarch
- ¼ teaspoon coarse salt
- 3 large egg yolks
- 3 cups whole milk
- 2 tablespoons unsalted butter
- 1 teaspoon pure vanilla extract
For the Decadent Chocolate Ganache:
This quick-to-make ganache provides the perfect finishing touch. It’s glossy, rich, and sets into a delightful chewy texture, offering a beautiful contrast to the soft cake and cream.
- 5 tablespoons whipping cream (heavy cream)
- 3 tablespoons corn syrup
- 2 tablespoons unsalted butter
- ⅛ teaspoon salt
- 6 ounces dark or semisweet chocolate, finely chopped
Step-by-Step Baking Guide
Instructions for the Moist Vanilla Cake:
Achieving a perfectly moist vanilla cake is easier than you think. Follow these steps for a tender, flavorful base for your Boston Cream Pie. Remember to use room temperature ingredients for the best results, as they combine more smoothly and create a better emulsion, leading to a lighter cake.
- Prepare Pans: Preheat your oven to 350°F (175°C). Lightly grease and flour two 8-inch round cake pans. For an extra non-stick measure, you can also line the bottoms with parchment paper.
- Combine Dry Ingredients: In a large mixing bowl, whisk together the all-purpose flour, granulated sugar, baking powder, and salt. Ensure there are no lumps and the ingredients are well distributed.
- Add Wet Ingredients: To the dry mixture, add the softened unsalted butter, large eggs, whole milk, and pure vanilla extract.
- Mix Batter: Using an electric mixer, beat the ingredients on medium speed for about 2-3 minutes. Scrape down the sides of the bowl as needed. The batter should be light, fluffy, and smooth. Be careful not to overmix, as this can lead to a tough cake.
- Bake Cake Layers: Divide the cake batter evenly between your two prepared 8-inch round cake pans. Smooth the tops with a spatula.
- Bake: Bake for 30-35 minutes, or until a wooden skewer or toothpick inserted into the center of each cake comes out clean. The cakes should be golden brown and spring back when lightly touched.
- Cool: Allow the cakes to cool in their pans on a wire rack for about 10-15 minutes. This allows them to firm up slightly before you handle them.
- Invert and Cool Completely: Carefully invert the cakes onto the wire rack to cool completely. It’s crucial that the cakes are entirely cool before filling and frosting to prevent the pastry cream from melting and the ganache from becoming runny.
Instructions for the Pastry Cream Filling:
This luscious vanilla pastry cream is the star of our Boston Cream Pie. It’s a rich, thick custard that provides a beautiful contrast to the light vanilla cake. Don’t be intimidated by the process; constant stirring is the key to preventing lumps and achieving that silky smooth texture.
- Prepare Ice Bath: Set up an ice bath by filling a large bowl with ice and cold water. Nest a medium-sized heatproof bowl inside, ensuring it doesn’t touch the water. This will be used to rapidly cool the pastry cream, stopping the cooking process and ensuring a perfect consistency.
- Whisk Dry Ingredients: In a medium saucepan (off the heat), whisk together the granulated sugar, cornstarch, and coarse salt. This helps to prevent lumps when the liquids are added.
- Incorporate Liquids: Very gradually, whisk in the whole milk, ensuring the cornstarch dissolves completely. Then, whisk in the egg yolks until the mixture is smooth and uniform.
- Cook the Cream: Place the saucepan over medium heat. Stir constantly with a whisk, scraping the bottom and sides of the pan, until the mixture thickens and the first large bubbles form and sputter. This usually takes about 5-7 minutes.
- Continue Cooking: Reduce the heat to low and continue stirring for one or two minutes more, allowing the cream to become very thick. The goal is a pudding-like consistency.
- Strain and Cool: Immediately remove the saucepan from the heat and pour the hot pastry cream into the medium bowl nestled in your ice bath. If you notice any small lumps, you can force the cream through a fine-mesh sieve into the bowl for an even smoother texture.
- Add Flavor and Finish Cooling: Stir in the unsalted butter and pure vanilla extract until fully incorporated. Continue stirring the pastry cream in the ice bath until it has cooled completely. This continuous stirring helps prevent a skin from forming on top and ensures a consistently smooth texture. Cover the surface of the cooled pastry cream with plastic wrap, pressing it directly onto the surface to prevent a skin, and refrigerate until firm, at least 2-3 hours, or preferably overnight.
Instructions for the Chocolate Ganache:
The glossy, rich chocolate ganache is the perfect crown for your Boston Cream Pie. This recipe creates a ganache that is easy to pour when warm and sets to a delightful chewy texture once chilled.
- Heat Cream Mixture: In a medium saucepan, combine the whipping cream, corn syrup, unsalted butter, and salt. Heat over medium-high heat, stirring occasionally, until the mixture just comes to a simmer. Small bubbles will appear around the edges.
- Melt Chocolate: Remove the saucepan from the heat immediately. Place the finely chopped dark or semisweet chocolate in a heatproof bowl. Pour the hot cream mixture over the chocolate.
- Whisk to Smooth: Let the mixture sit undisturbed for 2-3 minutes to allow the heat to melt the chocolate. Then, beginning in the center and working your way outwards, stir continually with a whisk or spatula until the chocolate has melted completely and the ganache is smooth and glossy. If it appears separated, continue stirring gently; it will come together.
- Cool Slightly: Allow the ganache to cool for about 15-20 minutes at room temperature, stirring occasionally, until it reaches a thick, pourable consistency. If it becomes too thick, you can gently rewarm it over a saucepan of simmering water for a few seconds.
To Assemble Your Boston Cream Pie:
This is where all your hard work comes together! Assembling the Boston Cream Pie is a satisfying process, and a few careful steps will ensure a beautiful and delicious result. Remember to handle the cake gently, as it’s quite tender.
- Prepare the Bottom Layer: Take one of your completely cooled vanilla cake layers. Using a sharp, serrated knife, carefully slice off the rounded top of this bottom cake layer to create a flat surface. This step is important for stability. Then, gently carve out a shallow well in the center of this layer, leaving a border of about ½ to ¾ inch around the edge. This well will provide extra space for your generous filling, preventing it from spilling out when the top layer is added.
- Fill with Pastry Cream: Ensure your pastry cream is thoroughly chilled and firm. Spoon the entire amount of pastry cream into the carved well of the bottom cake layer. Spread it evenly to the edges of the cake’s border, creating a rich, thick layer of vanilla goodness.
- Add Top Layer: Carefully position the second cooled vanilla cake layer on top of the pastry cream-filled bottom layer. Press down very gently to ensure it sits evenly. The weight of the cake will help distribute the cream to the very edges.
- Apply Ganache: If your ganache has cooled too much and become too thick to pour smoothly, gently rewarm it for a few seconds over a saucepan of simmering water (or in the microwave at short intervals, stirring frequently) until it’s pourable again. Pour the warm ganache over the top center of the assembled cake. Using an offset spatula or the back of a spoon, gently spread the ganache evenly over the top, allowing it to drip attractively down the sides.
- Chill and Serve: Refrigerate the Boston Cream Pie for at least 1-2 hours, or until the ganache has set and the pastry cream is firm. This chilling time is crucial for the pie to hold its shape when sliced. Once chilled, slice with a warm, sharp knife for clean cuts.
Tips for Success and Variations
Making a Boston Cream Pie can be an incredibly rewarding experience. Here are a few extra tips to ensure your dessert turns out perfectly and some ideas for adding your own touch:
- Ingredient Temperature: For the cake, ensure your butter, eggs, and milk are at room temperature. This helps them emulsify properly, leading to a smoother batter and a more tender cake.
- Preventing Lumps in Pastry Cream: Whisking the cornstarch with sugar before adding liquids, and then gradually incorporating the milk, helps prevent lumps. Constant stirring during cooking is also key. If you do get lumps, passing the hot cream through a fine-mesh sieve will smooth it out.
- Chilling is Key: Don’t rush the chilling process for both the pastry cream and the assembled pie. A well-chilled pie will slice beautifully and hold its structure.
- Adjusting Sweetness: For the ganache, using dark chocolate will result in a less sweet, more intense chocolate flavor, while semi-sweet will yield a sweeter topping. Choose according to your preference.
- Serving Suggestions: Boston Cream Pie is best served chilled. It pairs wonderfully with a cup of coffee or a glass of cold milk. For an extra touch of elegance, garnish each slice with a fresh raspberry or a dusting of cocoa powder.
- Cake Variations: While a vanilla cake is traditional, you could experiment with other light cake bases, such as a chiffon cake or a subtle lemon-flavored cake for a twist.
There’s something truly magical about serving a homemade Boston Cream Pie. It evokes a sense of nostalgia and comfort, offering a perfect balance of flavors and textures. Whether you prefer a rustic, overflowing look or a perfectly polished finish, this recipe is designed to help you create a memorable dessert that will be the highlight of any gathering. Enjoy the process of baking, and savor every exquisite bite of this timeless classic!
Tried this recipe? Leave a comment below and share your experience!