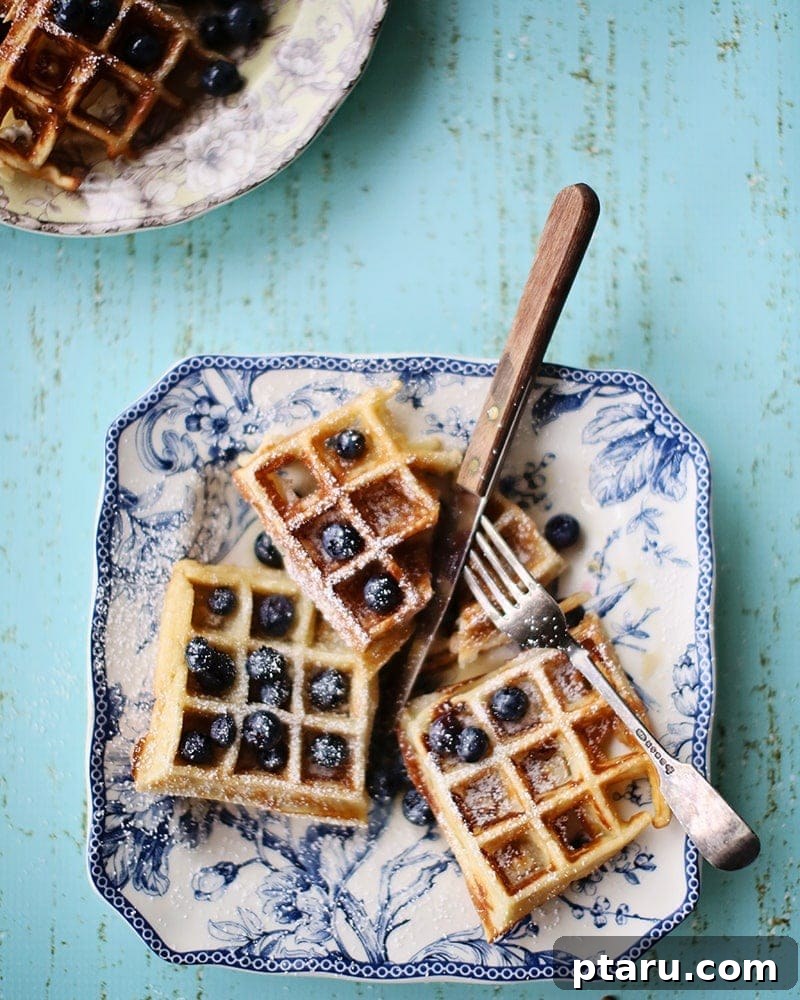
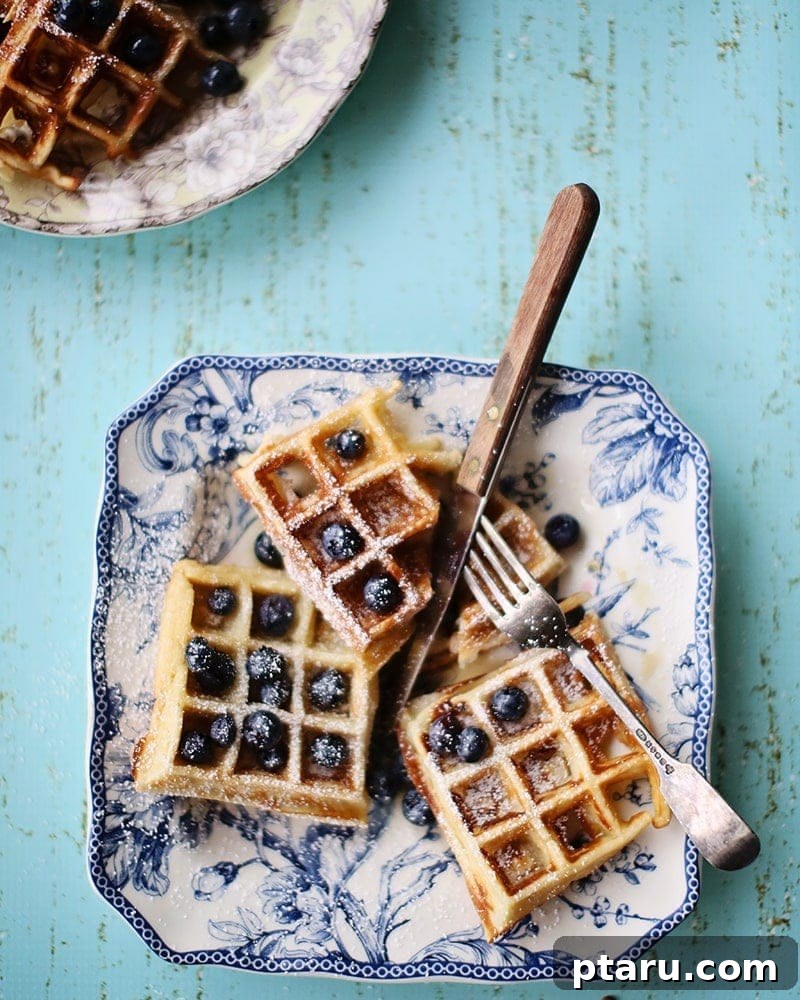
The Ultimate Overnight Yeast Waffles: Crisp, Chewy & Effortlessly Delicious
As a devoted admirer of the humble waffle, my culinary journey has taken me far and wide, culminating in a year-long immersion in Belgium. During this delightful period, I cultivated a profound appreciation not only for Belgium’s exquisite chocolates, world-renowned beers, and artisanal cheeses, but also for the subtle, yet significant, differences between its two iconic waffle traditions: the Liege Waffles and the Brussels waffles.
The Liege waffle is a masterpiece of density and rich indulgence. Crafted from a thick, brioche-like dough, it boasts deep, caramelized pockets and is generously studded with pearl sugar that melts and crisps as it bakes. The result is a profoundly satisfying, chewy texture with a delightful crunch – truly a meal in itself. In stark contrast, the Brussels waffle offers an ethereal, cloud-like experience. Leavened with yeast and enriched with whipped egg whites, its airy batter yields a delicate, almost unbelievably light texture, making it the perfect canvas for a shower of powdered sugar or a dollop of fresh cream. You could effortlessly enjoy several Brussels waffles without feeling overwhelmed, a testament to their delightful lightness.
Both of these authentic Belgian delights stand in stark opposition to what is commonly labeled “Belgian waffles” in North America. Our transatlantic counterparts typically feature a heavier, denser consistency, primarily leavened with baking powder rather than yeast or whipped egg whites, creating a different, though still enjoyable, breakfast experience.
However, the waffles we’re celebrating today don’t precisely fit the mold of either North American or traditional Belgian standards. Yet, they possess an undeniable charm and a flavor profile that is simply irresistible! These particular waffles are a unique blend of convenience and gourmet quality, promising to elevate your breakfast ritual.
Introducing Your New Favorite: Effortlessly Delicious Overnight Yeast Waffles
Our featured recipe showcases yeast-leavened waffles that are remarkably easy to prepare, barely sweetened, and deliver an outstanding combination of crisp edges with a delightfully chewy, slightly eggy interior, reminiscent of a delicate crêpe. The magic lies in their simplicity: there’s no need for a lengthy yeast proofing process. You simply combine all the ingredients with a quick whirl in your stand mixer, cover the batter, and pop it into the fridge to rest overnight. This hands-off preparation means you awaken to a ready-to-go batter, making Sunday morning breakfasts truly stress-free and delicious.
The overnight fermentation process is key to developing a rich, complex flavor in these waffles that instant batters simply cannot achieve. The yeast works slowly in the cold environment, breaking down starches and sugars, which results in a more tender crumb, a subtle yeasty aroma, and a beautiful golden-brown crust. This method not only enhances the taste but also improves the texture, creating waffles that are both structurally sound and wonderfully delicate.
Mastering Your Waffle Iron: Tips for Perfection
While I am a dedicated waffle enthusiast, committed to my beloved, heavy cast-iron waffle maker, I’ve learned a few tricks to ensure these yeast waffles turn out perfectly every time. Ideally, for yeast-leavened waffles, a waffle maker with shallower pockets is often recommended as they tend to stick less. However, if you, like me, are not inclined to purchase multiple waffle appliances, fear not! I’ve discovered two essential secrets to success: an abundance of butter and a generous amount of batter.
The Butter Advantage: Why Butter Beats Oil for Non-Stick Waffles
Thoroughly greasing your waffle iron is paramount, and here’s where butter truly shines. Scoop a teaspoon of softened butter onto a pastry brush and meticulously work it into every pocket and crevice of your waffle maker. I’ve found that butter consistently outperforms cooking oil in two critical areas: it promotes superior browning, giving your waffles that coveted golden crust, and it acts as an exceptional non-stick agent, significantly reducing the likelihood of sticking. The milk solids in butter caramelize beautifully, contributing to both flavor and color, a quality often missed with neutral oils.
Batter Placement and Portioning: The Key to Even Cooking
When it comes to the batter, don’t be shy! Spoon a generous amount – approximately 3/4 cup for an 8 1/2-inch square iron – directly into the center of your preheated waffle maker. Resist the urge to spread the batter to the edges. The batter will naturally expand as it cooks, and attempting to spread it can create thin spots that are prone to sticking and uneven browning. Focusing the batter in the center ensures a thicker, more resilient waffle that is less likely to tear.
The Gentle Unveiling: Preventing Waffle Damage
Once your waffles are cooked to a beautiful golden brown, exercise patience and care when opening the iron. Instead of yanking it open abruptly, lift the lid only slightly at first. Use a fork or a pair of tongs to gently jiggle the waffle free from the pockets, bit by bit, as you gradually open the iron further. This delicate approach prevents the waffle from splitting, preserving its perfect form. Should a tragic splitting incident occur, however, do not despair! A broken waffle is still a delicious waffle, and its taste will be every bit as satisfying.
Waffle Iron Maintenance and Longevity
Beyond cooking, proper waffle iron care extends its life and ensures consistent results. After each use, allow your iron to cool completely before cleaning. For non-stick surfaces, a damp cloth is usually sufficient to wipe away crumbs. For more stubborn bits, a soft brush or rubber spatula can help. Avoid harsh abrasive cleaners or metal utensils that can damage the non-stick coating. Regular seasoning (especially for cast iron) or a light oiling after cleaning can also help maintain its performance and prevent sticking over time.
The Magic of Overnight Preparation: A Brunch Game-Changer
Imagine this: a mere five minutes of effort with your stand mixer on a Saturday evening, and by Sunday morning, you’re mere moments away from enjoying a stack of crisp, chewy-tender waffles. These overnight wonders transform hurried breakfasts into leisurely brunches, allowing you to savor the moment even before you’re fully awake. The batter, having chilled and fermented overnight, is perfectly primed for baking, yielding waffles with an incredible depth of flavor and a texture that strikes the ideal balance between crispness and tender chewiness. It’s the ultimate convenience food for the discerning breakfast lover.
Beyond Breakfast: Freezing, Reheating, and Creative Toppings
The deliciousness of these waffles doesn’t have to be confined to a single morning. Leftover waffles freeze beautifully, making them perfect for quick, gourmet breakfasts on busy weekdays. To freeze, arrange them in a single layer on a baking sheet until solid, then transfer them to freezer bags. This method prevents them from sticking together and makes it easy to grab just what you need.
When hunger strikes, simply pop the frozen waffles directly into the toaster without thawing. Reheating them this way ensures they emerge hot, crispy, and utterly delightful. The possibilities for enjoyment are endless. For a sweet treat, let a generous dollop of Nutella melt into their deep pockets, creating a luscious, chocolatey indulgence. Alternatively, embrace a savory approach by topping your crispy waffle with a slice of Canadian bacon and a perfectly microwave-poached egg. A drizzle of hollandaise sauce is an optional, yet highly recommended, addition for an extra layer of richness and sophistication. Don’t be afraid to experiment with other toppings like fresh berries, maple syrup, whipped cream, fried chicken, or even a scoop of ice cream for a truly decadent dessert waffle!
Ingredients for Your Perfect Overnight Yeast Waffles
Gather these simple ingredients to embark on your journey to waffle perfection:
- 2 2/3 cups (12 oz / 340 grams) all-purpose flour
- 2 1/4 tsp (1 envelope) active dry yeast
- 1/2 tsp salt
- 2 tbsp granulated sugar
- 1/2 cup butter, melted (plus additional softened butter for cooking)
- 2 cups whole milk
- 2 large eggs
Preparation: Your Step-by-Step Guide to Irresistible Waffles
Follow these easy steps to create the most incredible overnight yeast waffles:
- In the bowl of a stand mixer fitted with the whisk attachment, combine the all-purpose flour, active dry yeast, salt, and granulated sugar. Turn the mixer on low speed for about 15-30 seconds to thoroughly combine these dry ingredients. This ensures even distribution of the yeast and seasoning.
- Add the melted butter, whole milk, and eggs to the dry mixture. Increase the mixer speed to medium and mix until the batter is completely smooth, which should take approximately 30 seconds. Be careful not to overmix; just until no lumps remain. The batter will be relatively thin, which is perfectly normal for these light and airy waffles.
- Loosely cover the bowl with plastic wrap. This allows any gases from the yeast to escape while preventing a skin from forming. Refrigerate the batter overnight, for at least 8 hours and up to 24 hours. This extended cold fermentation period is crucial for flavor development and the unique texture of these waffles.
- The next morning, remove the batter from the refrigerator. While it comes to room temperature slightly, preheat your waffle iron. Whether you’re using a medium-heat stovetop iron or an electric waffle maker, ensure it’s fully heated before adding batter.
- Using a pastry brush (or a wadded-up piece of paper towel for convenience), scoop up about a teaspoon of softened butter. Meticulously spread this butter into all the pockets and across the entire cooking surface of your waffle maker. This generous greasing is vital for achieving a crisp, golden crust and preventing any sticking.
- Pour approximately 3/4 cup of the batter directly into the center of the preheated iron. If using a stovetop waffle iron, immediately flip it over. Cook until the waffles are beautifully golden brown on both sides. For stovetop irons, this typically takes about 5 minutes per side, but always check frequently as cooking times can vary. For electric machines, follow your specific waffle maker’s instructions, keeping an eye on the indicator light if available, or visually inspecting for desired crispness and color.
- Carefully remove the cooked waffle and serve immediately with your favorite toppings, or place on a wire rack to keep crisp while you cook the remaining batter. Repeat the greasing and cooking process for the rest of the batter. Enjoy the fruits of your effortless overnight preparation!