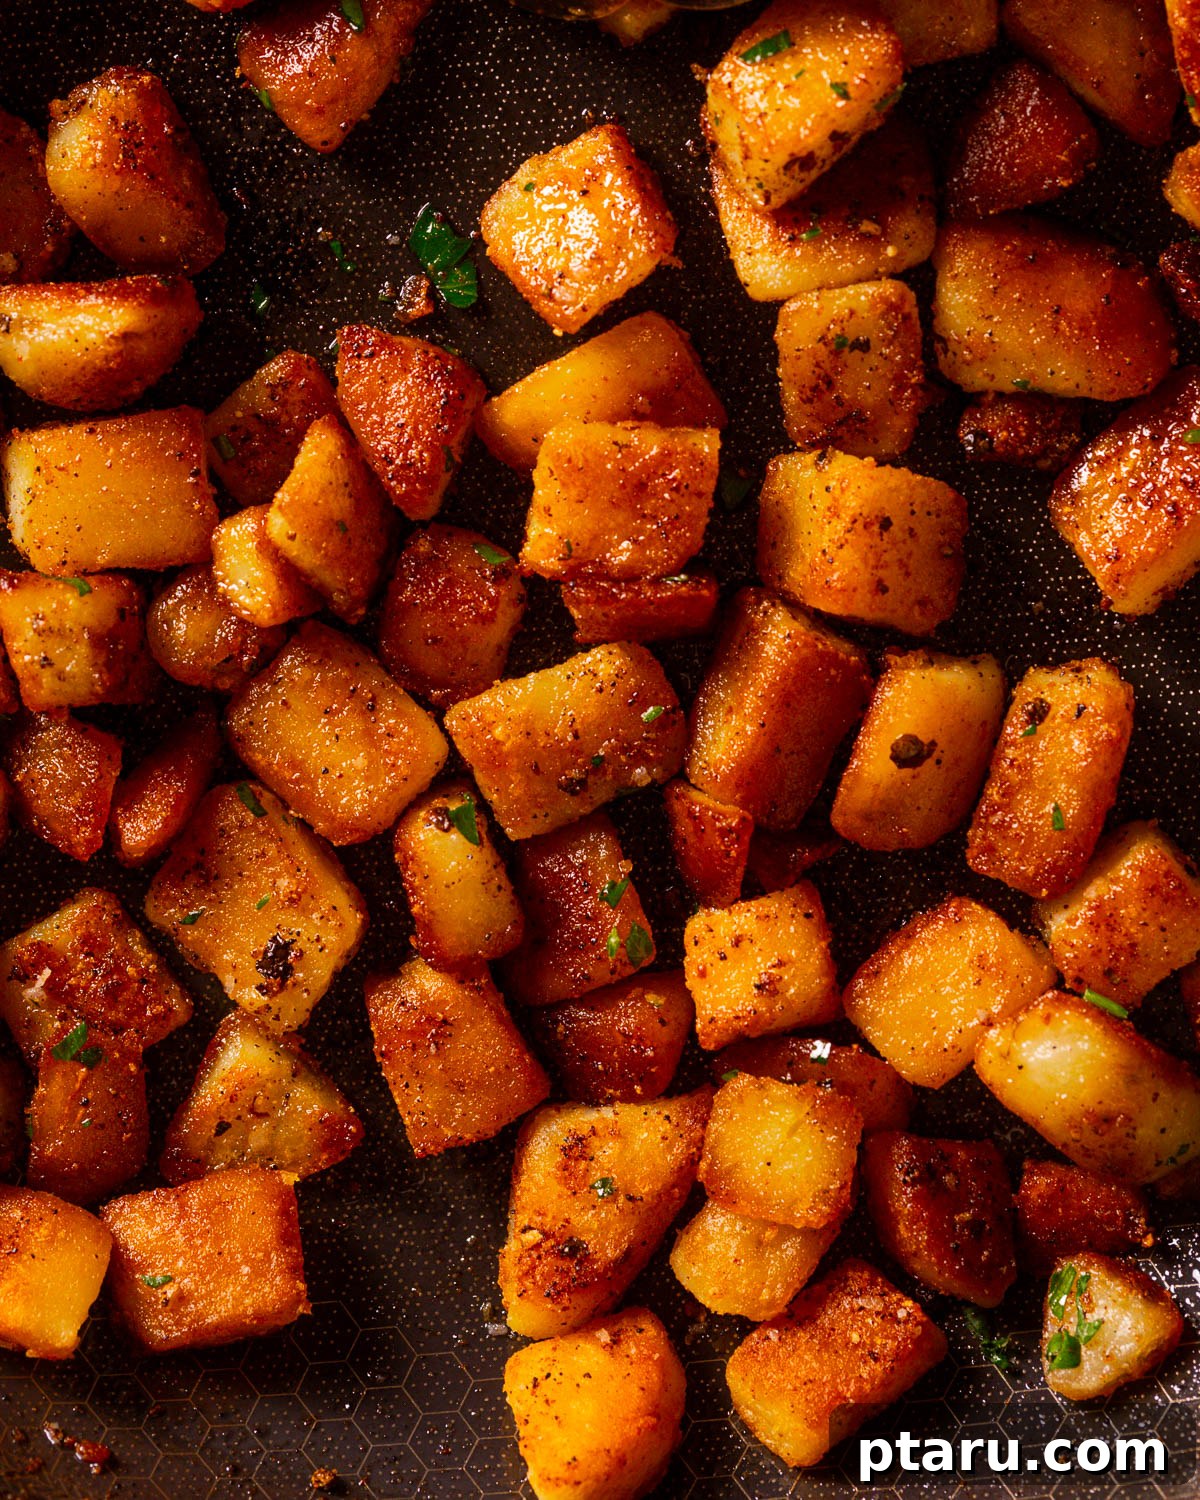
Craving that irresistible crunch and fluffy interior found in the best diner-style fried potatoes? Many attempt, but few master the art of truly perfect home fries. What if I told you that achieving consistently golden, shatteringly crisp exteriors with melt-in-your-mouth soft centers isn’t just about luck or a secret family recipe? It’s about science. As a food scientist, I’ve spent years dissecting the culinary process, and I’m thrilled to share my tried-and-true, science-backed methodology that guarantees flawless results, every time you cook crispy fried potatoes.
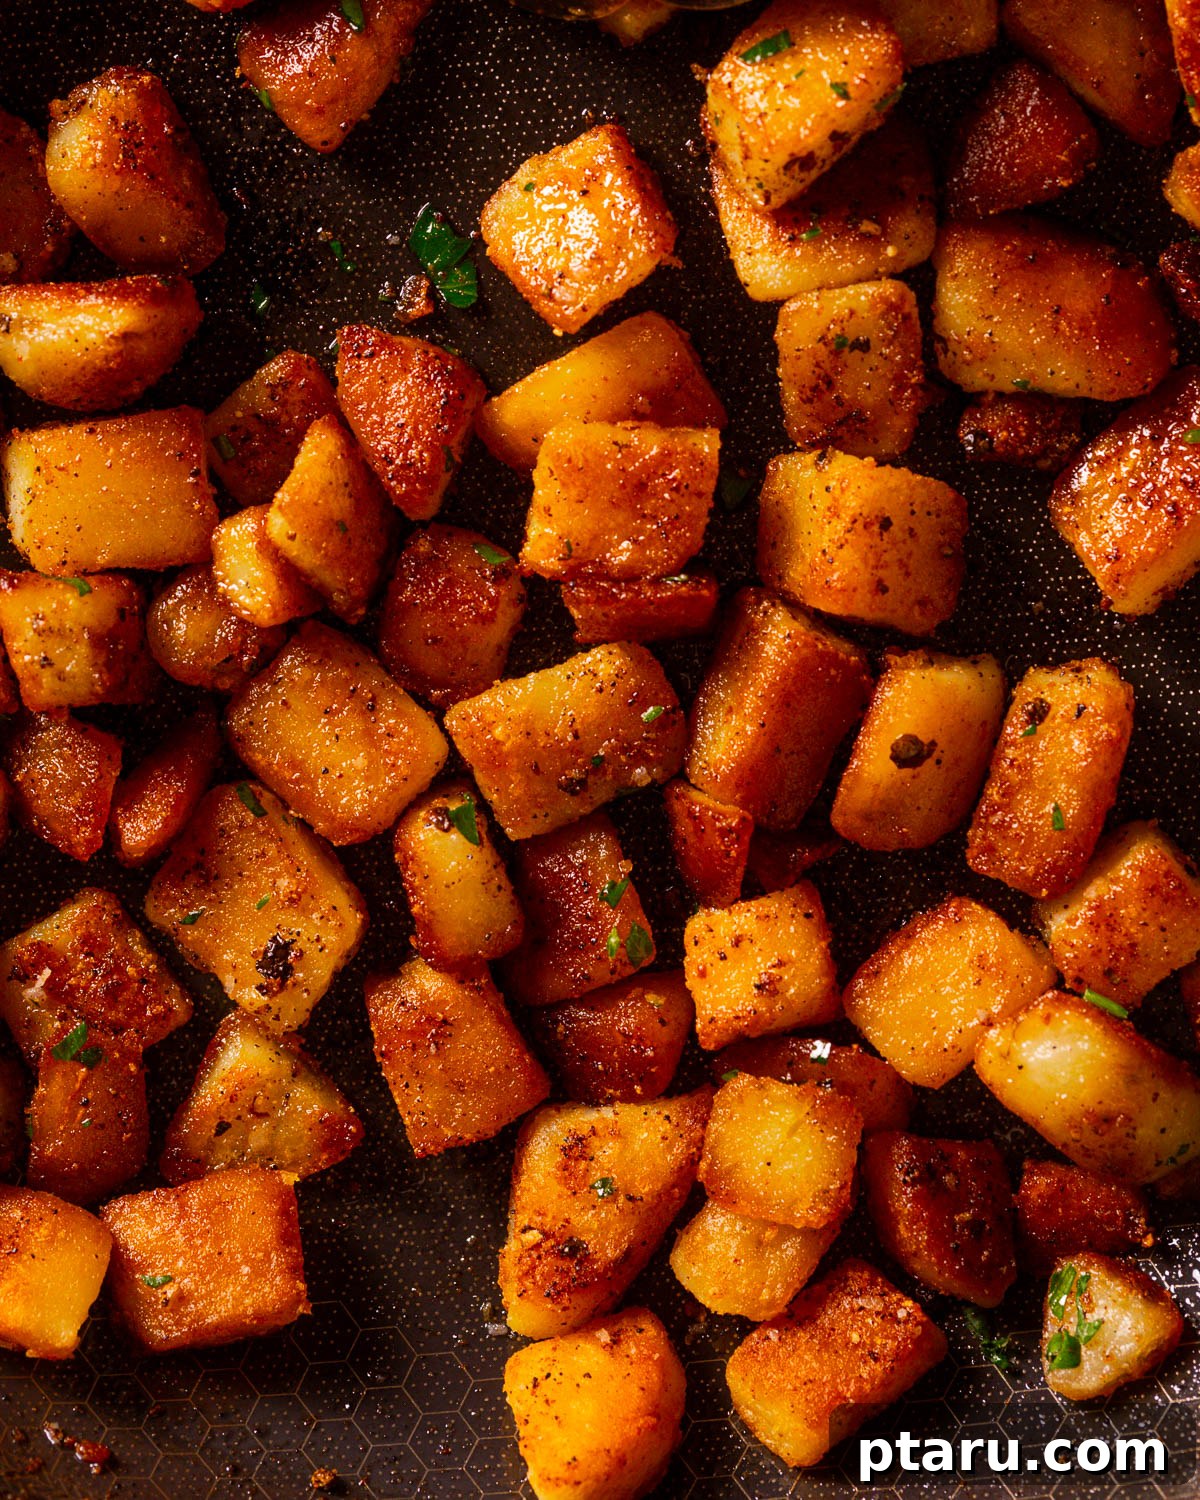
Prepare yourself – these aren’t just good; they’re the kind of fried potatoes that disappear from the pan before they even make it to the plate. Once you experience the unparalleled crispness and tender fluffiness, you’ll understand why this method is the only one you’ll ever need. Let’s delve into the culinary chemistry that transforms humble potatoes into a truly extraordinary dish.
The Scientific Secrets to Achieving Unforgettable Crispy Fried Potatoes
As a food science expert, I’ve uncovered several critical steps that elevate ordinary potatoes to extraordinary heights. These aren’t just tips; they’re fundamental principles that ensure your fried potatoes are consistently fluffy on the inside and exquisitely crisp on the outside.
- Strategic Par-boiling for Texture Perfection: This initial cooking stage is non-negotiable for superior fried potatoes. Par-boiling ensures the potato’s interior becomes wonderfully tender without overcooking, creating that desired fluffy texture. Crucially, it initiates the gelatinization of starches on the potato’s surface, which is the foundational step for achieving a truly crispy crust later. Skipping this step often leads to unevenly cooked potatoes – either burnt on the outside and raw in the middle, or simply lacking that ideal fluffy core.
- The Unbeatable Baking Soda Secret for Ultimate Crispness: This is perhaps the most revolutionary trick in the book! Adding just a half teaspoon of baking soda to your boiling water creates an alkaline environment that works wonders. Here’s the breakdown of its magic:
1. Surface Breakdown and Starch Roughening: The alkalinity of the water gently breaks down the potato’s outer cell walls, causing its surface to become rougher and more porous. This process releases more starch onto the surface, forming a thin, craggy layer. When this starchy layer hits hot oil, it fries up into an incredibly crisp, golden crust.
2. Amplified Maillard Browning Reactions: Baking soda significantly boosts the Maillard reaction – the chemical process responsible for the delectable browning and complex flavors in many cooked foods. This means your potatoes will achieve a deeper, richer golden color and develop more intense, savory flavors faster, without needing to overcook them. It’s the secret to that coveted “deep-fried” look and taste, even in a skillet. Yay, science for deliciousness!
- Roughening the Surface: Drain and Shake: After par-boiling, don’t just gently drain your potatoes. Once in a colander, give them a good, vigorous shake. This action further roughens the par-boiled potato surface, creating even more tiny fissures and irregularities. These nooks and crannies increase the surface area available for crisping, leading to a delightfully craggly, ultra-crunchy crust that’s packed with flavor.
- Absolute Dryness is Key: Pat Them Bone Dry: Moisture is the enemy of crispiness and a safety hazard when frying. After shaking, immediately transfer your potatoes to a clean kitchen towel or paper towels and pat them thoroughly dry. Any residual water on the potato surface will turn to steam in the hot oil, preventing browning, leading to soggy potatoes, and causing potentially dangerous oil splattering. Ensuring they are completely dry guarantees maximum crispness and safer cooking.
- Strategic Seasoning for Peak Crispness: Resist the urge to season your potatoes with salt before frying! Salt draws moisture out of food through osmosis. If you season too early, the salt will pull moisture to the potato’s surface, making it difficult to achieve that shatteringly crisp crust. Furthermore, delicate seasonings like garlic powder can burn if added too early in high heat. Wait until after the first flip, once a golden crust has begun to form. This allows the potatoes to develop a beautiful, deeply golden, and ultra-crispy exterior before you introduce any moisture-drawing elements.
Essential Ingredients for Perfect Fried Potatoes
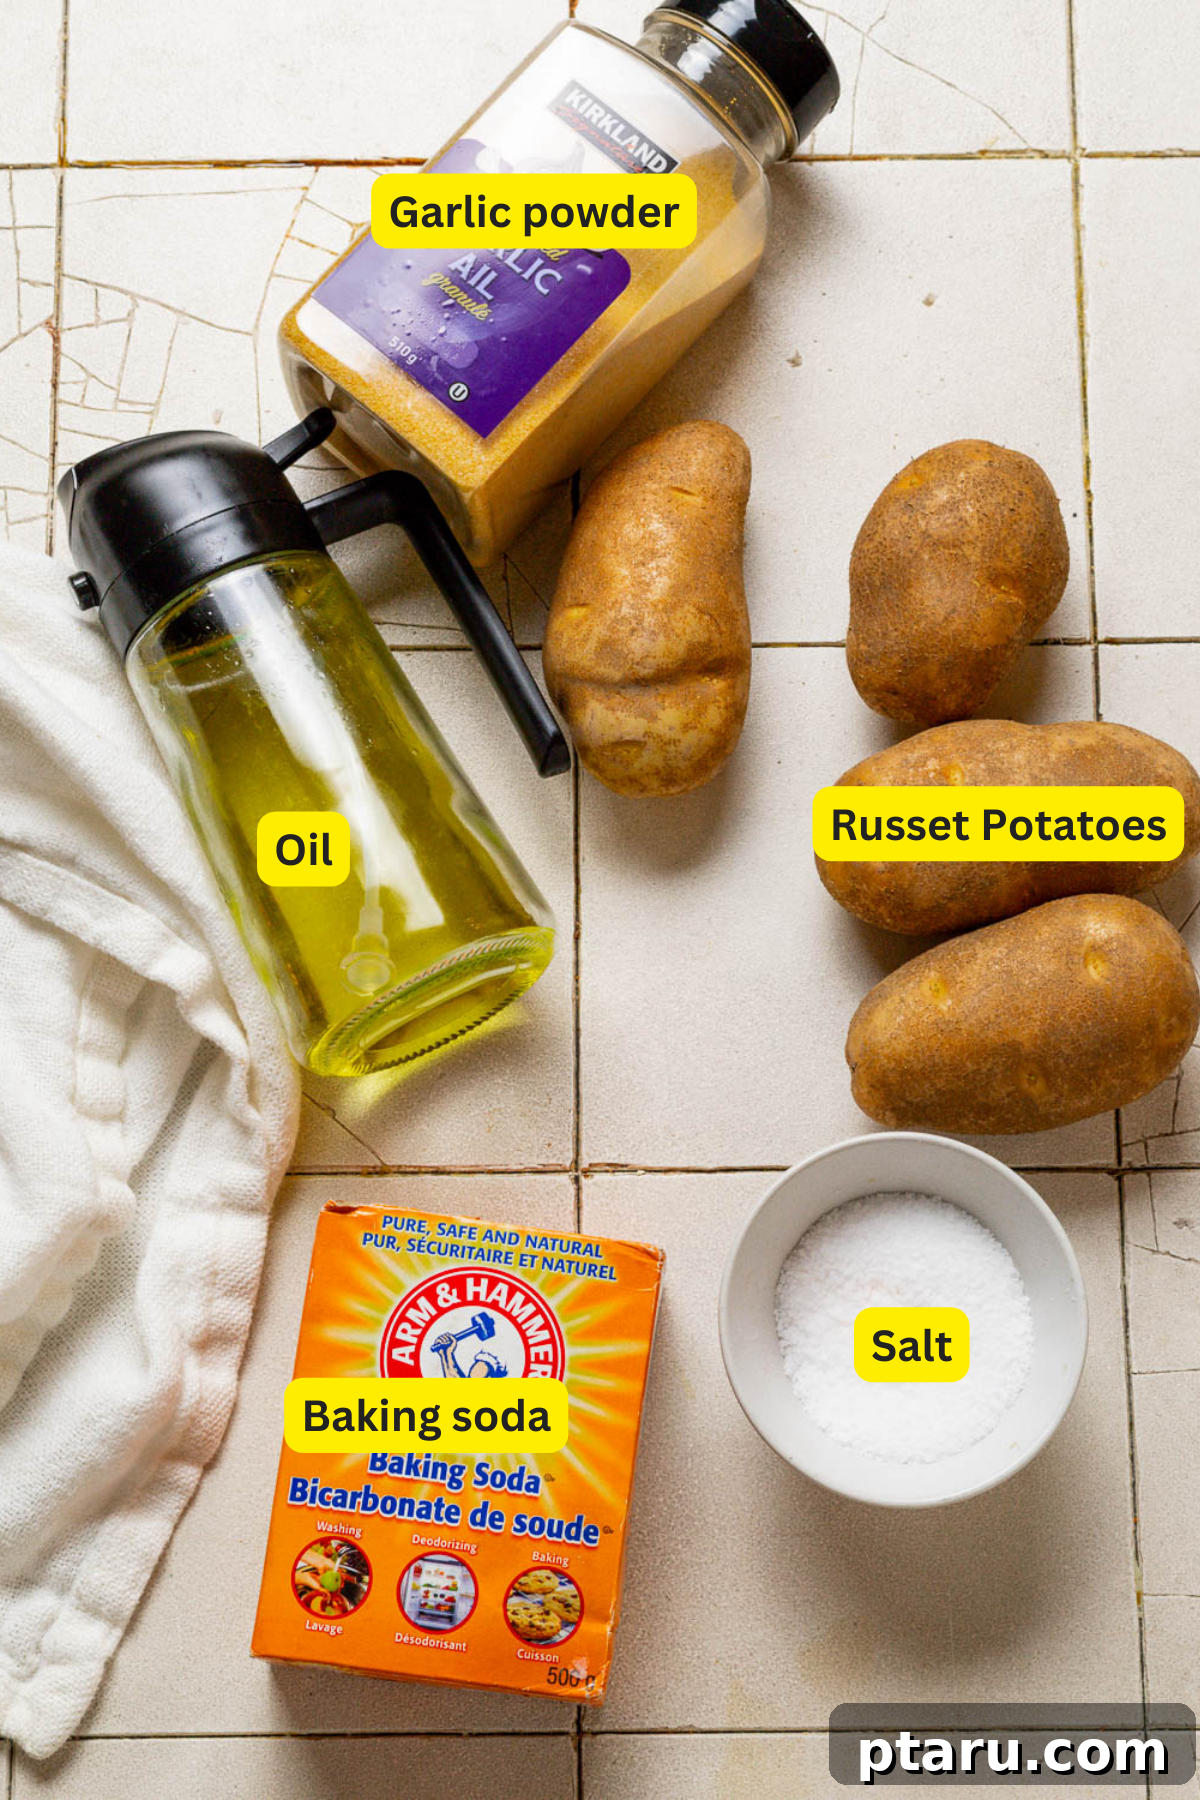
While the technique is paramount, selecting the right ingredients plays a crucial role in the outcome. Here’s a breakdown of what you’ll need and why:
- Russet Potatoes (The Champion Choice): For that ideal balance of a super crispy exterior and a fluffy interior, Russet potatoes are your best bet. Their high starch content is key to creating that wonderful starchy coating when par-boiled and roughened, which then crisps up beautifully during frying. Their relatively lower moisture content also helps prevent sogginess. You can peel them or leave the skin on for a more rustic look and added fiber – it’s entirely up to your preference.
Alternative Potato Choices: If Russets aren’t available, you can use red potatoes or Yukon Gold potatoes. Be aware that these varieties have a higher moisture content and lower starch, which will result in a creamier texture and a slightly buttery flavor, but they won’t achieve the same level of crispness as Russets. For a unique twist, try sweet potatoes; they offer a sweeter, slightly softer option that can be delicious when fried, though their texture will naturally be different.
- Choosing the Best Oil for Frying: A high smoke point cooking oil is absolutely essential to prevent burning and impart off-flavors. My top recommendation is avocado oil due to its neutral flavor and incredibly high smoke point. Other excellent choices include canola oil, vegetable oil, or light olive oil.
Oils to Avoid: Steer clear of butter or extra virgin olive oil for frying at high temperatures. Butter has a very low smoke point and will burn quickly, imparting a bitter taste. Extra virgin olive oil, while flavorful, also has a lower smoke point and will smoke excessively at the temperatures required for truly crispy potatoes.
- Baking Soda (The Crisping Catalyst): As discussed, baking soda is critical. It helps break down the potato’s surface starch, creating that rough, starchy coating that is fundamental to developing an ultra-crispy crust when fried. Don’t skip this small but mighty ingredient!
- Fresh Herbs (Optional, but Recommended for Brightness): A sprinkle of fresh herbs like chopped parsley or chives at the end adds a vibrant pop of color and a fresh, aromatic finish that brightens the entire dish. They’re optional but truly elevate the presentation and flavor profile.
- Salt and Freshly Ground Black Pepper: Essential for seasoning. Remember the strategic timing for salt application to maintain crispness. Freshly ground black pepper adds a pungent, aromatic kick.
You’ll find the full ingredient list with precise quantities in the detailed recipe card at the conclusion of this article.
Flavorful Substitutions and Creative Variations
While the basic recipe is fantastic, don’t hesitate to customize your fried potatoes to suit your taste or meal! Here are a few ideas to get you started:
- Expand Your Spice Cabinet: Beyond salt and pepper, the possibilities are endless. Try adding smoked paprika for a hint of warmth and color, or chili powder for a mild kick. For those who love heat, a pinch of cayenne pepper will do the trick. Italian seasoning can lend a comforting, herbaceous note, while fresh dill and a touch of lemon zest added at the end offer a bright, summery flavor. Experiment with onion powder, cumin, or even a dash of Old Bay seasoning for different regional flavors.
- Gourmet Garnishes: Elevate your presentation and flavor with sophisticated garnishes. Finely chopped cilantro brings a fresh, zesty flavor, while fresh rosemary or thyme can add an earthy, aromatic touch that feels truly gourmet. A dollop of sour cream or Greek yogurt, perhaps mixed with some chives, can provide a creamy contrast. Don’t forget a splash of your favorite hot sauce for an extra kick!
- Healthier Air Fryer Potatoes: For a lighter option without sacrificing crispness, your air fryer is a fantastic tool. After par-boiling, roughing, and drying the potatoes, spray or brush them generously with a high smoke point oil. Air fry at around 375-400°F (190-200°C) for 15-20 minutes, shaking the basket and flipping them halfway through to ensure even crisping. Avoid overcrowding the air fryer basket; cook in batches if necessary for optimal results.
- Effortless Oven-Baked Potatoes: If you prefer a hands-off approach or are cooking for a crowd, baking is a great alternative. Toss the par-boiled, roughened, and dried potatoes with oil and your desired seasonings on a baking sheet. Bake at a high temperature, around 425°F (220°C), for 25-35 minutes, flipping them halfway through. This method yields deliciously crispy edges with a tender interior, making it a healthier and convenient option.
Why Russet Potatoes Reign Supreme for Fried Potatoes
When it comes to crafting the perfect fried potatoes, not all spuds are created equal. The undeniable champion for that highly coveted crispy exterior and cloud-like, fluffy interior is the Russet potato.
- Exceptional Starch Content: Russets are naturally high in starch. This characteristic is precisely what makes them ideal. When par-boiled and then intentionally roughened, this abundant starch releases onto the potato’s surface. This starchy coating is the magical element that transforms into an irresistibly crunchy, golden crust when it hits the hot oil. Without sufficient surface starch, potatoes tend to just brown without developing that satisfying crispness.
- Optimal Low Moisture Content: Beyond starch, Russet potatoes also possess a relatively low moisture content compared to other varieties. High moisture in potatoes leads to steam when frying, which actively works against crisping and often results in a soggy, greasy end product. The lower moisture in Russets allows them to fry up beautifully, achieving that desired golden-brown color and crunchy texture without becoming waterlogged or oily. This perfect balance ensures your fried potatoes are never soggy, always perfectly cooked through, and delightfully crunchy.
How to Make Amazing Fried Potatoes: Your Step-by-Step Guide
Achieving restaurant-quality crispy potatoes is simpler than you think with these three straightforward steps. Follow along to create your ultimate side dish!
Step 1: Prep and Par-Boil for the Perfect Head Start
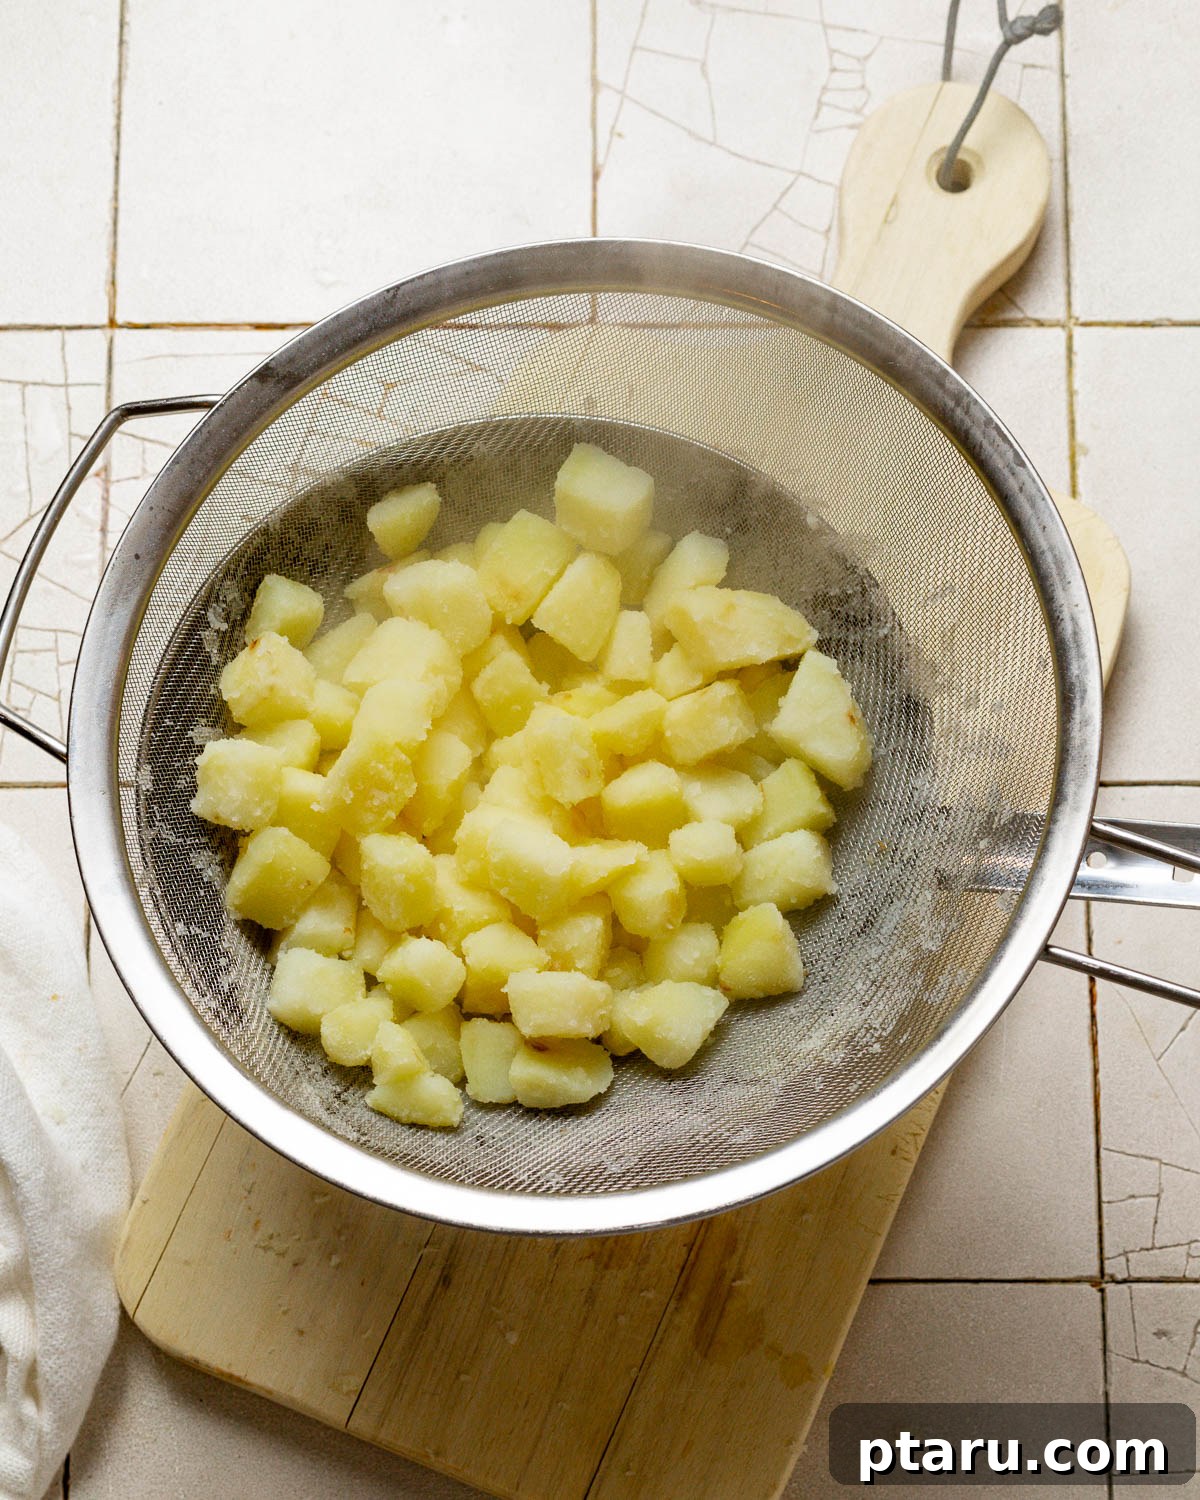
Begin by thoroughly washing your Russet potatoes. Decide if you want to peel them or leave the skin on for a rustic touch. Then, cut them into uniform ½-inch cubes or thick wedges. Consistency in size is important for even cooking. In a large pot, bring 2 quarts (8 cups) of water to a rolling boil. Add ½ teaspoon of baking soda and 1 tablespoon of salt to the boiling water. Carefully add your chopped potatoes and reduce the heat to a gentle simmer. Cook for exactly 5 minutes, or until the potatoes are just fork-tender but still firm enough to hold their shape and not fall apart. Immediately drain the potatoes in a colander. Once drained, give the colander a vigorous shake for about 10-15 seconds. This crucial step roughens the potato edges, creating more surface area for crisping. Finally, spread the potatoes out on a clean kitchen towel and pat them completely dry to remove any excess moisture.
Step 2: Initiate the Fry for Golden Glory
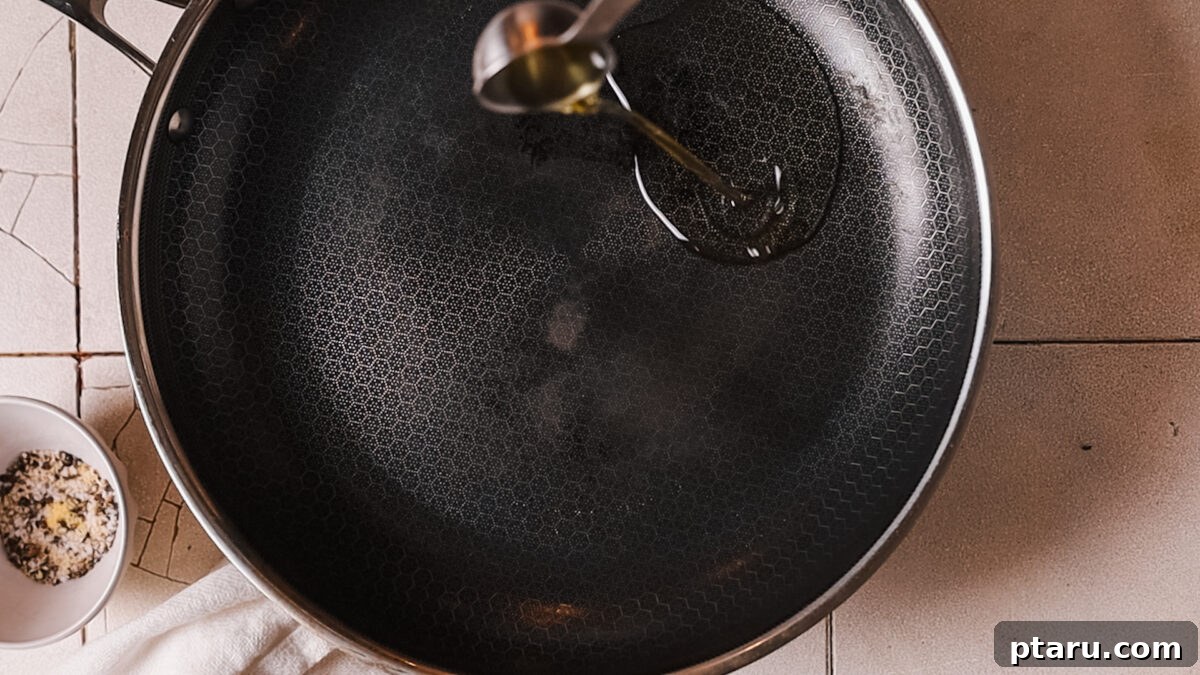
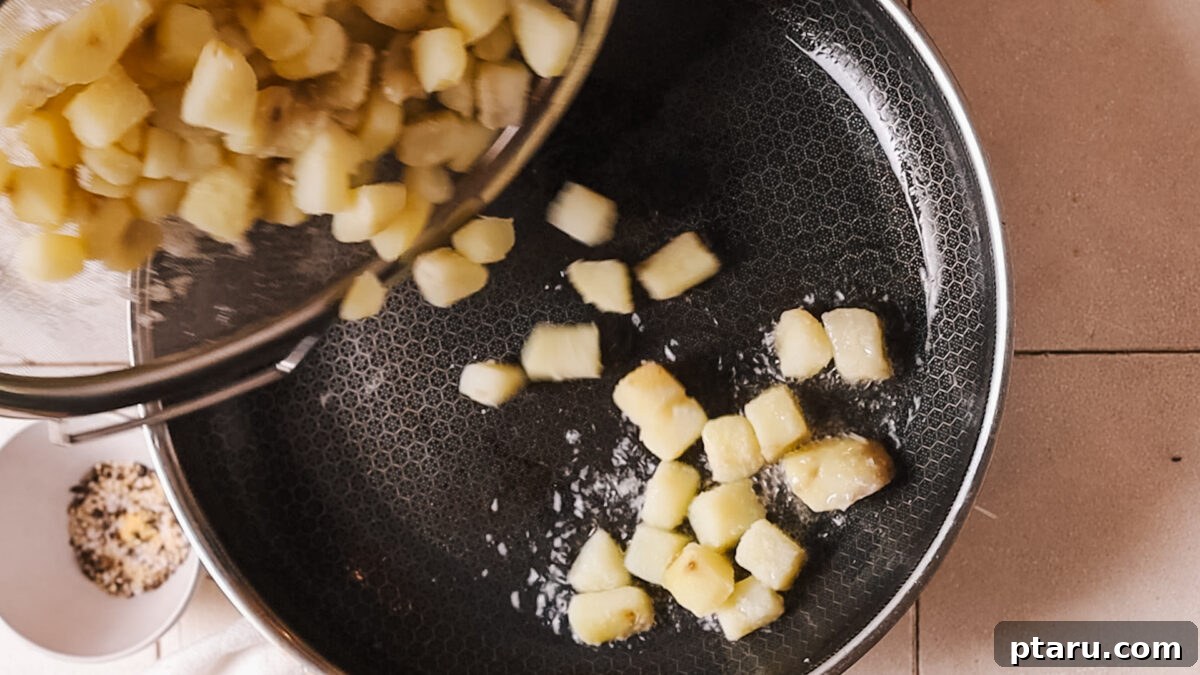
Place a large, heavy-bottomed skillet (cast iron or stainless steel works best) over medium-high heat. Allow it to preheat for 3-5 minutes until it is very hot. You should feel significant heat radiating from the pan when you hold your hand a few inches above it. Add 3 tablespoons of your chosen neutral oil (like avocado or canola) to the hot skillet. Heat the oil until it is shimmering and appears to be almost smoking, which typically takes about 30 seconds. Carefully add the dried potatoes to the hot oil in a single layer. It’s vital not to overcrowd the pan; if necessary, cook in two batches to ensure each potato piece has direct contact with the hot surface. Cook the potatoes undisturbed for 5 minutes. Resist the urge to flip or stir them during this initial phase; this allows a beautiful, golden-brown crust to form on the bottom.
Step 3: Flip, Season, and Finish to Perfection
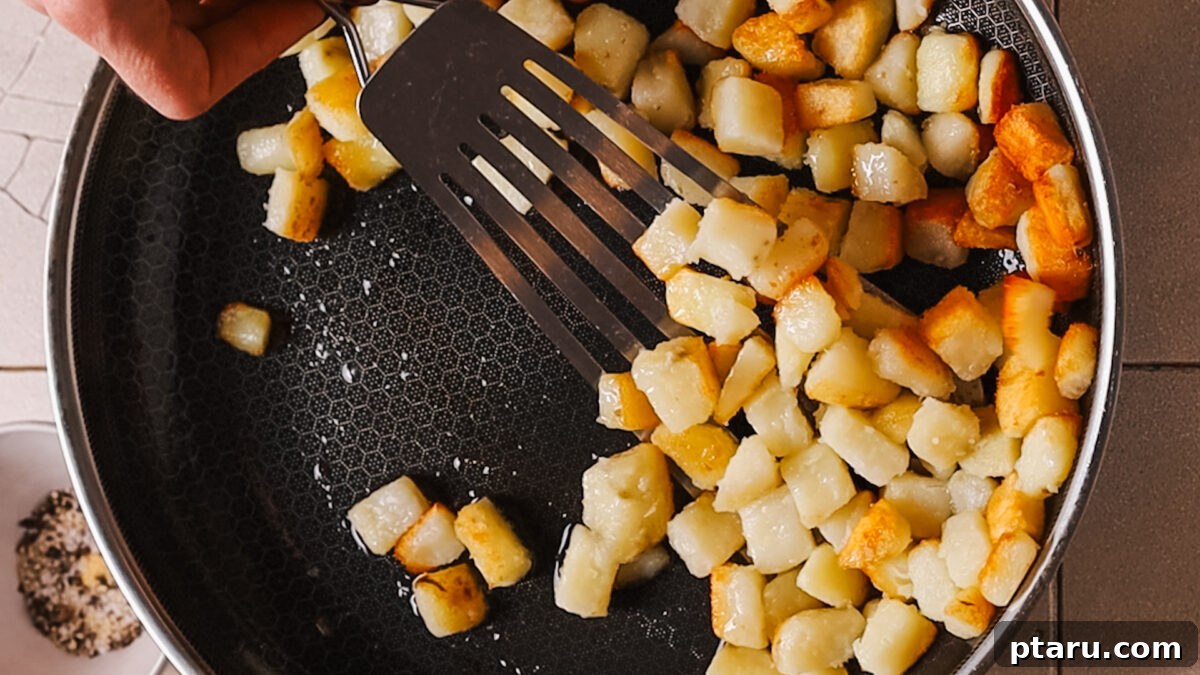
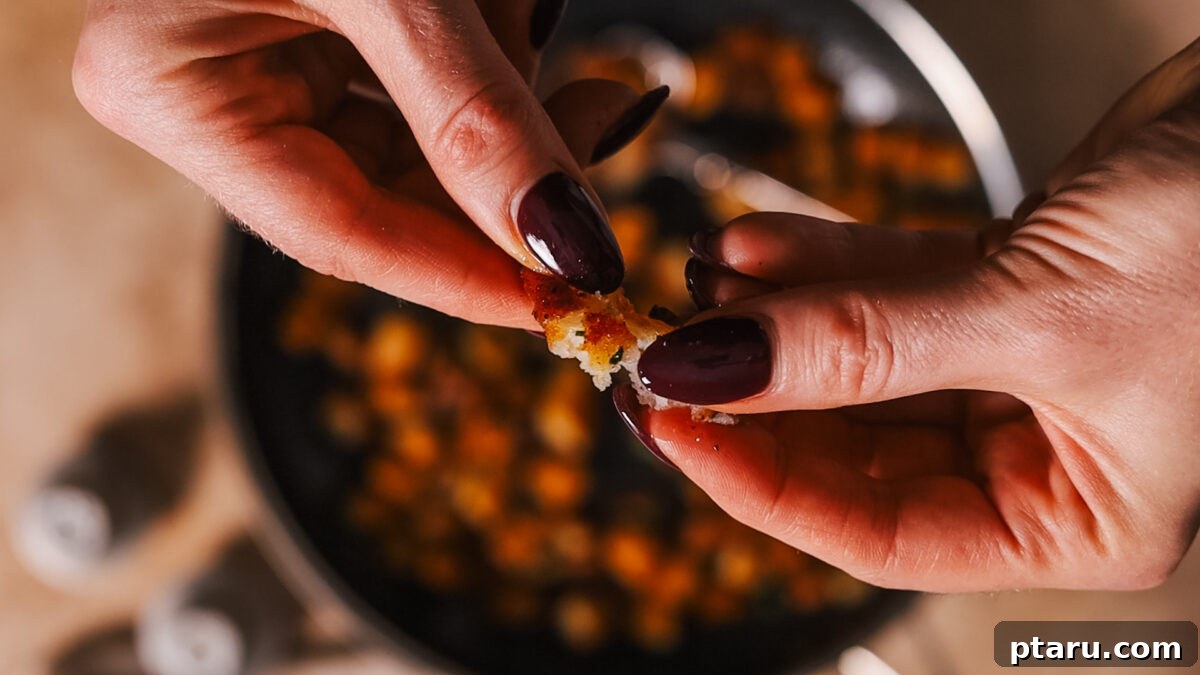
After the initial 5 minutes, gently flip the potatoes using a spatula. You should see a deep golden crust on the underside. Now is the perfect time to season them! Sprinkle generously with ½ teaspoon of salt, ¼ teaspoon of black pepper, and if desired, ¼ teaspoon of garlic powder. Continue to cook for another 5-10 minutes, flipping the potatoes occasionally (every 2-3 minutes) to ensure all sides become evenly golden and crispy. Continue to cook until they reach your desired level of crispness and color. Taste a piece and adjust the seasoning as needed. Garnish with fresh chopped parsley or chives, and serve immediately for the best experience.
Avoid These 5 Common Mistakes for Flawless Fried Potatoes
While this recipe is designed for simplicity and success, even seasoned cooks can make common errors that compromise the perfect crisp. Here are the top five pitfalls to avoid:
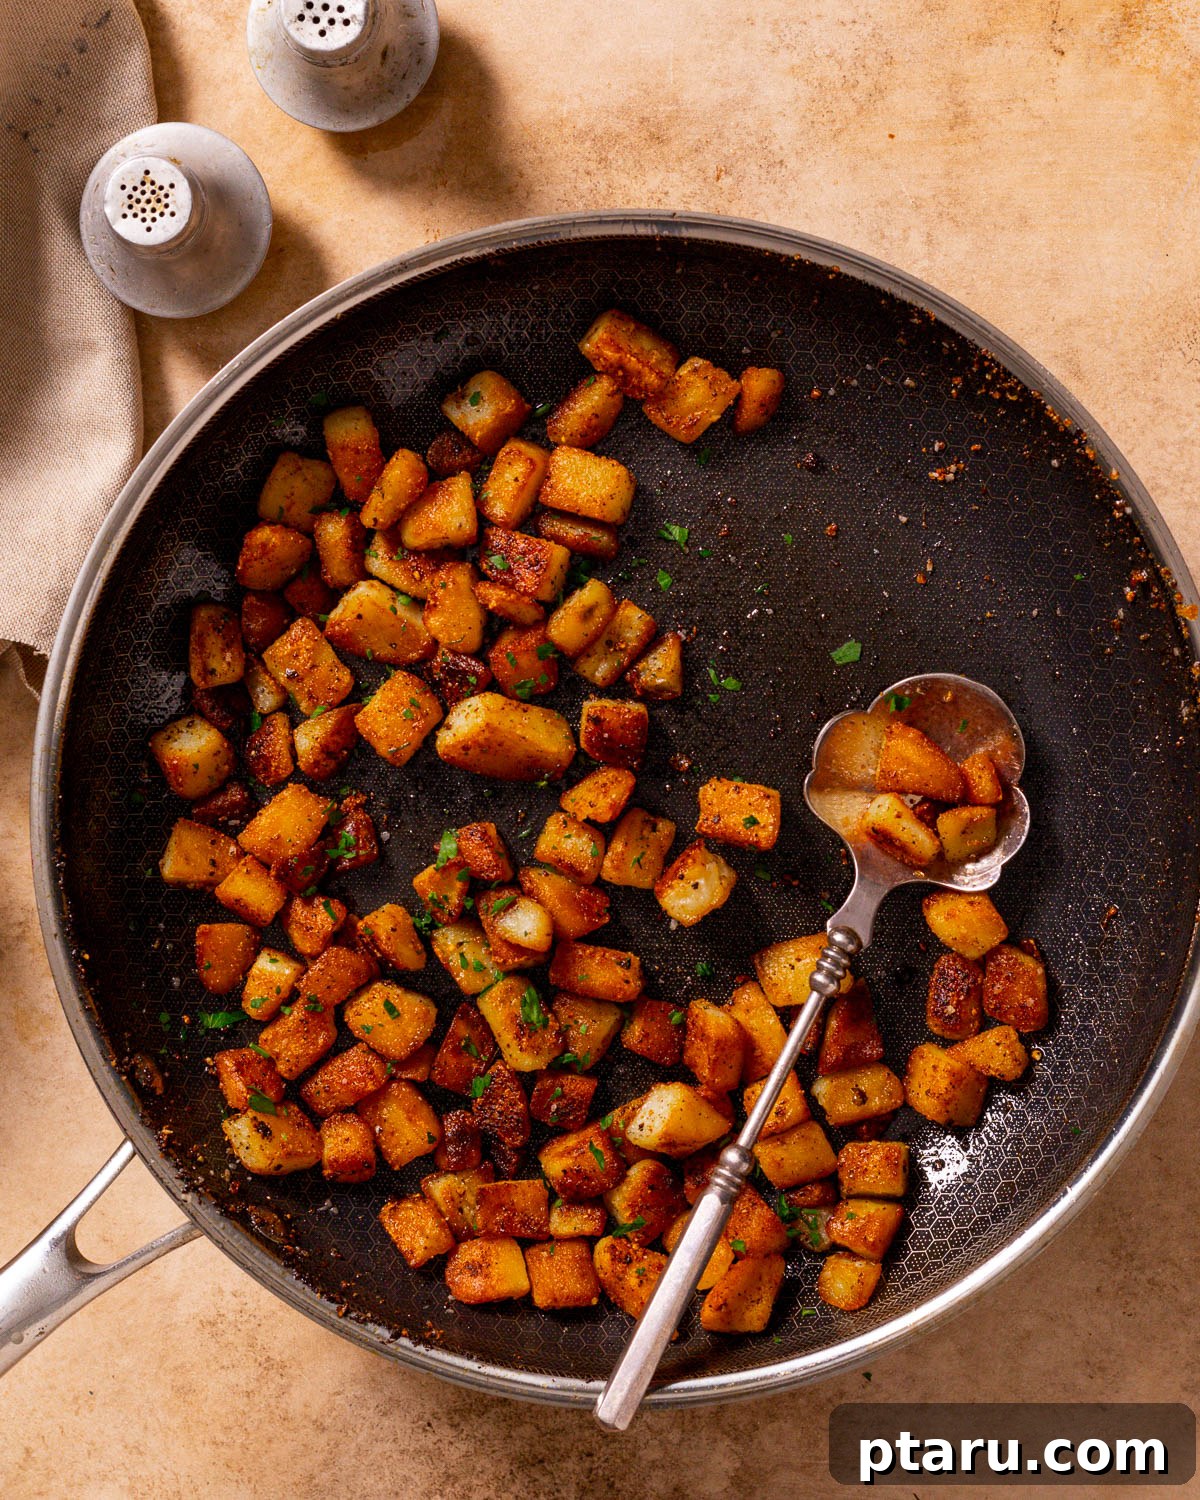
1. Skipping the Essential Par-boiling Step: This is a cornerstone of the recipe’s success. Par-boiling not only softens the potato interior for that coveted fluffiness but also preps the surface starch for maximum crisping. Directly frying raw potatoes often results in an uneven cook, with either a burnt exterior and raw center or a potato that’s simply not crispy enough.
2. Overcrowding the Pan: This is a cardinal sin of frying! When too many potatoes are crammed into a single layer, the pan’s temperature drops drastically, and the potatoes release moisture, creating steam. Instead of frying, the potatoes essentially steam, leading to a greasy, soggy, and unappetizing result. Always cook in batches if your pan isn’t large enough to accommodate them in a single layer.
3. Using the Wrong Type of Potato: Not all potatoes are created equal for frying. Waxy varieties like red or new potatoes have high moisture and low starch, making them prone to sticking and unable to develop the desired crispy crust. Russet potatoes, with their high starch and low moisture, are specifically chosen for their ability to deliver that perfect fluffy interior and shatteringly crisp exterior.
4. Frying in Oil That Isn’t Hot Enough: Adding potatoes to lukewarm oil is a recipe for disaster. The potatoes will absorb too much oil, becoming greasy and heavy rather than crispy. Ensure your oil is shimmering hot and almost at its smoke point before adding the potatoes. This creates an immediate sear, preventing oil absorption and promoting rapid browning.
5. Flipping Too Frequently: Patience is a virtue when frying! Constantly moving the potatoes prevents them from developing a solid, golden crust on any side. Let them cook undisturbed for the recommended initial 5 minutes to form a beautiful crust, then flip only when truly necessary to brown the other sides. Trust the process, and let the heat do its work.
Make Ahead and Storage Tips for Convenience
These perfect fried potatoes can certainly be enjoyed fresh, but thoughtful preparation and storage can make them even more convenient:
You can par-boil the potatoes up to 24 hours in advance. This is a fantastic time-saver, especially when preparing for a brunch or a busy weeknight meal.
- After draining and roughing up the edges, ensure the potatoes are spread out on a clean towel or baking sheet to cool completely. Once cooled, transfer them to an airtight container and store them in the refrigerator.
- When you’re ready to fry, simply remove them from the fridge, pat dry any condensation that may have formed, and proceed directly with the frying steps in the recipe.
Storing Leftover Fried Potatoes
If you happen to have any leftovers (a rare occurrence with these!), store them in an airtight container in the refrigerator for up to 3 days. For best quality, consume them as soon as possible.
- Reheating for Optimal Crispness: The key to reheating fried potatoes is to bring back their crisp texture. Avoid the microwave at all costs, as it will inevitably make them soggy. Instead, reheat them in a hot skillet over medium heat with a tiny touch of oil until warmed through and re-crisped. Alternatively, borrow my proven method for how to reheat French fries in an air fryer – it works wonders for these too! A hot oven (around 375°F/190°C) for 10-15 minutes can also do the trick.
Remember, proper reheating prevents soggy potatoes and ensures you enjoy their crispy goodness even the next day.
Delicious Ways to Serve These Crispy Fried Potatoes
These perfectly crispy fried potatoes are incredibly versatile, making them a fantastic addition to almost any meal. They are truly the star of any plate, complementing a wide range of dishes.
- The Ultimate Breakfast or Brunch Staple: Just like your favorite restaurant brunch spot, these potatoes are a must-have for breakfast. Pair them with perfectly cooked eggs – whether you prefer microwave-boiled eggs, classic eggs over medium, or elegant microwave poached eggs. Add a side of savory air fryer bacon, juicy breakfast sausage, or a hearty steak for a truly indulgent morning feast.
- A Versatile Side Dish for Any Meal: Don’t limit these to breakfast! They make an excellent easy side dish for dinner. Serve them alongside grilled chicken, roasted fish, juicy burgers, or even a hearty vegetarian meal. Their comforting flavor and satisfying crunch elevate any main course.
- Irresistible Snack with Dipping Sauces: These fried potatoes are so good, they can easily stand alone as a delicious snack. Pair them with your favorite dipping sauces. A creamy homemade Big Mac Sauce is an absolute revelation, or try classic ketchup, spicy aioli, ranch dressing, or a tangy barbecue sauce.
RELATED RECIPES FOR HEARTY MEALS: Explore more comforting breakfast and potato-centric dishes with our Tater Tot Breakfast Casserole and a collection of 23+ Breakfast Recipes with Sausage and Eggs.
Frequently Asked Questions About Crispy Fried Potatoes
If you’ve been skimming, ensure you don’t miss these essential answers to common questions about making the best fried potatoes:
The most common culprits are overcrowding the pan, which causes potatoes to steam instead of fry, and oil that isn’t hot enough, leading to greasiness. Ensure your oil is shimmering, cook in a single layer (in batches if needed), and avoid flipping the potatoes too frequently. The par-boiling and baking soda steps are also critical for surface crispness.
While possible, par-boiling is highly recommended. It ensures a fluffy interior and prepares the potato surface for maximum crispness. Skipping it may result in potatoes that are less evenly cooked (either too hard or too soft in the center) and significantly less crispy on the exterior. If you absolutely must skip it, soak raw potatoes in cold water for 15-30 minutes to remove excess starch, then dry them very thoroughly before frying.
Neutral oils with high smoke points are ideal. Canola oil, avocado oil, and vegetable oil are excellent choices because they can withstand high temperatures without burning and won’t overpower the potato’s flavor. Light olive oil can also be used, but avoid extra virgin olive oil or butter, which have lower smoke points and can smoke or burn at the required frying temperatures.
To prevent sticking, use a well-seasoned cast-iron skillet or a good quality nonstick pan. Crucially, ensure both the pan and the oil are sufficiently hot before adding the potatoes. Once added, allow the potatoes to cook undisturbed for several minutes to form a crust; this natural release prevents sticking.
Yes, absolutely! Sweet potatoes can make a delicious and slightly healthier alternative. However, be aware that they will yield a softer, sweeter result and may not achieve the same crispness as starchy Russets due to their different sugar and starch composition. They also might require slightly less frying time, so keep a close eye on them.
Even cooking starts with uniform potato pieces. Cut all your potatoes to roughly the same size (e.g., ½-inch cubes or wedges). Par-boiling also ensures the interior cooks evenly before frying. During frying, avoid overcrowding the pan and flip them periodically to ensure all sides get golden brown and crispy.
The Maillard reaction is a complex chemical process between amino acids and reducing sugars that gives browned food its distinctive flavor. For fried potatoes, it’s what creates that rich, savory, slightly sweet flavor and the beautiful golden-brown color on the crust. The baking soda in this recipe enhances this reaction, leading to more flavorful and appealing potatoes.
More Irresistible Potato Recipes You’ll Adore
If you’re a potato enthusiast like me, there’s always another delightful potato dish to discover! Here are a few more treasured recipes from my collection:
- My Best Potato Salad: A creamy, classic homemade potato salad with egg that’s perfect for picnics and gatherings.
- My Tested-Till-Perfect Mashed Potato Recipe: Achieve melt-in-your-mouth fluffy mashed potatoes every single time with this foolproof guide.
- My Gluten-Free Au Gratin Potatoes: Indulge in rich, creamy, and utterly delicious au gratin potatoes that are wonderfully gluten-free.
Fried Potatoes
Jennifer Pallian BSc, RD
5 minutes
30 minutes
35 minutes
4
Ingredients
- 1 ½ lbs Russet potatoes (2 large or 4 small)
For par-boiling:
- 8 cups water
- ½ tsp baking soda
- 1 tbsp salt
For frying:
- 3 tbsp neutral oil (like canola or avocado oil)
- ½ tsp salt
- ¼ tsp black pepper
- ¼ tsp garlic powder (optional)
- Fresh herbs for garnish (like parsley or chives)
Instructions
Prep and par-boil:
-
Peel (if desired) and cut potatoes into 1/2-inch cubes or thick wedges. Bring 2 quarts of water to a boil with 1/2 tsp baking soda and 1 tbsp salt. Add potatoes and simmer for 5 minutes, until fork-tender but not falling apart. Drain in a colander and shake it gently to roughen the surface.
Fry the potatoes:
-
Heat a large skillet for 3-5 minutes over medium-high heat until very hot. Add the oil and heat until shimmering hot and almost smoking (about 30 seconds). Add potatoes in a single layer and cook undisturbed for 5 minutes until the bottoms are golden brown.
Flip, season, and finish:
-
Flip the potatoes and season with salt, pepper, and garlic powder if using. Fry for another 5 minutes, flipping occasionally, until crispy on all sides.
Serve:
-
Garnish with fresh parsley or chives and serve hot.
Notes
Do not season the potatoes before frying. Wait until after the first flip to sprinkle with salt, pepper, and garlic powder. This allows a beautiful, golden, crispy crust to develop without salt drawing moisture to the surface.
Nutrition
Carbohydrates: 31g |
Protein: 4g |
Fat: 11g |
Saturated Fat: 1g |
Polyunsaturated Fat: 3g |
Monounsaturated Fat: 7g |
Trans Fat: 0.04g |
Sodium: 2204mg |
Potassium: 714mg |
Fiber: 2g |
Sugar: 1g |
Vitamin A: 2IU |
Vitamin C: 10mg |
Calcium: 38mg |
Iron: 2mg
Nutrition information is automatically calculated, so should only be used as an approximation.