For any home cook who has dreamed of serving authentic, fresh pasta but cringed at the thought of the monumental effort involved, prepare for a revelation. The journey of making pasta from scratch is traditionally fraught with challenges: the stiff, unyielding dough that demands rigorous kneading, the sprawling mess of flour and dough on every surface, and the sheer physical labor of hand-cranked rollers or even stand mixer attachments. It’s an endeavor that often deters even the most enthusiastic culinary adventurers, leading many to relegate homemade pasta to special occasions or, more often, to the realm of wistful fantasy.
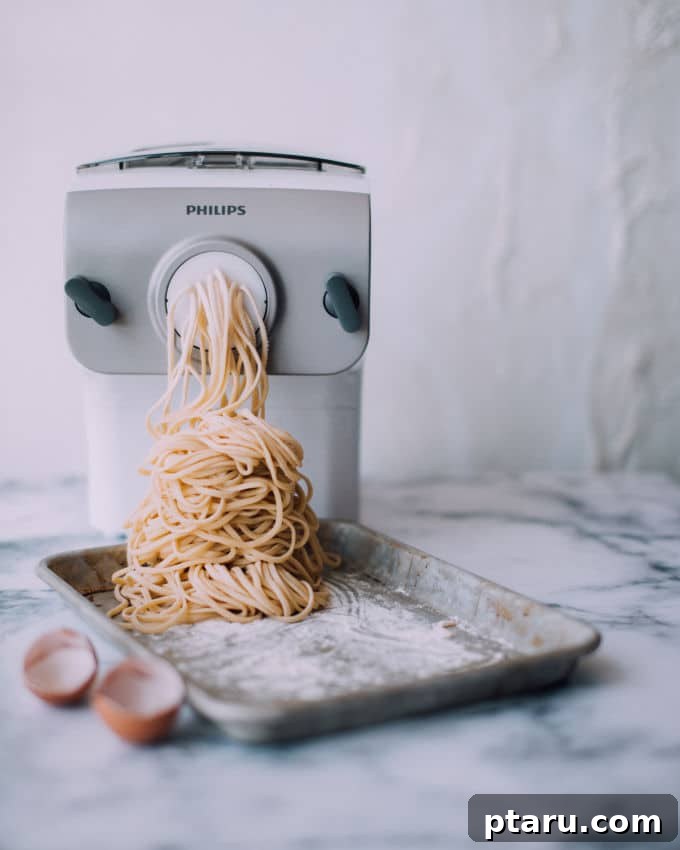
However, what if I told you there’s a kitchen gadget that completely redefines this experience, transforming a laborious task into an effortless joy? Allow me to introduce you to a true game-changer: the Philips Pasta Maker. This isn’t just another kitchen appliance; it’s a culinary revolution for anyone passionate about fresh food. Imagine simply adding flour to a container, closing the lid, and pressing a button. Then, with a simple whisk of egg and water poured through a small spout, you witness pure magic. In as little as three minutes, perfectly formed pasta of nearly any shape you desire begins to cascade gracefully from the front of the machine. It’s not an exaggeration to say that within fifteen minutes, every last strand is extruded, with the bulk of your pasta ready in just six minutes. This speed and efficiency are truly astounding, making what was once a time-consuming ordeal an incredibly quick and clean process.
Unbelievable Simplicity: The Philips Pasta Maker Experience
The speed and simplicity of the Philips Pasta Maker often elicit disbelief. I recently shared a video of this incredible machine in action on my Instagram story, and within moments, my inbox was flooded with questions. “Is that real?” “How is that possible?” The skepticism is understandable; it truly doesn’t seem possible that such professional-quality pasta could be produced with so little effort. Yet, it is. This machine isn’t just fast; it’s intuitive and foolproof, designed to bring the joy of fresh pasta to every home kitchen without the traditional hassle.
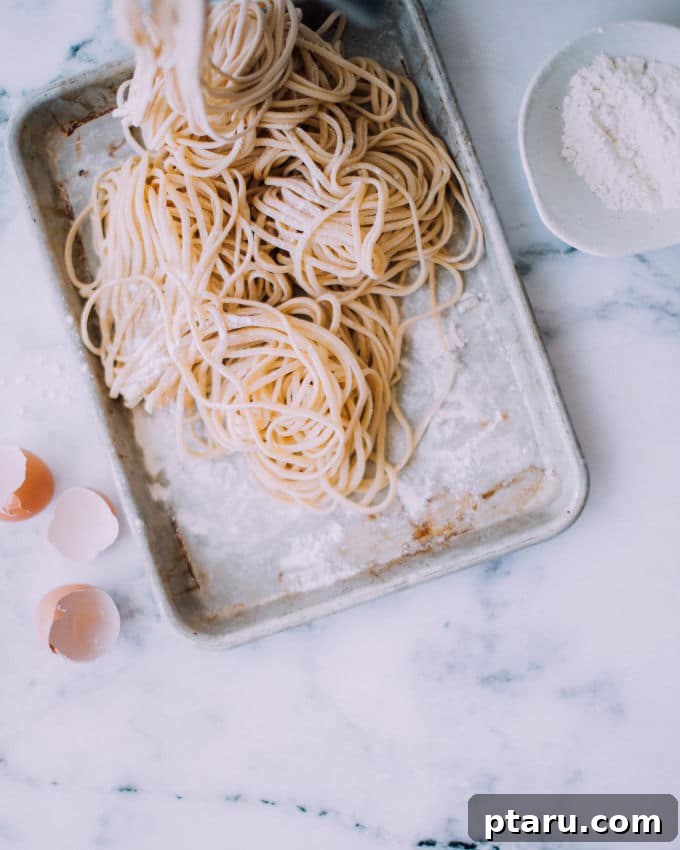
My own experience with the Philips Pasta Maker has been nothing short of transformative. In a recent burst of culinary enthusiasm, I found myself making fresh pasta four nights in a row – an act that would have been unthinkable with traditional methods. It’s genuinely like playing with Play-Doh for adults, but with the delightful bonus that you won’t regret eating your creations! Each time I used the machine, I was so enamored with the process and the results that I naturally gravitated towards making double batches. This newfound ease has allowed me to keep my freezer consistently stocked with various types of fresh pasta, ready for any impromptu meal. Fresh pasta, remarkably, can be either dried for long-term pantry storage or frozen, offering incredible flexibility and convenience for meal planning.
Automated Excellence: Features That Simplify Your Cooking
The true genius of the Philips Pasta Maker lies in its comprehensive automation. It takes care of every laborious step, from the initial mixing of ingredients to the meticulous kneading of the dough, and finally, to the precise extrusion and shaping of your pasta. This powerful machine eliminates the need for any manual intervention in these critical stages, freeing you to focus on other aspects of your meal preparation or simply enjoy the spectacle of pasta being born. The robust motor and intelligent design ensure a perfectly consistent dough texture every time, which is crucial for high-quality pasta.
The machine comes equipped with a versatile set of shaping discs, allowing you to effortlessly create classic pasta varieties such as fettuccine, spaghetti, penne, and wide sheets perfect for lasagna. For those eager to expand their pasta repertoire even further, additional attachments are available for purchase, opening up a world of other pasta shapes, and even cookie shapers for sweet treats. An intuitive LED display guides you through each step, clearly indicating the progress of your pasta making. Furthermore, specialized measuring cups are included, precisely calibrated to tell you the exact quantities of flour and liquid needed, removing any guesswork from the process. This attention to detail ensures that the entire experience, from preparing your ingredients to serving up a steaming plate of fresh pasta, is incredibly user-friendly and truly a “no-brainer.”
Beyond the Basics: Culinary Exploration with Your Pasta Maker
With such an invaluable tool in my kitchen, my culinary horizons have significantly expanded. The possibilities are truly endless, and I find myself constantly dreaming up new pasta-related creations. Next on my list is tackling homemade ramen noodles, a challenge that suddenly seems achievable and exciting. I also plan to utilize the lasagna disc to produce wide, thin sheets of pasta that can be easily cut and transformed into delicate wrappers for homemade ravioli or even dumplings. The thought of inviting friends and family over for dinner fills me with anticipation, knowing there’s a near-certainty that our meal will feature an exquisite, fresh pasta dish. The Philips Pasta Maker doesn’t just make pasta; it inspires creativity and transforms everyday cooking into an adventure.
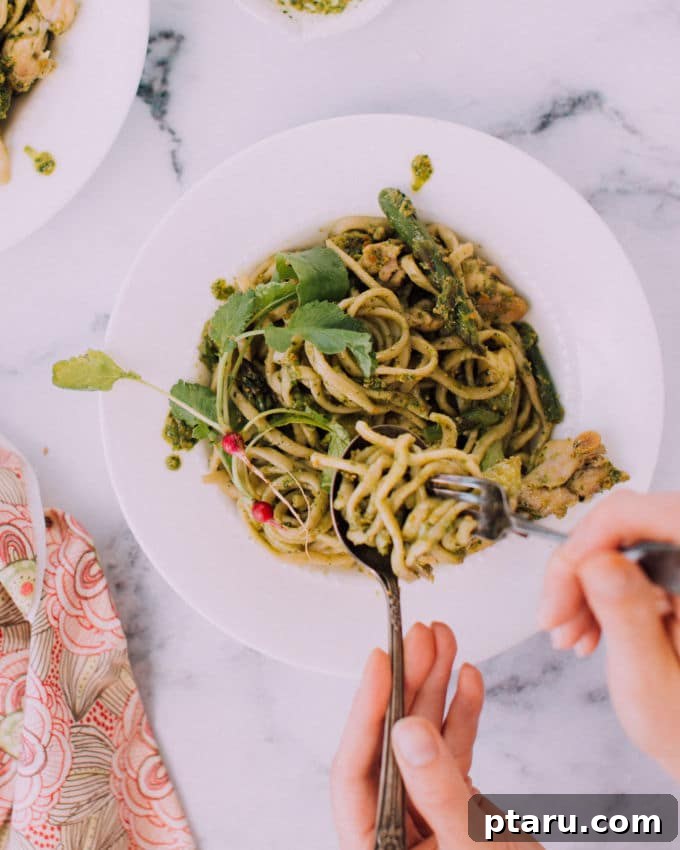
Recipe: Chicken Fettuccine with Chard-Almond Pesto
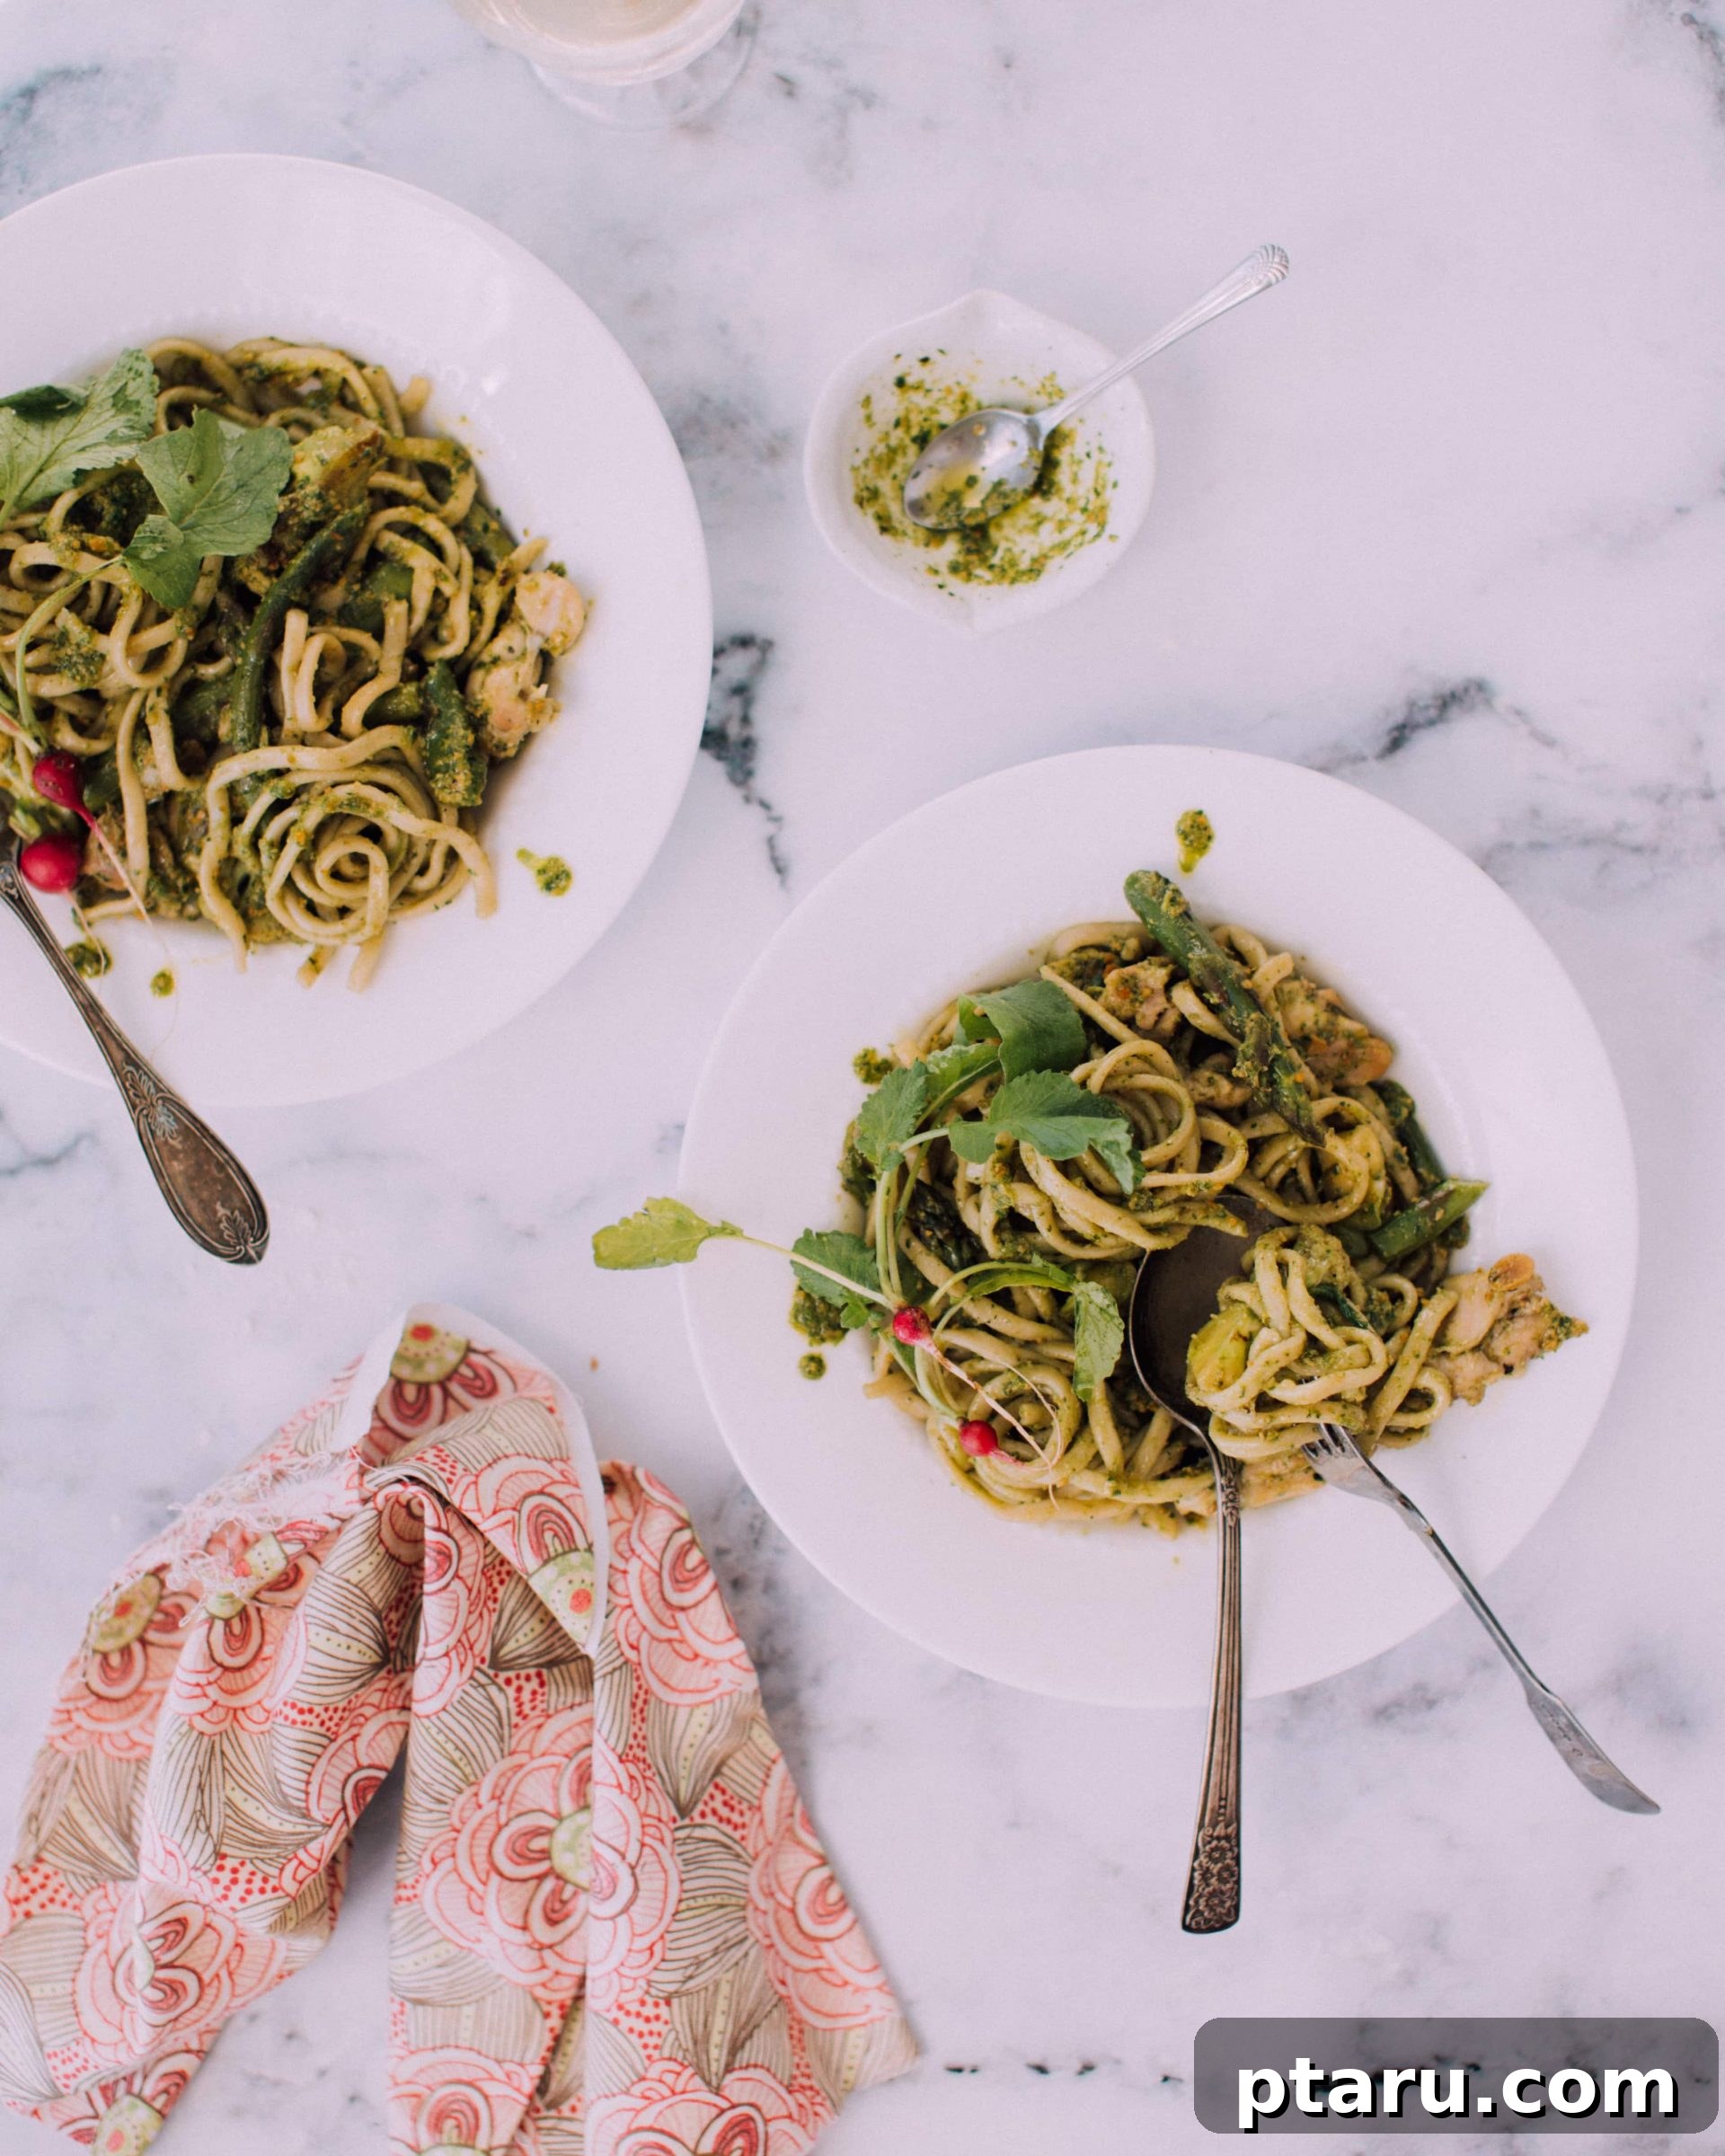
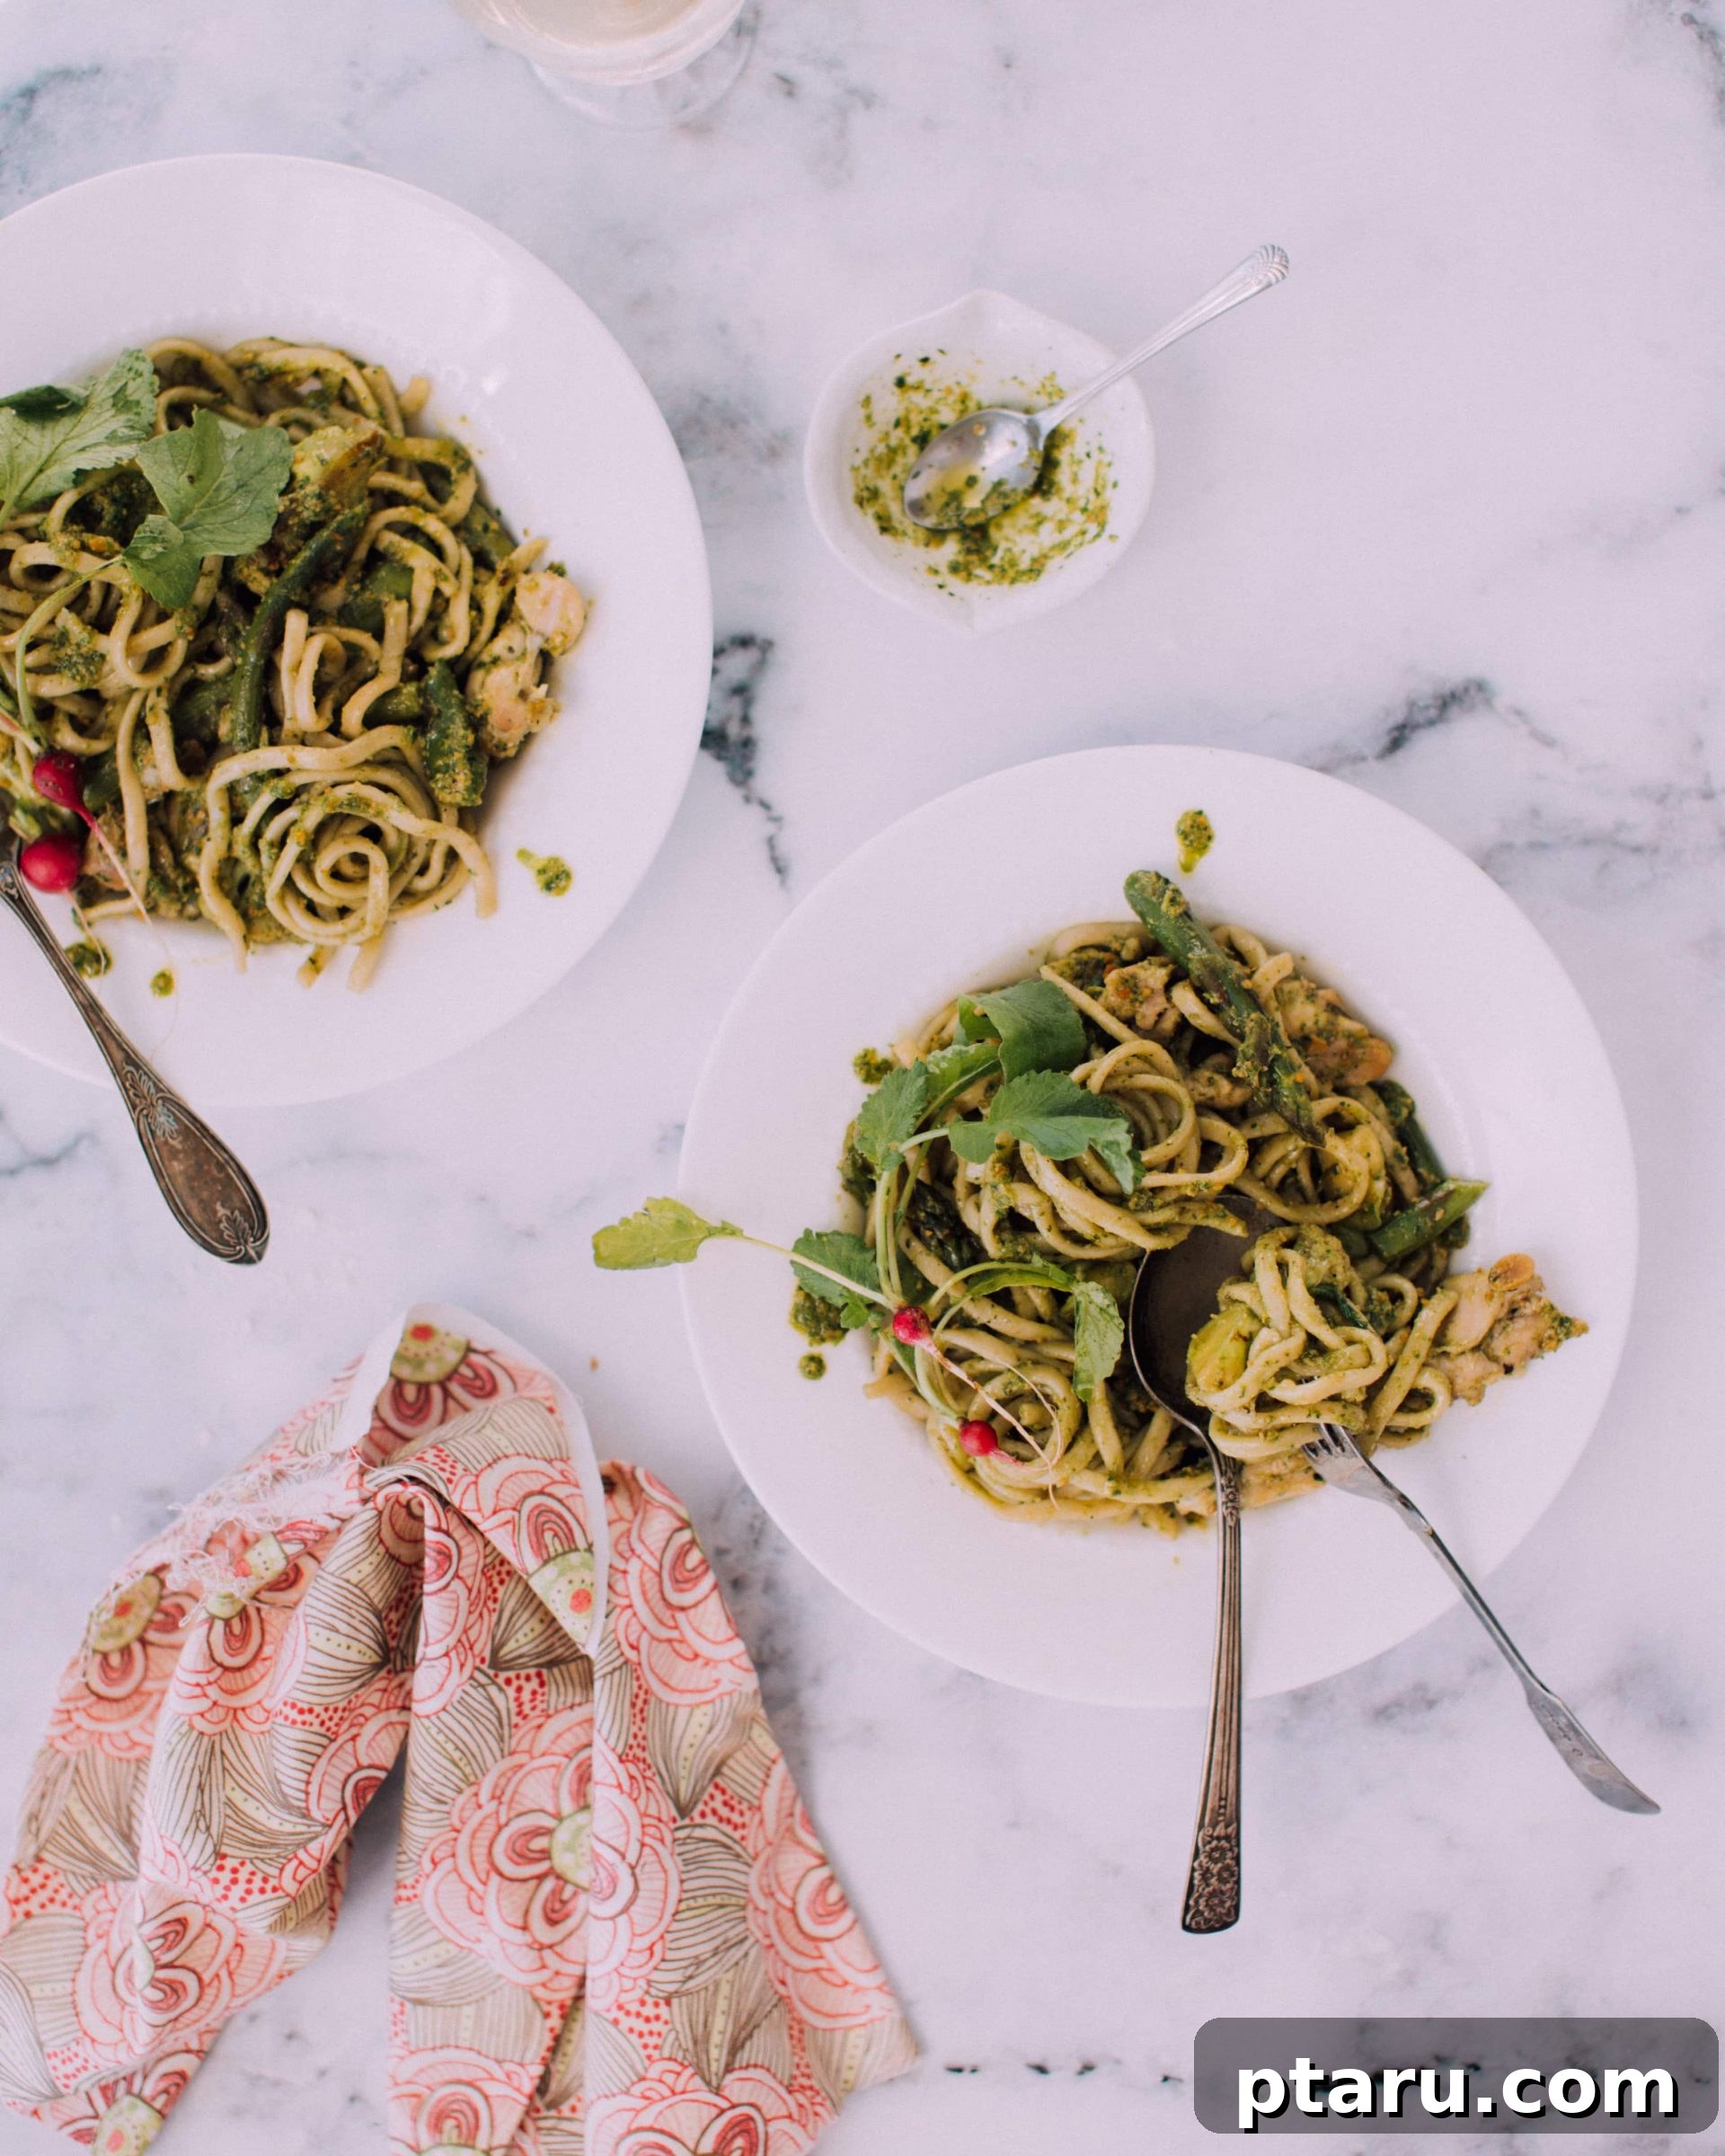
To truly showcase the potential of homemade pasta, I’m thrilled to share a delightful recipe for a summery fettuccine featuring a vibrant pesto made with Swiss chard and almonds. This dish is a celebration of fresh flavors and textures. The beauty of this pesto lies in its versatility; feel free to experiment by swapping the chard for other leafy greens like spinach or kale, or substitute almonds with walnuts or pine nuts, depending on your preference and what you have on hand. I love to load this dish with an abundance of colorful market vegetables and complete it with tender chicken thighs for a wholesome and satisfying meal.
A helpful tip for making the pesto: if you don’t own a mini blender or a small food processor, and only have a full-sized appliance, your best approach is to double the pesto recipe. This larger quantity ensures that the blades can effectively reach and blend all the ingredients, preventing them from simply being flung to the sides of the bowl. Doubling the recipe also has the added benefit of providing you with delicious leftovers to enjoy throughout the week, or to freeze for future meals, maximizing your effort and minimizing waste. This small adjustment ensures a perfectly smooth and flavorful pesto every time.
This post is proudly sponsored by Philips. Please be assured that I only ever agree to review and recommend products that I genuinely love and believe in. My commitment is always to bring you authentic insights and truly helpful kitchen solutions. Philips’ generosity in collaborating on this feature has allowed me to share this wonderful product and recipe with you, further enhancing our collective culinary journey.
Chicken Fettuccine with Chard-Almond Pesto
Jennifer Pallian BSc, RD
30 minutes
20 minutes
50 minutes
6
Ingredients
For pesto
-
⅓
cup
extra virgin olive oil -
2
tsp
water -
½
cup
toasted
sliced almonds -
1
clove
garlic -
1
cup
packed chard greens and stems (or other greens – I included the greens from my cauliflower)
For pasta
-
2
tbsp
extra virgin olive oil -
4
boneless
skinless chicken thighs, cut in bite-sized pieces -
salt and pepper -
4
cups
vegetables
chopped in roughly-equal, bite-sized pieces (I used cauliflower, asparagus and baby radishes) -
1
lb
fresh pasta
I made mine in the Philips Pasta Maker!
Instructions
-
To make pesto, place ingredients in a mini blender or food processor in the order listed and process until almost smooth.
-
Heat remaining 2 tablespoons of oil in a heavy skillet over medium-high heat. When shimmering hot, add chicken pieces and season well with salt and pepper. Cook undisturbed until browned on the bottom and easily released from pan. Flip and continue cooking until no longer pink inside. Transfer cooked chicken to a plate.
-
Add vegetables to the same skillet (starting with the ones that require longer cooking time – like cauliflower – giving them a couple of minutes before adding any quicker ones like asparagus). When vegetables start to brown in spots, add a splash of water and stir to deglaze the pan and steam them a bit. Cook until crisp-tender and then remove from heat.
-
Cook pasta in a pot of well-salted water for about 6 minutes (or according to manufacturer’s directions). Reserve 1/2 cup cooking water before draining. Return drained pasta to the cooking pot along with reserved chicken, vegetables and pesto.
Tried this recipe? Leave a comment!