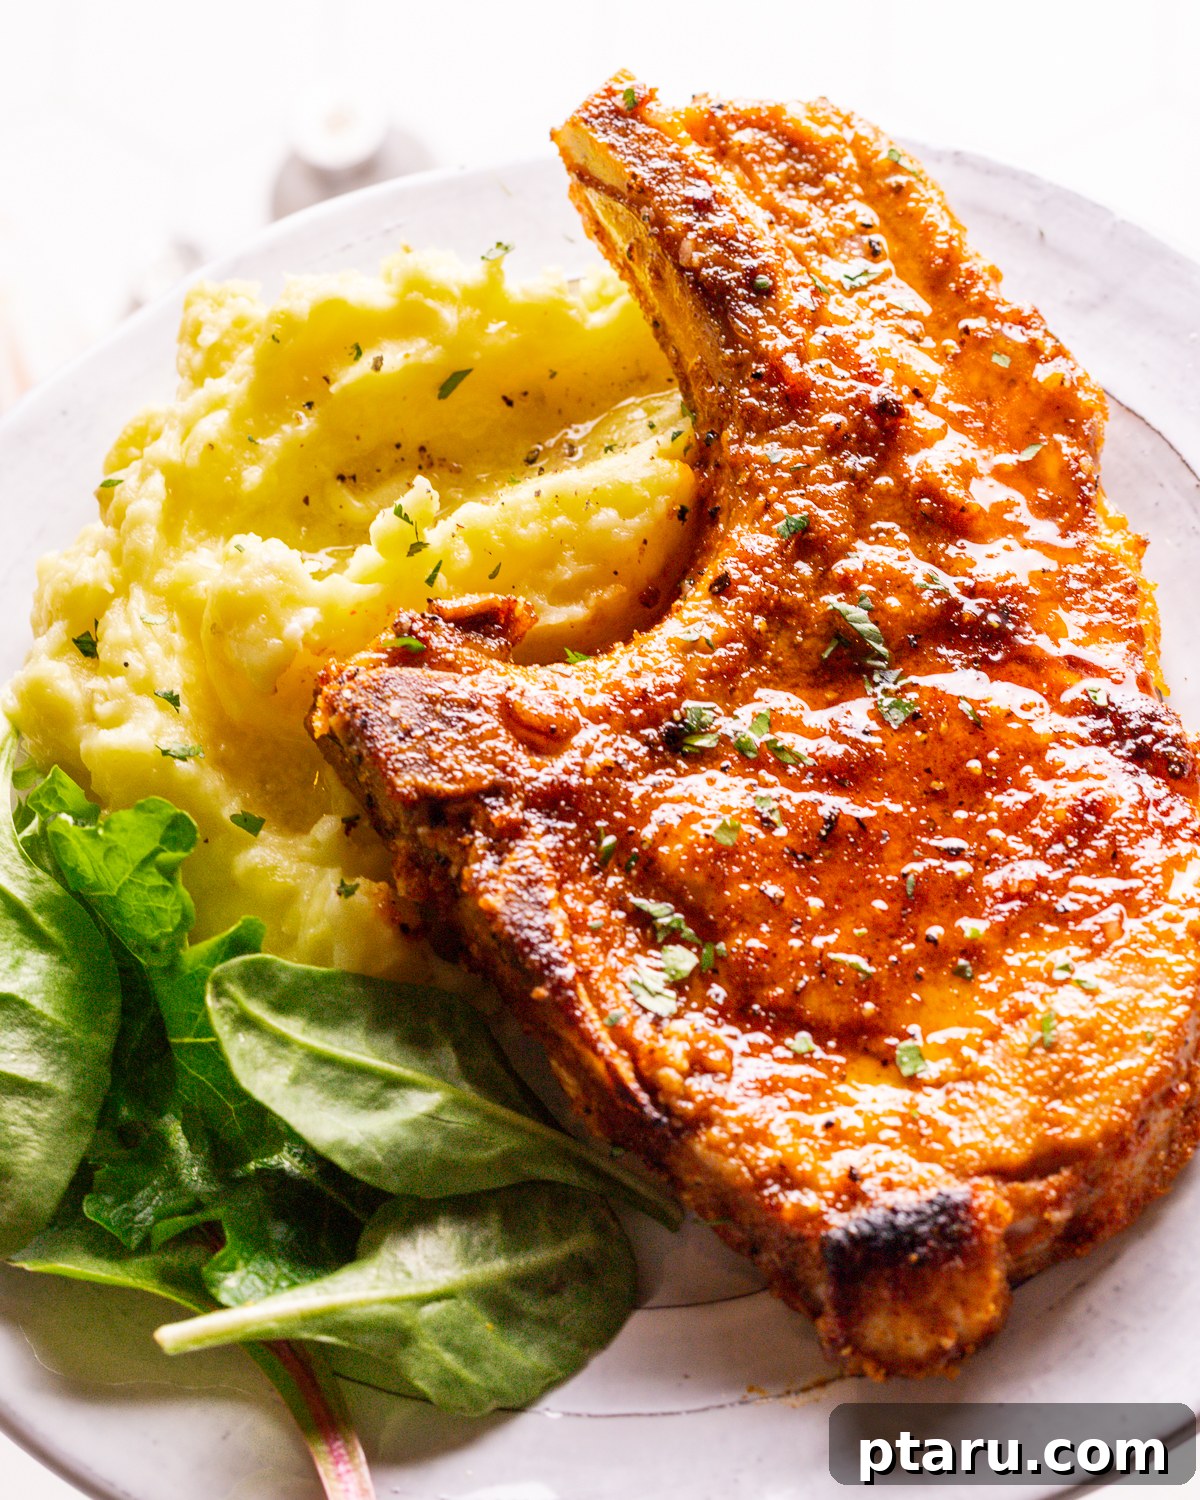
Say goodbye to dry, tough pork chops! This comprehensive guide will show you exactly how to cook pork chops in the oven so they turn out incredibly tender and juicy, with a beautiful, flavorful crust, every single time. You’ll love this foolproof 10-minute baked pork chops recipe, relying on simple ingredients and a clever broiling technique.
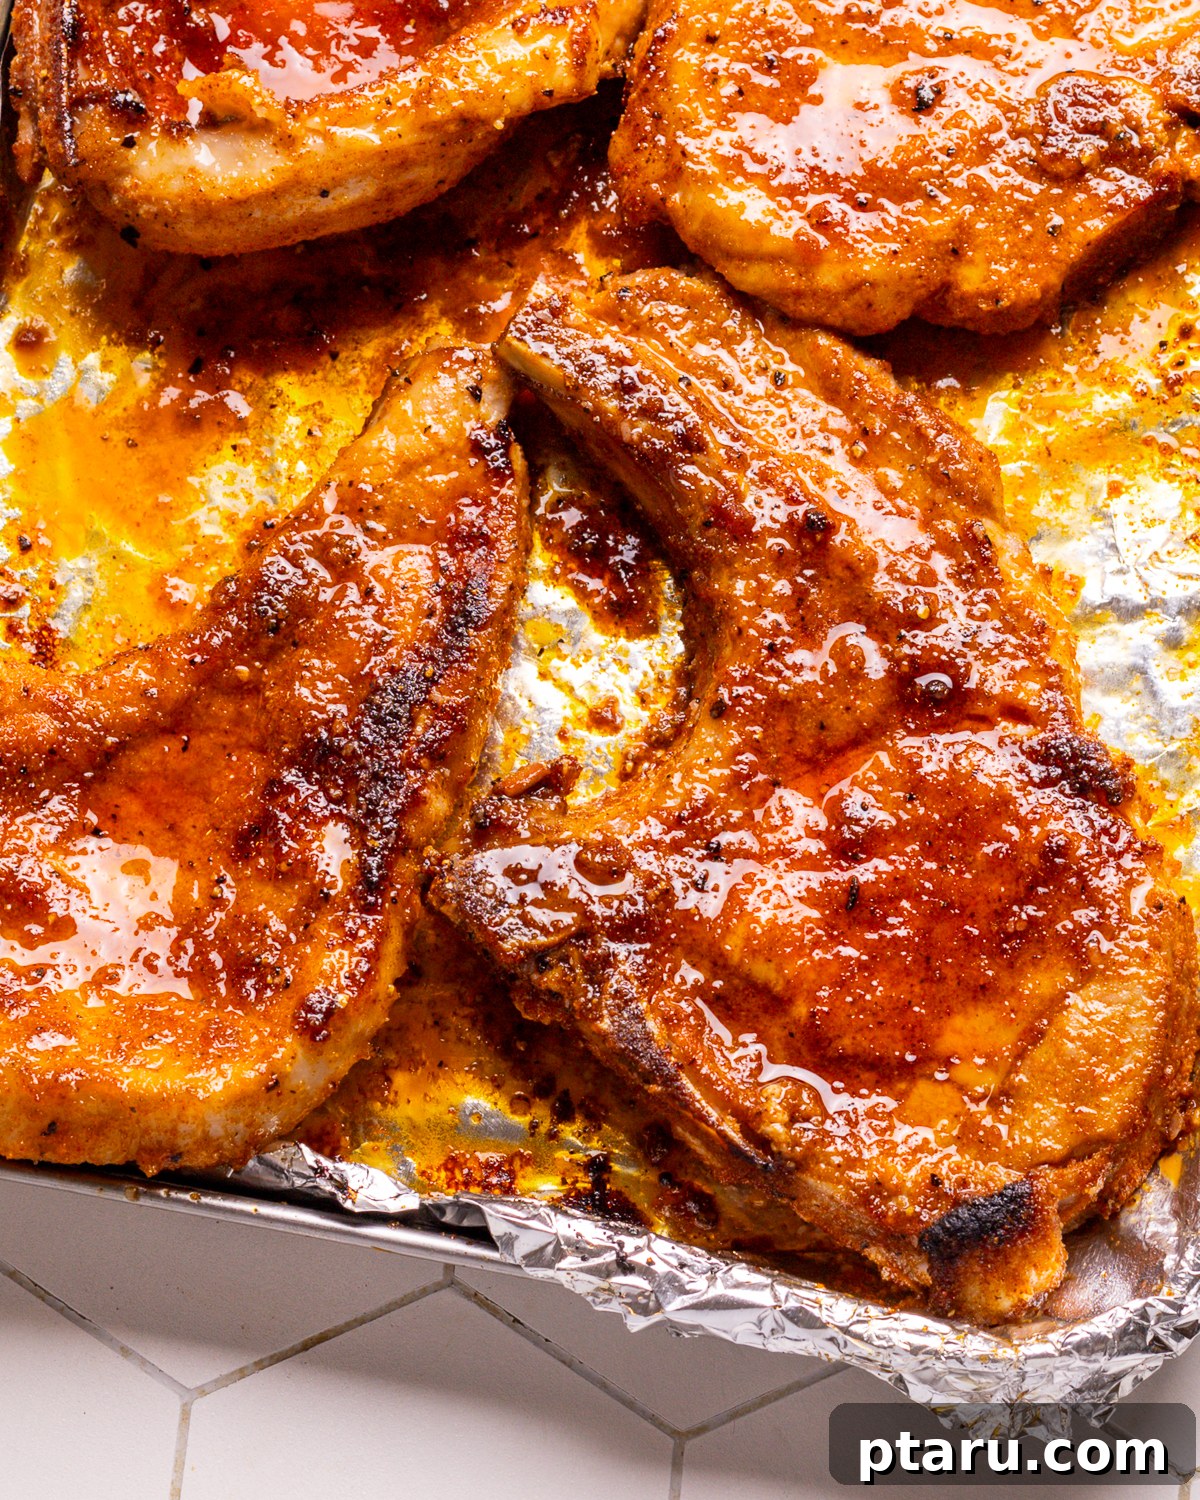
As a food science expert and avid home cook, I’ve developed and perfected this go-to technique for consistently delivering succulent oven-baked pork chops. It’s a method that maximizes flavor, ensures even cooking, and minimizes the risk of overcooking – the bane of many pork chop attempts.
Unlock the Secret to Tender & Juicy Baked Pork Chops
The key to this recipe’s success lies in our unique broil-first method. This technique isn’t just a gimmick; it’s a scientifically sound approach that locks in moisture and develops a rich, golden crust, mimicking the sear you’d get from a hot skillet, but with the convenience of your oven. Give it a try, and I guarantee you’ll be amazed by the results!
Why This Broil-First Method Reigns Supreme:
- Deeply Flavorful Crust: The high heat of the broiler rapidly caramelizes the spice rub, creating a complex, savory crust that’s bursting with flavor. This intense heat reaction, known as the Maillard reaction, is what makes the exterior so irresistible.
- Unmatched Control & Even Cooking: Starting with a quick broil provides an immediate, even sear on the surface. Then, by finishing in the oven (or even removing them if they reach temperature quickly), you gain more precise control over the internal temperature, drastically reducing the chances of overcooking and drying out your pork chops. It’s the best of both worlds: a perfect sear and a perfectly cooked interior.
- Remarkably Quick & Simple: Don’t let the “broil-first” step intimidate you. The entire process, from seasoning to serving, takes under 15 minutes, with minimal hands-on effort. It’s an ideal weeknight meal solution that tastes like a weekend indulgence.
If you enjoy quick and delicious pork recipes, you’ll also love my Melt-in-The-Mouth Instant Pot Pork Chops and incredibly juicy Air Fryer Pork Chop recipe.
Avoid These 5 Common Mistakes for Perfect Pork Chops
Understanding what *not* to do is just as important as knowing what to do. Here’s how to sidestep common pitfalls and ensure your pork chops turn out perfectly juicy with a crisp crust, every single time:
- Skipping the Flip During Broiling: Not turning your pork chops halfway through the broiling process will lead to uneven searing and potentially tough spots. Flipping ensures that both sides develop that desirable golden-brown crust and cook uniformly, enhancing both texture and flavor.
- Using Parchment Paper Under the Broiler: This is a critical safety warning! Parchment paper is not designed for the intense direct heat of a broiler and can catch fire. Always use heavy-duty aluminum foil to line your baking sheet when broiling to ensure safety and easy cleanup.
- Overcooking the Pork: This is perhaps the most common mistake and the primary reason for dry pork chops. Baking too long strips the meat of its natural moisture. The key to juicy pork is to use a reliable instant-read meat thermometer and remove the chops from the oven as soon as they reach an internal temperature of 140-145ºF (60-63°C). They will continue to cook slightly as they rest.
- Not Letting Them Rest: Patience is a virtue when cooking meat. Cutting into the chops immediately after cooking causes all the precious juices to escape onto your cutting board, leaving you with dry meat. Always let them rest for at least 5-10 minutes (depending on thickness) to allow the juices to redistribute back into the meat fibers, ensuring every bite is moist and flavorful.
- Using the Wrong Cut: While thin pork chops cook quickly, they are notoriously difficult to keep from drying out. For the best texture and flavor, especially with this broil-first method, opt for bone-in chops that are at least ¾-inch to 1-inch thick. Bone-in cuts tend to retain more moisture, and the added thickness provides a larger window for achieving perfect doneness. Pork loin chops (boneless) can work, but require even closer monitoring.
Essential Ingredients and Equipment for Success
You don’t need a gourmet pantry or an arsenal of specialized tools for this recipe. Just a handful of quality ingredients and a solid broiler setup will set you up for success.
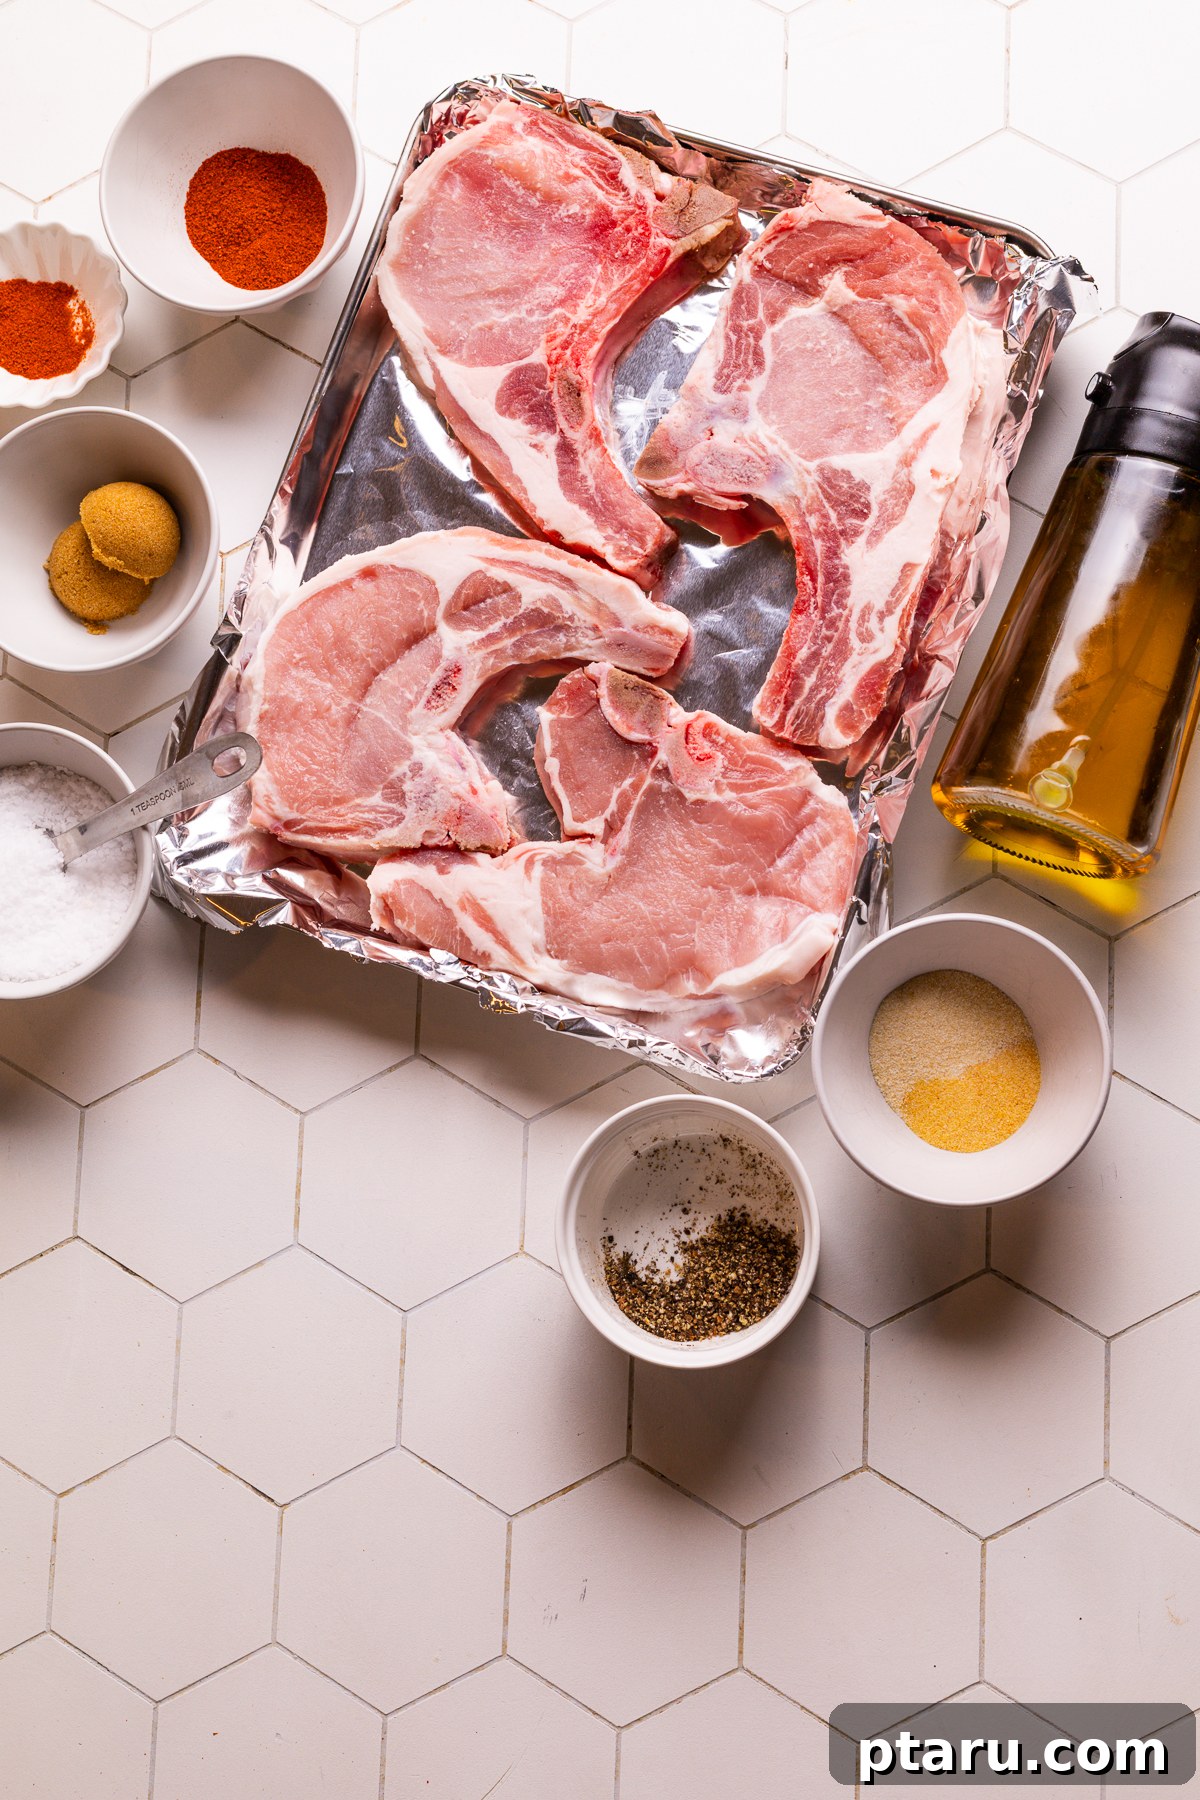
Ingredients for These Simple Baked Pork Chops
Here’s a breakdown of the few, yet mighty, ingredients you’ll need to create this easy and delicious recipe:
- Brown Sugar: This isn’t just for sweetness! Brown sugar plays a crucial role in caramelization under the broiler, contributing to that beautiful golden-brown crust and a subtle depth of flavor that complements the pork beautifully.
- Paprika: Adds a wonderful smoky depth and vibrant color to your pork chops, enhancing their visual appeal and taste. Smoked paprika can be used for an even more intense smoky profile.
- Garlic Powder: A staple in savory cooking, garlic powder provides a foundational savory flavor with a hint of sweetness, balancing the other spices.
- Kosher Salt & Freshly Ground Black Pepper: These are the cornerstones of any good seasoning. Kosher salt provides a clean, even seasoning, while freshly ground black pepper adds a pungent kick.
- Cayenne Pepper (Optional): For those who appreciate a touch of heat, cayenne pepper introduces a subtle warmth that perfectly balances the brown sugar’s sweetness. Adjust to your preference or omit entirely for a milder dish.
- Olive Oil: Acts as a binder for the spice rub, helping it adhere evenly to the pork chops. It also promotes browning and contributes to a tender finish.
- Pork Chops (Bone-in or Boneless): While both bone-in pork chops (my personal preference) and boneless pork loin chops work wonderfully with this method, bone-in cuts often result in a more moist and flavorful chop due to the bone insulation. Aim for chops ¾-inch to 1-inch thick for optimal results.
Exact ingredient quantities are detailed in the recipe card at the bottom of this article, designed for a party of four.
Clever Substitutions and Exciting Variations
Feel free to customize this recipe to your taste and what you have on hand. Here’s how you can switch things up:
- Alternative Sweeteners: Instead of brown sugar, consider using maple syrup or honey for a slightly different caramelized glaze. Brush it on lightly before broiling.
- Spice Level Adjustment: Easily adjust the heat! Skip the cayenne entirely for a family-friendly, milder version, or if you love a fiery kick, feel free to increase the amount to your liking.
- Flavor Enhancers: Experiment with additional seasonings. A pinch of smoked paprika can amplify the smokiness, while onion powder can add another layer of aromatic depth. A touch of dried thyme or rosemary can also be lovely.
- Different Pork Cuts: This versatile method isn’t limited to pork chops. It works beautifully with thicker pork tenderloin medallions; just be sure to adjust your cooking time and monitor the internal temperature closely.
Essential Tools for Your Kitchen
Preparation is key. You’ll need a sturdy, rimmed sheet pan lined with aluminum foil (remember, *never* parchment paper under the broiler, as it’s a fire hazard). A medium-sized mixing bowl will be handy for combining your spice rub. Most importantly, an instant-read meat thermometer is absolutely essential. It’s your best friend for ensuring perfectly cooked, juicy pork every time, eliminating guesswork and preventing overcooking.
Cooking Pork Chops in the Oven: Your Easy Step-by-Step Guide
Follow these simple steps to master this baked pork chops recipe, ensuring juicy pork with an irresistible crust.
Step 1: Prep the Oven & Season the Pork
- Begin by preheating your broiler to high (around 500°F / 260°C). Position your oven rack 4-6 inches from the broiler element. This distance is crucial for achieving a good sear without burning.
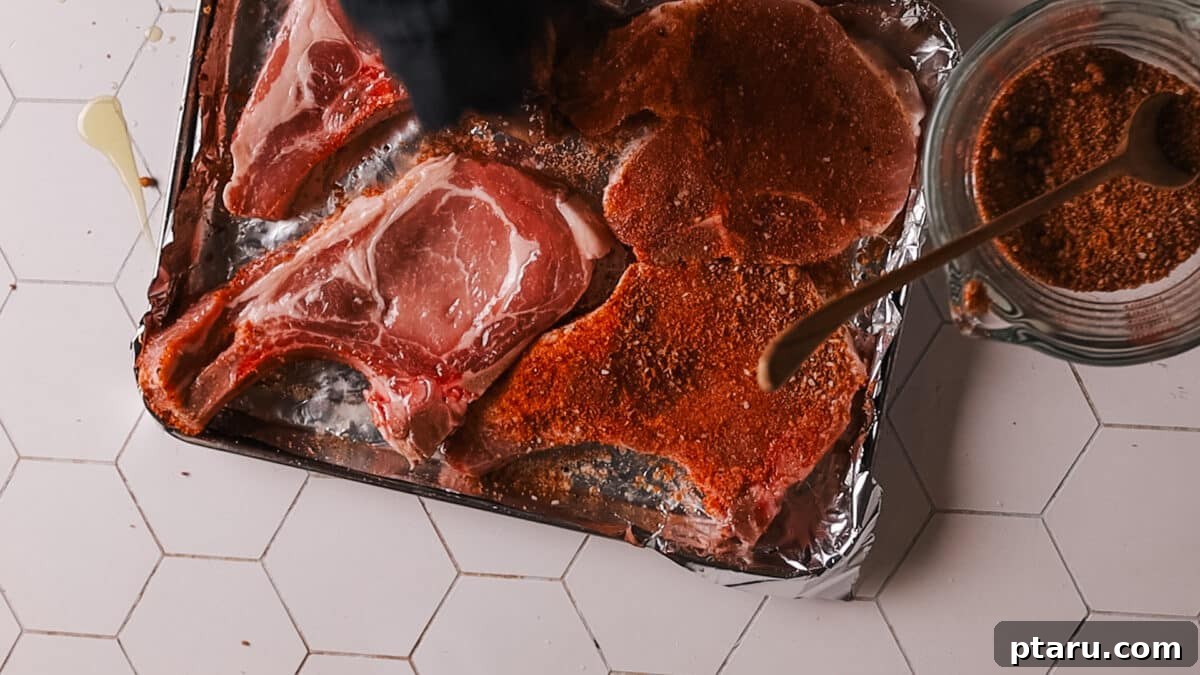
- Thoroughly pat the pork chops dry with paper towels. Removing excess moisture is a key step that helps the spices adhere better and promotes a superior brown crust (the Maillard reaction thrives on dry surfaces!).
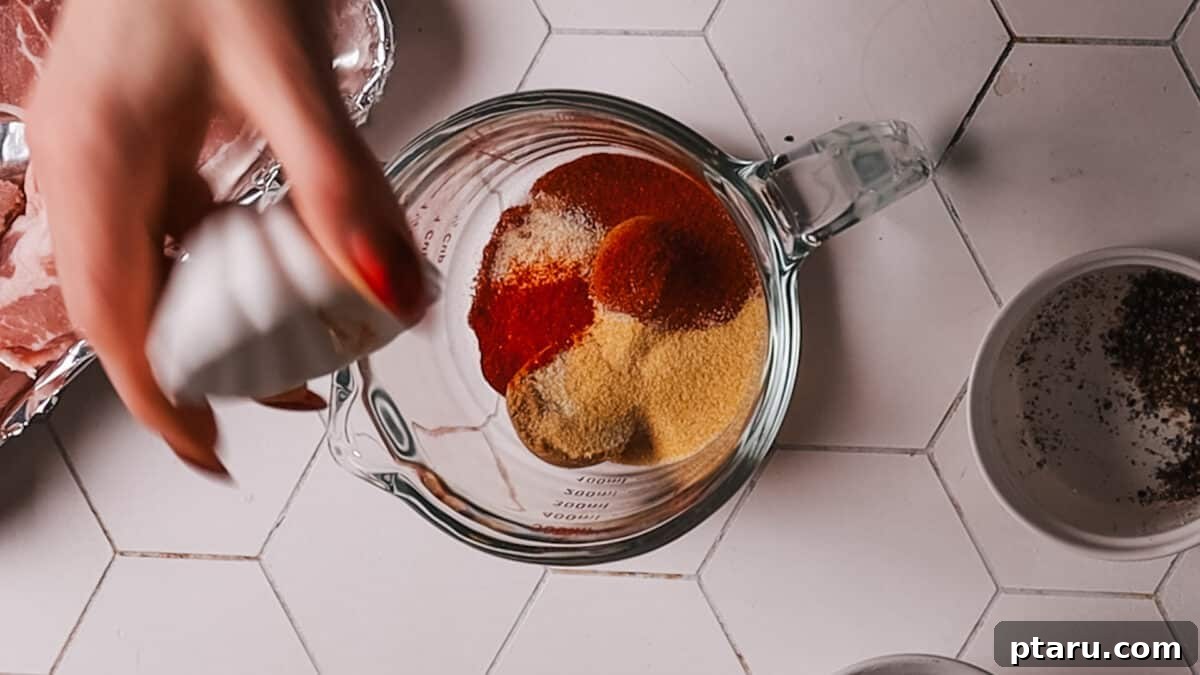
- In a small bowl, whisk together the brown sugar, paprika, garlic powder, kosher salt, black pepper, and cayenne pepper (if using). Ensure the spices are well combined.
- Drizzle a generous amount of olive oil over both sides of the pork chops, coating them evenly. Then, liberally rub the prepared seasoning mix all over the chops, ensuring every surface is covered.
Step 2: Broil for a Quick, Flavorful Crust
- Carefully place the seasoned pork chops on your foil-lined baking sheet, ensuring they are not overcrowded.
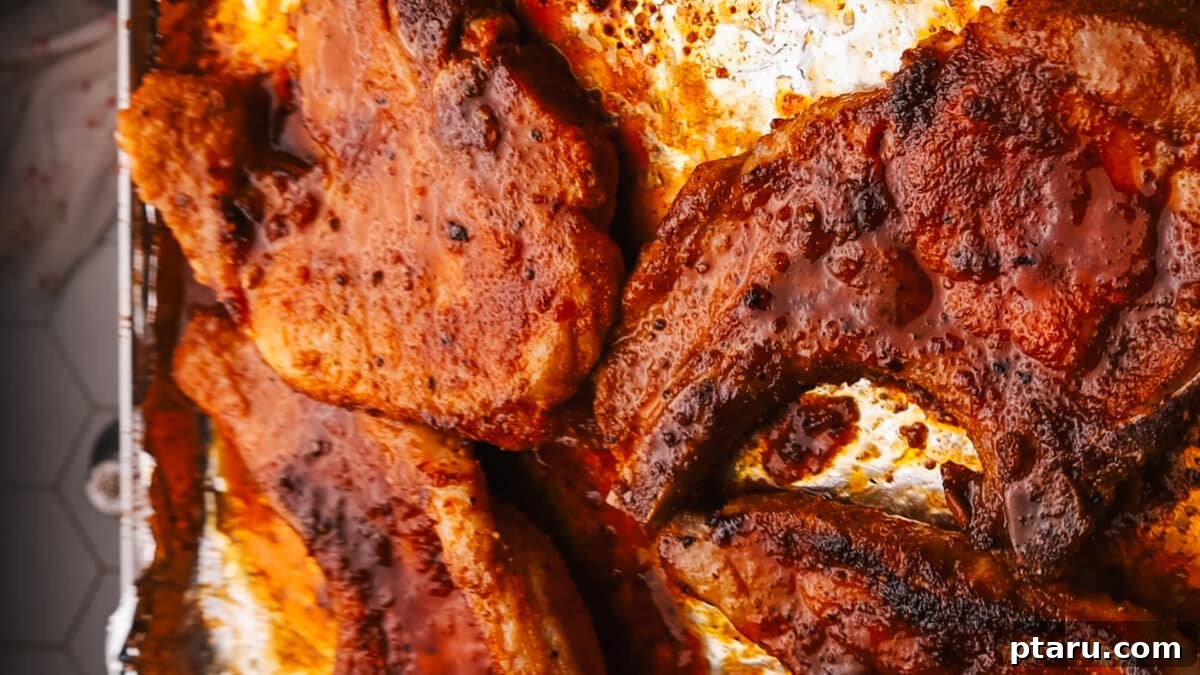
- Transfer the baking sheet to the preheated oven and broil for approximately 3 minutes. Watch closely, as broilers can vary in intensity.
- After 3 minutes, remove the pan, rotate it 180 degrees, and broil for another 3 minutes on the second side. This ensures even browning.
- At this point, quickly check the internal temperature of the thickest part of a chop with your instant-read thermometer. If it’s already approaching 140-145°F (60-63°C), remove them from the oven immediately.
Step 3: Finish Cooking (If Necessary)
- If, after broiling both sides, your chops still need more time to reach the desired internal temperature, flip them once more. You can either continue broiling for another 1-2 minutes (watching very closely) or, for thicker chops, reduce the oven temperature to 400ºF (200°C) and bake for an additional 2-5 minutes to finish cooking more gently and evenly.
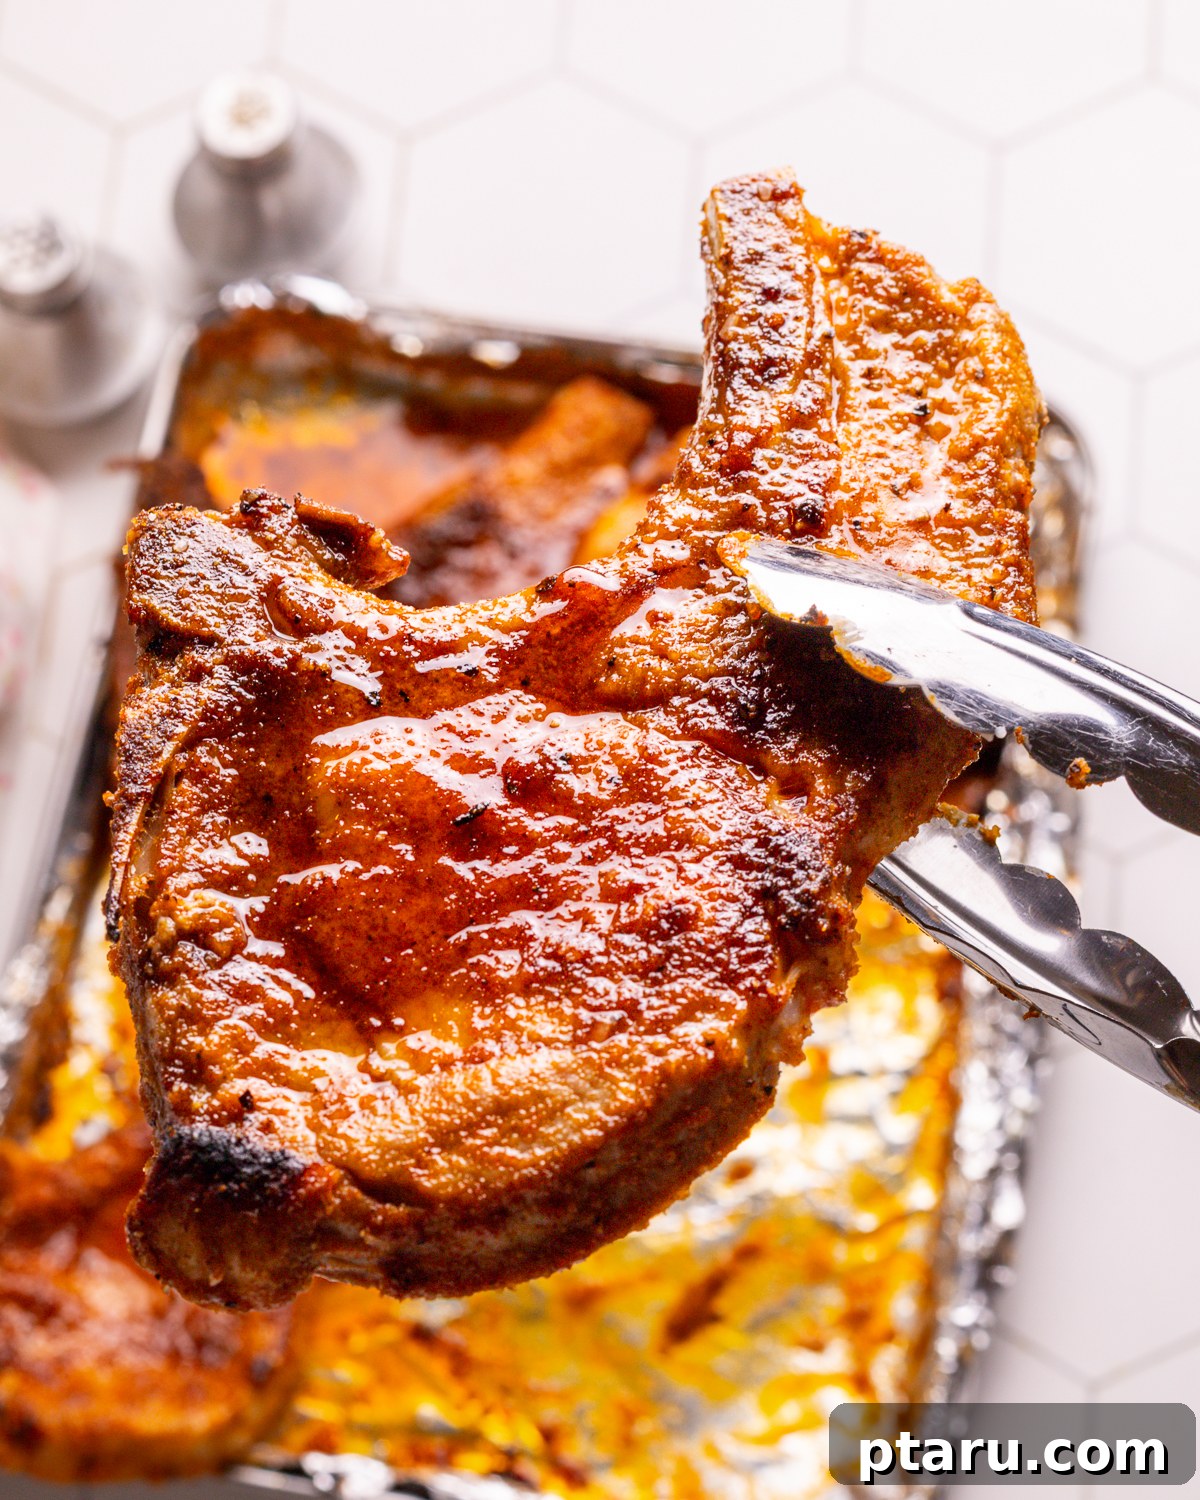
- Remove the pork chops from the oven when they confidently reach an internal temperature of 140-145°F (60-63°C). Remember, they will continue to cook slightly as they rest.
Step 4: Rest Before Serving for Ultimate Juiciness
- Transfer the cooked pork chops to a clean cutting board or plate. This is a crucial step: allow them to rest for at least 5-10 minutes. This resting period allows the juices, which have been pushed to the center of the meat during cooking, to redistribute throughout the entire chop, ensuring maximum juiciness and tenderness with every bite.
Explore Other Oven Pork Chop Methods
While the broil-first method is my favorite for a quick and crusty chop, there are other fantastic ways to prepare pork chops in the oven, depending on the flavor profile and texture you’re aiming for. Here are two alternative methods I frequently use:
- These Honey Mustard Pork Chops in Oven are baked quickly in a savory sauce. While they won’t develop the same crisp, dry rub crust, they absorb incredible flavor from the sauce and remain incredibly moist.
- For a truly meltingly tender experience, try these Baked Pork Chops with Mushrooms. They are slowly baked at a lower temperature until they are fork-tender and practically fall apart, ideal for a comforting, hearty meal.
Make-Ahead & Storage Solutions
Baked pork chops are wonderful fresh, but they also make fantastic leftovers when stored and reheated properly.
- Storing Leftovers: Once cooled, store any leftover cooked pork chops in an airtight container in the refrigerator for up to 3-4 days. This helps maintain their freshness and prevents them from drying out.
- Freezing for Later: For longer storage, wrap individual cooked pork chops tightly in plastic wrap, then place them in a freezer-safe bag or container. They can be frozen for up to 3 months. When ready to enjoy, thaw them in the refrigerator overnight before reheating.
Expert Baked Pork Chop Reheating Tips
Reheating pork chops without drying them out is an art. Follow these tips for success:
- Moisture is Key: Always add a splash of broth or water to the container or pan before reheating. This creates steam, helping to keep the pork chops juicy and preventing them from becoming tough.
- Oven Reheating: The oven is often the best method for reheating larger cuts like chops. Reheat them at a lower temperature, around 300°F (150°C), for 8-10 minutes, or until just warmed through. Cover them with foil to retain moisture.
- Skillet Reheating: For a quick reheat, use a skillet over low to medium-low heat. Add a splash of liquid (broth or water) and cover with a lid. This gentle warming method helps prevent further moisture loss.
How to Serve Your Delicious Baked Pork Chops
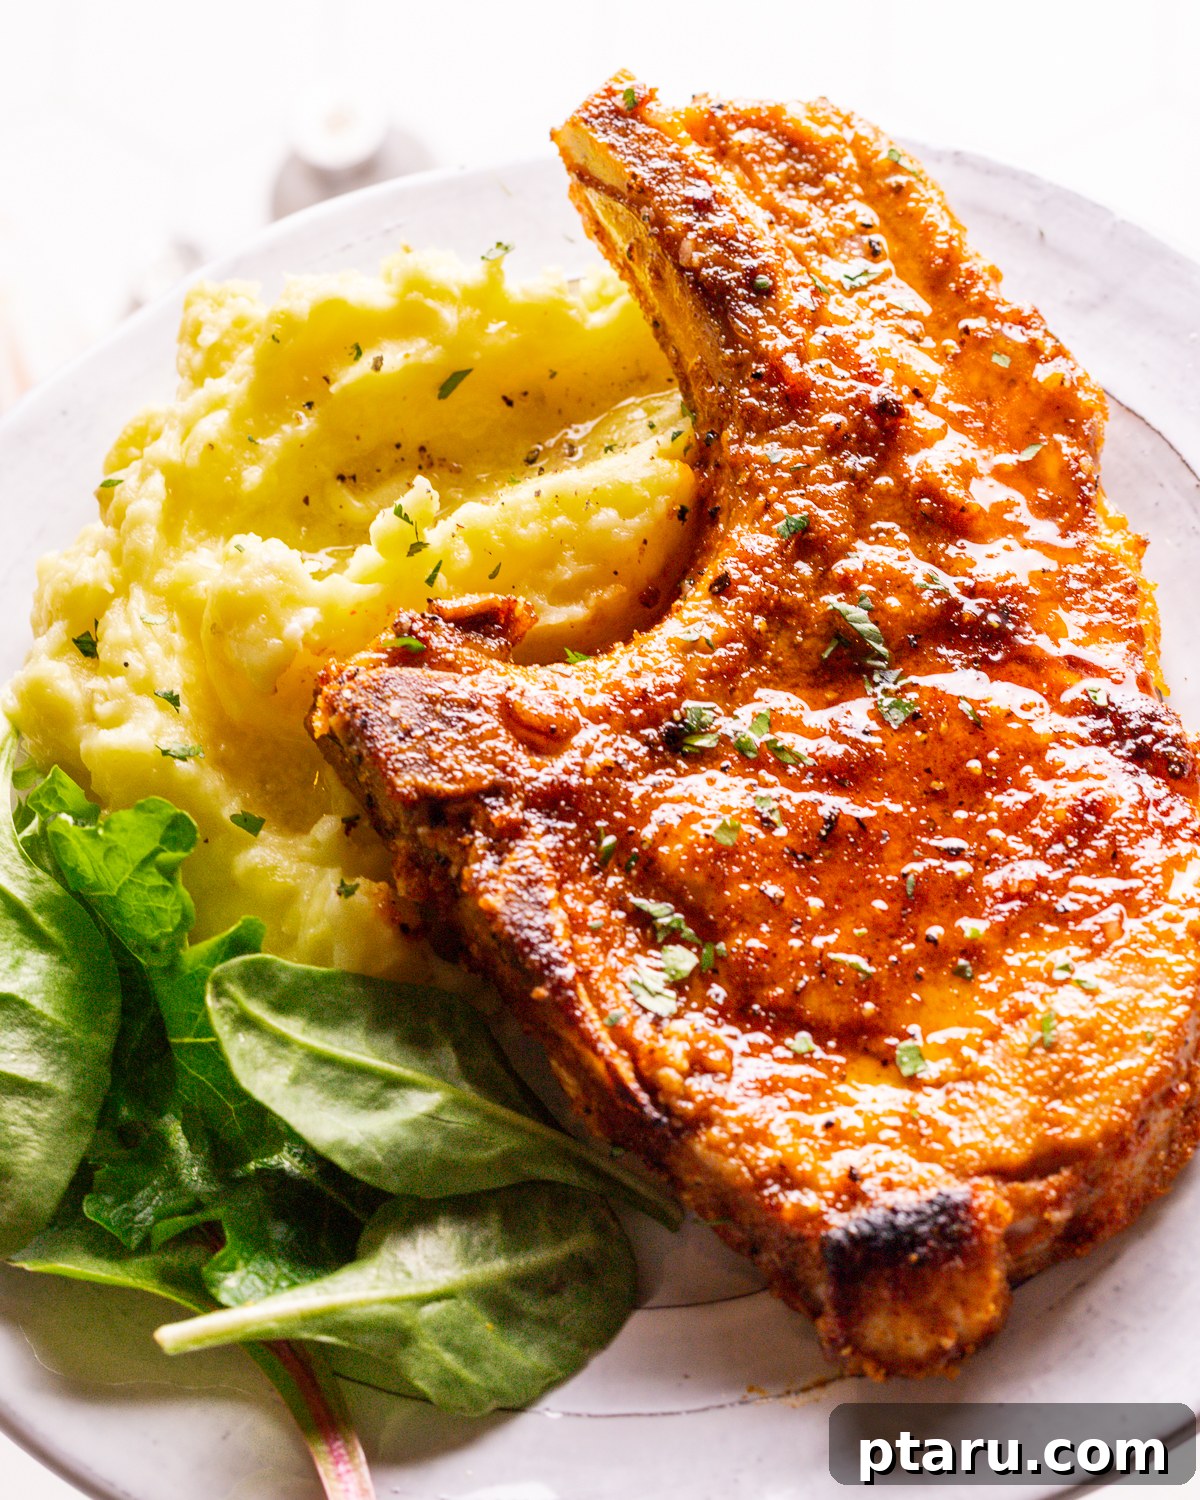
These flavorful baked pork chops are incredibly versatile and pair beautifully with a wide array of classic and contemporary side dishes. Here are some fantastic suggestions to complete your meal:
- Potato Perfection: Serve them alongside my ultimate creamy mashed potatoes recipe, a refreshing classic potato salad, elegant scalloped potatoes, or even creamy sweet potatoes for a contrasting flavor profile.
- Vibrant Green Vegetables: Complement the richness of the pork with crisp pan-fried asparagus, a comforting green bean casserole, or simple steamed green beans for a light and healthy addition.
- Diverse Vegetable Pairings: Explore other vegetable options like crispy zucchini fritters, perfectly steamed broccoli, or a fresh, simple side salad. For a classic pairing, roasted Brussels sprouts with maple and bacon are an absolute winner with pork.
- Grains for Substance: For a hearty meal, consider serving your pork chops with fluffy simple basmati rice or light and airy couscous.
Final Notes, Pro Tips, and Science-Based Secrets for Perfection
While this method is straightforward, applying these expert tips will elevate your baked pork chops from good to truly exceptional. These are the details that professional chefs and food scientists rely on for consistent, outstanding results.
- Pat Dry for Unbeatable Crispy Chops: This is a non-negotiable step. Patting your pork chops thoroughly dry with paper towels before seasoning is critical. Moisture on the surface inhibits the Maillard reaction (the browning and flavor development), preventing the formation of that delicious, caramelized crust and allowing the glaze to adhere better.
- Always Use a Meat Thermometer: The only way to guarantee perfectly cooked, juicy pork and avoid the tragedy of overcooked, dry meat is by monitoring the internal temperature. Insert an instant-read meat thermometer into the thickest part of the chop, avoiding the bone. The USDA recommends a minimum safe internal temperature of 145ºF (63°C) for pork, followed by a 3-minute rest. By removing them at 140-145°F, you allow for “carryover cooking” during the rest, ensuring they hit optimal juiciness without going past their prime.
- Embrace the Rest Period: As highlighted earlier, resting your pork for 5-10 minutes after baking is paramount. This allows the muscle fibers to relax and reabsorb the juices that have migrated to the center during cooking. Skipping this step means a significant loss of moisture and flavor on your cutting board.
- Achieve that Coveted Sear: The initial high-heat broiling is specifically designed to create that beautiful, flavorful sear and crust. It mimics the effect of a hot cast-iron skillet but offers the convenience of hands-off cooking once the chops are in the oven. This rapid browning not only adds texture but also locks in flavor compounds created by the intense heat.
Frequently Asked Questions About Cooking Pork Chops in the Oven
Yes, absolutely! Boneless pork chops, often labeled as pork loin chops, work perfectly with this recipe. Just be mindful that boneless chops tend to cook faster than bone-in cuts, so keep an even closer eye on their internal temperature with your meat thermometer to prevent overcooking.
The most effective way to prevent dry pork chops is a combination of our broil-first method and precise temperature control. Broiling provides a quick sear without overcooking the inside. Crucially, always use an instant-read meat thermometer and pull the chops from the oven as soon as they reach 140-145°F (60-63°C). The resting period is also vital for juiciness.
Indeed, you can! The air fryer is an excellent alternative for cooking pork chops, offering similar crispy results. For this recipe’s spice rub, you can air fry the seasoned chops at 400°F (200°C) for approximately 7-12 minutes, flipping them halfway through, until they reach 140-145°F internal temperature. For a dedicated air fryer method, try my detailed recipe for air fryer pork chops.
For juicy and tender results, especially with oven methods, I recommend pork chops that are ¾-inch to 1-inch thick. Thinner chops cook too quickly and are prone to drying out, while much thicker chops may require adjusting the cooking time or finishing at a lower oven temperature after broiling.
Explore More Delicious Pork Cuts
If you’re a fan of pork, there’s a world of delicious possibilities beyond chops! You can find all of my yummy pork recipes here, or get started with one of these personal favorites:
- Pork Loin: Discover the versatility of pork loin with my Slow Cooker Pork Loin for effortless tenderness, Instant Pot Pork Loin for speed, or a Juicy Roast Pork Loin Recipe for a perfect Sunday dinner.
- Pork Tenderloin: For a leaner and quicker option, try Air Fryer Pork Tenderloin or a flavorful Spiced Grilled Pork Tenderloin with Peanut Sauce and Cucumber Salad.
- Pork Shoulder: For melt-in-your-mouth pulled pork, look no further than my Slow Cooker Pork Shoulder, or spice things up with authentic Tacos Al Pastor.

Print Recipe
How To Cook Pork Chops In The Oven (Perfectly!)
Video
Ingredients
- 4 pork chops ¾-1 inch thick, boneless or bone-in
- 2 tbsp brown sugar
- 2 tsp paprika
- 2 tsp garlic powder
- 1 ½ tsp kosher salt
- ½ tsp black pepper
- ½ tsp cayenne pepper optional
- 2 tbsp olive oil
Instructions
-
Preheat broiler to 500°F (260°C) and place the oven rack 4-6 inches from the broiler element.
-
In a small bowl, thoroughly mix brown sugar, paprika, garlic powder, salt, black pepper, and cayenne (if using).
-
Pat pork chops dry with paper towels. Drizzle olive oil over the pork chops, coating them evenly, then rub the seasoning mix all over both sides.
-
Place chops on a foil-lined baking sheet. Broil for 3 minutes, then rotate the pan and broil for another 3 minutes on the other side. Watch carefully to prevent burning.
-
Check the internal temperature with an instant-read thermometer. If it’s close to 140-145°F (60-63°C), remove from the oven. If not, flip and broil for another 1-2 minutes, or if very thick, finish baking at 400ºF (200°C) for a few minutes until it reaches target temperature.
-
Let the pork chops rest for 5-10 minutes on a cutting board before serving to ensure maximum juiciness.
Nutrition
Carbohydrates: 8g |
Protein: 29g |
Fat: 16g |
Saturated Fat: 4g |
Polyunsaturated Fat: 2g |
Monounsaturated Fat: 9g |
Trans Fat: 0.1g |
Cholesterol: 90mg |
Sodium: 940mg |
Potassium: 557mg |
Fiber: 1g |
Sugar: 6g |
Vitamin A: 603IU |
Vitamin C: 0.2mg |
Calcium: 20mg |
Iron: 1mg
Nutrition information is automatically calculated, so should only be used as an approximation.
Tried this recipe? Leave a comment!
We’d love to hear your feedback and see your creations.