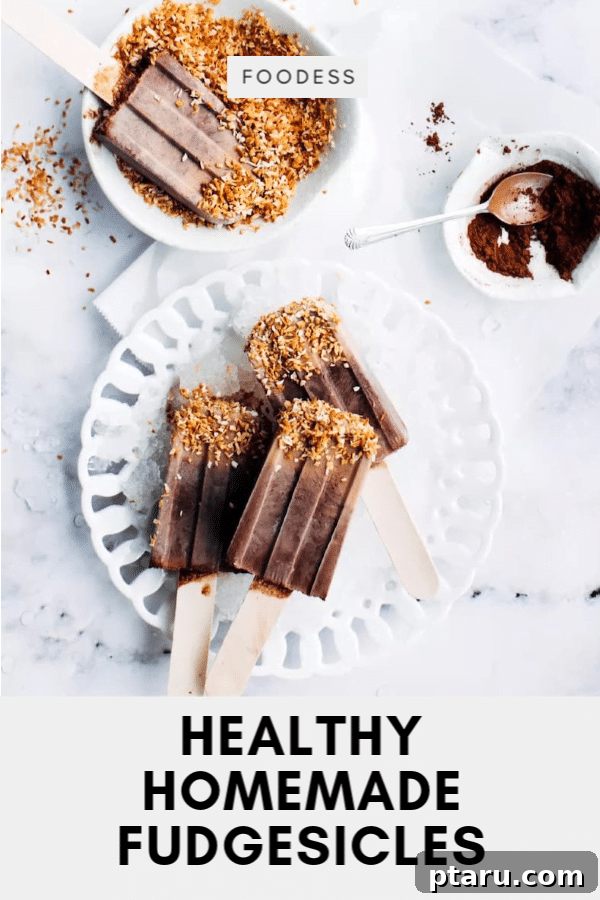
Indulge Guilt-Free: The Ultimate Guide to Easy & Healthy Homemade Fudgesicles
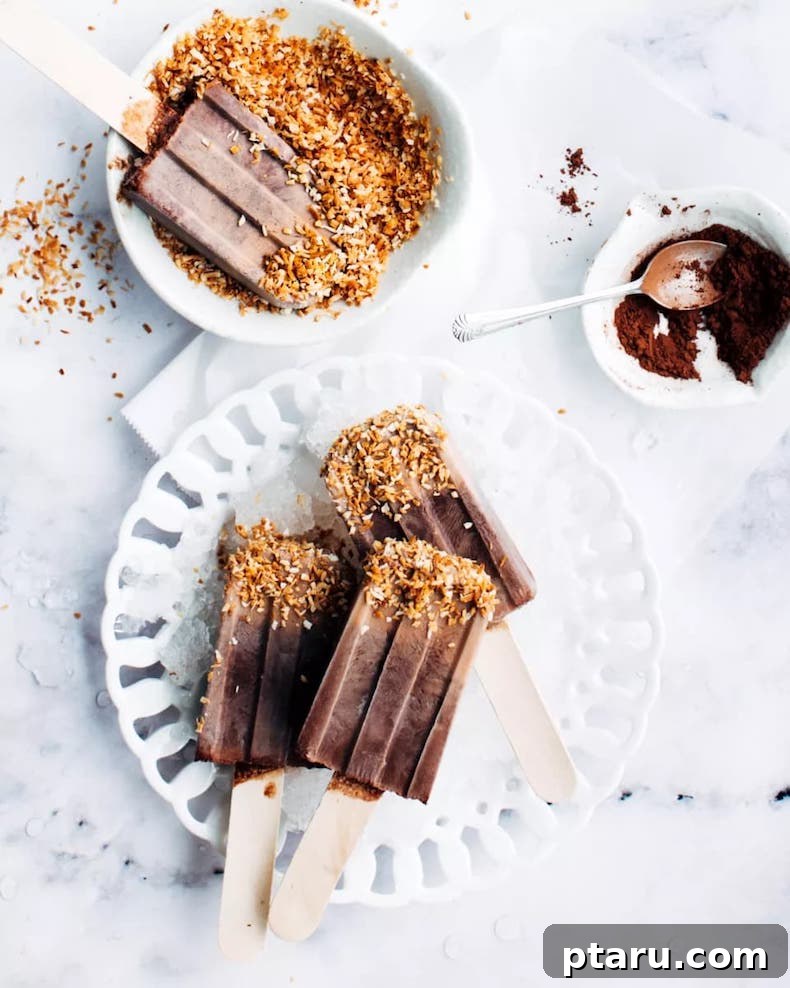
As the sun shines brighter and the temperatures climb, there’s one universal truth in households with children: the incessant cry for popsicles! But as parents, we often find ourselves wrestling with the dilemma of satisfying those sweet cravings without overloading on artificial ingredients and refined sugars. What if we told you there’s a way to beat the heat, indulge in a nostalgic chocolatey treat, and keep it wonderfully wholesome? Enter the world of healthy homemade fudgesicles – a simple, four-ingredient solution that’s as rich and creamy as traditional fudgesicles, but packed with natural goodness.
Throughout the warmer months, my ice pop molds (like these trusty ones I use) are constantly in rotation. My goal is always to fill them with nutritious options, allowing my kids to enjoy their requested two-a-day without any guilt. This particular recipe for easy and healthy homemade fudgesicles has become a beloved staple in our home, much to the delight of both my children and their friends. It’s a testament to how simple, clean ingredients can create something truly extraordinary and satisfying.
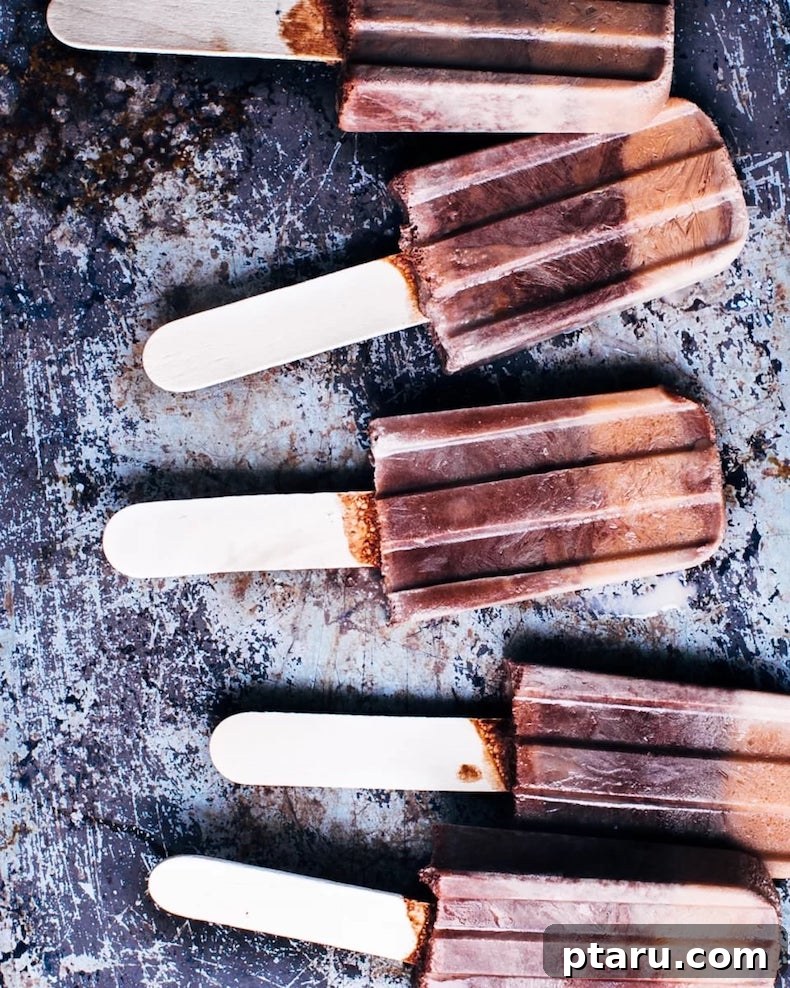
With only four core ingredients – and not a single granule of refined sugar among them – these summer fudgesicles are a revelation. They boast a luscious, velvety texture and deep chocolate flavor, all while being as wholesome and nourishing as a freshly blended smoothie. Forget the store-bought versions laden with corn syrup and preservatives; these homemade delights offer a pure, unadulterated taste of summer that you can feel good about serving to your family.

The Magic Behind Healthy Homemade Fudgesicles: Why Choose This Recipe?
When you’re searching for a treat that’s both indulgent and beneficial, these fudgesicles tick all the boxes. Here’s why this recipe stands out:
- Naturally Sweetened: Dates are the star here, offering a rich, caramel-like sweetness along with a boost of fiber, vitamins, and minerals. This means no refined sugars, artificial sweeteners, or high-fructose corn syrup.
- Rich in Nutrients: Beyond the dates, unsweetened cocoa powder provides powerful antioxidants, and depending on your milk choice, you’ll get calcium and protein. It’s essentially a dessert that doubles as a healthy snack.
- Simple & Minimal Ingredients: You only need milk, dates, cocoa powder, vanilla extract, and a pinch of salt. That’s it! No long lists of unpronounceable ingredients.
- Customizable: Whether you prefer dairy-free, vegan, or extra creamy, this recipe is incredibly versatile. We’ll delve into customization options later.
- Economical: Making your own treats at home is almost always cheaper than buying them, especially when you use basic pantry staples.
- Kid-Friendly (and Adult-Approved!): Kids adore the chocolatey flavor, and parents love the nutritional profile. It’s a win-win for everyone craving a cool, refreshing dessert.
Crafting Your Own Healthy Homemade Fudgesicles: A Step-by-Step Guide
Ready to beat the heat and satisfy your sweet tooth with a treat that truly is good for you? Making these healthy fudgesicles is incredibly straightforward. The secret lies in a good blender and a little patience while they freeze.
Follow these easy, simple steps to create the best healthy homemade fudgesicles:
- Gather Your Ingredients: Have your milk of choice, pitted dates, unsweetened cocoa powder, pure vanilla extract, and a tiny pinch of sea salt ready. Precision is key for the best flavor and texture.
- Blend to Perfection: Add all your ingredients into a high-speed blender. Start with the liquid (milk) first, then add the dates, cocoa powder, vanilla, and sea salt. This order helps the blender work more efficiently, ensuring a super smooth mixture. Whiz on high for a full 60 seconds (or even 90 seconds if your blender isn’t super powerful), until the mixture is exceptionally smooth and slightly frothy. You want absolutely no date chunks remaining!
- Fill the Molds: Carefully pour the creamy mixture into your ice pop molds. Ensure you leave a small space at the top as the liquid will expand slightly when frozen. Insert your popsicle sticks firmly into the molds.
- Patience is a Virtue (Freeze Time): Place the filled molds in the freezer. For best results, allow them to freeze for at least 4 hours. Freezing overnight is ideal, guaranteeing they are perfectly solid and won’t melt too quickly upon removal.
- The Big Reveal (Unmolding): Once thoroughly frozen, run the molds under warm water for about 10-20 seconds. This gently loosens the fudgesicles from the mold, making them easy to tug out without breaking the stick or the pop. Serve immediately!
- Optional Finishing Touch: If you desire, roll your freshly unmolded fudgesicles in toasted coconut flakes. This adds a lovely texture and a subtle tropical note that pairs beautifully with the chocolate.
Ingredient Spotlight: Making the Most of Your Fudgesicle Components
While the list is short, the quality and type of ingredients you choose can significantly impact the final flavor and texture of your fudgesicles. Let’s explore each one:
Milk: The Creamy Base
- Whole Milk: For the richest, creamiest, most indulgent fudgesicles, whole dairy milk is an excellent choice. Its higher fat content contributes to a smooth, less icy texture.
- Barista Oat Milk: If you’re looking for a dairy-free or vegan option, barista-style oat milk is your best bet. It’s specifically formulated to be thicker and creamier than regular oat milk, mimicking the mouthfeel of dairy milk beautifully. Other plant-based milks like almond milk or soy milk can work, but they might result in a slightly less creamy consistency.
Pitted Dates: Nature’s Sweetener
- Medjool Dates: These are highly recommended for their soft, chewy texture and rich, caramel-like sweetness. They blend into a smooth paste easily.
- Deglet Noor Dates: If Medjool dates aren’t available, Deglet Noor dates can be used, but they are firmer. You might need to soak them in hot water for 10-15 minutes before blending to ensure they break down completely into a smooth mixture.
- Importance of Pitting: Always ensure your dates are pitted before adding them to the blender to protect your blender blades and ensure a smooth consistency.
Unsweetened Cocoa Powder: The Chocolatey Heart
- Quality Matters: A good quality unsweetened cocoa powder will make all the difference in the depth of chocolate flavor.
- Natural vs. Dutch-Processed: Natural cocoa powder is more acidic and has a slightly fruitier, sharper chocolate taste. Dutch-processed cocoa powder is less acidic, darker, and has a mellower, richer chocolate flavor. Both work well, so choose based on your preference. For fudgesicles, a darker, richer cocoa often gives that classic fudge flavor.
Pure Vanilla Extract: The Flavor Enhancer
- A small amount of pure vanilla extract enhances the chocolate flavor, adding a layer of complexity and warmth. Don’t skip it!
Pinch of Sea Salt: The Secret Ingredient
- Just a tiny pinch of salt might seem counterintuitive in a sweet treat, but it works wonders. It brightens and balances the sweetness of the dates and deepens the chocolate flavor, preventing the fudgesicles from tasting flat.
Beyond the Basics: Variations and Customizations for Your Fudgesicles
While the classic recipe is fantastic, don’t hesitate to get creative!
- Nut Butter Swirl: After blending, swirl in a tablespoon or two of your favorite creamy nut butter (peanut, almond, cashew) into the molds for a marbled effect.
- Mint Chocolate: Add a few drops of food-grade peppermint extract along with the vanilla for a refreshing mint chocolate twist.
- Coffee Kick: For an adult version, add a teaspoon of instant espresso powder to the blender with the cocoa powder.
- Berry Blast: Blend in a handful of fresh or frozen berries (raspberries or strawberries work well) for a fruity chocolate fusion.
- Spiced Delight: A tiny pinch of cinnamon or even a whisper of cayenne pepper can add an unexpected warmth and depth to the chocolate.
- Extra Creamy: For an even richer texture, you can add a tablespoon of full-fat coconut cream (from a can, chilled, just the thick part) to the blender.
- Chunky Fudgesicles: After blending, stir in mini chocolate chips or finely chopped nuts before pouring into molds.
Pro Tips for Perfect Fudgesicles Every Time
- Soak Hard Dates: If your dates are dry or not Medjool, soak them in warm water for about 15-20 minutes before blending. Drain them well before adding to the blender.
- High-Speed Blender is Key: A powerful blender is crucial for achieving that ultra-smooth, creamy consistency with the dates. If your blender isn’t very strong, blend in two batches or for a longer duration.
- Don’t Overfill: Leave a little room at the top of your molds to account for expansion during freezing.
- Tight Lids: If your molds have lids, ensure they are securely fastened to prevent freezer burn and spills.
- Storage: Once frozen, you can remove the fudgesicles from their molds and store them individually wrapped in plastic wrap or parchment paper in a freezer-safe bag or container. This frees up your molds for the next batch and prevents them from sticking together. They typically last for 2-3 weeks in the freezer.
Frequently Asked Questions About Healthy Fudgesicles
Q: Why are my fudgesicles icy instead of creamy?
A: This usually happens if the mixture isn’t blended smoothly enough (leaving date chunks) or if the liquid-to-solid ratio is off, leading to more water content. Using whole milk or barista oat milk helps achieve a creamier texture due to higher fat content. Ensure your dates are thoroughly blended until no pieces remain.
Q: Can I use another sweetener instead of dates?
A: While dates are ideal for texture and natural sweetness, you could experiment with maple syrup or honey. However, dates contribute significant body and fiber, which helps create the “fudge-like” consistency. Using liquid sweeteners might make the fudgesicles icier and less rich. You might need to adjust the milk quantity if using liquid sweeteners.
Q: Are these fudgesicles vegan and dairy-free?
A: Yes, absolutely! If you use a plant-based milk like barista oat milk (or almond, soy, etc.), this recipe is entirely vegan and dairy-free, making it accessible for a wider range of dietary needs.
Q: How long do homemade fudgesicles take to freeze?
A: They typically need at least 4 hours to freeze solid, but leaving them overnight is always recommended for the best results and firmest texture.
Q: Can I make a big batch and store them?
A: Yes! After they are fully frozen, you can carefully remove them from their molds. Wrap each fudgesicle individually in plastic wrap or parchment paper, then place them in a freezer-safe bag or airtight container. They will keep well in the freezer for up to 2-3 weeks.
More Popsicle and Ice Cream Recipes to Try
If you’re loving these healthy frozen treats, be sure to explore some of our other delightful recipes perfect for cooling down:
- Cherry Cheesecake Popsicles: A decadent twist on a classic dessert, in popsicle form!
- Blackberry Swirl Frozen Yogurt Pops: Tart and sweet, these yogurt pops are a refreshing treat.
- Peanut Butter Fudge Swirl Ice Cream: For those times you crave creamy ice cream goodness.
The Best Healthy Homemade Fudgesicles Recipe
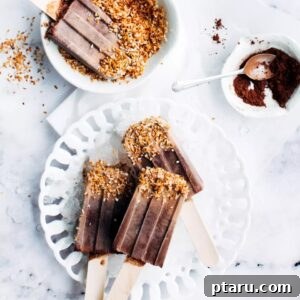
The Best Healthy Homemade Fudgesicles
By: Jennifer Pallian
These 4-ingredient healthy homemade fudgesicles make the perfect (guilt-free!) summer snack. Sweetened with dates, these fudge-y popsicles are a great sweet treat recipe for kids and adults alike.
Prep Time: 5 minutes
Total Time: 4 hours 5 minutes
Servings: 6
Ingredients
- 1 cup + 2 tbsp milk (whole milk is tastiest, or barista oat milk for dairy-free)
- 4 pitted dates (Medjool dates recommended)
- 2 tbsp unsweetened cocoa powder
- ¼ tsp pure vanilla extract
- Pinch of sea salt
- ¼ cup toasted coconut (optional, for rolling)
Instructions
- Combine ingredients in a high-speed blender in the order listed (milk first for easier blending). Process on high speed for at least 60 seconds, until the mixture is frothy and exceptionally smooth with no date chunks remaining.
- Carefully pour the creamy mixture into your ice pop molds, leaving a small space at the top. Insert popsicle sticks firmly.
- Freeze for at least four hours, or preferably overnight, until thoroughly solid.
- To unmold, run the outside of the pop molds under warm water for 10-20 seconds to gently loosen the fudgesicles. Tug them out carefully.
- If desired, immediately roll the unfrozen outer layer of the fudgesicles in toasted coconut flakes for added texture and flavor. Serve immediately and enjoy!
Tried this recipe? Share your thoughts! We’d love to hear how your healthy homemade fudgesicles turned out. Leave a comment below with your feedback or any delicious variations you tried!
Pin This Recipe for Later!