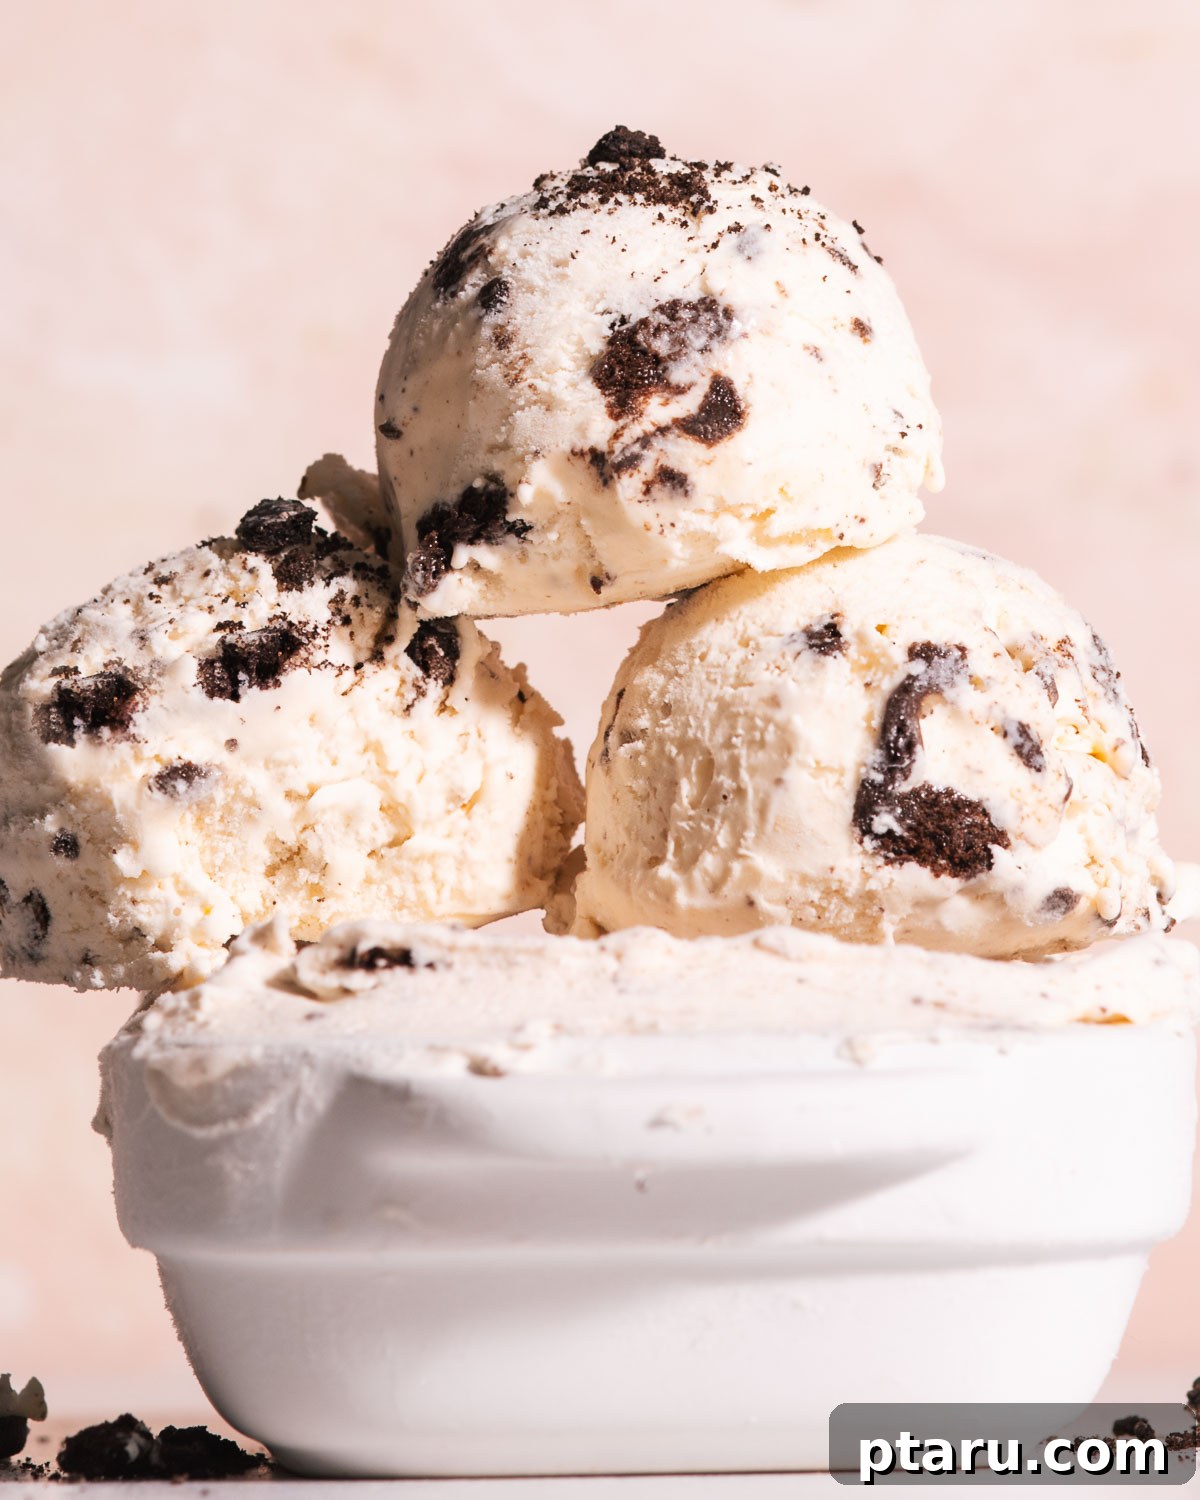
Ultimate No-Churn Cookies and Cream Ice Cream: Your Easy Homemade Treat
Prepare to be utterly amazed by how effortlessly you can create the most incredibly FLUFFY and CREAMY Cookies and Cream Ice Cream right in your own kitchen! Forget about fancy ice cream machines or complicated steps; this recipe demands just four simple ingredients and absolutely no special equipment. It’s a game-changer for anyone craving a truly delightful frozen dessert without the fuss. Dive in to discover why this ridiculously easy, no-churn recipe has become an obsession for so many, promising a rich, satisfying texture and an iconic flavor that will have everyone asking for more.
Why This No-Churn Cookies and Cream Recipe is a Must-Try
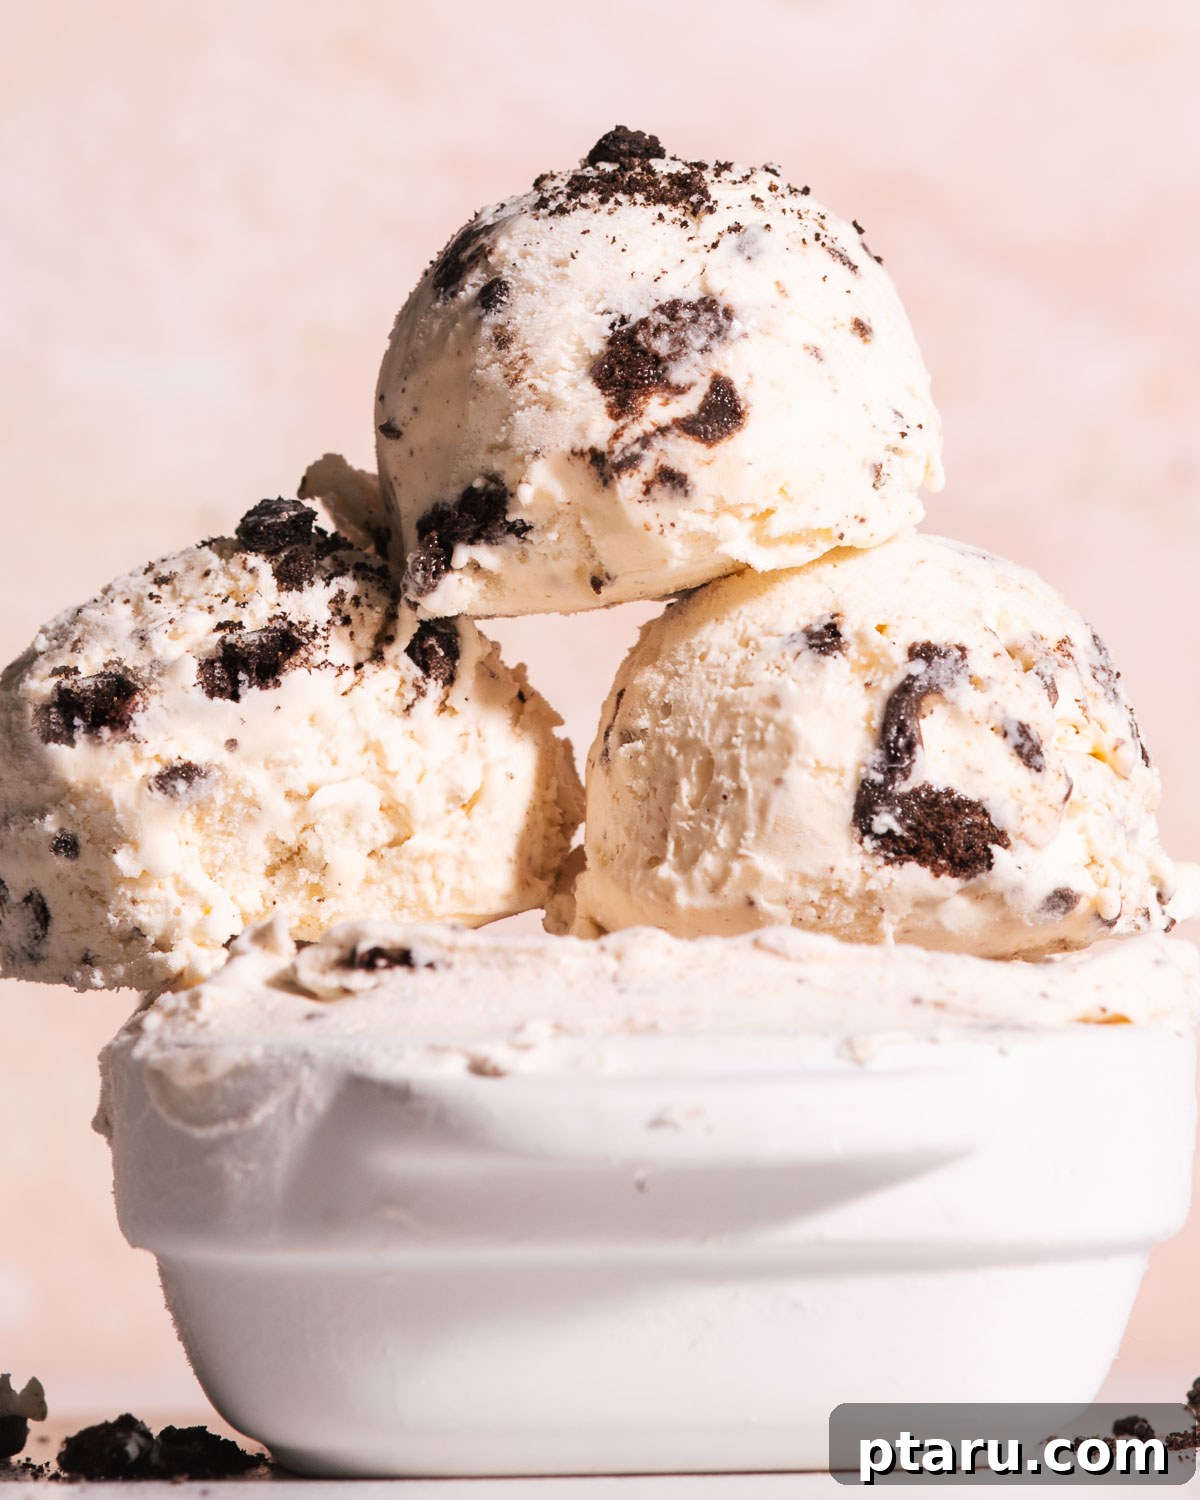
If you’ve ever dreamt of crafting your own gourmet ice cream without the hassle, this is your moment. This foolproof cookies and cream ice cream recipe is not only incredibly delicious but also remarkably quick to prepare. In mere minutes, you’ll have a delightful mixture ready for the freezer, transforming into a luxurious, scoopable dessert that rivals any store-bought variety.
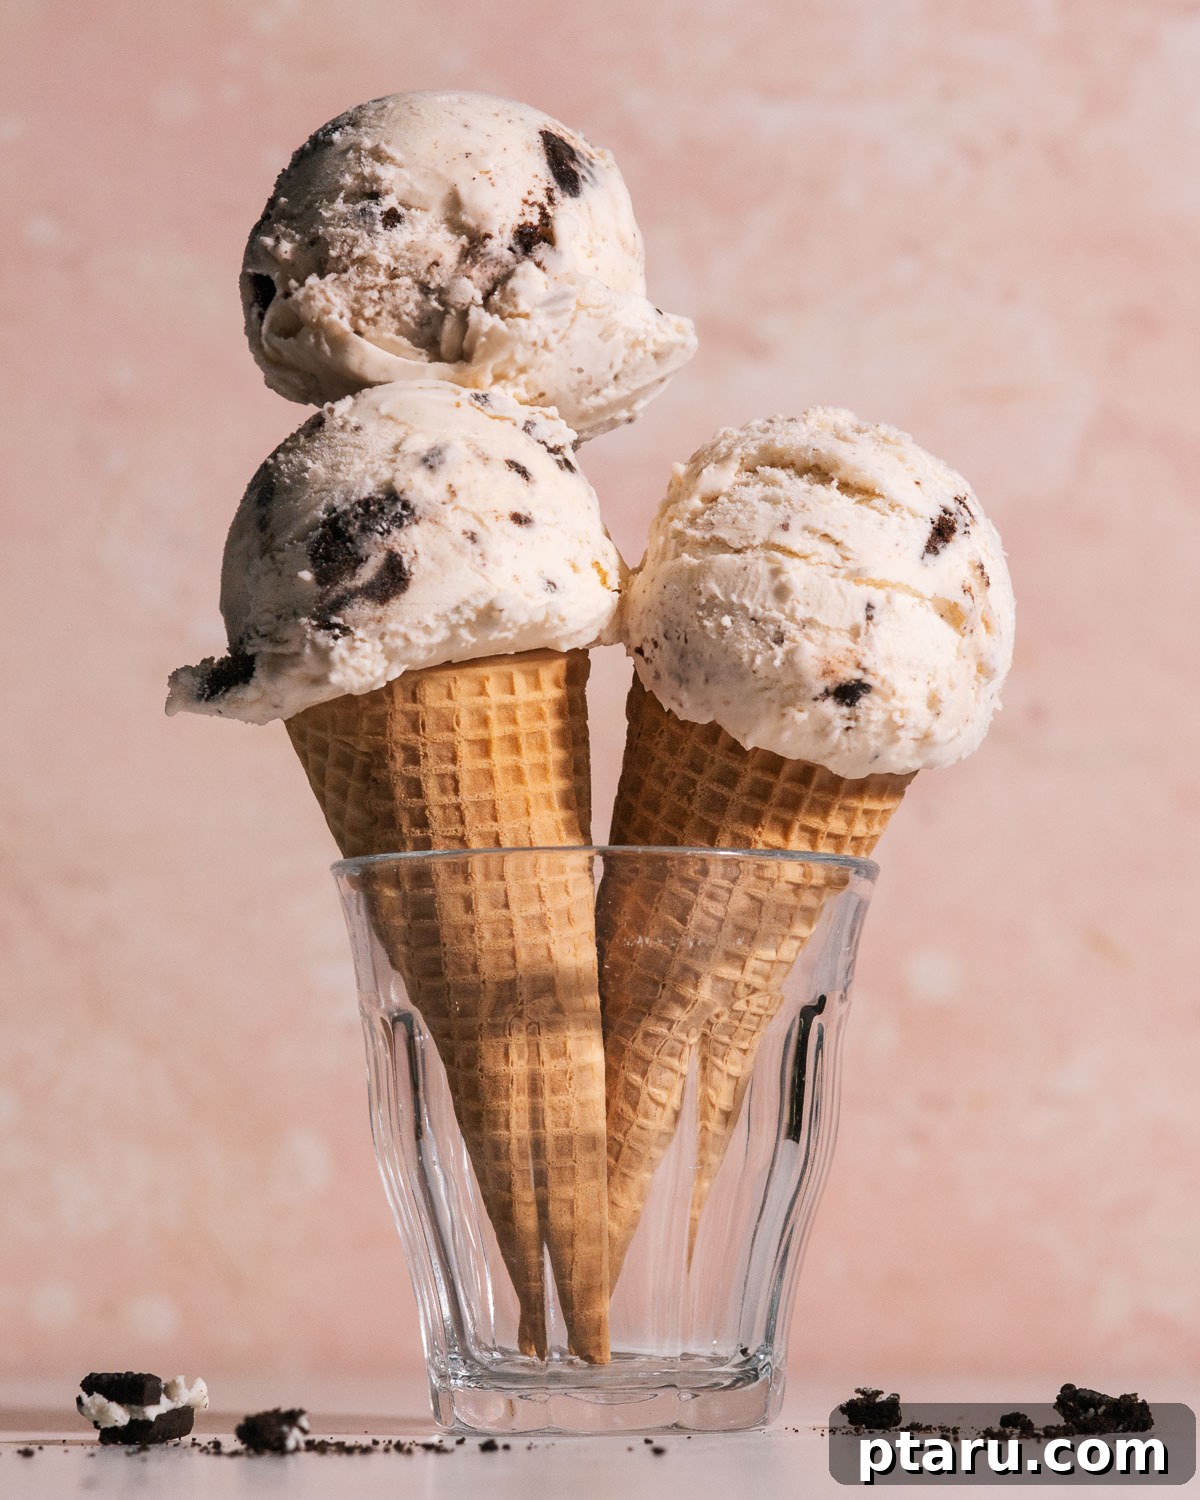
Imagine spooning generous dollops onto a crisp waffle cone, presenting it elegantly in a bowl adorned with extra toppings, or simply indulging straight from the tub on a cozy evening. The versatility is endless, and the satisfaction is immense. And the best part? You truly don’t need an ice cream maker. This is a game-changer for home cooks and dessert enthusiasts alike, proving that extraordinary flavor can be achieved with minimal effort and equipment.
Essential Ingredients for Your Creamy Delight
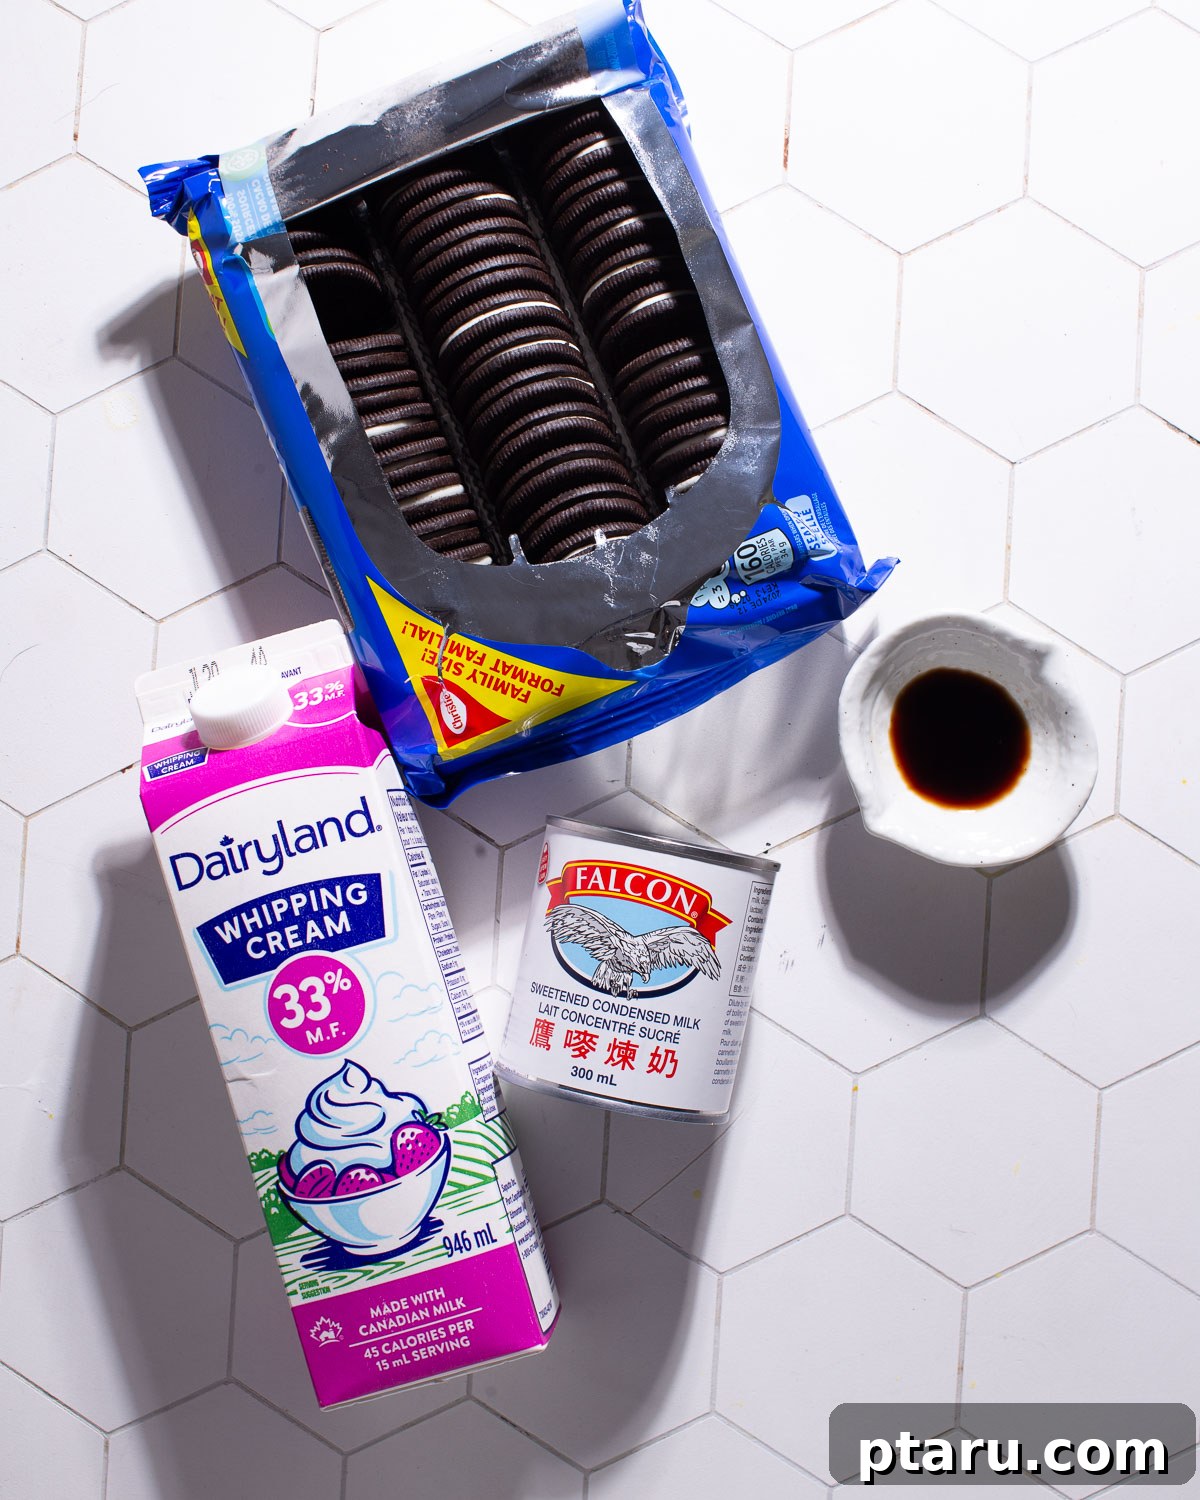
The magic of this recipe lies in its simplicity. With just four basic ingredients, readily available at any grocery store, you’re on your way to a decadent homemade treat. Gather these essentials, along with a couple of common kitchen tools, and let the culinary adventure begin!
The Core Four: What You’ll Need
- Heavy Whipping Cream: This is the foundation of our no-churn ice cream. Use only well-chilled heavy whipping cream (with a minimum of 36% milk fat) to ensure it whips up into stiff, stable peaks. The high-fat content is crucial for creating that rich, creamy texture without churning, trapping air for a light, ethereal base.
- Sweetened Condensed Milk: This ingredient serves two vital purposes: it provides the perfect amount of sweetness and contributes significantly to the ice cream’s smooth, luscious consistency. Its concentrated sugar content also helps to lower the freezing point, preventing the formation of undesirable ice crystals and ensuring a wonderfully creamy bite. You can slightly adjust the quantity to suit your preferred sweetness level.
- Vanilla Extract: For an authentic and deeply satisfying vanilla ice cream base flavor, always opt for pure, good-quality vanilla extract. Its aromatic warmth beautifully complements the sweetness of the condensed milk and provides a classic foundation for the cookies and cream profile. A splash of quality vanilla elevates the entire dessert.
- Oreo Cookies: The star of the show! While classic Oreo cookies are my go-to for that familiar, beloved flavor and texture contrast, feel free to experiment with any of your favorite Oreo varieties. Mint, peanut butter, or even seasonal flavors can add a fun twist. The goal is a delightful mix of crunchy cookie bits and soft, creamy ice cream.
Creative Substitutions & Exciting Variations
While the classic cookies and cream is a masterpiece, this versatile base recipe is perfect for customization. Don’t be afraid to get creative and tailor it to your taste or what you have on hand!
- Flavor Add-ins and Swirls: Elevate your ice cream by mixing in other delicious ingredients. Consider crushed candies (like M&Ms or Heath bars), mini chocolate chips, chopped nuts (pecans, walnuts, or almonds), or even a swirl of contrasting flavors. Ripples of rich caramel sauce, decadent fudge, or vibrant fruit preserves (like strawberry or raspberry) can transform your dessert into a gourmet experience.
- Texture Variations: Control the crunch! Adjust the size of your cookie chunks to match your preference. For a smoother, more uniform texture, crush the cookies into finer crumbs. If you love a substantial bite and an extra crunch, leave some larger pieces in the mix. You can also incorporate layers of different flavors or add-ins when transferring to the freezer container to create a stunning marbled effect, both visually appealing and texturally exciting.
- Dietary Adjustments: For a lower-sugar option, explore sugar-free sweetened condensed milk alternatives. While the texture might vary slightly due to sugar’s role in freezing, it’s a viable option. For a richer, more intense chocolate flavor, consider adding a tablespoon of unsweetened cocoa powder to the condensed milk mixture.
Essential Kitchen Tools to Gather
You don’t need a professional pastry kitchen to make this dessert. Just a few standard items will do the trick:
- Large Mixing Bowl: Essential for combining your ingredients. A large bowl provides ample space for whipping the cream and folding in other components without spills.
- Sealable Plastic Bag: Perfect for crushing your Oreo cookies without creating a mess. A Ziploc bag works wonderfully for this step.
- Rolling Pin: Your best friend for crushing cookies evenly. No rolling pin? A heavy-bottomed glass, a sturdy mug, or even an empty wine bottle will happily serve the same purpose, providing the necessary force to break down those delicious cookies!
- Electric Mixer with Whisk Attachment: This tool is key for whipping the heavy cream to stiff peaks quickly and efficiently. A stand mixer or a handheld electric mixer will both work beautifully. Ensure your whisk attachment and bowl are chilled for optimal results.
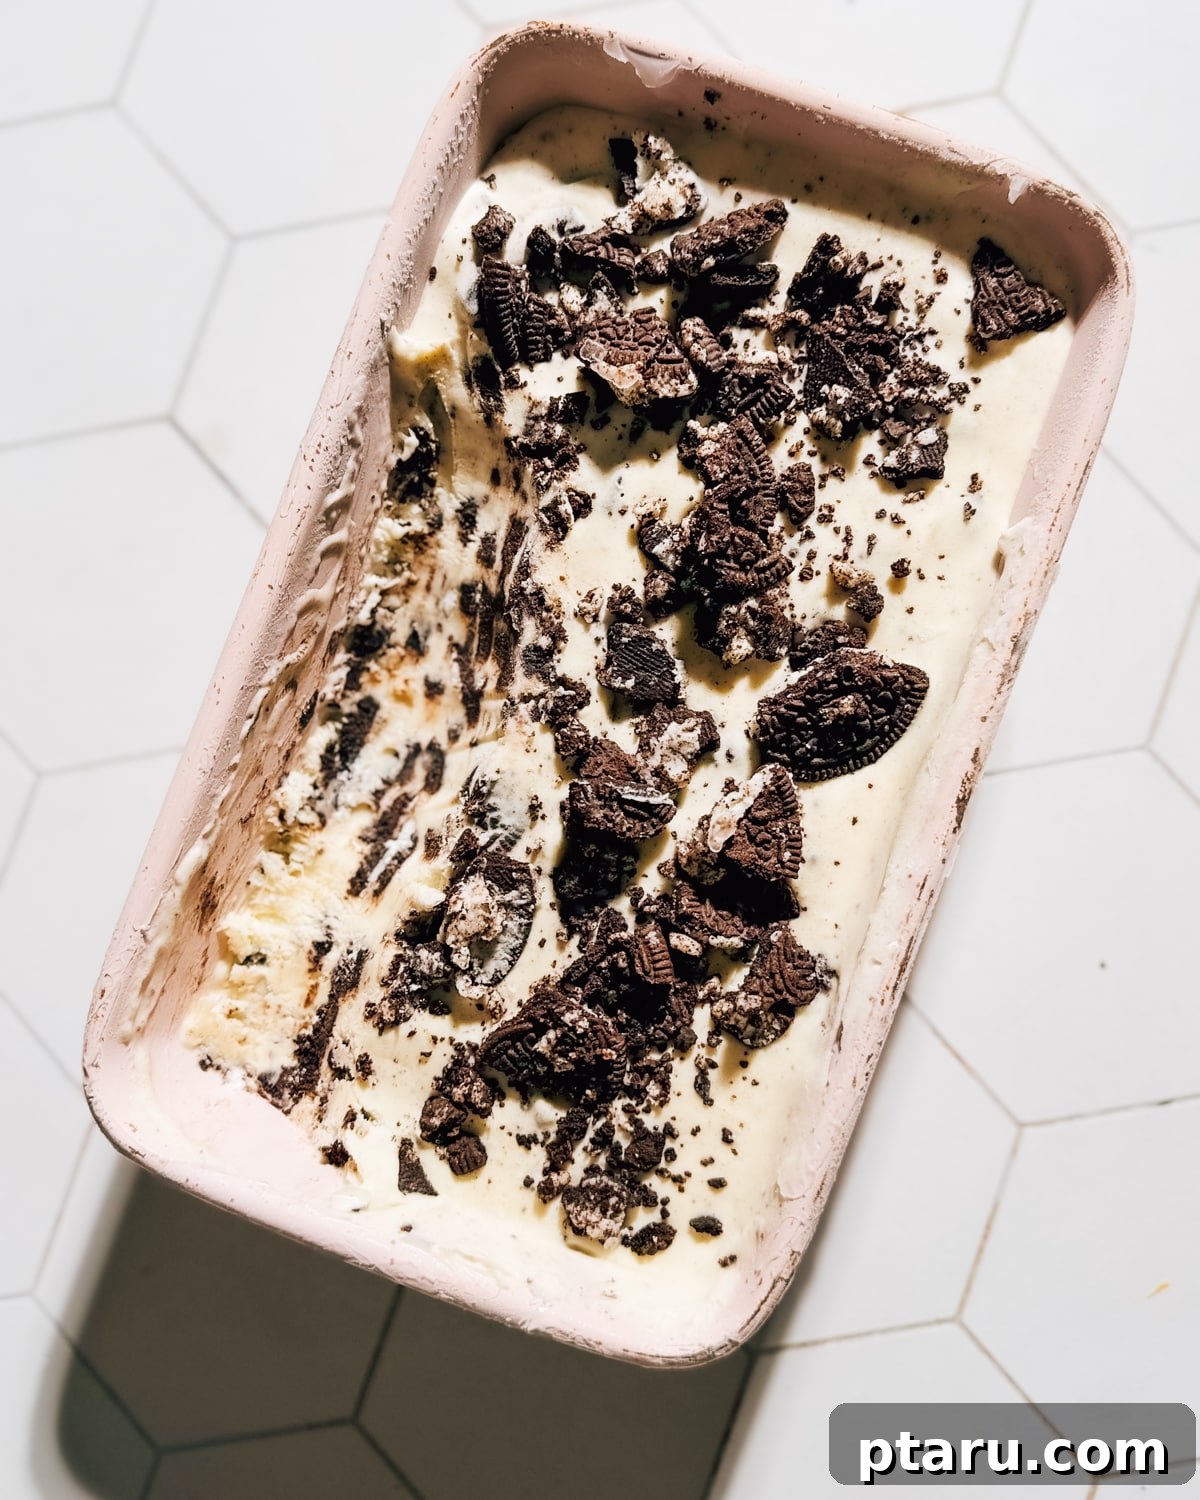
- Freezer-Safe Container: A loaf pan, an airtight plastic container, or a metal pan will work perfectly for freezing your no-churn ice cream. Choose one with a lid or ensure you have plastic wrap to cover it tightly.
How to Make Cookies and Cream Ice Cream: Your Easy Step-by-Step Guide
Creating this heavenly cookies and cream ice cream is simpler than you might imagine. Follow this straightforward, step-by-step guide to achieve perfect results every time:
Prepare Your Cookies for Maximum Crunch
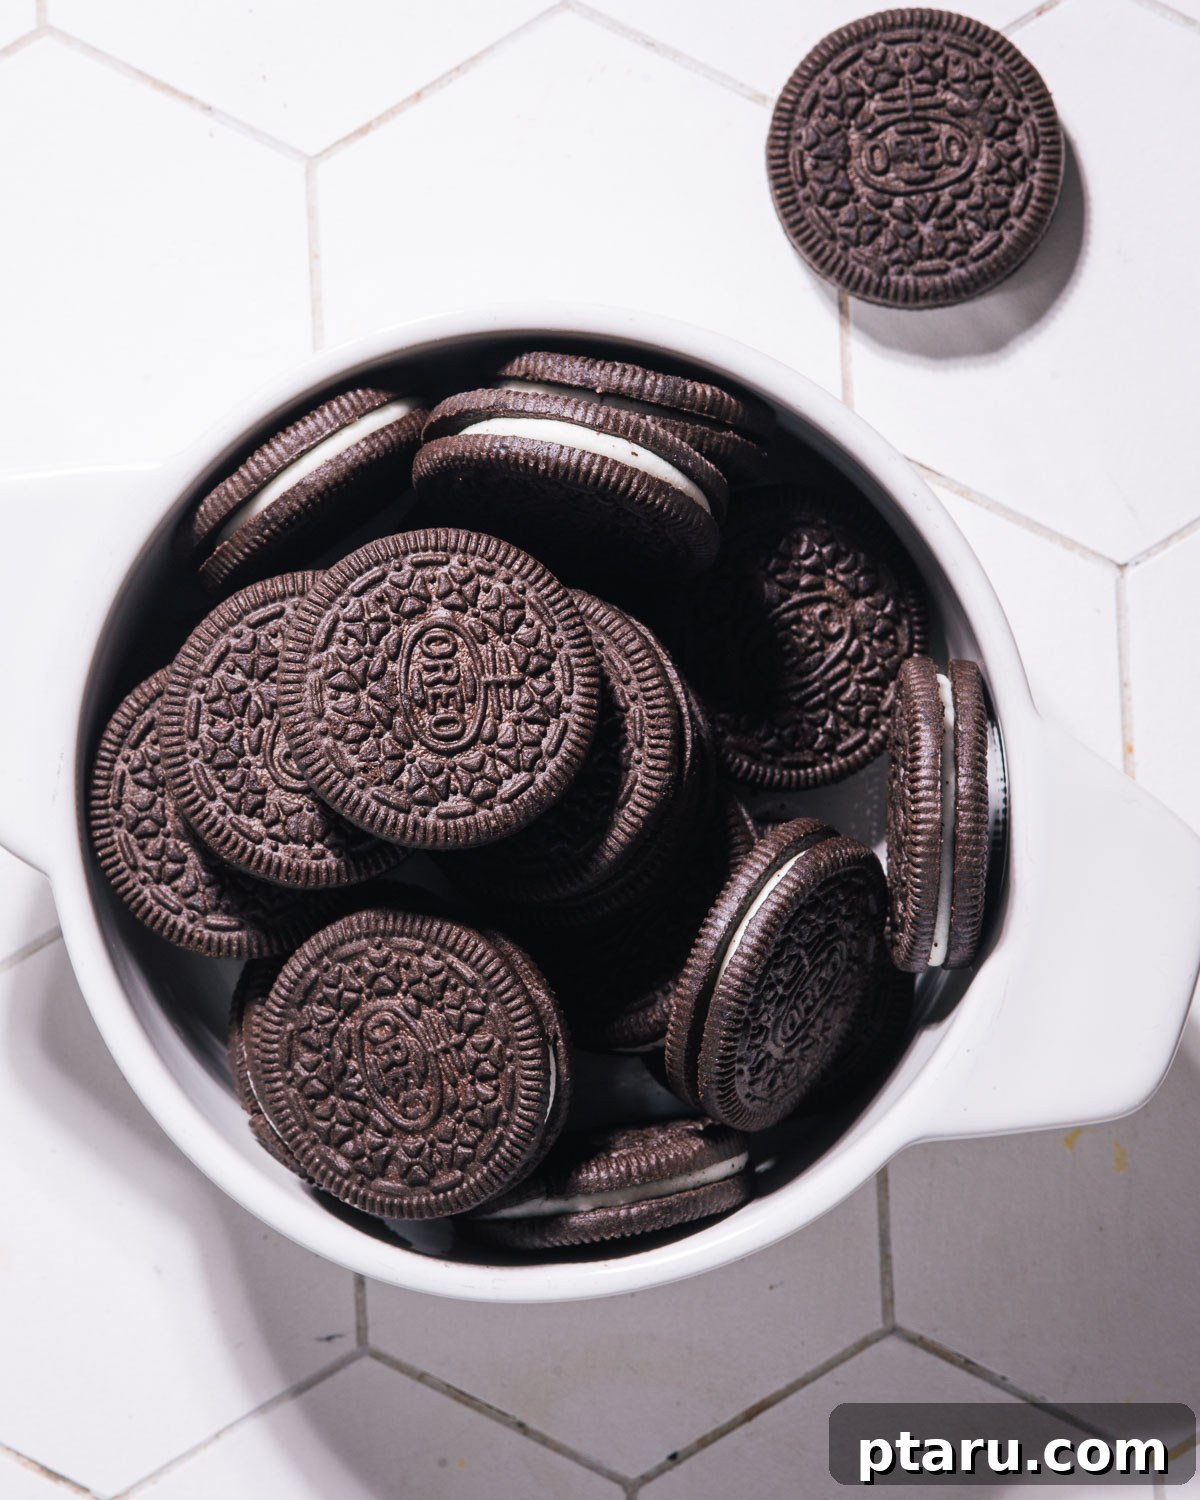
Begin by placing your chosen Oreo cookies into a sturdy, sealable plastic bag. Using a rolling pin or the bottom of a heavy glass, gently but firmly crush the cookies into small, varied pieces. Some fine crumbs and some larger chunks will provide the best textural contrast in your ice cream. Alternatively, you can roughly chop them with a knife for a similar effect. Once crushed, set aside a small handful of these delightful crumbs to sprinkle on top of your ice cream before freezing—this adds a beautiful finishing touch and an extra layer of cookie goodness.
Achieve Perfectly Whipped Cream
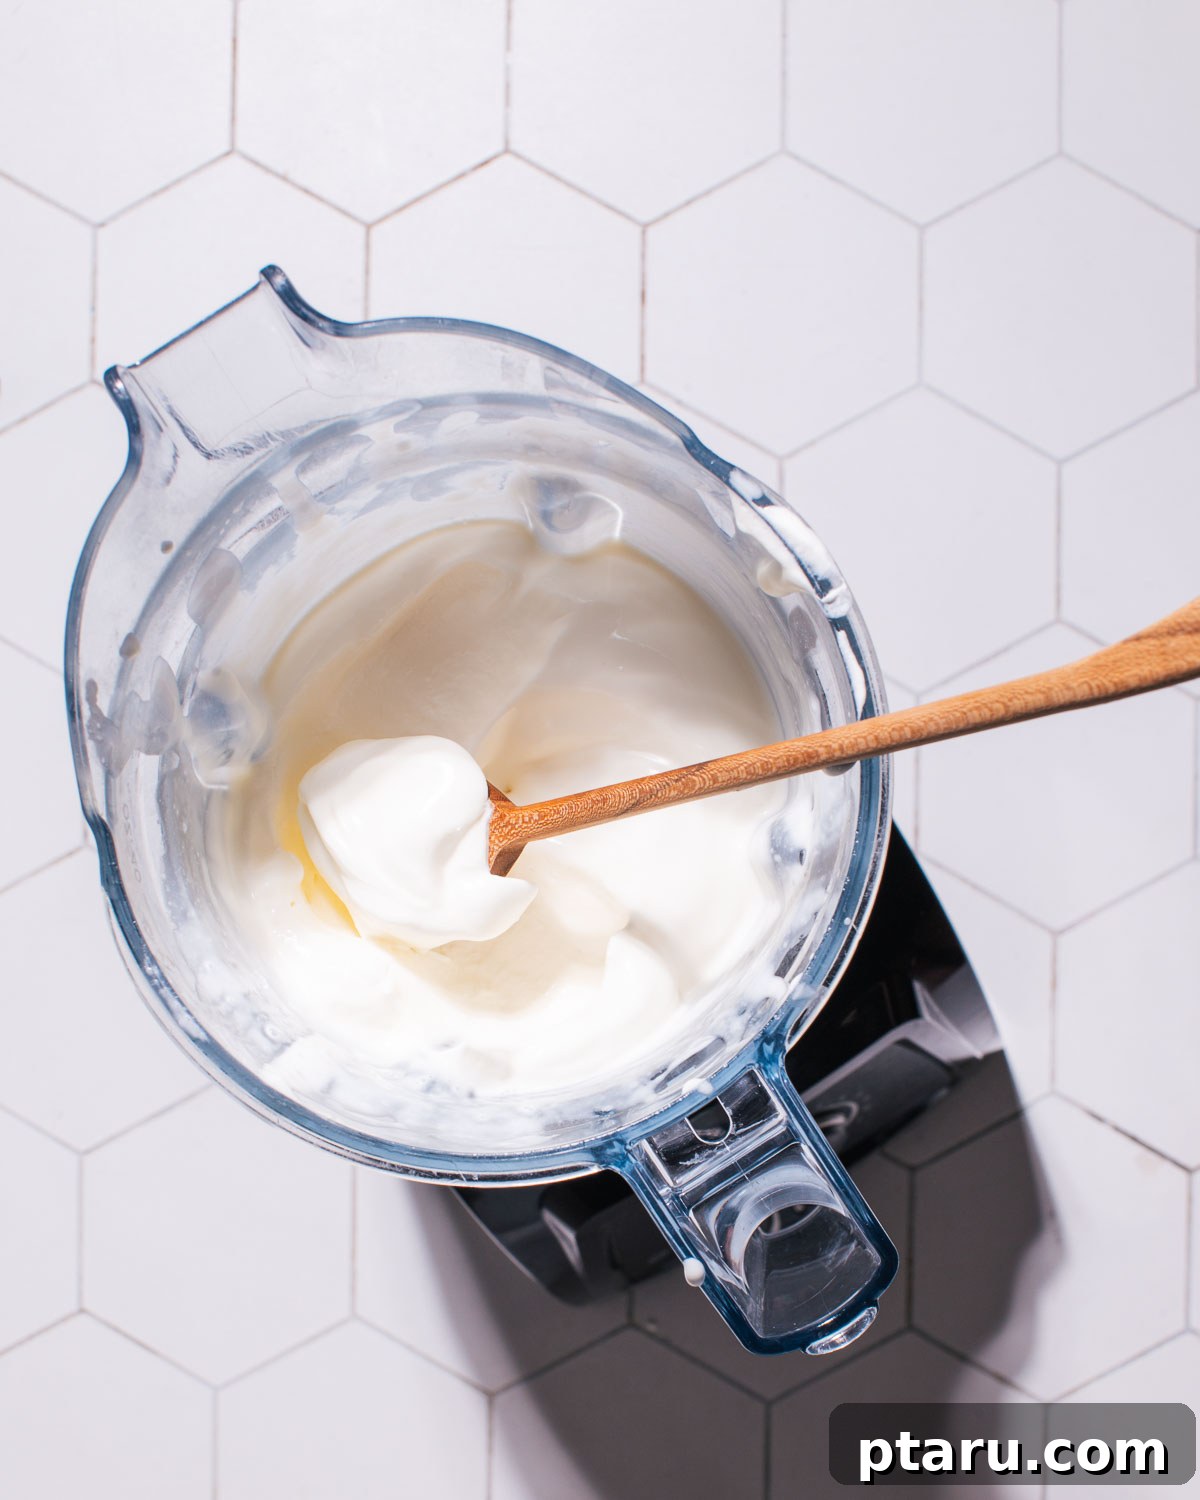
In your well-chilled mixing bowl, pour the cold heavy whipping cream. Using an electric mixer (either a stand mixer with a whisk attachment or a handheld mixer), whip the cream on medium-high speed. Continue whipping until stiff peaks form. This means that when you lift the whisk, the cream holds its shape firmly. In a stand mixer, this typically takes about 3-4 minutes. If using a high-speed blender like a Vitamix, it can be as quick as 20-30 seconds, so watch it closely to avoid over-whipping!
Gently Fold in the Sweetness
In a separate, medium-sized bowl, combine the sweetened condensed milk with the vanilla extract. Stir these two ingredients together until they are well blended. Next, it’s time to incorporate the whipped cream. Using a rubber spatula, very gently fold the whipped cream into the condensed milk mixture. The key here is to be light-handed, folding just until the ingredients are combined and no streaks of condensed milk remain. Overmixing can deflate the air from the whipped cream, affecting the final texture of your ice cream.
Integrate the Iconic Cookie Crumbs
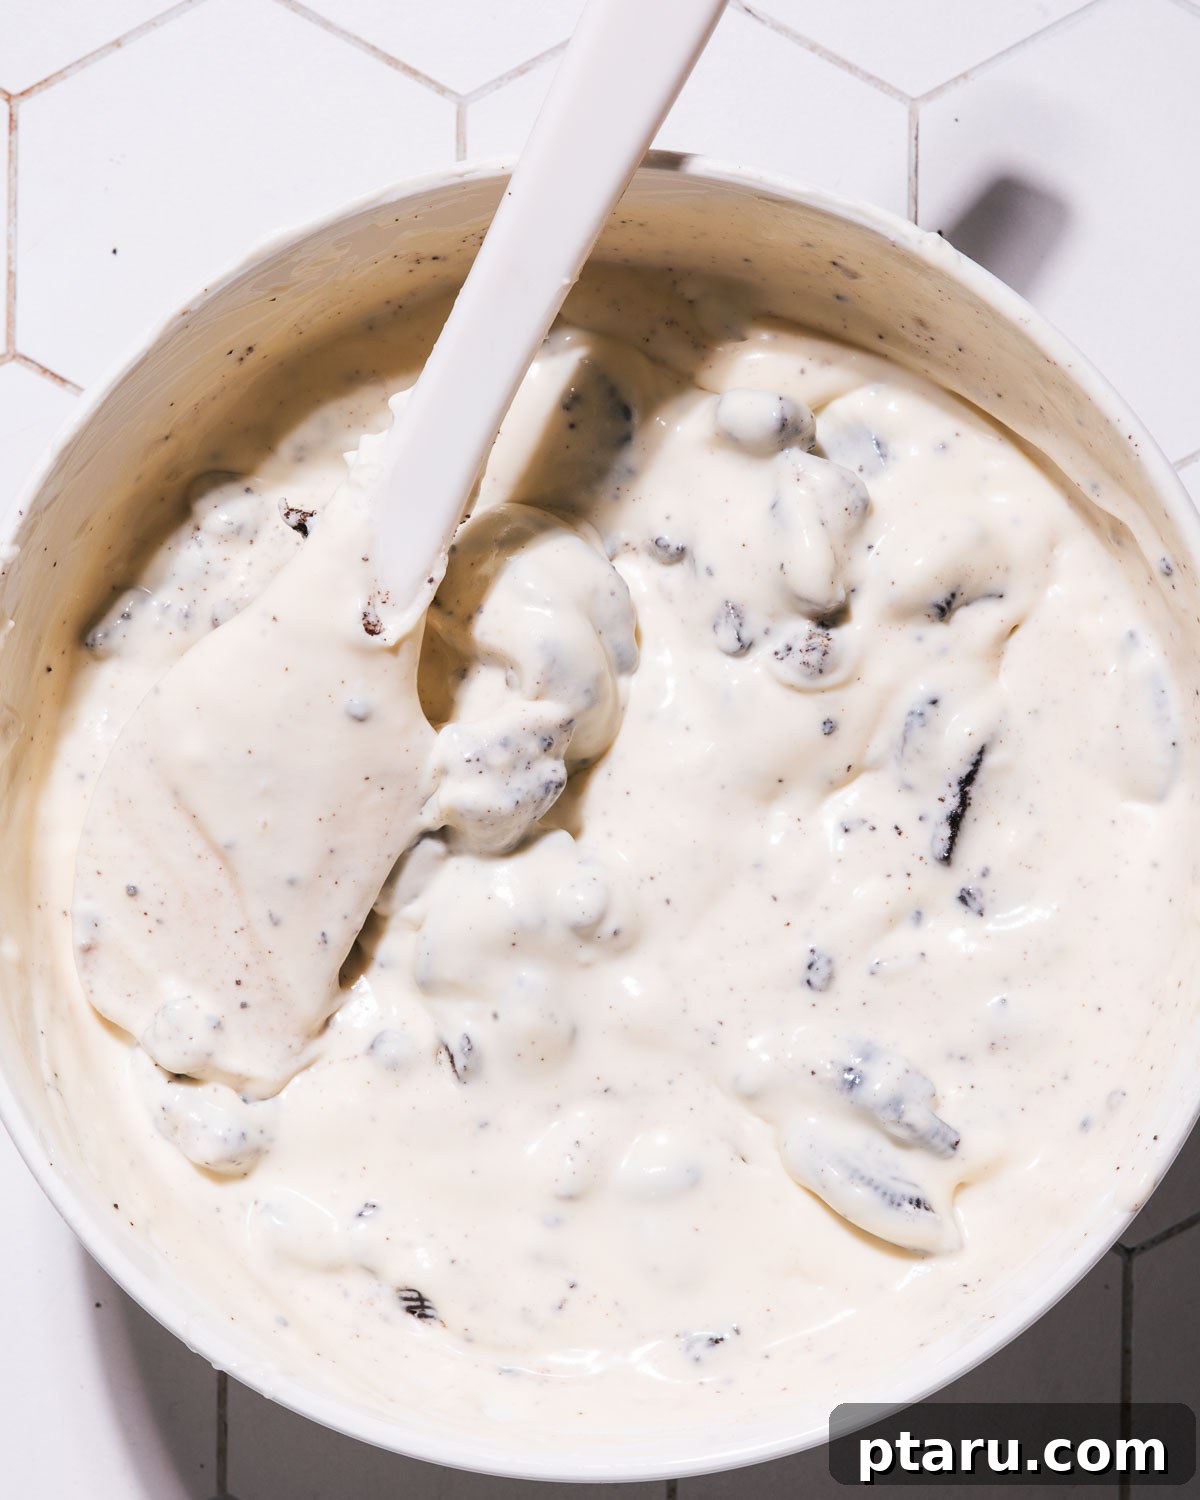
Now for the star component! Add the majority of your crushed Oreo cookies (reserving that handful for topping) into the cream and condensed milk mixture. Once again, use your spatula to gently fold and stir the cookies through the base until they are evenly distributed. You want cookie bits in every spoonful, but avoid vigorous mixing to maintain the airy texture of the whipped cream.
Transfer and Garnish
Carefully pour the entire ice cream mixture into your chosen freezer-safe container. Use your spatula to gently smooth out the top. Now, sprinkle the reserved handful of crushed cookies evenly over the surface of the ice cream. This not only adds visual appeal but also provides a delightful initial crunch when serving.
The Freezing Process for Ideal Texture
Once the mixture is in its container, cover it tightly. You can use plastic wrap pressed directly onto the surface to minimize air exposure, or secure it with an airtight lid. This helps prevent ice crystals from forming on the surface. Place the container in the freezer for a minimum of 4-6 hours. For the absolute best and firmest results, freezing it overnight is highly recommended. Once thoroughly frozen, it’s ready to scoop and serve!
Storing Your Homemade Ice Cream: Tips for Lasting Freshness
One of the many advantages of homemade ice cream is that you can prepare it in advance, making it a perfect dessert for entertaining or simply having a sweet treat on hand. Properly storing your cookies and cream ice cream is key to maintaining its exquisite flavor and creamy texture.
Store your finished ice cream in a freezer-safe container with a tightly fitting lid or securely wrapped with plastic wrap. This protective barrier is crucial for preventing freezer burn and keeping unwanted odors from permeating your delicious dessert. When stored correctly, your homemade cookies and cream ice cream will retain its optimal quality for up to 2-3 weeks.
To ensure the best possible texture and to prevent the formation of pesky ice crystals, try to use a container that minimizes air space above the ice cream. If your container is too large, pressing plastic wrap directly onto the surface of the ice cream before securing the lid can help. While it can last longer, it’s truly best enjoyed within one month for peak freshness and creaminess.
Before serving, allow the ice cream to sit at room temperature for a few minutes—typically 5 to 10 minutes, depending on your freezer’s temperature. This brief softening period will make it significantly easier to scoop, ensuring you get perfectly creamy, effortless portions every time. Avoid microwaving to soften, as this can affect the texture.
Expert Tips & The Science Behind Your No-Churn Success (by a Food Scientist!)
As a food scientist, I love understanding the ‘why’ behind successful recipes. Here are my top tips and the scientific secrets to making your no-churn cookies and cream ice cream absolutely perfect:
- Texture Balance is Key: Aim for a harmonious balance between the ultra-creamy base and the delightful crunch of the cookie bits. The ice cream should be smooth and melt-in-your-mouth, but with distinct, satisfying chunks of Oreo that provide a pleasant textural contrast. Varying the size of your crushed cookies helps achieve this dynamic balance.
- Serve It Fresh (Relatively): While this ice cream stores well, its peak flavor and ideal texture are experienced soon after making or within a few weeks of freezing. The fresher it is, the more vibrant the flavors and the creamier the consistency.
- Chill Everything for Best Whip: This is a crucial step for achieving stiff peaks. Make sure your heavy whipping cream is thoroughly chilled. For an extra boost, place your mixing bowl and whisk attachments in the refrigerator or freezer for 10-15 minutes before you start whipping. Cold equipment helps the fat globules in the cream solidify faster and trap air more efficiently, resulting in a quicker, more stable whip.
- Vary Your Cookie Size: Don’t just pulverize your cookies into dust! For a truly engaging eating experience, aim for a mix of fine crumbs and slightly larger, bite-sized pieces. The fine crumbs disperse throughout the ice cream, enhancing the overall flavor, while the larger pieces offer that satisfying crunch.
- Combat Ice Crystals with Tight Sealing: Ice crystals are the enemy of creamy ice cream. To prevent their formation, always cover your container tightly. This minimizes air exposure, which is where moisture can condense and freeze into unwelcome crystals. A layer of plastic wrap pressed directly onto the surface of the ice cream before putting on the lid provides excellent protection.
- The Science of Whipping Cream: Heavy whipping cream (with 36% or more milk fat) is essential. When whipped, the fat globules partially coalesce and trap air, creating a stable foam. This trapped air gives the ice cream its light, airy, and fluffy structure, eliminating the need for constant churning in an ice cream maker. The higher the fat content, the more stable the foam.
- Condensed Milk’s Dual Role: Sweetened condensed milk is a hero ingredient here. It not only provides concentrated sweetness but also contributes to the velvety, dense texture. More importantly from a scientific perspective, its high sugar content significantly lowers the freezing point of the mixture. This means the ice cream freezes softer and remains scoopable, preventing it from becoming rock-hard and icy, a common problem with traditional homemade ice creams without enough sugar or fat.
Frequently Asked Questions About No-Churn Cookies and Cream Ice Cream
Just skimming through? Here are a few key takeaways and answers to common questions about this delightful recipe:
Absolutely! This recipe is incredibly adaptable. Feel free to mix in additional ingredients like crushed chocolate bars, mini chocolate chips, chopped nuts, candy pieces, or even swirls of caramel or fudge sauce for an extra layer of indulgence. Just remember to fold them in gently to maintain the airy texture.
Icy texture is often due to insufficient whipping of the cream or improper freezing. Ensure your heavy whipping cream is very cold and whipped to firm, stiff peaks. Also, make sure the ice cream freezes for the recommended time (at least 4-6 hours, ideally overnight) in a tightly sealed container to prevent ice crystals from forming on the surface.
Yes, absolutely! While classic Oreos are fantastic, you can experiment with other flavored sandwich cookies or even other types of biscuits. You could also infuse your heavy cream with a flavoring agent (like a hint of mint extract or almond extract) before whipping to create unique flavor profiles. Just be mindful of how additional flavorings might impact the overall sweetness.
To reduce the sugar content, you can substitute the regular sweetened condensed milk with a lower-sugar or sugar-free alternative. Keep in mind that sugar plays a crucial role in preventing ice crystal formation, so a lower-sugar version might have a slightly firmer or icier texture. You can also slightly reduce the amount of condensed milk, tasting as you go.
When stored correctly in an airtight, freezer-safe container, your no-churn cookies and cream ice cream will maintain its best quality for 2-3 weeks. Beyond that, it might start to develop ice crystals or freezer burn, affecting its texture and flavor.
While this recipe relies heavily on dairy heavy cream and condensed milk for its specific texture, you can explore dairy-free alternatives. Look for full-fat coconut cream (chilled well) as a substitute for heavy cream and dairy-free sweetened condensed coconut milk. The taste and texture will be different, but a delicious dairy-free version is certainly achievable!
Related: Don’t miss our Moist Chocolate Cupcakes with Oreo Cream Cheese Frosting for another cookie-inspired delight!
Discover More Delicious Frozen Desserts You’ll Love
If you’ve fallen in love with the simplicity and deliciousness of this no-churn ice cream, you’re in for a treat! Explore my collection of other chilly, sweet creations that are perfect for any occasion:
- Peanut Butter Frozen Yogurt Bites
- Strawberry Frozen Yogurt Bites
- 3-Ingredient Banana Nice Cream
- Frozen Yogurt Bark
- Banana Bites (Peanut Butter and Chocolate)
- Homemade Strawberry Popsicles
- Creamy Yogurt Popsicles
- Chocolate Peanut Butter Frozen Yogurt Bark
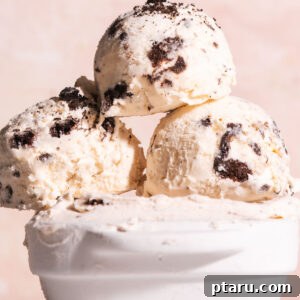
Cookies and Cream Ice Cream Recipe
Jennifer Pallian BSc, RD
15 minutes
4 hours
4 hours 15 minutes
12
Ingredients
- 2 cups heavy whipping cream, cold
- 1 14-oz can sweetened condensed milk
- 1 teaspoon vanilla extract
- 10 Oreo cookies crushed
Instructions
-
Prepare Ingredients: Make sure the whipping cream is cold. Chill your mixing bowl and beaters in the refrigerator for about 15 minutes before starting. This helps the cream whip more effectively.
-
Crush the Cookies: Place the Oreo cookies in a sealed plastic bag and crush them into small, varied pieces using a rolling pin or the bottom of a glass. Set aside a handful of crushed cookies for topping.
-
Whip the Cream: In the chilled mixing bowl, pour the heavy whipping cream. Using an electric mixer, whip the cream on medium-high speed until stiff peaks form. This should take approximately 3-4 minutes.
-
Mix in Condensed Milk: In a separate large bowl, combine the sweetened condensed milk and vanilla extract. Gently fold in the whipped cream into the condensed milk mixture using a spatula. Fold just until combined, being careful not to deflate the whipped cream.
-
Add the Cookies: Gently fold the majority of the crushed Oreo cookies into the whipped cream and condensed milk mixture until evenly distributed.
-
Transfer to a Container: Pour the mixture into a freezer-safe container, smoothing the top with a spatula. Sprinkle the remaining crushed cookies on top as a garnish.
-
Freeze: Cover the container tightly with plastic wrap or an airtight lid and freeze for at least 4-6 hours or until the ice cream is firm. For the best and most scoopable results, freezing overnight is highly recommended.
-
Serve: When ready to serve, let the ice cream sit at room temperature for a few minutes to soften slightly. This makes it much easier to scoop and enhances the creamy texture. Enjoy your delightful homemade cookies and cream ice cream!
Notes
Nutrition
Carbohydrates: 8g |
Protein: 2g |
Fat: 16g |
Saturated Fat: 10g |
Polyunsaturated Fat: 1g |
Monounsaturated Fat: 5g |
Trans Fat: 0.01g |
Cholesterol: 45mg |
Sodium: 50mg |
Potassium: 62mg |
Fiber: 0.3g |
Sugar: 5g |
Vitamin A: 592IU |
Vitamin C: 0.2mg |
Calcium: 29mg |
Iron: 1mg
Nutrition information is automatically calculated and should only be used as an approximation.
Tried this recipe? Leave a comment!