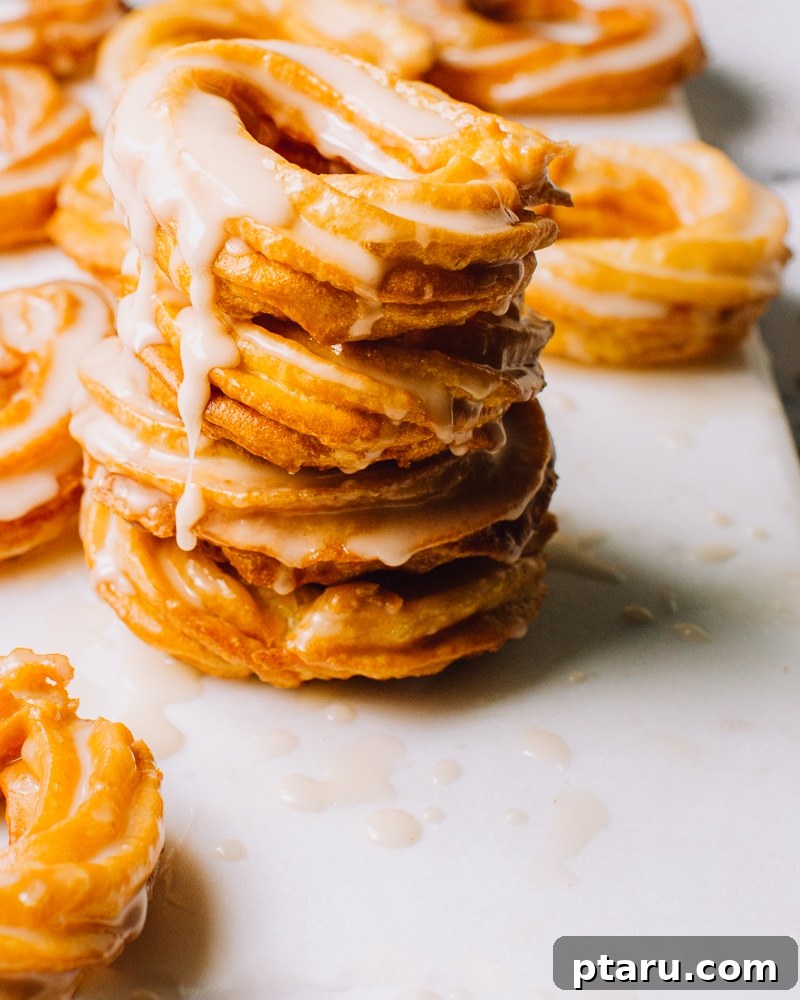
Welcome to the ultimate guide for crafting the most exquisite homemade French Cruller Donuts! If you’re searching for a dessert that marries elegance with a deeply satisfying texture, you’ve found your perfect recipe. This meticulously tested French cruller donut recipe promises an unparalleled culinary experience, delivering donuts with a remarkably airy, fluffy interior encased in a gloriously crisp, golden exterior that shatters beautifully with every bite. Far from your everyday donut, these classic French pastries are a true delight, perfect for elevating any weekend baking project or transforming a regular occasion into something truly special. Get ready to impress yourself and your loved ones with these irresistible treats.
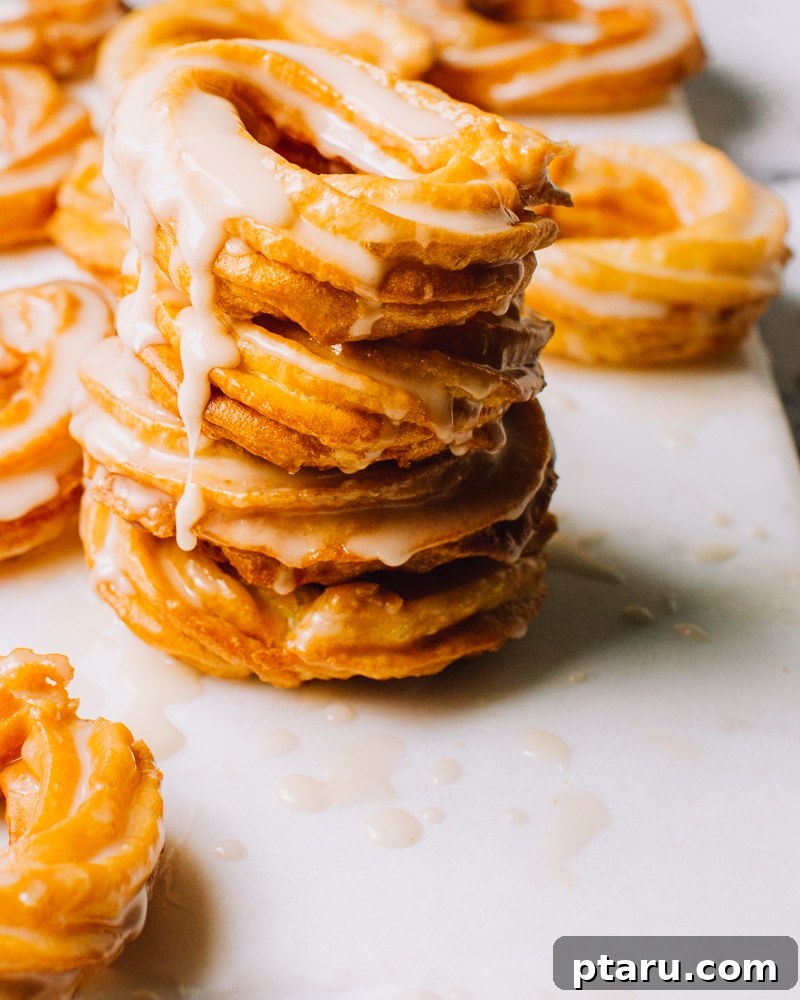
What Exactly Are French Crullers? A Deep Dive into Choux Pastry Donuts
French Crullers stand apart in the diverse world of donuts, carving out a special niche with their distinct texture and preparation. Unlike the soft, chewy, and often dense yeast-risen or cake-like varieties that are commonly found, crullers boast a unique character thanks to their foundational dough: pâte à choux, often simply referred to as choux pastry. This incredibly versatile dough is the very same base used for other beloved French confections like elegant éclairs, delightful cream puffs (profiteroles), and even savory gougères. Its magic lies in its unique preparation method and the incredible light, airy structure it yields when cooked.
The creation of choux dough is a fascinating culinary dance that begins on the stovetop. The process starts with water and butter gently brought to a rapid boil. Once boiling, flour is swiftly added to the hot liquid and stirred vigorously. This immediate introduction to high heat causes the flour’s starches to gelatinize rapidly, absorbing the liquid and forming a smooth, cohesive paste in mere moments. This initial cooking step, known as panada, is absolutely crucial. It works to dry out the dough, a necessary condition that allows the dough to later absorb a substantial amount of eggs without becoming runny. This balance is key for achieving the characteristic airy texture and impressive rise of a perfect French cruller.
Once the flour mixture has cooled slightly from its initial stovetop cooking, whole eggs are gradually incorporated. These eggs are the sole leavening agent for choux pastry. As the dough is subjected to high heat in the final cooking stage (frying for crullers), the moisture within the eggs rapidly converts into steam. This steam then vigorously puffs up the pastry, creating those beautiful, hollow interiors that are the hallmark of a French cruller. This delicate balance of ingredients and precise technique is what gives French crullers their light-as-air texture and distinct, subtly custardy flavor, setting them apart from all other donuts and making them a truly special treat.
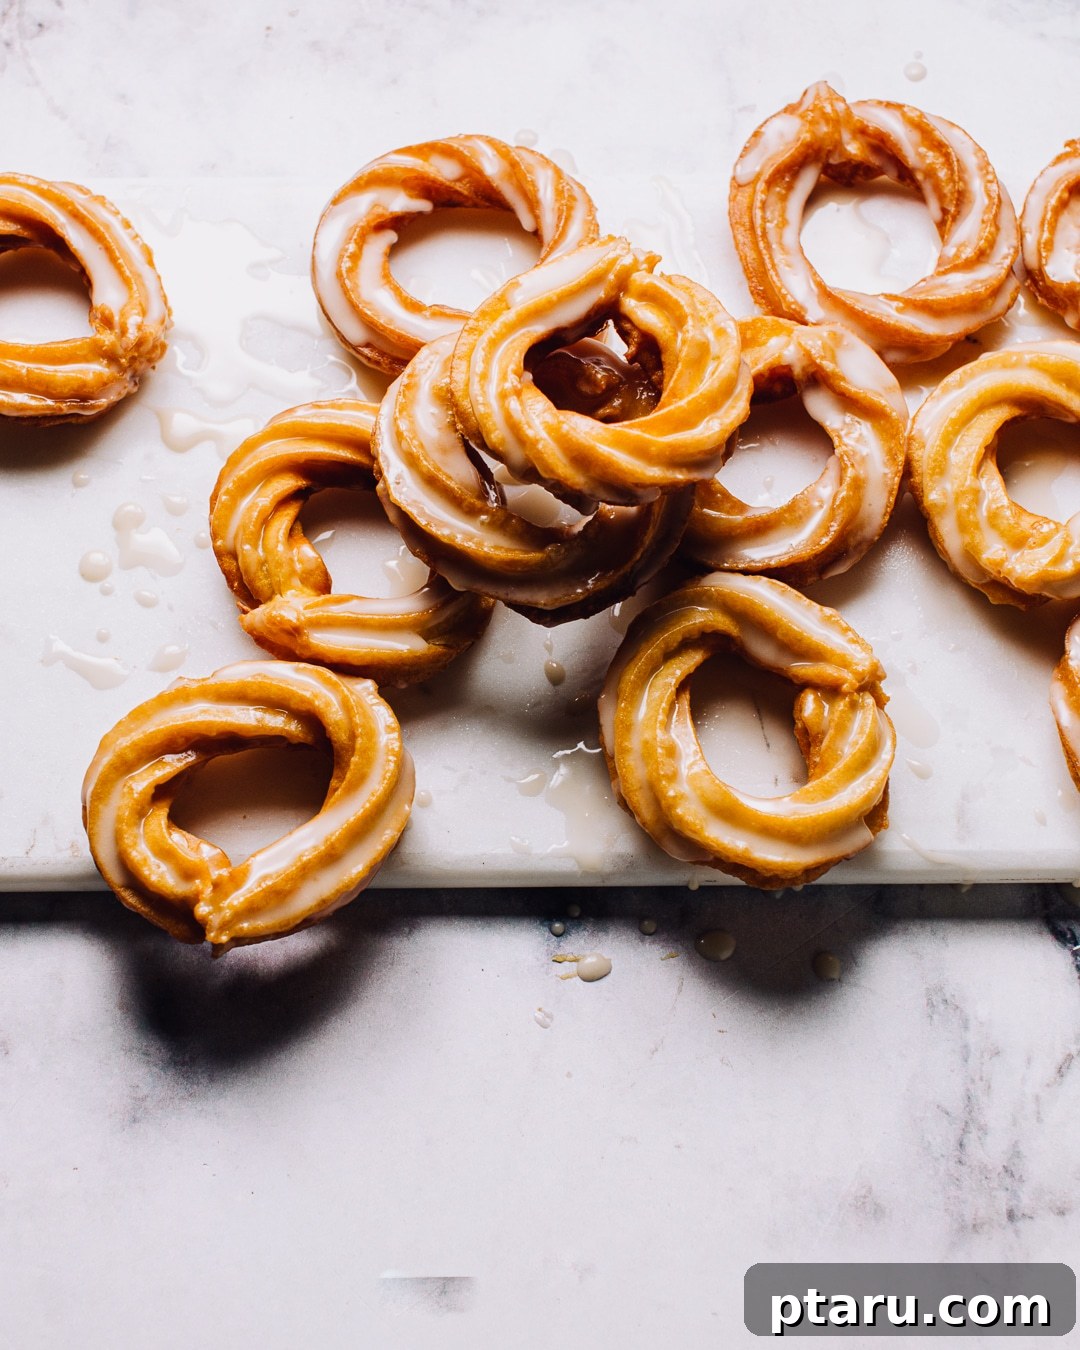
The Science Behind the Perfect French Cruller: Why Choux Dough Reigns Supreme
The remarkable structure and texture of French Crullers are not merely a result of good ingredients but a testament to the ingenious science behind choux pastry. This dough undergoes a unique two-stage cooking process that is fundamental to its success. Initially, the flour is “cooked” on the stovetop with water, butter, sugar, and salt, forming a thick, pliable paste. This critical first step, often overlooked in its importance, develops the dough’s gluten structure and removes excess moisture, enabling the dough to absorb more eggs later on and ensuring a stable foundation for the eventual puff.
During the second, high-heat cooking phase – deep frying for French Crullers – the magic truly happens. When the choux dough is dropped into hot oil, its exterior rapidly sets and crisps up, creating a sealed, rigid shell. Simultaneously, the significant moisture trapped within the dough, particularly from the incorporated eggs, quickly converts into superheated steam. Because this steam is now confined by the firm outer layer, it vigorously pushes outwards, causing the pastry to puff dramatically. These expanding steam pockets eventually coalesce, creating the characteristic large, airy hollows that define the interior of a perfect French cruller. This ingenious process results in a donut that is gloriously light, crisp on the outside with enticing nooks and crannies, and delightfully airy and moist on the inside, all infused with a subtle, not-too-sweet custardy flavor that is uniquely satisfying. It’s this combination of rapid exterior setting and internal steam expansion that gives French crullers their distinctive texture and appearance, making them a true culinary marvel.
How to Make Homemade French Crullers: A Step-by-Step Guide
Creating these delicate pastries at home is an incredibly rewarding experience that allows you to enjoy freshly fried goodness. While the process may seem intricate, following these detailed steps precisely will help you achieve perfect homemade French crullers every time. Remember, maintaining accurate temperatures and exercising patience in preparation are your best friends in this culinary adventure.
Step 1: Preparing the Choux Base – The Foundation of Your Crullers
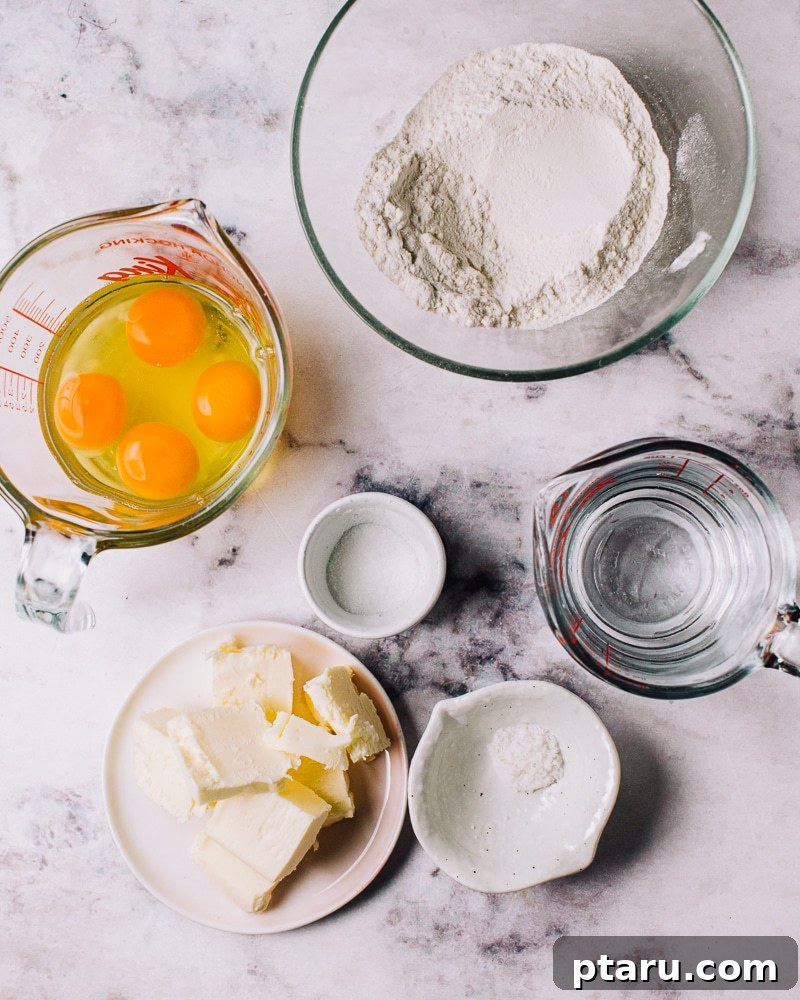
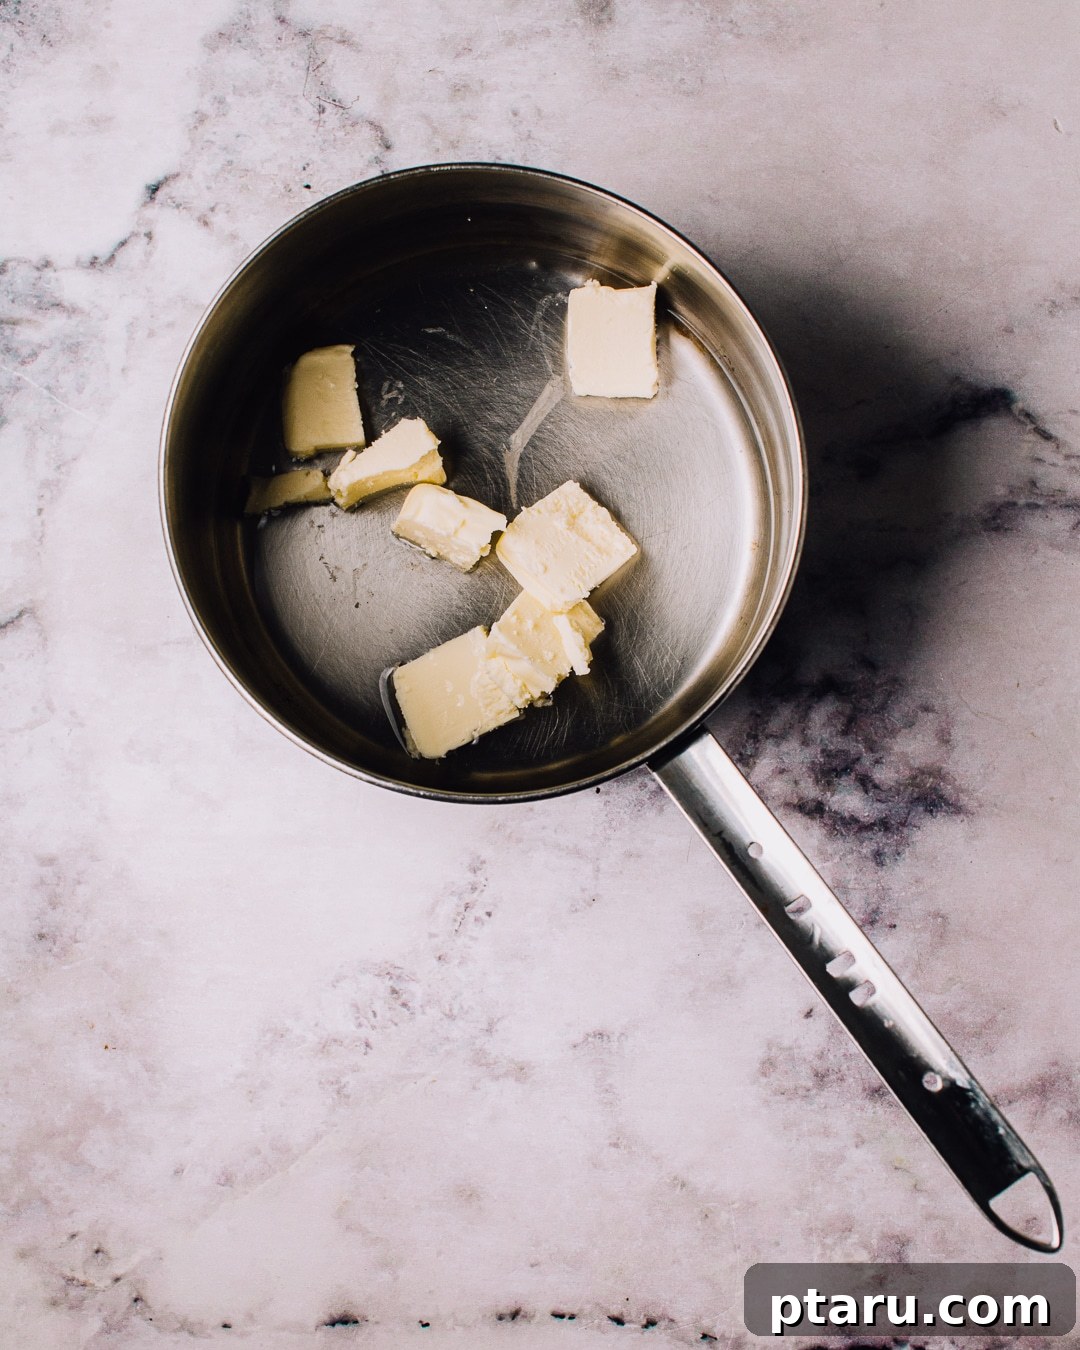
In a medium-sized, heavy-bottomed saucepan, combine 1 cup of water, 4 oz (which is equivalent to 1/2 cup) of unsalted butter, 1 teaspoon of granulated sugar, and ½ teaspoon of kosher salt. Place the saucepan over high heat and bring the mixture to a rapid, rolling boil. It’s crucial to ensure that the butter is fully melted and that both the sugar and salt are completely dissolved into the liquid before moving to the next step. This perfectly hot liquid mixture is absolutely essential for properly cooking the flour, which begins the choux pastry process.
Step 2: Incorporating the Flour and Drying the Dough (Panada)
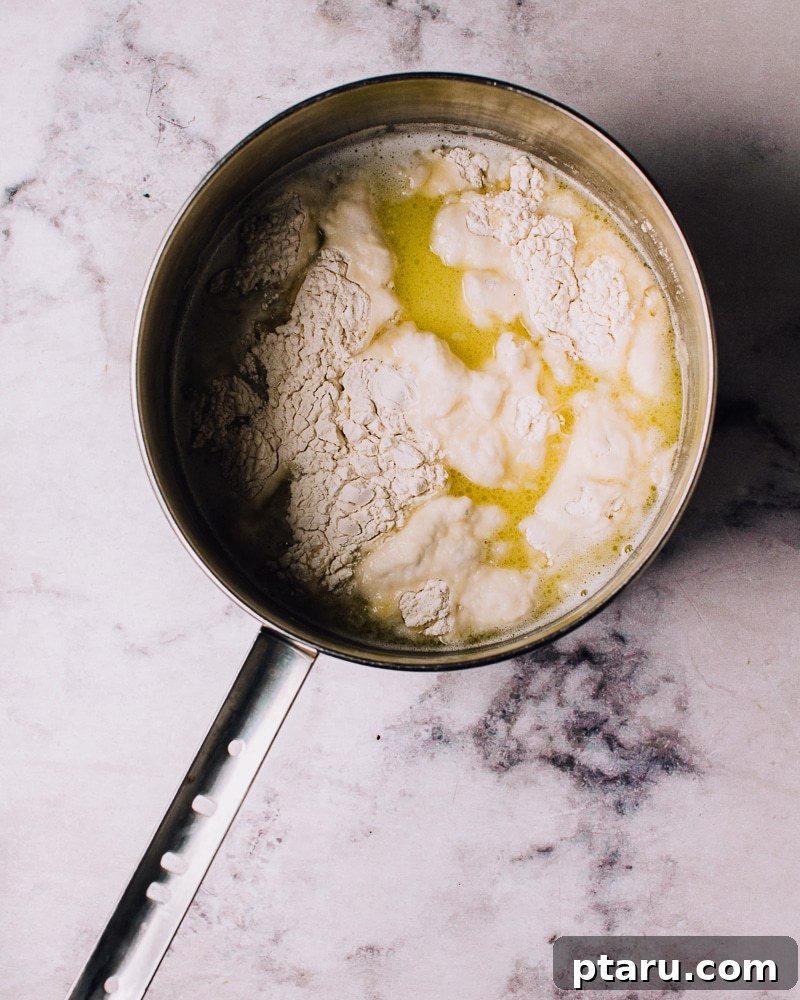
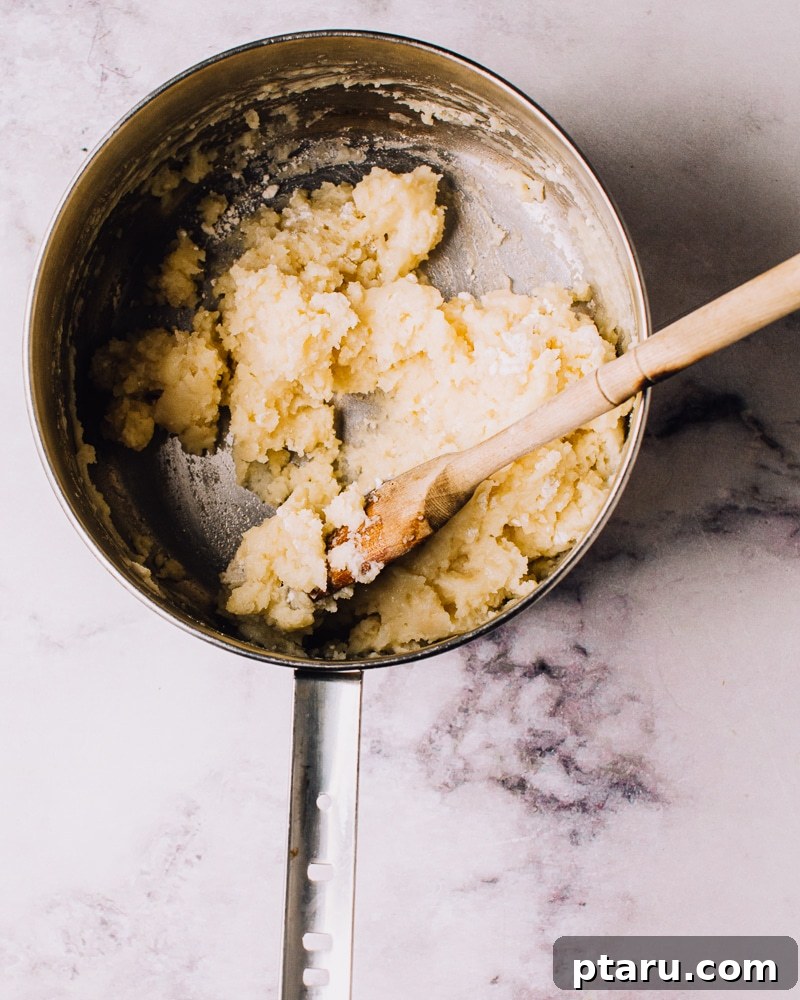
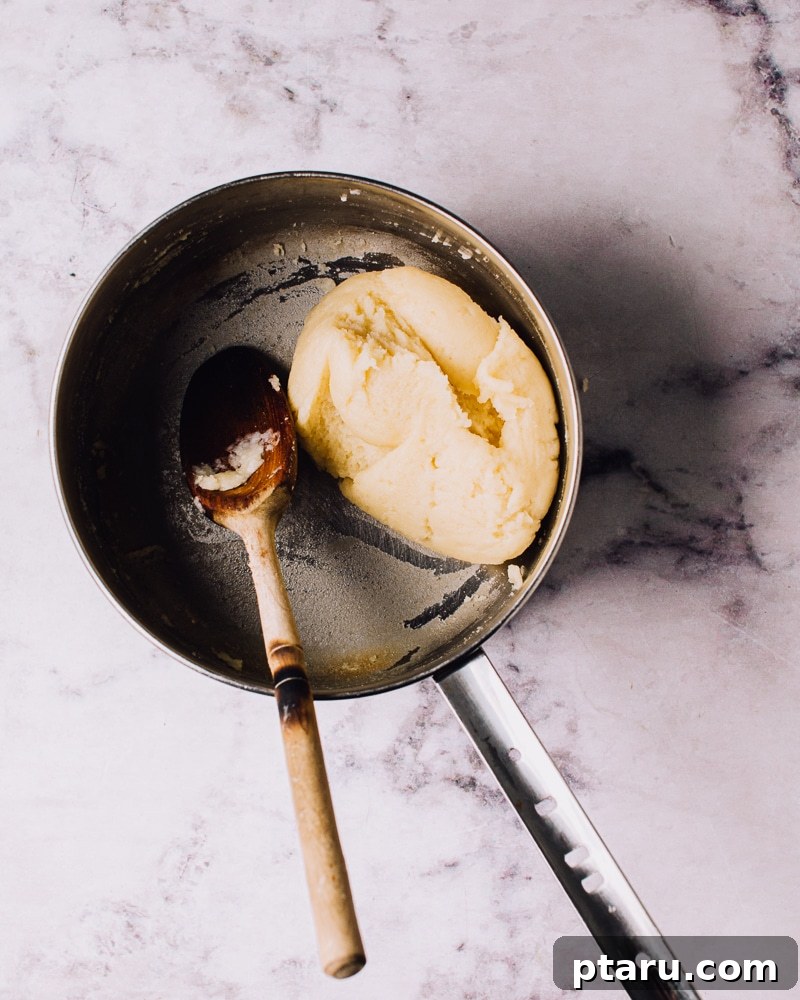
As soon as the mixture reaches a vigorous boil, immediately remove the saucepan from the heat. Promptly add all 5 oz (approximately 1 cup lightly spooned and leveled, plus 2 teaspoons) of all-purpose flour into the hot liquid at once. Use a sturdy wooden spoon or a heat-resistant spatula to stir vigorously and continuously until the flour is completely incorporated and a cohesive dough ball quickly forms. This stage is known as the panada. Now, return the saucepan to medium heat and continue to stir constantly for about 1 minute. You’ll know the dough is ready when it comes together in a smooth, firm ball, pulls cleanly away from the sides of the pan, and leaves a thin, dry film on the bottom of the saucepan. This drying process is crucial for evaporating excess moisture, which prevents soggy crullers and ensures a good, airy rise during frying.
Step 3: Cooling the Dough for Egg Incorporation
Immediately transfer the hot choux dough from the saucepan to the bowl of a stand mixer that is fitted with the paddle attachment. Allow the dough to cool for approximately 5 minutes. This vital cooling period is essential to prevent the eggs from scrambling when they are added, which would irrevocably ruin the delicate texture of your crullers. The dough should be warm to the touch but not hot when the eggs are introduced; it should still release steam, but you should be able to comfortably touch it.
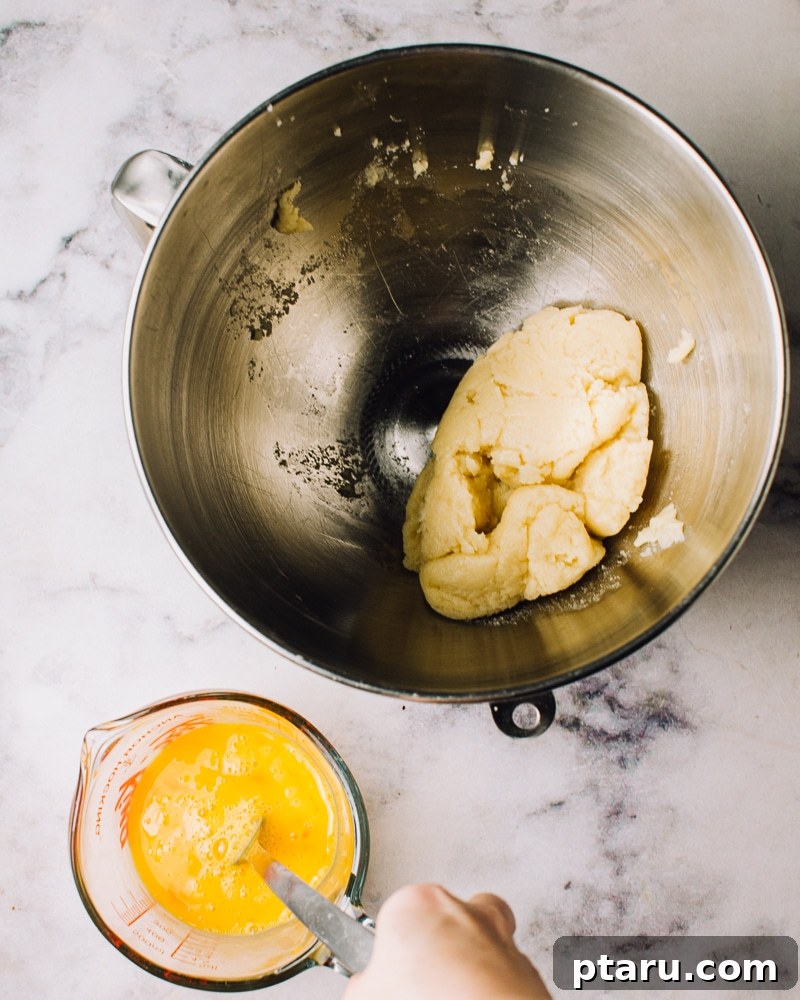
Step 4: Gradually Incorporating the Eggs
While the dough cools, lightly beat 4 large eggs in a separate bowl. With the stand mixer running on medium speed, begin adding the beaten eggs to the dough. It’s critical to incorporate the eggs gradually, adding only a few tablespoonfuls at a time, and ensuring that each addition is completely absorbed and mixed into the dough before adding the next. The dough will initially look lumpy, wet, and possibly separated, but continue mixing. With persistence, it will eventually come together into a smooth, glossy, and thick batter. This gradual addition ensures proper emulsification and the correct consistency for piping. The final dough should be pliable, still thick enough to hold its shape, but also soft enough to be piped easily.
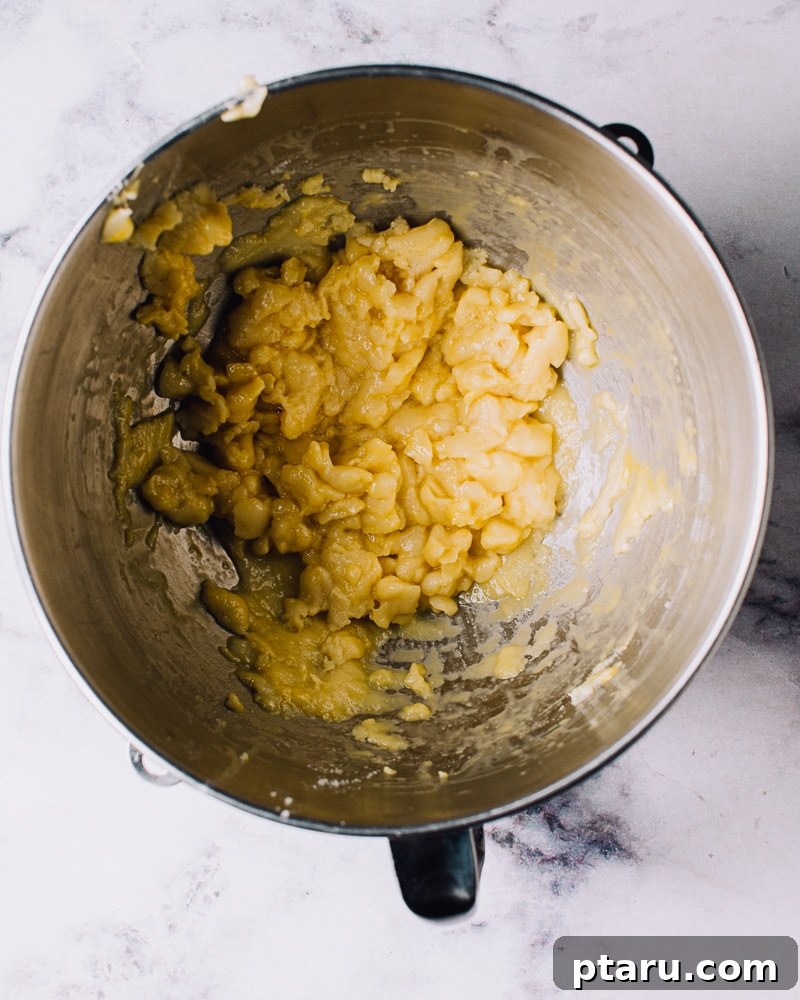
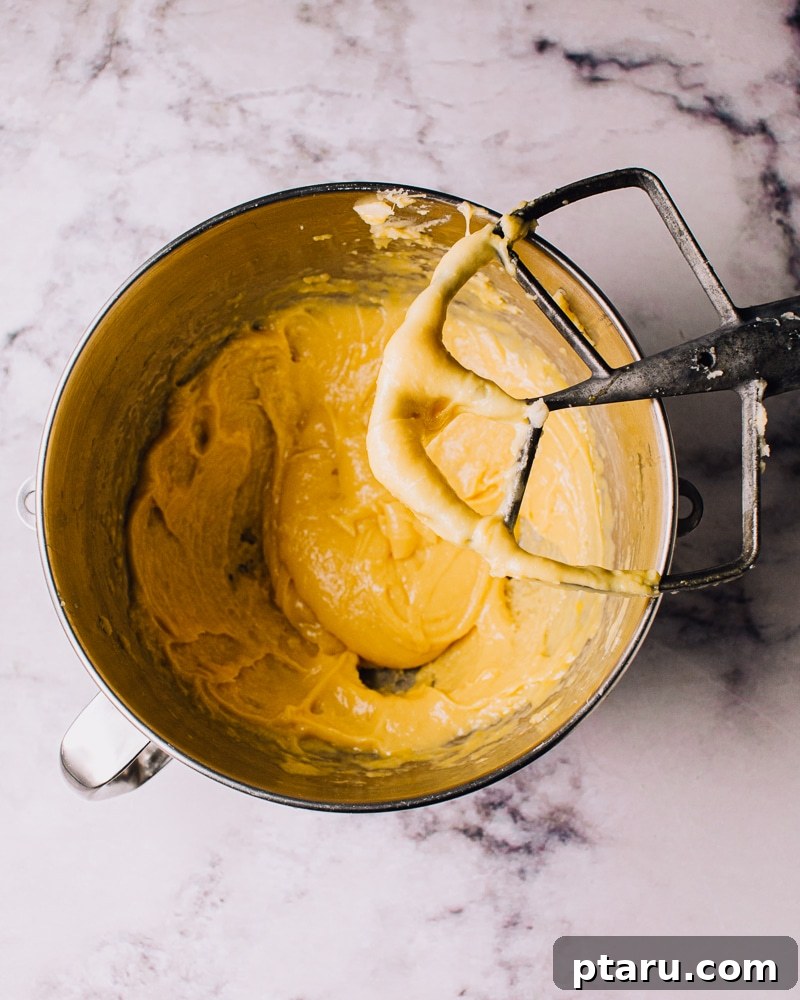
Step 5: Chilling the Batter for Perfect Piping
Once the choux batter is smooth and ready, transfer it into a large pastry bag that has been fitted with a large open star tip. A star tip with a ½-inch opening or larger is ideal for creating the signature ridged design of French crullers. Once filled, place the pastry bag in the refrigerator to chill for at least 15 minutes. Chilling the dough slightly helps it firm up, which in turn allows it to maintain its beautifully piped shape much better when it comes into contact with the hot oil, ensuring those distinct cruller ridges don’t flatten out during frying.
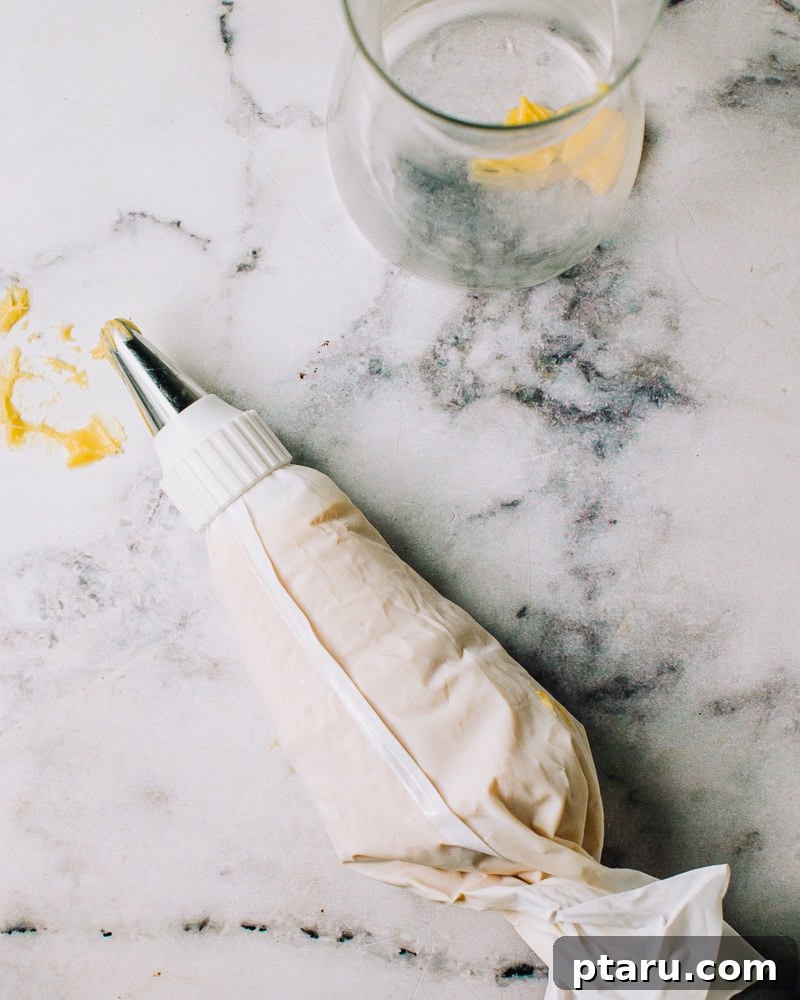
Step 6: Preparing the Frying Station
While your dough is chilling in the refrigerator, it’s time to set up your frying station. Fill a deep, heavy-bottomed pot or a Dutch oven with about 3 inches of a neutral-flavored oil, such as vegetable, canola, or sunflower oil. Begin heating the oil over medium-high heat until it reaches a consistent temperature of 375°F (190°C). It is absolutely crucial to use a candy thermometer or a deep-fry thermometer to monitor the oil temperature closely, as maintaining it accurately is key for proper frying and preventing greasy or burnt crullers. Additionally, cut several rough 4×4-inch squares of parchment paper. These individual squares will serve as convenient bases for piping your crullers, making them significantly easier to transfer into the hot oil without distorting their shape.
Step 7: Piping the Cruller Rings
Once the dough is adequately chilled and the oil has reached the target temperature, retrieve your pastry bag. Begin piping 3½-inch diameter rings of the choux dough onto the prepared parchment paper squares. Ensure that your rings are as uniform in size and shape as possible, as this will promote even cooking. The star tip will create the characteristic beautiful ridges that make French crullers so visually appealing and also provide extra surface area, contributing to their exceptional crispiness. Work efficiently but carefully to avoid overworking the dough or letting it warm up too much.
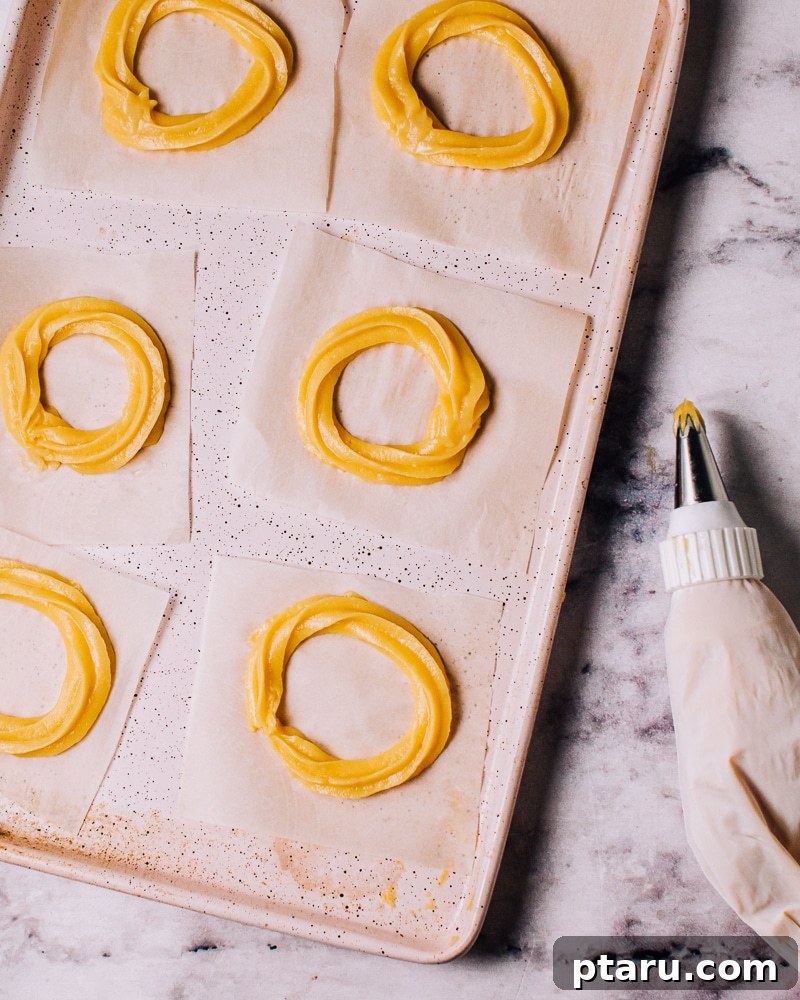
Step 8: Frying the Crullers, Batch by Batch
Using a pair of tongs, carefully pick up a parchment square with a piped cruller and gently lower it into the hot oil, ensuring the parchment-side is facing upwards. The parchment paper will act as a temporary raft, helping you introduce the delicate dough to the hot oil without disturbing its intricate shape. After a few seconds in the oil, the cruller will naturally detach from the parchment paper. Use the tongs to carefully pull the parchment paper away from the cruller and set it aside; often, these squares can be reused for subsequent batches. Fry about 3-4 crullers at a time, being extremely careful not to overcrowd the pot. Overcrowding will significantly lower the oil temperature, leading to greasy, unevenly cooked, and less crispy donuts.
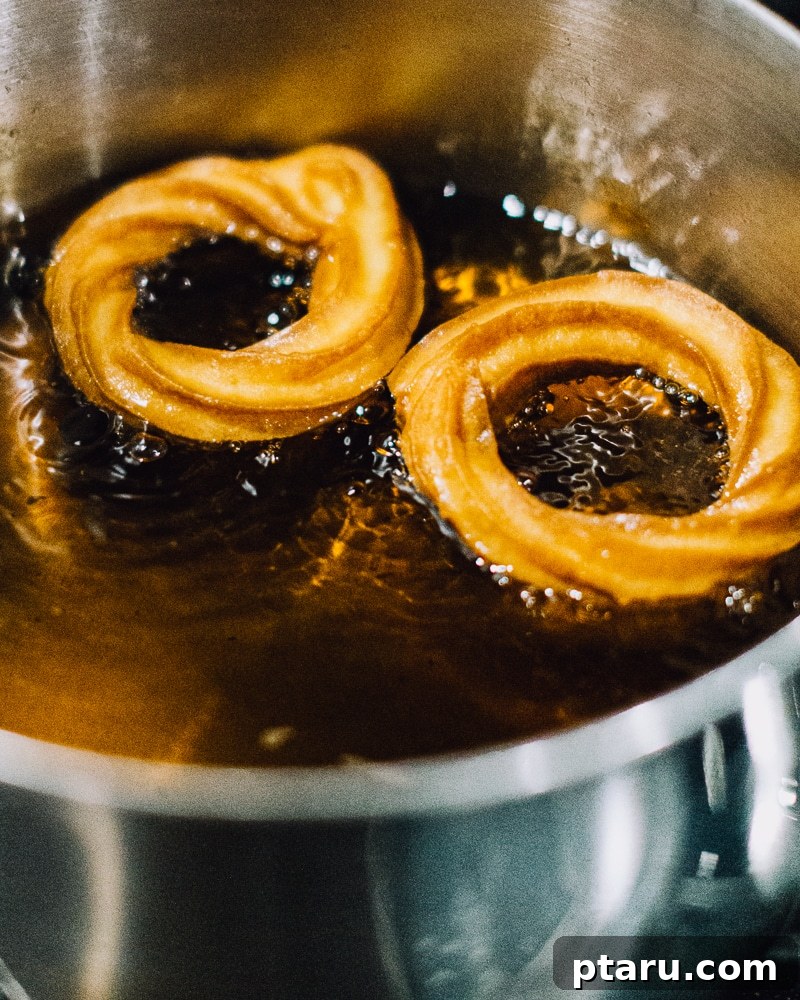
Step 9: Cooking to Golden Perfection
Allow the crullers to cook undisturbed for approximately 3 minutes on the first side. During this time, they should puff up beautifully and develop a rich, golden-brown color. Once the first side is done, use tongs to carefully flip each cruller and cook for another 2-3 minutes on the second side. This ensures even browning and thorough cooking throughout the entire pastry, resulting in a consistently crisp exterior and fully cooked interior. The precise timing might vary slightly depending on your specific stove and the consistency of your oil temperature, so always look for that deep, inviting golden color as your primary indicator of doneness.
Step 10: Cooling and Preparing for Glazing
Once the French crullers are cooked to a beautiful golden-brown on both sides, use tongs to carefully remove them from the hot oil. Transfer them immediately to a wire rack that has been placed over a baking sheet. This setup allows any excess oil to drain away, preventing your crullers from becoming greasy. It is absolutely crucial that the crullers cool completely on the wire rack before you attempt to glaze them. Applying glaze to warm or hot crullers will cause the glaze to melt, run off, and fail to set properly, resulting in a messy and disappointing finish.
Pro Tips for Achieving Perfect French Crullers Every Time
Even with a clear, step-by-step recipe, a few expert tips can elevate your homemade French crullers from simply good to absolutely phenomenal. Pay close attention to these finer details for consistently delicious and picture-perfect results:
- Choose the Right Flour: All-Purpose for Optimal Rise. While some pastry chefs might advocate for bread flour due to its higher protein content, extensive testing reveals that standard all-purpose flour actually yields a slightly greater rise and a perfectly crisp texture for French crullers. Stick with a good quality all-purpose flour for the best results in this specific recipe.
- Maintain High Oil Temperature: The Key to Crispness. A consistent oil temperature of 375°F (190°C) is paramount. This high, precise heat quickly sets the delicate ridges of the choux pastry before it has a chance to spread and lose its beautiful, piped shape. If the oil is too cool, the crullers will absorb too much oil, becoming greasy and heavy. If it’s too hot, they’ll brown too quickly on the outside while remaining raw or undercooked inside. Invest in a reliable deep-fry thermometer.
- Water vs. Milk in Choux: Embrace the Water. Many traditional choux recipes suggest using milk or a milk-water blend. However, for French crullers, using pure water (as specified in this recipe) creates a superior, shatteringly crisp exterior. The rich combination of butter and eggs already present in the dough provides ample richness and ensures a fluffy interior, making additional milk unnecessary and potentially detrimental to achieving that desired crispness.
- Frying Technique: Parchment-Side Up. Always place the crullers into the hot oil with the parchment paper facing upwards. The side of the dough that was resting on the parchment may have slightly flattened or lost some definition, so frying the exposed, beautifully ridged side first allows it to set its intricate shape and crisp up perfectly. Once the cruller detaches from the parchment after a few seconds, gently remove the parchment with tongs (it can often be reused for subsequent batches).
- Recognizing Choux Doneness: The Pot Film Method. A common concern when making choux pastry on the stovetop is knowing when the flour paste has cooked enough. Your surefire indicator is the “film” test: when the dough has cooked sufficiently, it will pull away cleanly from the sides of the saucepan and leave a thin, dry film on the bottom. The dough itself should form a smooth, cohesive ball, resembling a thick Play-Doh. This means the moisture content is just right for egg incorporation.
- Don’t Bother Freezing Raw Dough. While freezing uncooked dough can be beneficial for some pastries, extensive testing has shown no significant improvement in the definition of the cruller ridges or the overall texture when raw crullers are frozen for either 10 minutes or even overnight. Focus your efforts on proper chilling of the piped batter (Step 5) instead, which is sufficient.
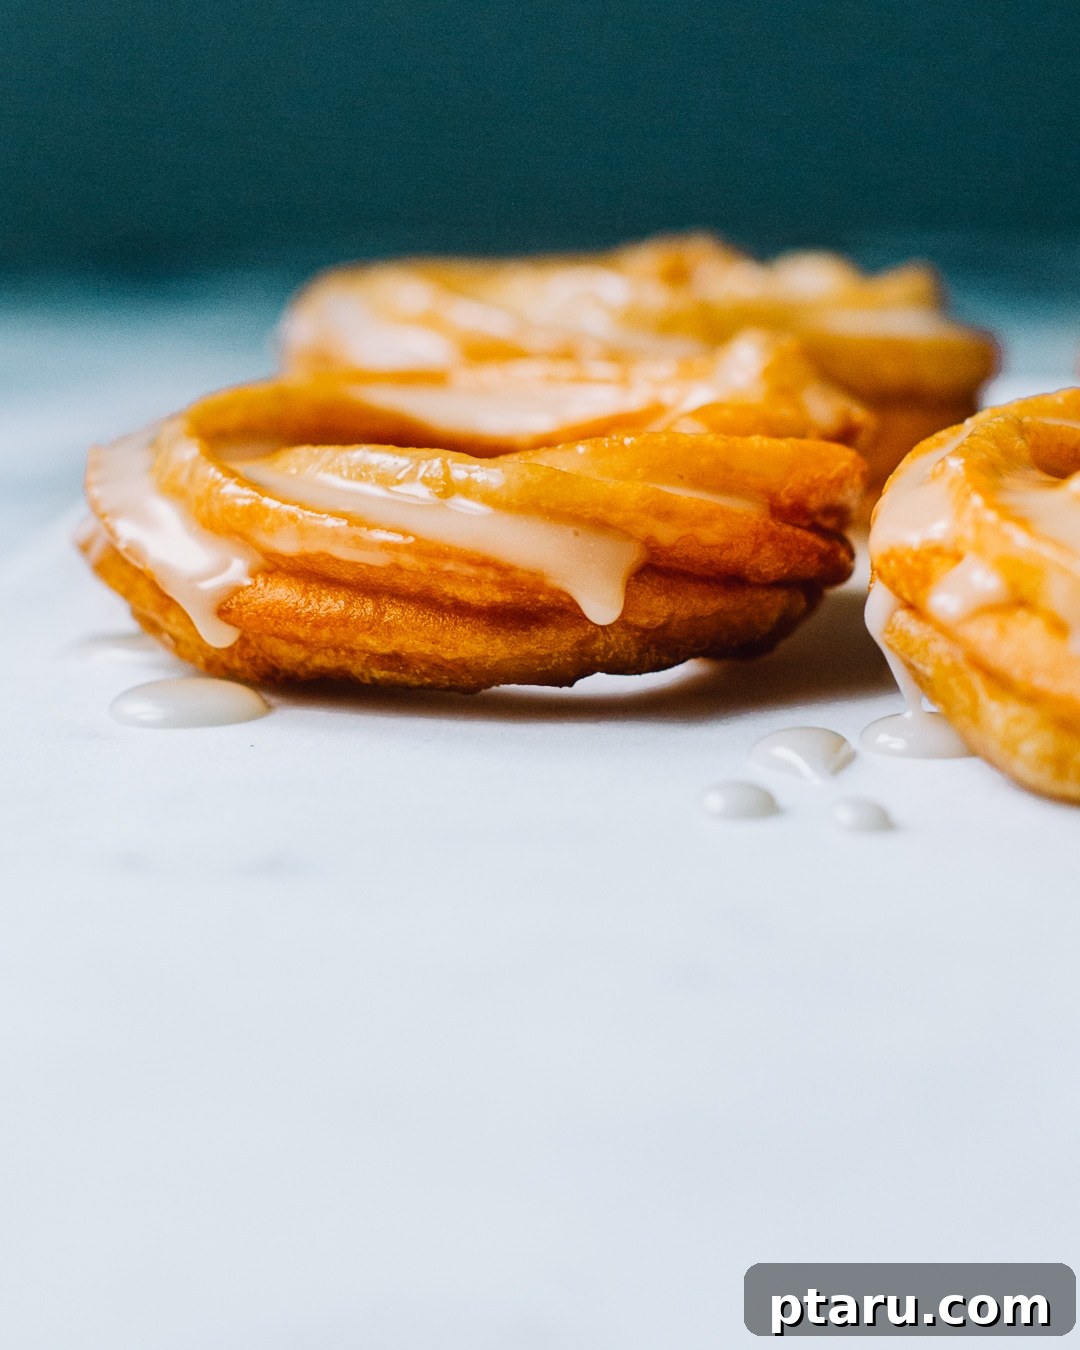
- Glaze When Cool: The Essential Final Step. Ensure your French crullers are completely cool, ideally at room temperature, before dipping them in glaze. Applying glaze to warm donuts will cause it to melt, become thin, and simply run off, creating a messy and translucent coating rather than a smooth, opaque, and perfectly set finish. Patience here rewards you with a beautifully coated cruller.
- Use a Star Tip for Classic Ridges: The iconic look of a French cruller, with its beautiful nooks and crannies that brilliantly hold the glaze, comes directly from being piped with a large star tip. Do not skip this specific tool or try to substitute with a plain round tip; it will not give you the same textural appeal or visual charm.
French Crullers Recipe: Your Guide to Sweet Perfection
Experience the joy of making these classic, delicate French Cruller Donuts right in your own kitchen. This recipe yields 12 irresistibly crisp and airy donuts, perfect for sharing with friends and family, or savoring yourself as a special indulgence.
By: Jennifer Pallian BSc, RD
Prep Time: 1 hour 30 minutes
Cook Time: 5 minutes
Yields: 12 delicious crullers
Ingredients for French Crullers
- 1 cup water
- 4 oz unsalted butter (1/2 cup)
- 1 tsp granulated sugar
- ½ tsp kosher salt
- 5 oz all-purpose flour (1 cup lightly spooned and leveled, plus 2 tsp)
- 4 large eggs, beaten
Ingredients for Glaze
- 1 ½ cups confectioners’ sugar
- 3 tbsp milk (or water, for a thinner glaze)
- 1 tsp pure vanilla extract
Instructions for French Crullers
- Prepare the Choux Paste: In a medium saucepan, bring water, butter, sugar, and salt to a vigorous boil over high heat. Remove from heat and quickly dump in all the flour. Stir vigorously with a spoon or spatula until a cohesive dough forms. Return the saucepan to medium heat and cook, stirring constantly, for about 1 minute, until the dough comes together in a smooth ball and leaves a thin film on the bottom of the pot.
- Cool the Dough: Transfer the hot dough immediately to the bowl of a stand mixer fitted with a paddle attachment. Let the dough cool for 5 minutes.
- Incorporate Eggs: With the mixer running on medium speed, gradually add the beaten eggs, a few tablespoonfuls at a time. Ensure each addition is fully incorporated before adding more. Continue until all eggs are combined and a smooth, thick, and glossy batter is formed.
- Chill the Batter: Transfer the batter to a pastry bag fitted with a large star tip (1/2 inch or larger opening). Place the pastry bag in the refrigerator to chill for 15 minutes.
- Prepare Frying Setup: While the dough chills, fill a deep pot with 3 inches of neutral oil. Heat the oil to a precise 375°F (190°C). Cut several rough 4×4-inch squares of parchment paper.
- Pipe Cruller Rings: Pipe 3½-inch diameter rings of the chilled dough onto the center of each parchment paper square.
- Fry Crullers: Carefully place each cruller, parchment-side up, into the hot oil using tongs. The parchment paper will detach after a few seconds; carefully remove it with the tongs and set aside (it can be reused). Fry about 3-4 crullers per batch to avoid overcrowding the pan.
- Cook Evenly: Cook for 3 minutes undisturbed on the first side until beautifully golden-brown and puffed. Carefully flip the cruller with tongs and cook for another 2-3 minutes on the second side until evenly browned and fully cooked through.
- Cool Before Glazing: Transfer the fried crullers to a wire rack placed over a baking sheet to drain any excess oil and cool completely before proceeding to glaze.
To Make the Glaze
- Whisk together the confectioners’ sugar, milk, and pure vanilla extract in a shallow bowl until the mixture is smooth and lump-free. If the glaze appears too thick, thin it with a tiny bit of water (add a teaspoon at a time) until it reaches your desired consistency – a thick but pourable liquid.
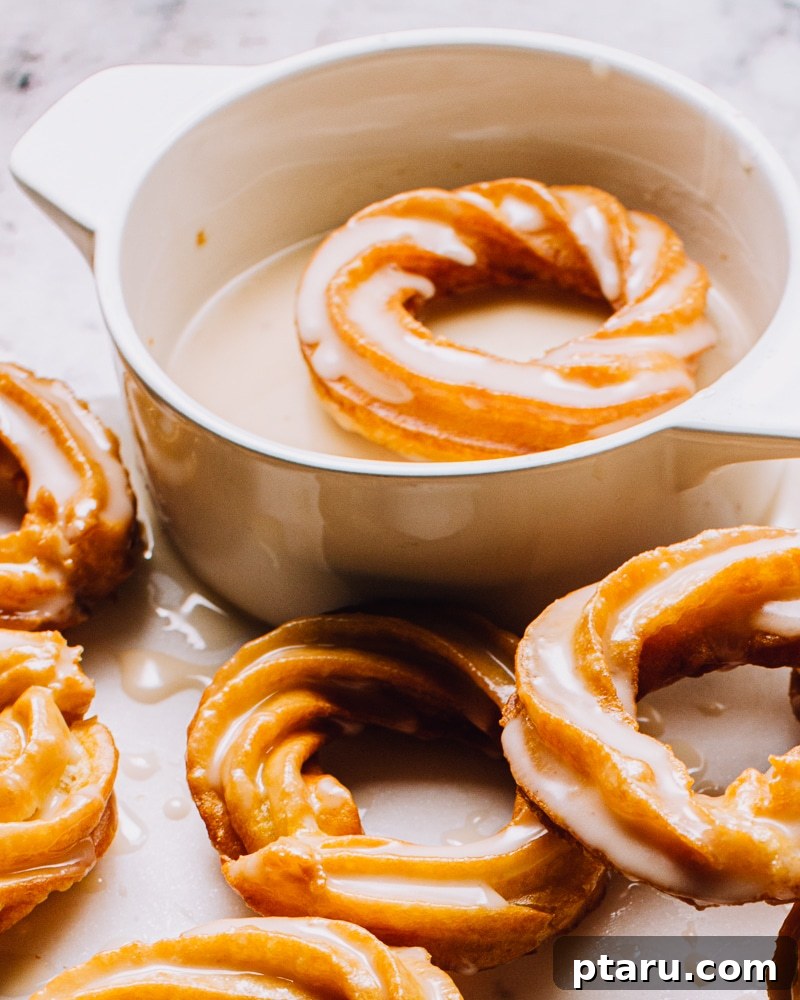
- Once the crullers are completely cool, dip each donut halfway into the prepared glaze, allowing any excess glaze to drip off back into the bowl. Place the glazed crullers back onto the wire rack to allow the glaze to set fully before serving.
Serving Suggestions and Delightful Variations for Your French Crullers
While a classic French cruller with a simple vanilla glaze is sheer perfection, there are countless ways to customize and enhance your homemade treats. Here are some ideas to inspire your culinary creativity:
- Classic Vanilla Glaze: The recipe provides a timeless vanilla glaze, which is arguably the most popular way to enjoy French crullers. Its subtle sweetness perfectly complements the rich, airy donut.
- Chocolate Glaze: For chocolate lovers, melt about 1 cup of semi-sweet chocolate chips with 2 tablespoons of butter or heavy cream. Dip your cooled crullers for a decadent twist. A sprinkle of sea salt on top can elevate this even further.
- Maple Glaze: Replace some of the milk in the glaze with pure maple syrup for a warm, comforting flavor. This pairs wonderfully with coffee or tea.
- Citrus Glaze: Add 1-2 teaspoons of fresh lemon or orange zest and a tablespoon of citrus juice to your confectioners’ sugar glaze for a bright, tangy finish.
- Cinnamon Sugar: For a less traditional but equally delicious option, skip the glaze and toss the warm (but not hot) crullers in a mixture of granulated sugar and cinnamon.
- Filled Crullers: Carefully slice a cooled cruller horizontally and fill it with pastry cream, whipped cream, or fruit compote for an extra layer of indulgence.
- Pairings: French crullers are exquisite when paired with a strong cup of coffee, a creamy latte, or a delicate cup of tea. They are also a wonderful addition to a brunch spread or as a sophisticated dessert after dinner.
Troubleshooting Common French Cruller Problems
Even experienced bakers can encounter issues. Here’s a guide to common French cruller problems and how to fix them next time:
- Crullers are Greasy: This is almost always due to the oil temperature being too low. When the oil isn’t hot enough (below 375°F / 190°C), the dough absorbs too much oil instead of quickly forming a crisp exterior. Ensure your oil thermometer is accurate and maintain the temperature carefully. Overcrowding the pot can also drop the oil temperature significantly.
- Crullers are Flat or Don’t Puff:
- Dough too wet: The dough wasn’t sufficiently dried out during the stovetop cooking (Step 2). Ensure a clear film forms on the bottom of the pan.
- Not enough eggs (or too many): The consistency of the dough after adding eggs is crucial. It should be thick enough to hold its shape but pliable. If it’s too stiff, it won’t puff; if too loose, it will spread.
- Oil too cool: As with greasiness, low oil temperature prevents proper steam expansion.
- Piping tip too small: A small tip can restrict the dough’s ability to puff. Use a large star tip.
- Crullers are Too Dark on the Outside, Raw Inside: The oil temperature is too high. This causes the exterior to brown rapidly before the interior has a chance to fully cook and puff. Lower your heat slightly and maintain 375°F (190°C).
- Glaze is Runny or Doesn’t Set: The crullers were likely still warm when glazed. Always allow them to cool completely before dipping. Additionally, ensure your glaze has the correct consistency – if it’s too thin, add more confectioners’ sugar.
- Lumps in Choux Dough: Flour was not added quickly enough or stirred vigorously enough in Step 2, or the eggs were added too fast in Step 4 before the previous addition was fully incorporated.
Storage and Reheating Tips for French Crullers
French crullers are undoubtedly best enjoyed fresh, ideally on the day they are made, to appreciate their signature crisp exterior and airy interior. However, if you have leftovers, they can be stored and briefly reheated:
- Storage: Store glazed crullers in an airtight container at room temperature for up to 1-2 days. The crispness will diminish over time, but the flavor remains delightful.
- Reheating: To revive some of their crispness, you can briefly reheat crullers. Place them on a baking sheet in a preheated oven at 300°F (150°C) for about 5-7 minutes. Be careful not to overheat, as the glaze can melt and the donut can dry out. Alternatively, a quick 10-15 seconds in the microwave can soften them, but won’t restore crispness.
Why Make French Crullers at Home? The Ultimate Indulgence
While you might find French crullers at specialty bakeries, nothing quite compares to the unparalleled freshness and flavor of a homemade batch. Making them yourself offers several advantages: you control the quality of ingredients, you can customize the glazes and toppings to your liking, and you get to experience the sheer joy and satisfaction of transforming simple ingredients into a sophisticated, delectable pastry. This recipe isn’t just about making donuts; it’s about engaging in a rewarding culinary project that culminates in a truly special treat. So, gather your ingredients, follow these detailed steps, and prepare to embark on a delightful journey to making the best French Cruller Donuts you’ve ever tasted. Happy baking!