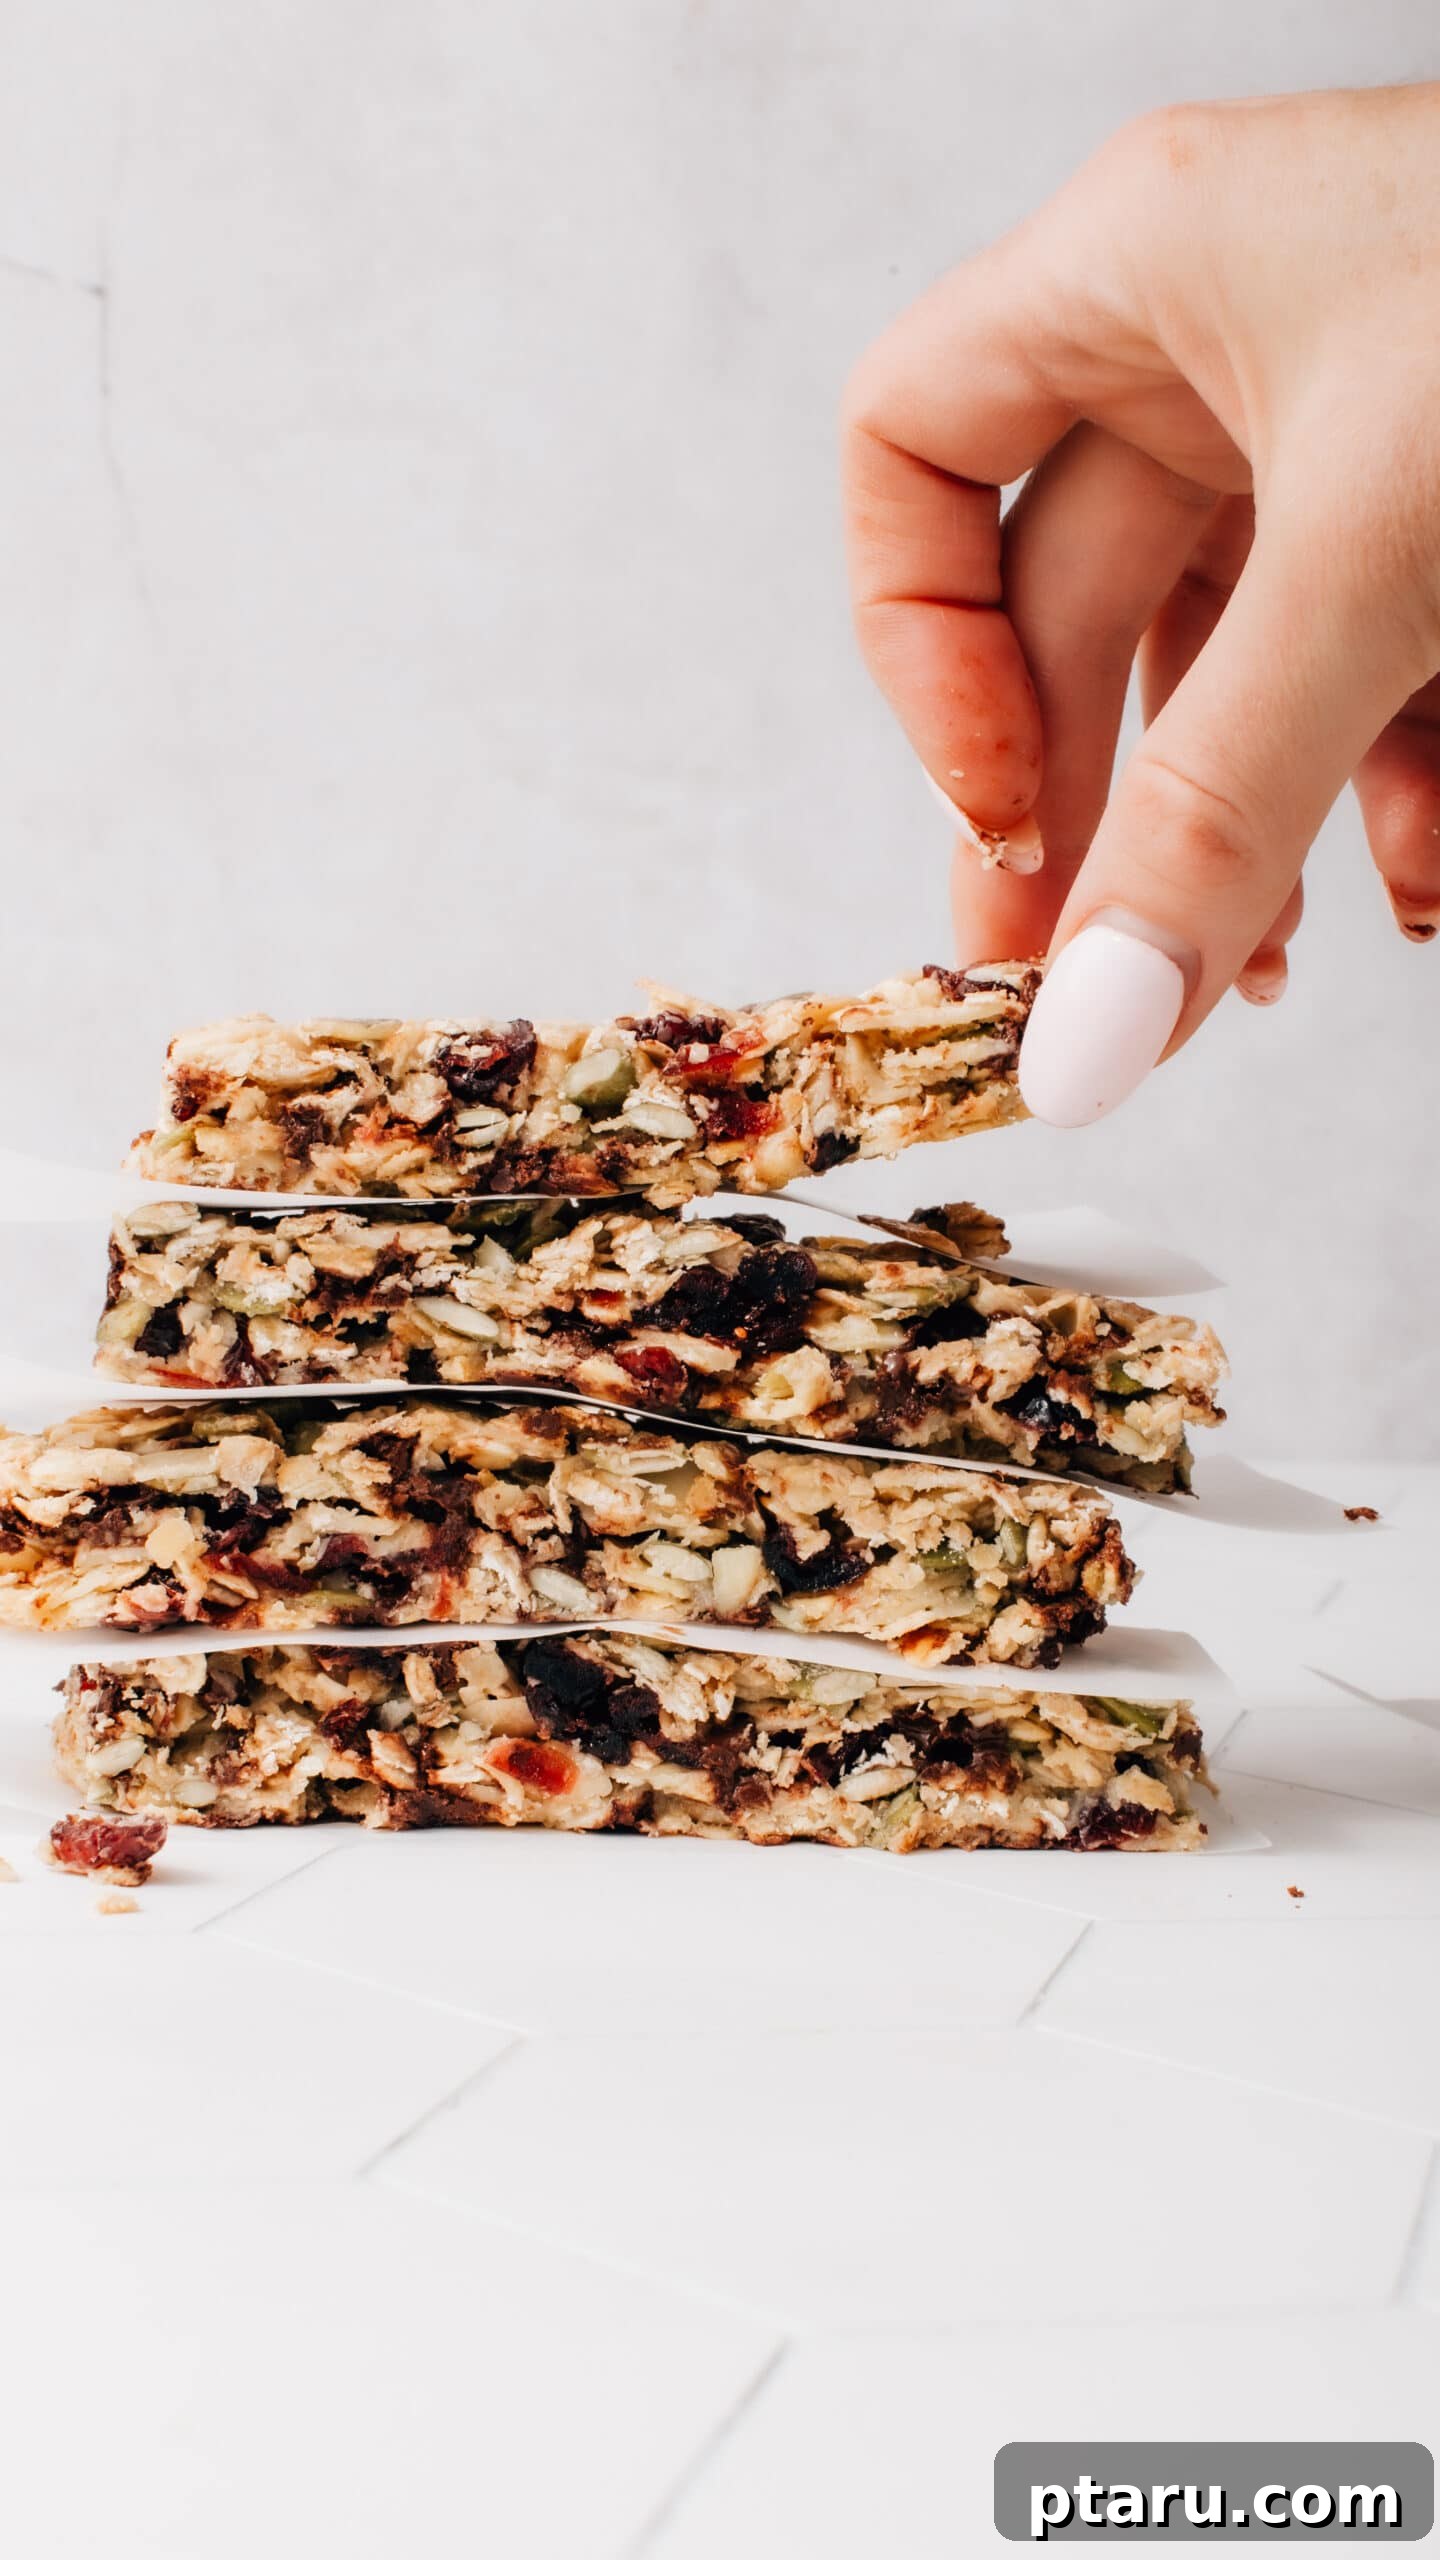
Welcome to the definitive guide for crafting delicious, wholesome, and incredibly easy chewy granola bars! Perfect for tucking into lunchboxes, grabbing as a quick breakfast, or enjoying as a satisfying afternoon snack, this recipe stands out. We’ll dive into a simple yet effective sweet-and-salty combination, using readily available oats, delectable chocolate chips, and a surprising secret ingredient that serves as both a natural binder and a sweetener, while also boosting the protein content by a remarkable 30 grams per batch. Prepare to experience a texture and flavor profile in these homemade bars that you simply won’t find anywhere else – so good, you’ll ditch store-bought varieties forever.
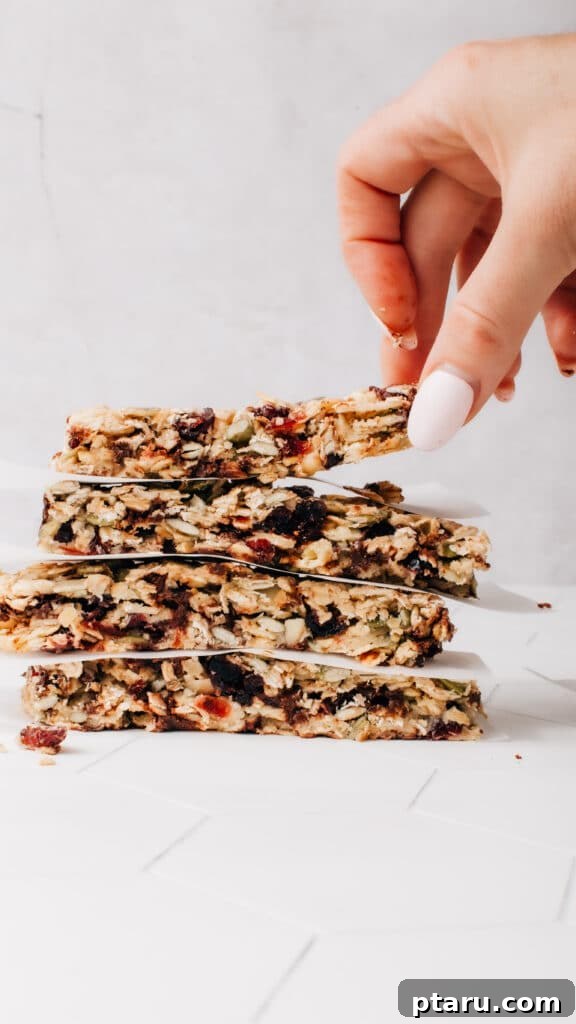
Mastering the Art: 3 Tricks for Granola Bars That Taste Exceptionally Good
Have you ever attempted homemade granola bars only to find them dry, crumbly, or lacking in flavor? It’s a common dilemma. But with these three special tricks, you can elevate your homemade granola bars to a whole new level, creating a snack that’s not just healthy but genuinely crave-worthy. These techniques are surprisingly simple but yield truly remarkable results, ensuring your bars are packed with rich flavor and boast that perfect chewy texture.
-
Unlock Deep Flavor by Toasting Your Oats
This initial step might seem minor, but it’s absolutely paramount to the success of your granola bars. Raw oats tend to have a rather bland, somewhat dusty taste and can contribute a pasty texture, which often explains why many homemade granola bars fall flat. Even when baked within the bar, a significant portion of the oats remains internally un-toasted, missing out on crucial flavor development. By giving your oats a brief turn in the oven before mixing, you initiate the Maillard reaction – a chemical process that caramelizes their natural sugars, intensifying their nutty aroma and creating a profoundly richer, more complex flavor profile. This simple pre-toasting step doesn’t add much extra time or effort. Just spread the oats evenly on the same baking pan you’ll use for the bars and let them bake to a beautiful golden brown while you gather and measure your other ingredients. You can even do this while the oven is preheating, just be sure to keep a close eye on them to prevent burning, as toasted oats are the secret to a superior tasting bar.
-
The Secret Ingredient: Sweetened Condensed Milk for Binding & a Protein Boost
In a departure from conventional binders like maple syrup or honey, my secret ingredient for these phenomenal granola bars is sweetened condensed milk. Before you question the “healthy” aspect, let me explain! Condensed milk is simply cow’s milk that has been heated to remove much of its water content, then sweetened with sugar. This process concentrates not only its sweetness but also its natural nutrients, including calcium and, significantly, protein. A single can of sweetened condensed milk adds an impressive 30 grams of protein to your recipe – a substantial boost that traditional honey or syrup wouldn’t provide. Beyond its nutritional value, it acts as an unparalleled binder, ensuring your bars hold together perfectly with a delightful chew. Furthermore, it imbues the bars with a complex, creamy, and subtly toasted milky flavor that beautifully complements the other ingredients, creating a richness and depth far beyond what typical binders can achieve.
-
A Hint of Healthy Fat for Enhanced Texture and Flavor Delivery
While often minimized in healthy recipes, a small amount of fat is crucial for both flavor and texture development in granola bars. For a generous batch of 18 bars, I incorporate a modest ¼ cup (4 tablespoons) of butter. While it might seem like a component that could be omitted entirely, even this small quantity of fat plays a significant role. Fat is an excellent flavor carrier, helping to distribute the delicious tastes of the oats, seeds, and dried fruit evenly throughout each bite. Moreover, it aids in achieving that desirable golden-brown exterior and contributes to the bars’ wonderfully chewy mouthfeel. If you prefer a dairy-free or plant-based option, melted coconut oil serves as a fantastic substitute, offering similar binding properties and a subtle, pleasant aroma that harmonizes beautifully with the other ingredients.
Key Ingredients for Your Nutritious Homemade Granola Bars
The foundation of truly exceptional homemade granola bars lies in selecting quality ingredients that not only taste great but also contribute to their overall health benefits and perfect texture. Here’s a closer look at the stars of this recipe:
-
Large Flake Oats: The Wholesome Core
For the healthiest and most satisfying granola bars, always choose oats labeled “old-fashioned” or “large flake.” These varieties undergo minimal processing – they are simply steamed and then rolled flat. This gentle treatment preserves their beneficial dietary fiber, which aids in digestion and helps regulate blood sugar levels by slowing down glucose absorption. In contrast, “instant” or “quick” oats are typically pre-cooked and dried, a process that breaks down their structure, making them quicker to digest, which can lead to a faster and less sustained energy release. If you require gluten-free granola bars, it’s vital to select oats specifically certified and labeled as “gluten-free,” as oats are naturally gluten-free but are frequently cross-contaminated with wheat, barley, or rye during conventional harvesting and processing.
-
Power Up with Plenty of Seeds: Your Nut-Free Protein Source
To further enhance the nutritional profile and make these bars suitable for school lunchboxes or those with nut allergies, I heavily rely on a generous amount of seeds. Sunflower seeds and pumpkin seeds are stellar choices, providing not only a satisfying crunch but also a wealth of plant-based protein, healthy fats (including beneficial omega-3s), and essential micronutrients like zinc, magnesium, and iron. They effectively bulk up the bars, making them more filling and nutritious without introducing common allergens. Feel free to experiment with other seeds like chia or flax seeds to add even more fiber and omega-3s, or sesame seeds for a unique flavor twist. This emphasis on seeds ensures a wholesome, allergy-friendly snack.
-
Dried Fruit: Natural Sweetness and Fiber
Dried fruits are a delightful addition, contributing natural sweetness, chewy texture, and a boost of dietary fiber. I often gravitate towards dried cherries for their tangy burst and rich color, especially when I can find them in bulk. However, this is where your creativity can truly shine! Feel free to substitute with plump dried cranberries, classic raisins, or finely chopped dried apricots. Each option offers a slightly different flavor profile and texture. For those who prefer a less sweet bar or wish to focus more on healthy fats, you can even opt to leave out the dried fruit entirely and simply add an equivalent volume of additional seeds (or nuts, if dietary restrictions allow). While my children adore the sweet chewiness of dried fruit, I sometimes prepare a batch without it for a more savory, seed-focused snack.
-
Mini Chocolate Chips: The Irresistible Touch
Let’s be honest, a little bit of chocolate can make a good snack great, and a healthy snack irresistible! Mini chocolate chips are the perfect inclusion, adding just enough sweetness and indulgence to appeal to both kids and adults without overwhelming the wholesome nature of the bar. Their small size ensures they’re distributed evenly, creating pockets of melty goodness throughout. They provide that delightful “treat” element, making these granola bars a truly satisfying reward after a workout, a school day, or anytime you need a delicious pick-me-up. For a vegan-friendly option, simply use your favorite dairy-free mini chocolate chips.
The beauty of crafting your own granola bars lies in the endless possibilities for customization. Don’t hesitate to experiment with your favorite add-ins! Consider crunchy sliced almonds or pecans (if nuts are not an issue), sweet dried blueberries, aromatic shredded coconut, or even a handful of rice cereal for a lighter texture (though this might slightly reduce the fiber content). White chocolate chips, a dash of cinnamon, or a hint of vanilla extract can also transform the flavor profile. The key is to keep the total volume of your chosen add-ins consistent with the recipe to ensure the bars bind properly and have the perfect consistency.
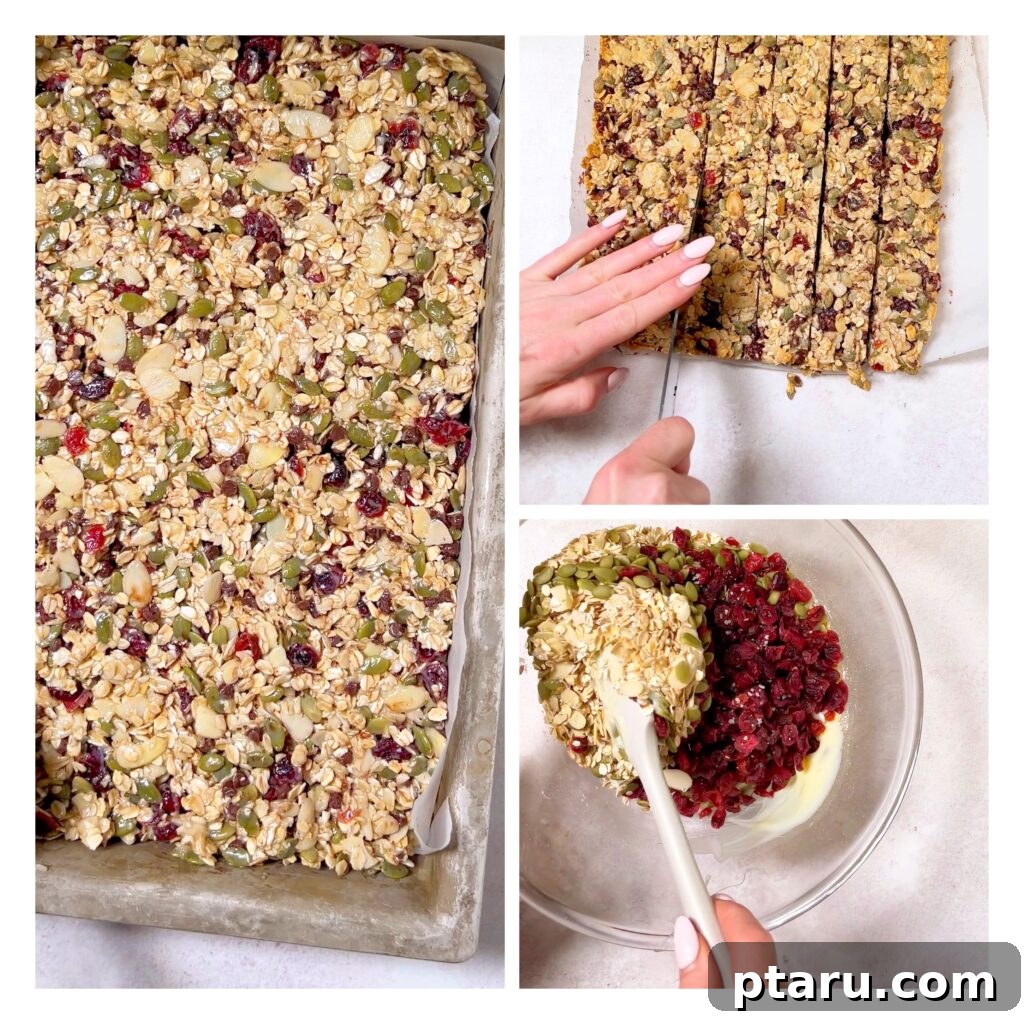
Simple Steps: How to Make Your Own Perfectly Baked Granola Bars
You’ll be delighted to discover just how easy it is to make these chewy granola bars. Gather your biggest mixing bowl, roll up your sleeves, and prepare for a straightforward baking adventure that requires little more than a sturdy spoon and a little enthusiasm. This recipe is so simple, it’s a fantastic opportunity to get your kids involved in the kitchen – they’ll love helping out! Here’s a detailed, step-by-step guide to ensure your homemade granola bars come out flawlessly every single time:
-
Preheat Oven and Toast Oats
Begin by preheating your oven to 350°F (175°C). This is the ideal temperature for both toasting and baking. Spread the 3 cups of large-flake oats evenly in a 9×13-inch metal baking dish. Place the dish in the preheating oven and toast the oats for approximately 20 minutes. Remember to stir the oats every 5 minutes to ensure they brown evenly and avoid scorching. They should develop a rich golden color and fill your kitchen with a wonderfully nutty, aromatic scent – a clear sign they’re ready and their flavor has been significantly enhanced.
-
Prepare Your Baking Pan with Parchment Paper
While your oats are toasting, prepare your baking pan for easy bar removal. Once the baking dish used for toasting the oats has cooled (you can run it under cold water to speed this up, or use a separate dish), line it generously with parchment paper. Make sure to leave a substantial overhang on all sides. This parchment “sling” is invaluable; it will allow you to effortlessly lift the entire slab of baked granola bars out of the pan once they’ve cooled, preventing any sticking and ensuring clean, perfectly shaped bars.
-
Melt and Cool Your Butter or Coconut Oil
In a small, microwave-safe bowl, melt the ¼ cup of butter (or coconut oil if you’re going dairy-free) on high power for about 30 seconds, or until it’s completely liquefied. This next step is crucial, especially if you’re using chocolate chips: allow the melted butter or coconut oil to cool down completely to room temperature. If you add warm fat to your dry ingredients, especially those containing chocolate chips, the heat will prematurely melt the chocolate, resulting in a brown, less visually appealing bar. Patience here guarantees distinct chocolate chips and a more attractive final product.
-
Combine Dry and Wet Ingredients
Once your toasted oats have cooled, transfer them to a very large mixing bowl. Add the ½ teaspoon of coarse salt, along with your chosen add-ins: the roasted sunflower seeds, roasted pumpkin seeds, dried cherries (or other dried fruit), and mini chocolate chips. Stir these dry ingredients together thoroughly to ensure they are well distributed. Next, pour in the entire can of sweetened condensed milk and the completely cooled melted butter. Use a robust spoon or spatula to mix everything until all the dry ingredients are uniformly coated with the wet binder. The mixture should be sticky and cohesive.
-
Firmly Press the Mixture into the Pan
Now, transfer the entire granola bar mixture into your prepared parchment-lined baking dish. This step is critical for ensuring your bars hold together well. Using lightly dampened hands or the back of a sturdy rubber spatula, press the mixture down very firmly and evenly across the bottom of the pan. Apply significant pressure to compact it as much as possible, especially into the corners and edges. A tightly packed mixture prevents crumbling and ensures your bars have that desirable chewy texture and structural integrity.
-
Bake Until Just Set for Chewy Perfection
Place the baking dish into your preheated oven and bake for approximately 15 minutes. Keep an eye on the edges; they should appear a shade darker and lightly golden brown. The center might still look slightly soft or “underdone” – this is exactly what you want! Taking them out of the oven at this stage is the secret to achieving wonderfully chewy granola bars. The residual heat will continue to cook them gently as they cool. If you prefer a crunchier bar, you can certainly leave them in for a few extra minutes until they are more uniformly golden, but for that signature chewiness, pull them out just as the edges firm up.
-
Cool, Slice, and Store Your Homemade Treats
Once baked, remove the pan from the oven and let the granola bars cool completely within the pan on a wire rack. Cooling is paramount for proper setting. Once fully cooled, use the overhanging parchment paper to carefully lift the entire slab out of the baking dish and transfer it to a cutting board. Using a sharp knife, slice the slab into 18 long and skinny granola bars, mirroring the size of commercial bars. However, feel free to cut them into smaller squares for bite-sized snacks, or larger rectangles for a more substantial treat. Store your delicious homemade bars in an airtight container at room temperature for up to 5 days. For longer preservation, wrap individual bars in plastic wrap or stack them in a large freezer bag and freeze for up to 3 months. They thaw perfectly; simply pop a frozen bar into a lunchbox, and it will be ready to enjoy within 20-30 minutes.
-
Optional: Drizzle with Melted Chocolate
For an extra touch of visual appeal and a delightful burst of flavor, you can drizzle your cooled granola bars with warm, melted chocolate. This step is entirely optional but adds a professional finish and a little extra indulgence, especially if you’re preparing them for a special occasion or an Instagram-worthy photo. However, to keep the “healthy” in the title front and center, you might choose to skip this extra step, as the bars are perfectly delicious and satisfying on their own.
Proper storage is key to maintaining the irresistible chewy texture and freshness of your homemade granola bars. Always store them in an airtight container at room temperature for up to 5 days to prevent them from drying out. For extended enjoyment, they freeze exceptionally well for up to 3 months, making them perfect for meal prepping healthy snacks in advance.
Why Choose Homemade Granola Bars Over Store-Bought?
Beyond the sheer joy of baking and the undeniable freshness, opting to make your own granola bars offers numerous advantages compared to purchasing pre-packaged versions:
- Unrivaled Ingredient Control: When you bake at home, you’re in charge. You decide exactly what goes into your body and your family’s. This means no hidden artificial flavors, questionable preservatives, excessive added sugars, or unhealthy hydrogenated oils often found in commercial brands. You can choose organic, local, or allergy-friendly ingredients with complete confidence.
- Significant Cost Savings: Premium, healthy granola bars from the store can quickly become an expensive habit. Making them yourself, especially with bulk ingredients, is remarkably more economical, allowing you to enjoy a nutritious snack without straining your budget. It’s a smart way to get more bang for your buck on healthy eating.
- Superior Freshness and Flavor: There’s simply no comparison to the vibrant taste and aroma of freshly baked goods. The perfectly toasted oats, the juicy dried fruits, and the gently melted chocolate chips deliver a sensory experience that pre-packaged bars, which can often taste stale or artificial, simply cannot replicate.
- Endless Customization: This recipe provides a fantastic, robust base, but it’s also a blank canvas for your culinary creativity. Whether you’re experimenting with different nuts (if allergies aren’t a concern), seeds, spices, citrus zests, or various dried fruits, you can constantly innovate and create new flavor combinations that cater perfectly to your preferences, keeping snack time exciting.
- Reduced Environmental Impact: By preparing your own snacks, you inherently reduce the amount of single-use plastic and cardboard packaging waste typically associated with individually wrapped, store-bought granola bars. This small change contributes positively to a more sustainable and eco-conscious lifestyle.
Explore More Delicious Granola Bar Recipes!
If you’ve fallen in love with the process and the taste of these healthy chewy granola bars, you’ll be thrilled to discover there are even more variations to explore! Expanding your repertoire of homemade snacks is both fun and rewarding. Here are a few other fantastic granola bar recipes from the blog that promise unique flavors and textures:
- Vegan Chocolate & Coconut Granola Bars: Indulge in a plant-based treat combining rich chocolate with the tropical essence of coconut, perfect for those seeking dairy-free options.
- Chewy Chocolate Cherry Granola Bars: A delightful combination where the timeless richness of chocolate meets the tart, fruity burst of cherries, creating a truly satisfying snack.
- Chewy Homemade Granola Bars with Cranberries and Pistachios: Experience a sophisticated blend of sweet-tart cranberries and crunchy, earthy pistachios for a gourmet twist on a classic.
Easy Healthy Chewy Granola Bars Recipe
By: Jennifer Pallian BSc, RD
A healthy, homemade granola bar perfect for lunchboxes. This easy granola bar recipe uses a secret ingredient to sweeten and bind while adding 30g protein, offering an unmatched chewy texture and flavor. Customize with your favorite nuts, seeds, and dried fruits for endless variations.
Yields: 18 bars
Ingredients
- 3 cups large-flake oats (old-fashioned)
- ½ tsp coarse salt
- 1 (10 oz / 300 mL) can sweetened condensed milk
- ¼ cup (2 oz, ½ stick) butter or coconut oil, melted and cooled
- ½ cup roasted unsalted sunflower seeds
- ½ cup roasted unsalted pumpkin seeds
- 1 cup dried cherries, cranberries, or raisins
- ¾ cup mini chocolate chips
Instructions
- Preheat oven to 350ºF (175°C). Spread oats in a 9×13″ metal baking dish and toast for 20 minutes, stirring every 5 minutes until deeply golden brown and nutty smelling.
- While oats are toasting, melt butter or coconut oil in the microwave for 30 seconds on high power. Allow it to cool completely to room temperature.
- When oats are toasted, spread them out over a cold baking sheet to cool quickly. Run the hot baking dish under cold water to cool it down, then line it with parchment paper, leaving an overhang on the sides.
- In a large bowl, combine the cooled toasted oats and salt. Stir in the sweetened condensed milk, cooled butter, sunflower seeds, pumpkin seeds, dried fruit, and mini chocolate chips. Mix until all ingredients are thoroughly combined and coated.
- Dump the mixture into the parchment-lined baking dish. Using lightly moistened hands or a rubber spatula, press the mixture down very firmly into an even, compact layer.
- Bake for 15 minutes, or until the edges are a shade darker and the center is set but still looks slightly soft. Removing them at this stage ensures wonderfully chewy bars. If you prefer crunchier bars, bake for a few extra minutes.
- Lift the entire slab out of the pan using the overhanging parchment paper and place it on a wire rack to cool completely. Once fully cooled, slice into 18 bars.
- Store bars in an airtight container at room temperature for up to 5 days, or freeze for up to 3 months.
Nutrition Information (per bar, approximation)
- Calories: 131 kcal
- Carbohydrates: 20g
- Protein: 4g
- Fat: 4g
- Saturated Fat: 2g
- Polyunsaturated Fat: 1g
- Monounsaturated Fat: 1g
- Trans Fat: 0.02g
- Cholesterol: 1mg
- Sodium: 72mg
- Potassium: 76mg
- Fiber: 2g
- Sugar: 9g
- Vitamin A: 260 IU
- Vitamin C: 0.1mg
- Calcium: 24mg
- Iron: 1mg
Nutrition information is automatically calculated and should be used as an approximation. Individual results may vary based on exact ingredients and preparation.
We truly hope you enjoy making and savoring these incredibly satisfying, healthy, and easy-to-make chewy granola bars! They are a testament to how simple, wholesome ingredients can come together to create something truly delicious and beneficial for your well-being. Don’t forget to experiment with your favorite add-ins and share your delightful creations in the comments below.